This year I’ve been walking class to class. My room was taken for another classroom. In the beginning I thought thought the up and down steps all day would either kill me or make me healthier. I’m a pretty optimistic guy, and I’m glad to say I’m probably healthier for all the up and down steps. I started the year with some printmaking and now were drawing castles in 4th grade and working on large Egyptian inspired pieces in 5th grade. I’m fading out of the picture here this June-I’m pushing 70 and I’m retiring! I wish everyone the best!
Below are some pics of a k class. I’d never done this before, but all we did was read a book and draw pictures on a very long piece of paper. It worked out well.
Above is a quick animation, done in google slides and google drawing by Ayda Shakirova. Below are drawings using google draw done by my 4th and 5th graders. They did very well with this new technique, I couldn’t be happier!
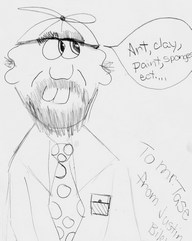
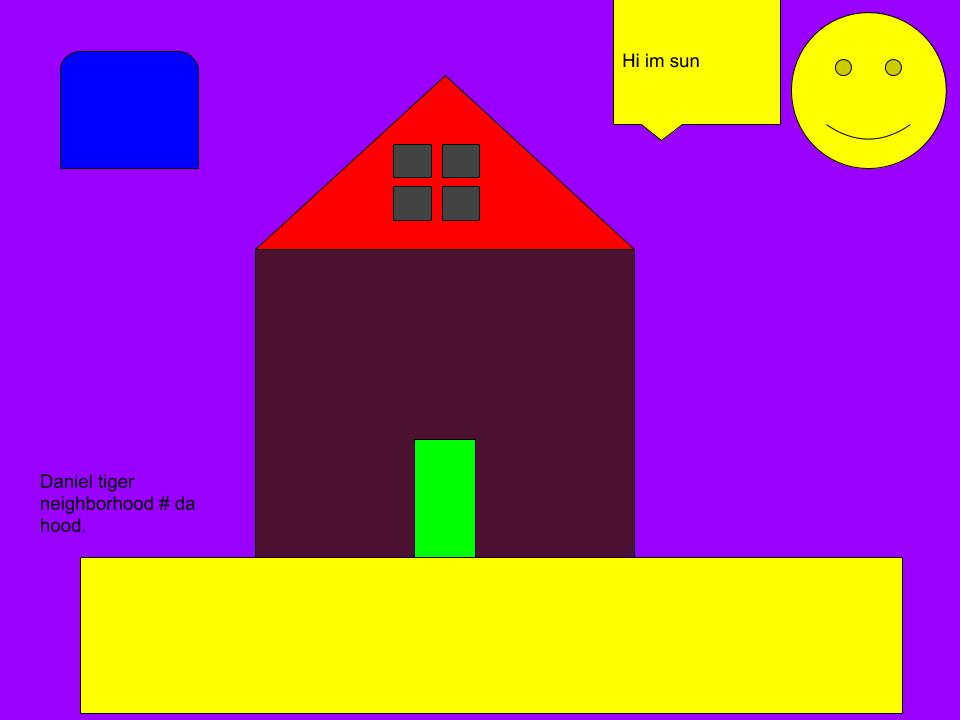
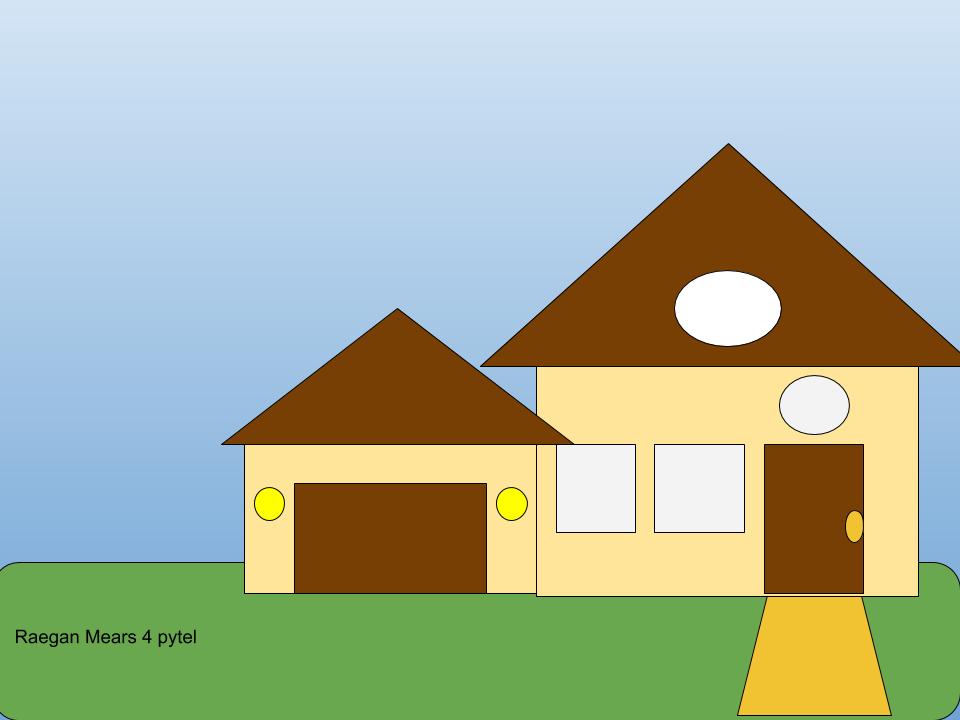
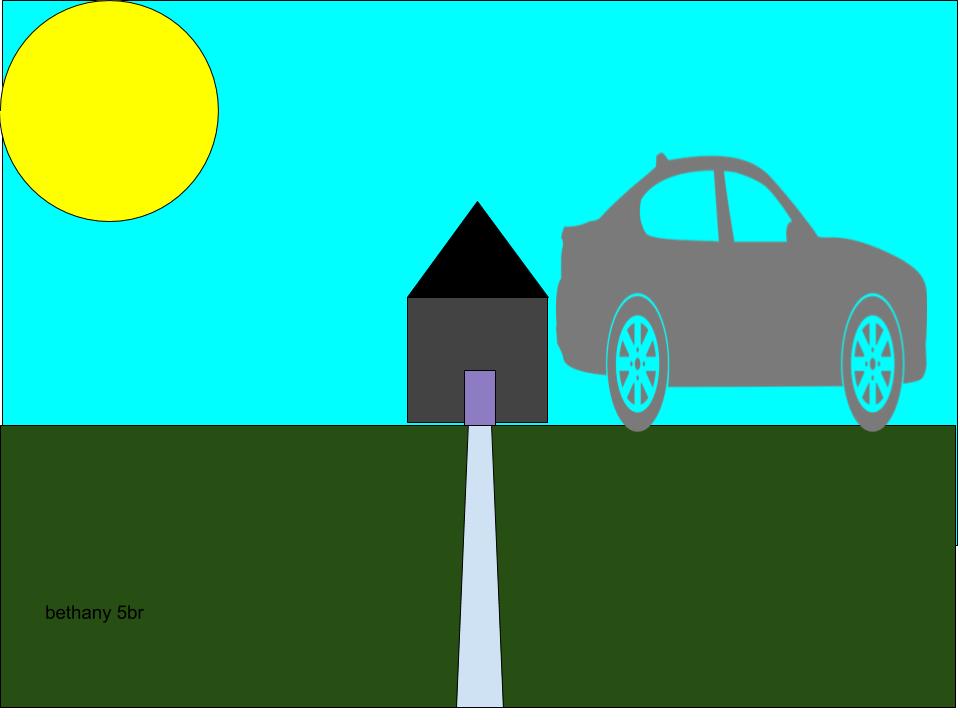
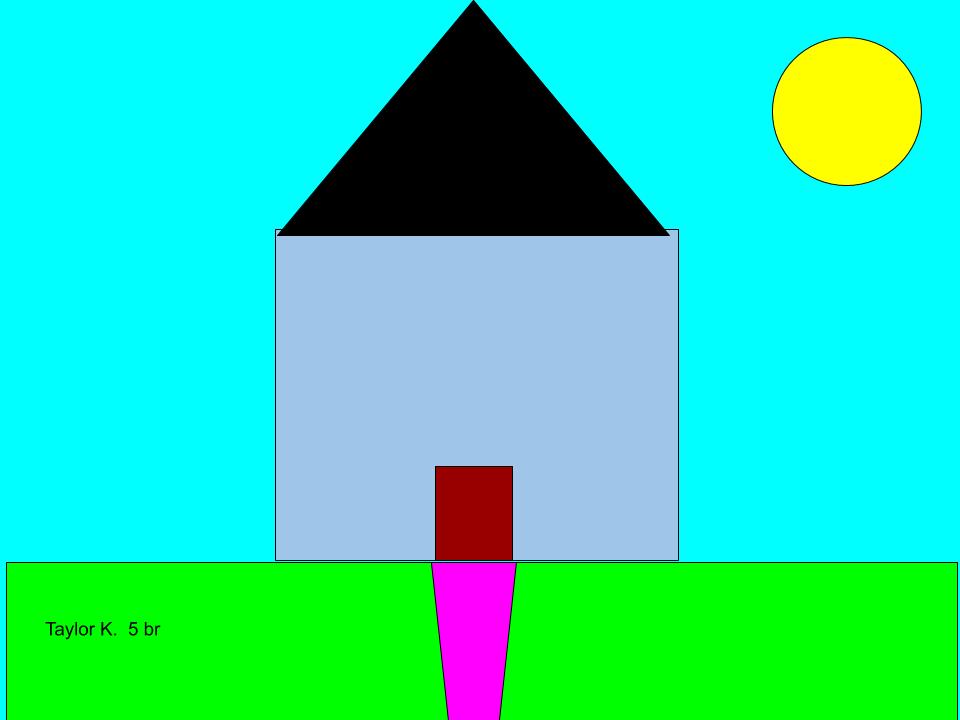
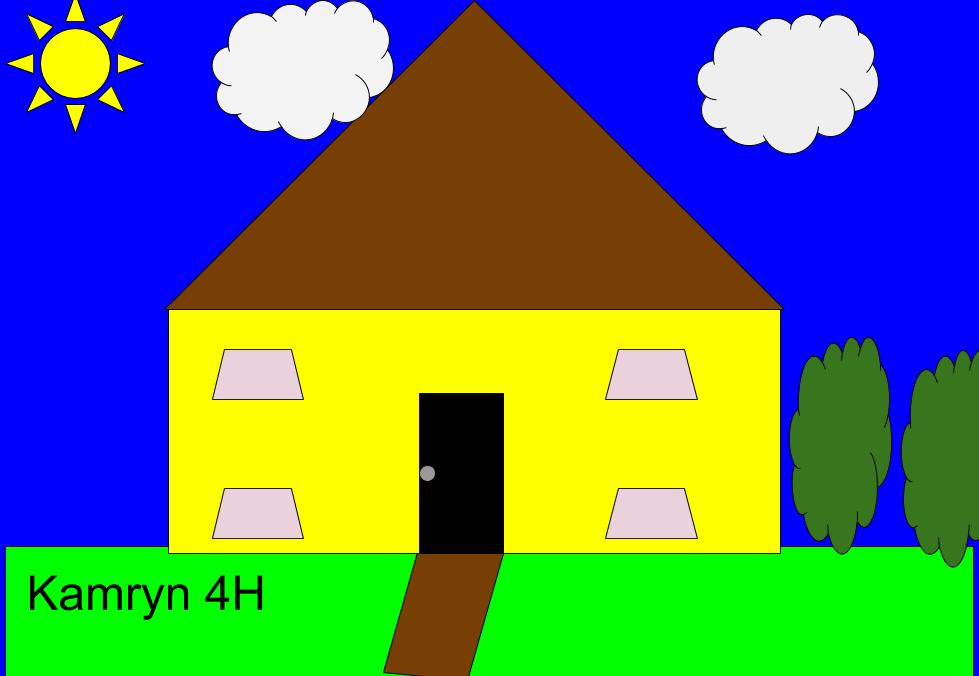
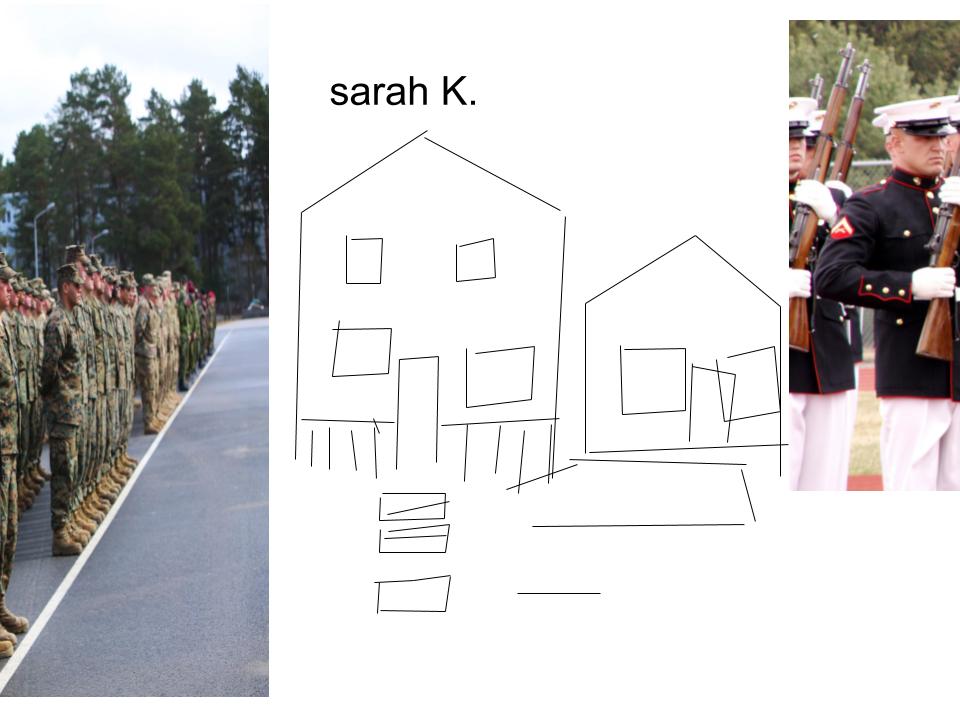
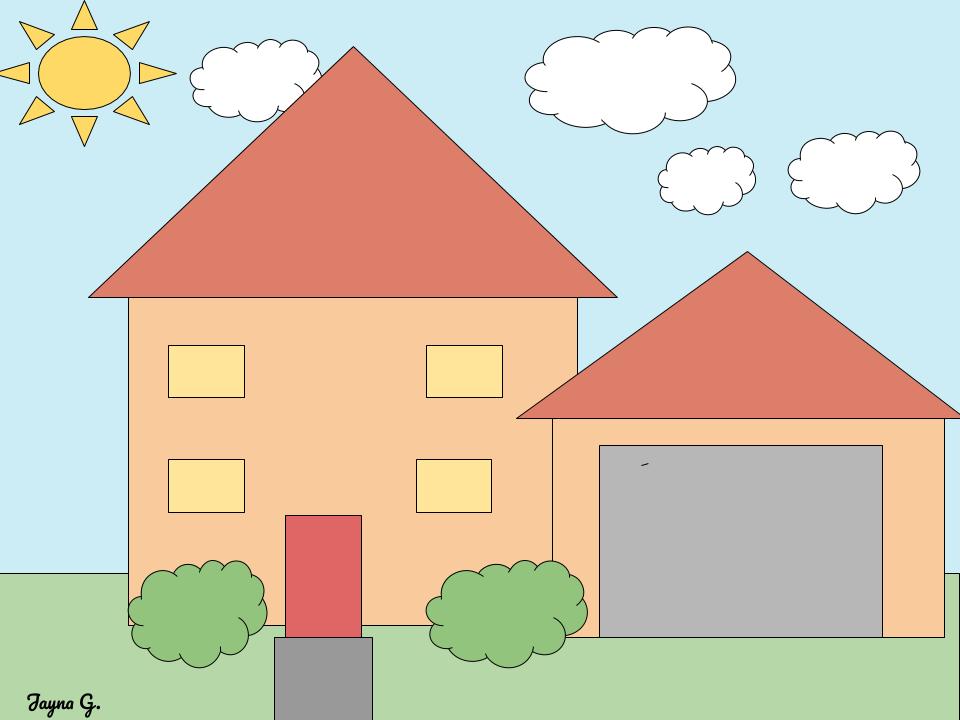
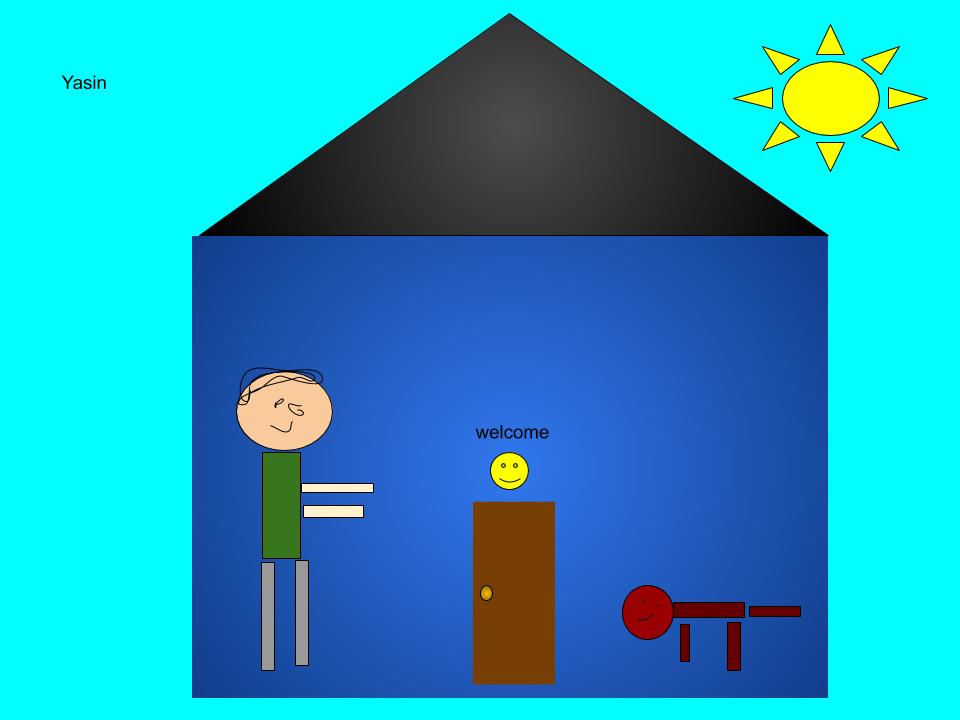
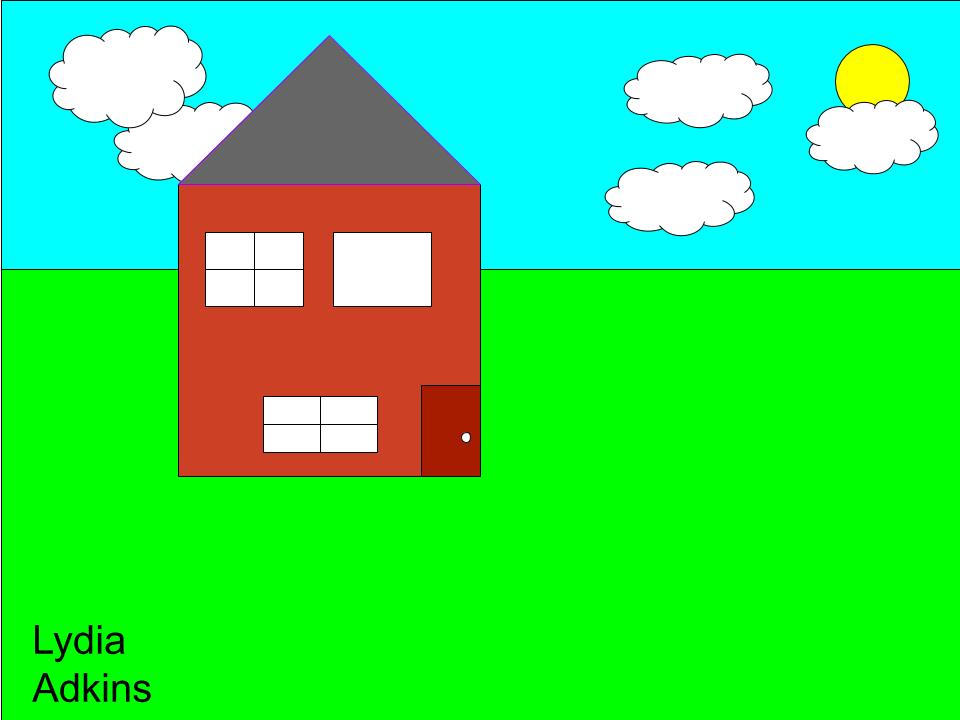
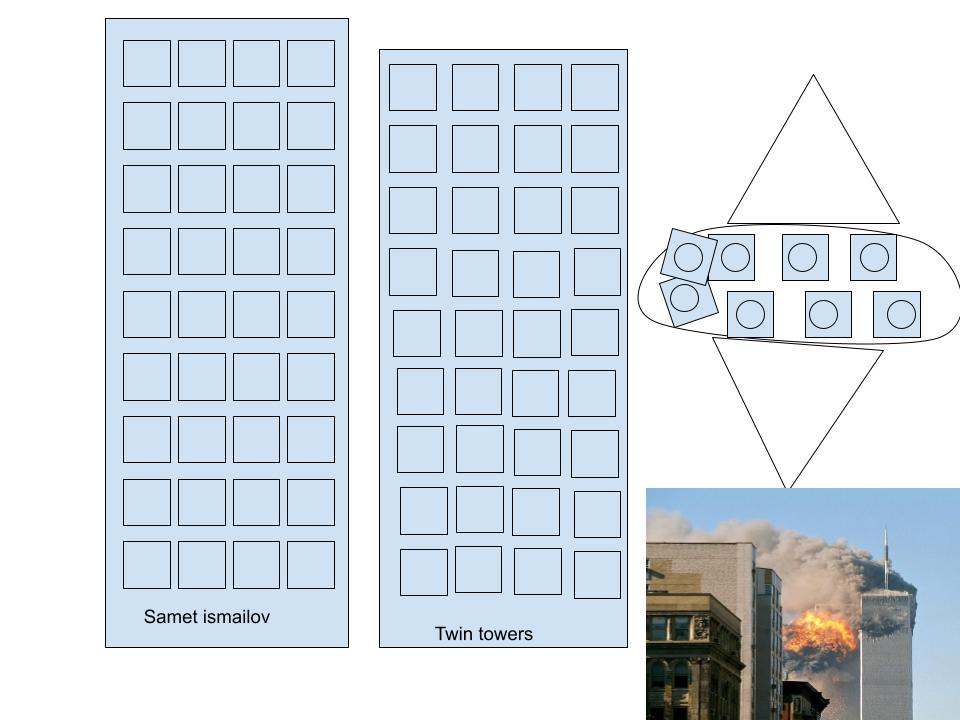
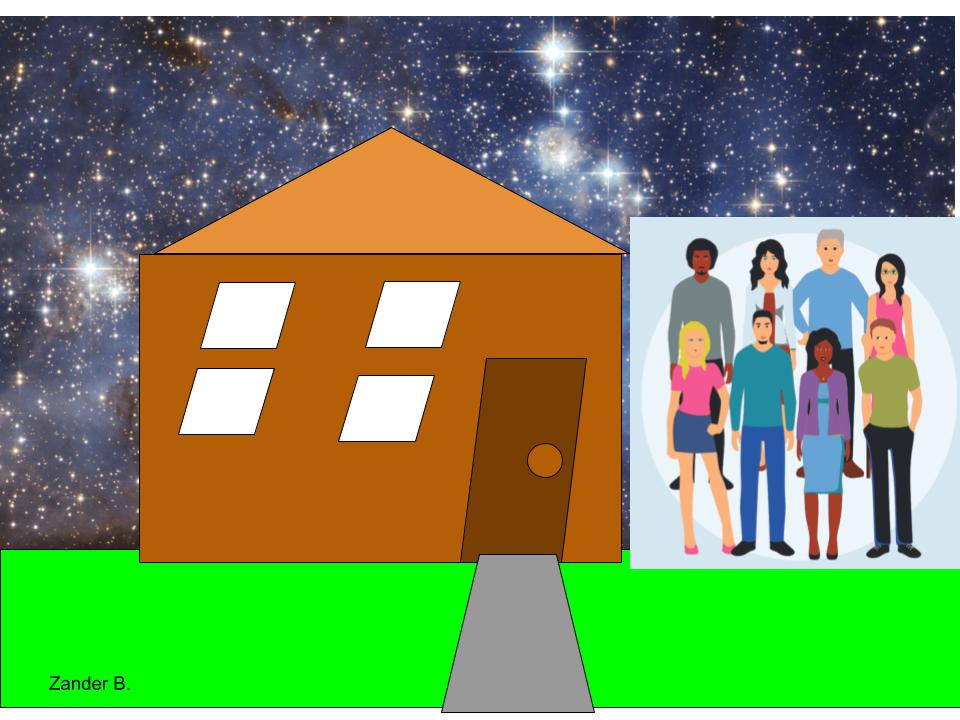
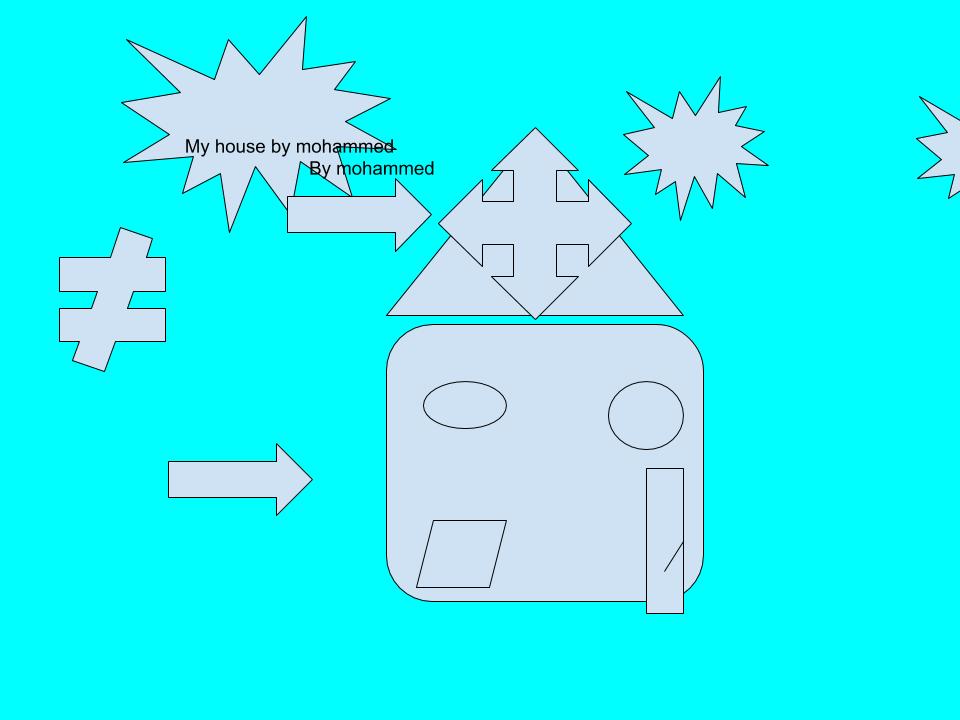
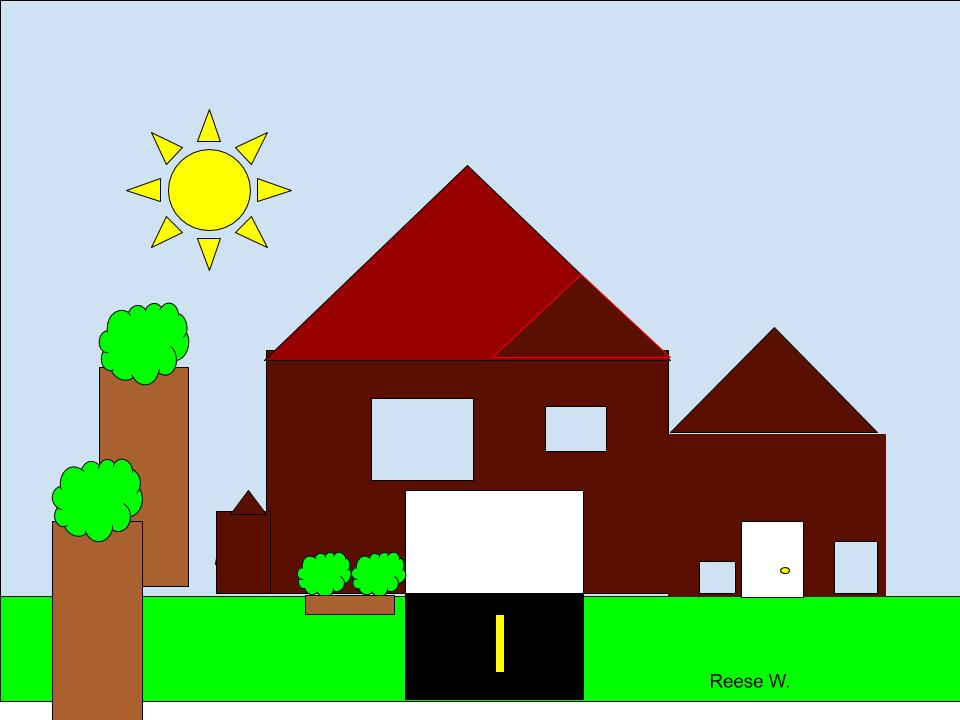
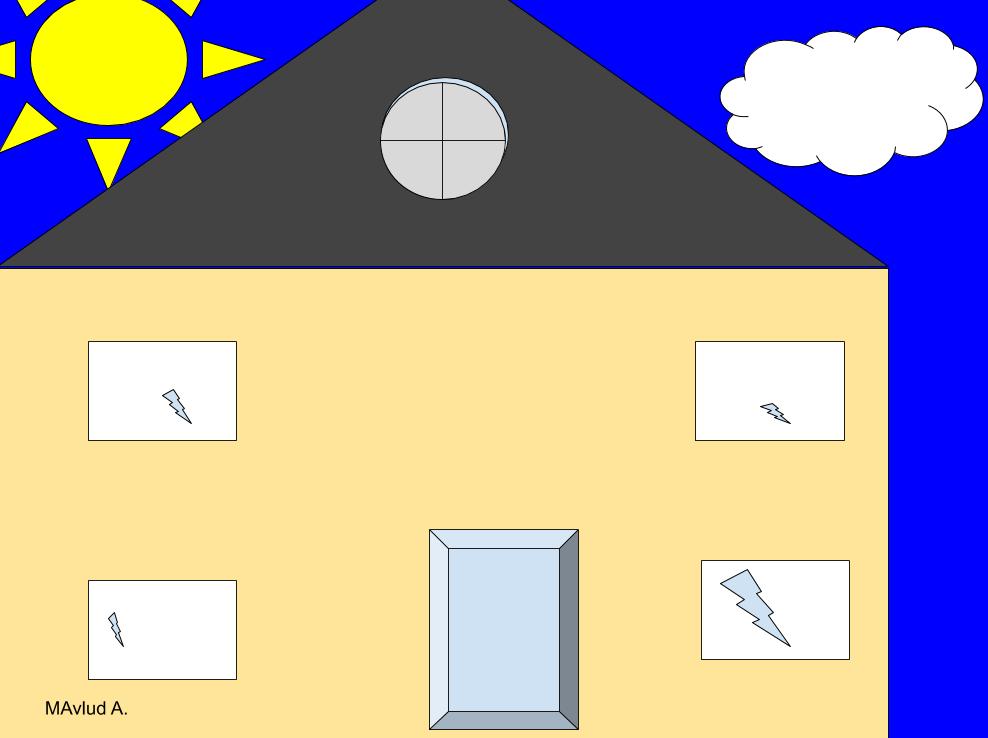
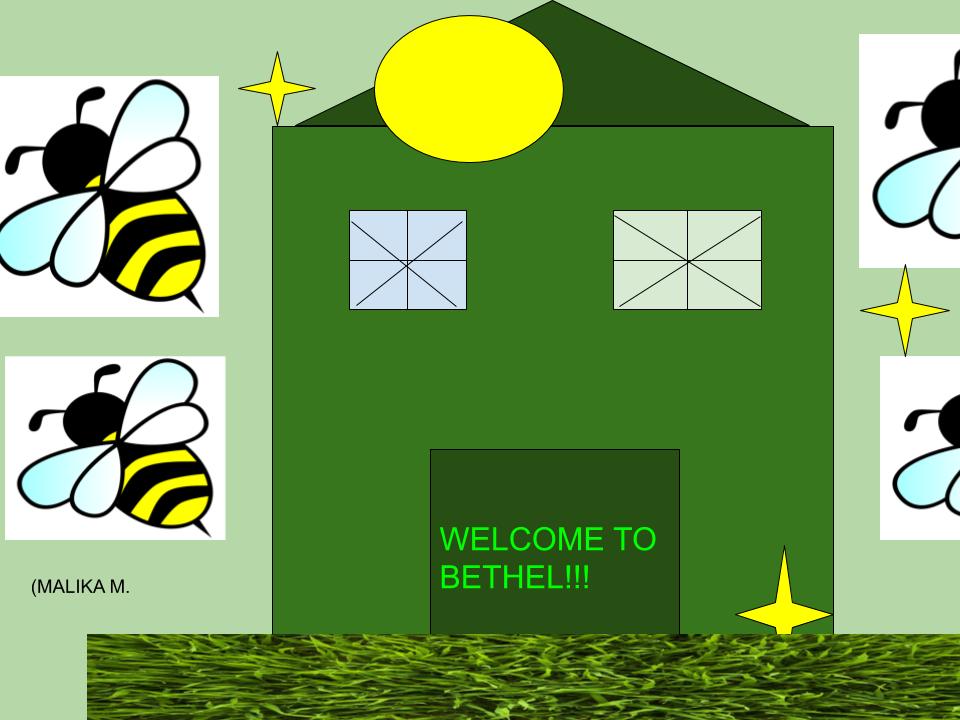
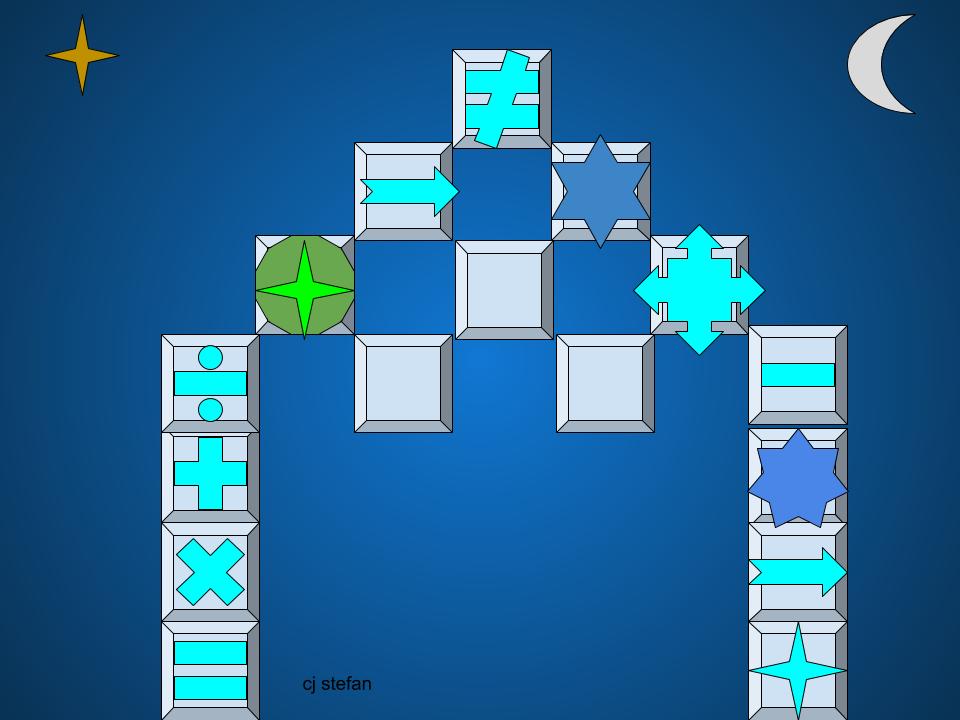
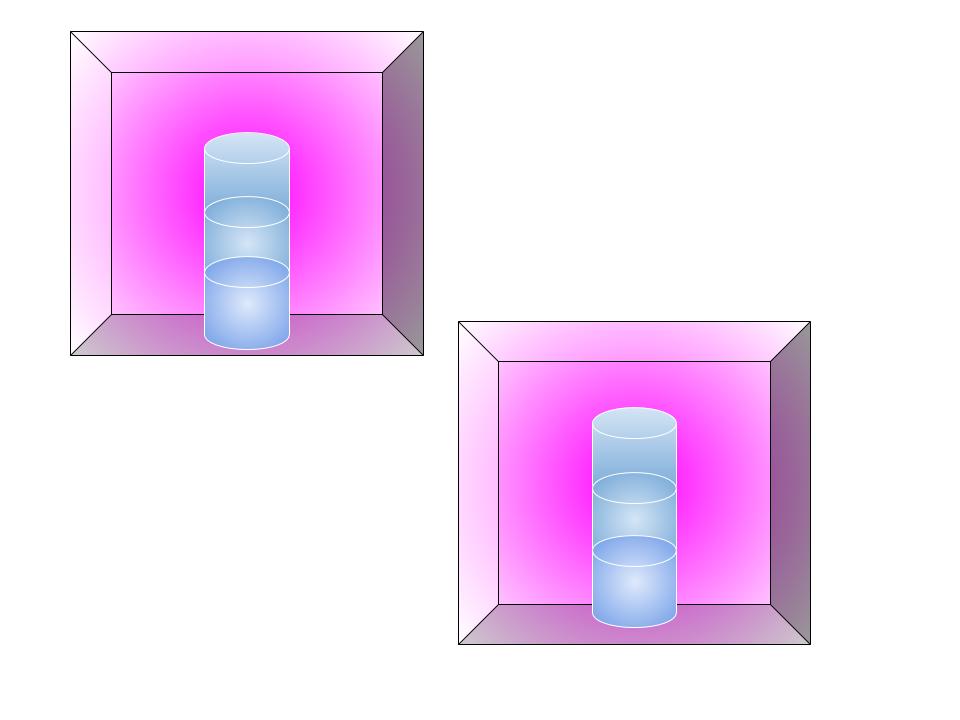
I put these images here to show how some of 4th grade students have learned to open up and use google draw. For most of the students this was their first time at using any graphics program. They had to learn to use the line tool, shape tool, paint bucket, and a lot of the other tools that come for free with google draw.
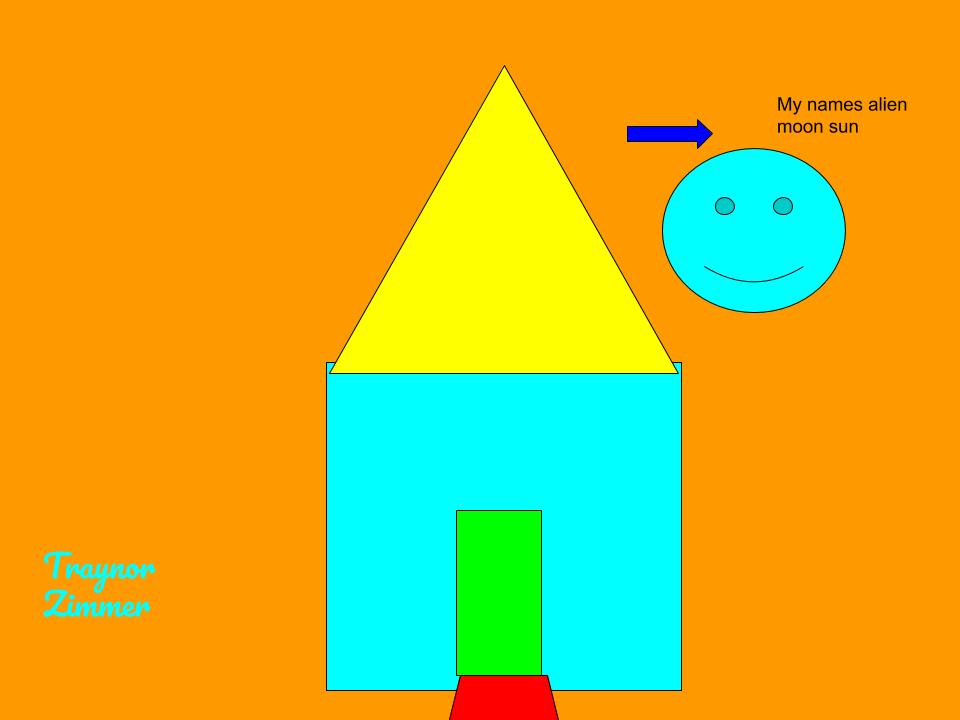
The above image was done by Madison L. in 4th grade
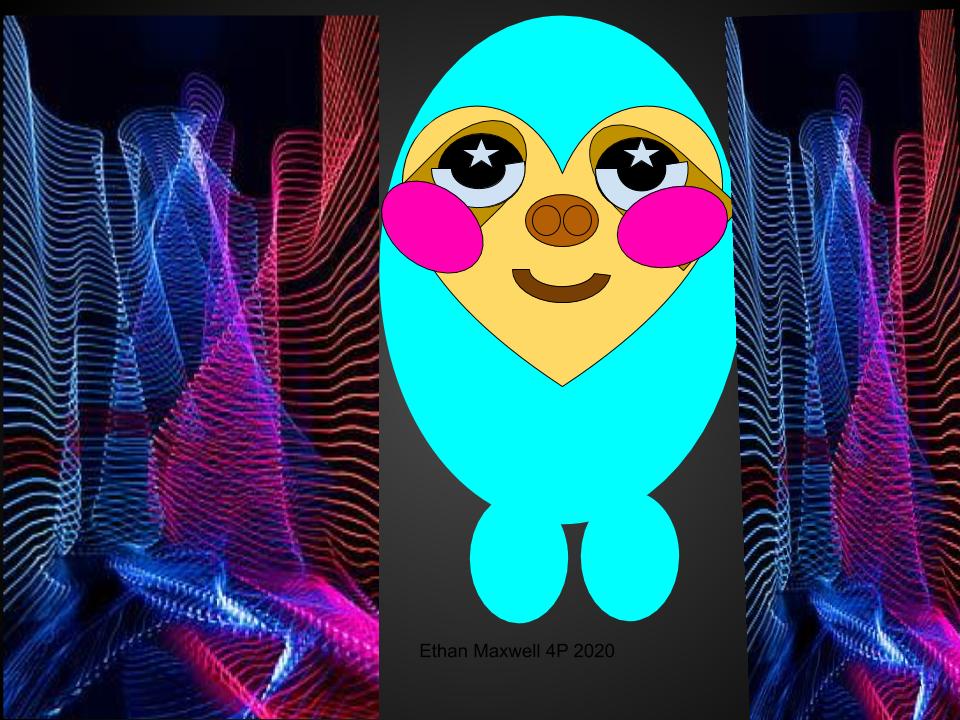
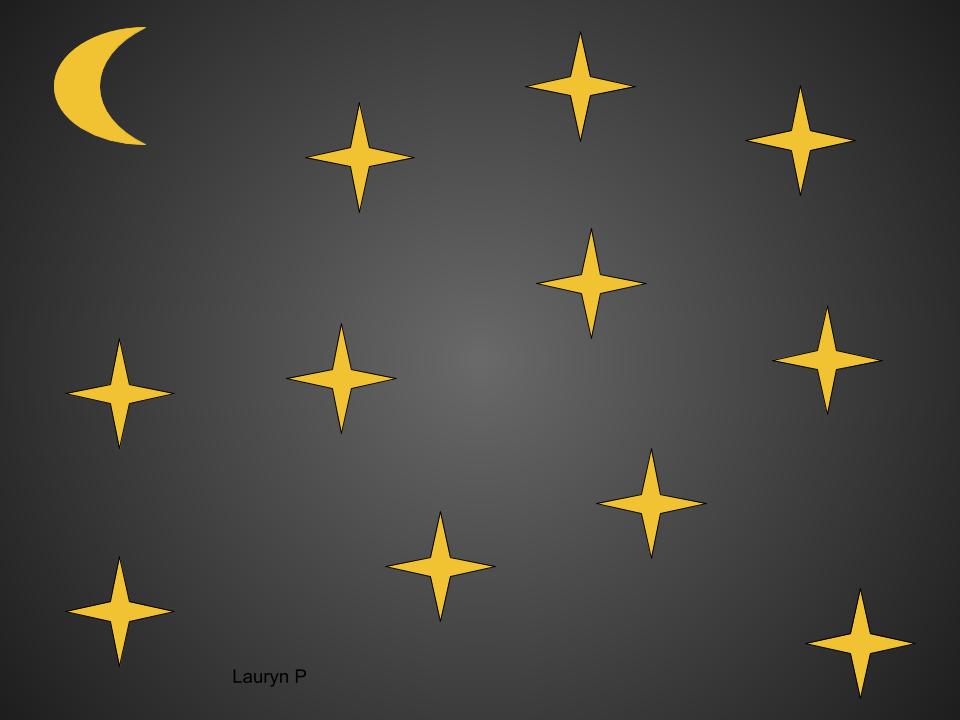
Aisha did the one above. Nice gradient background.
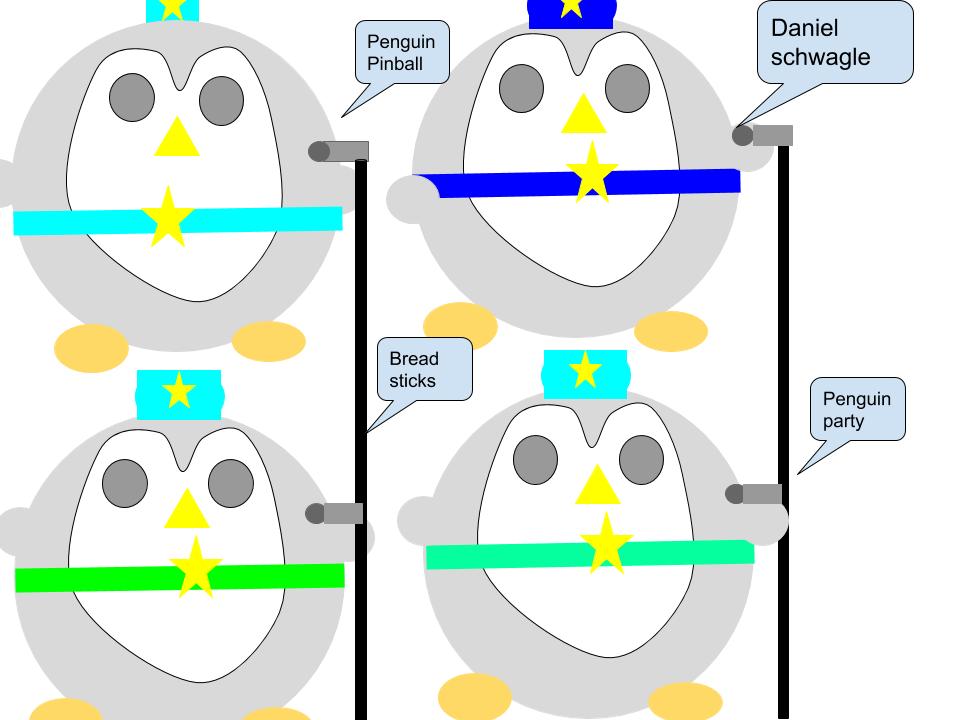
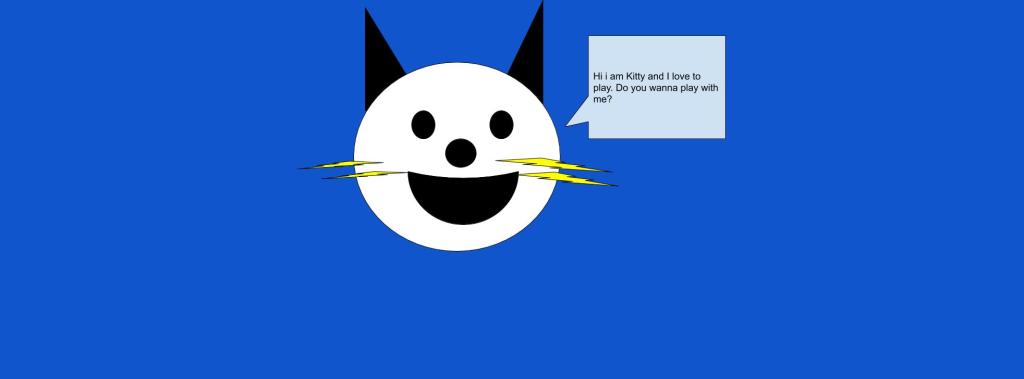
Mariah entitled this one, “Evil Pacman”
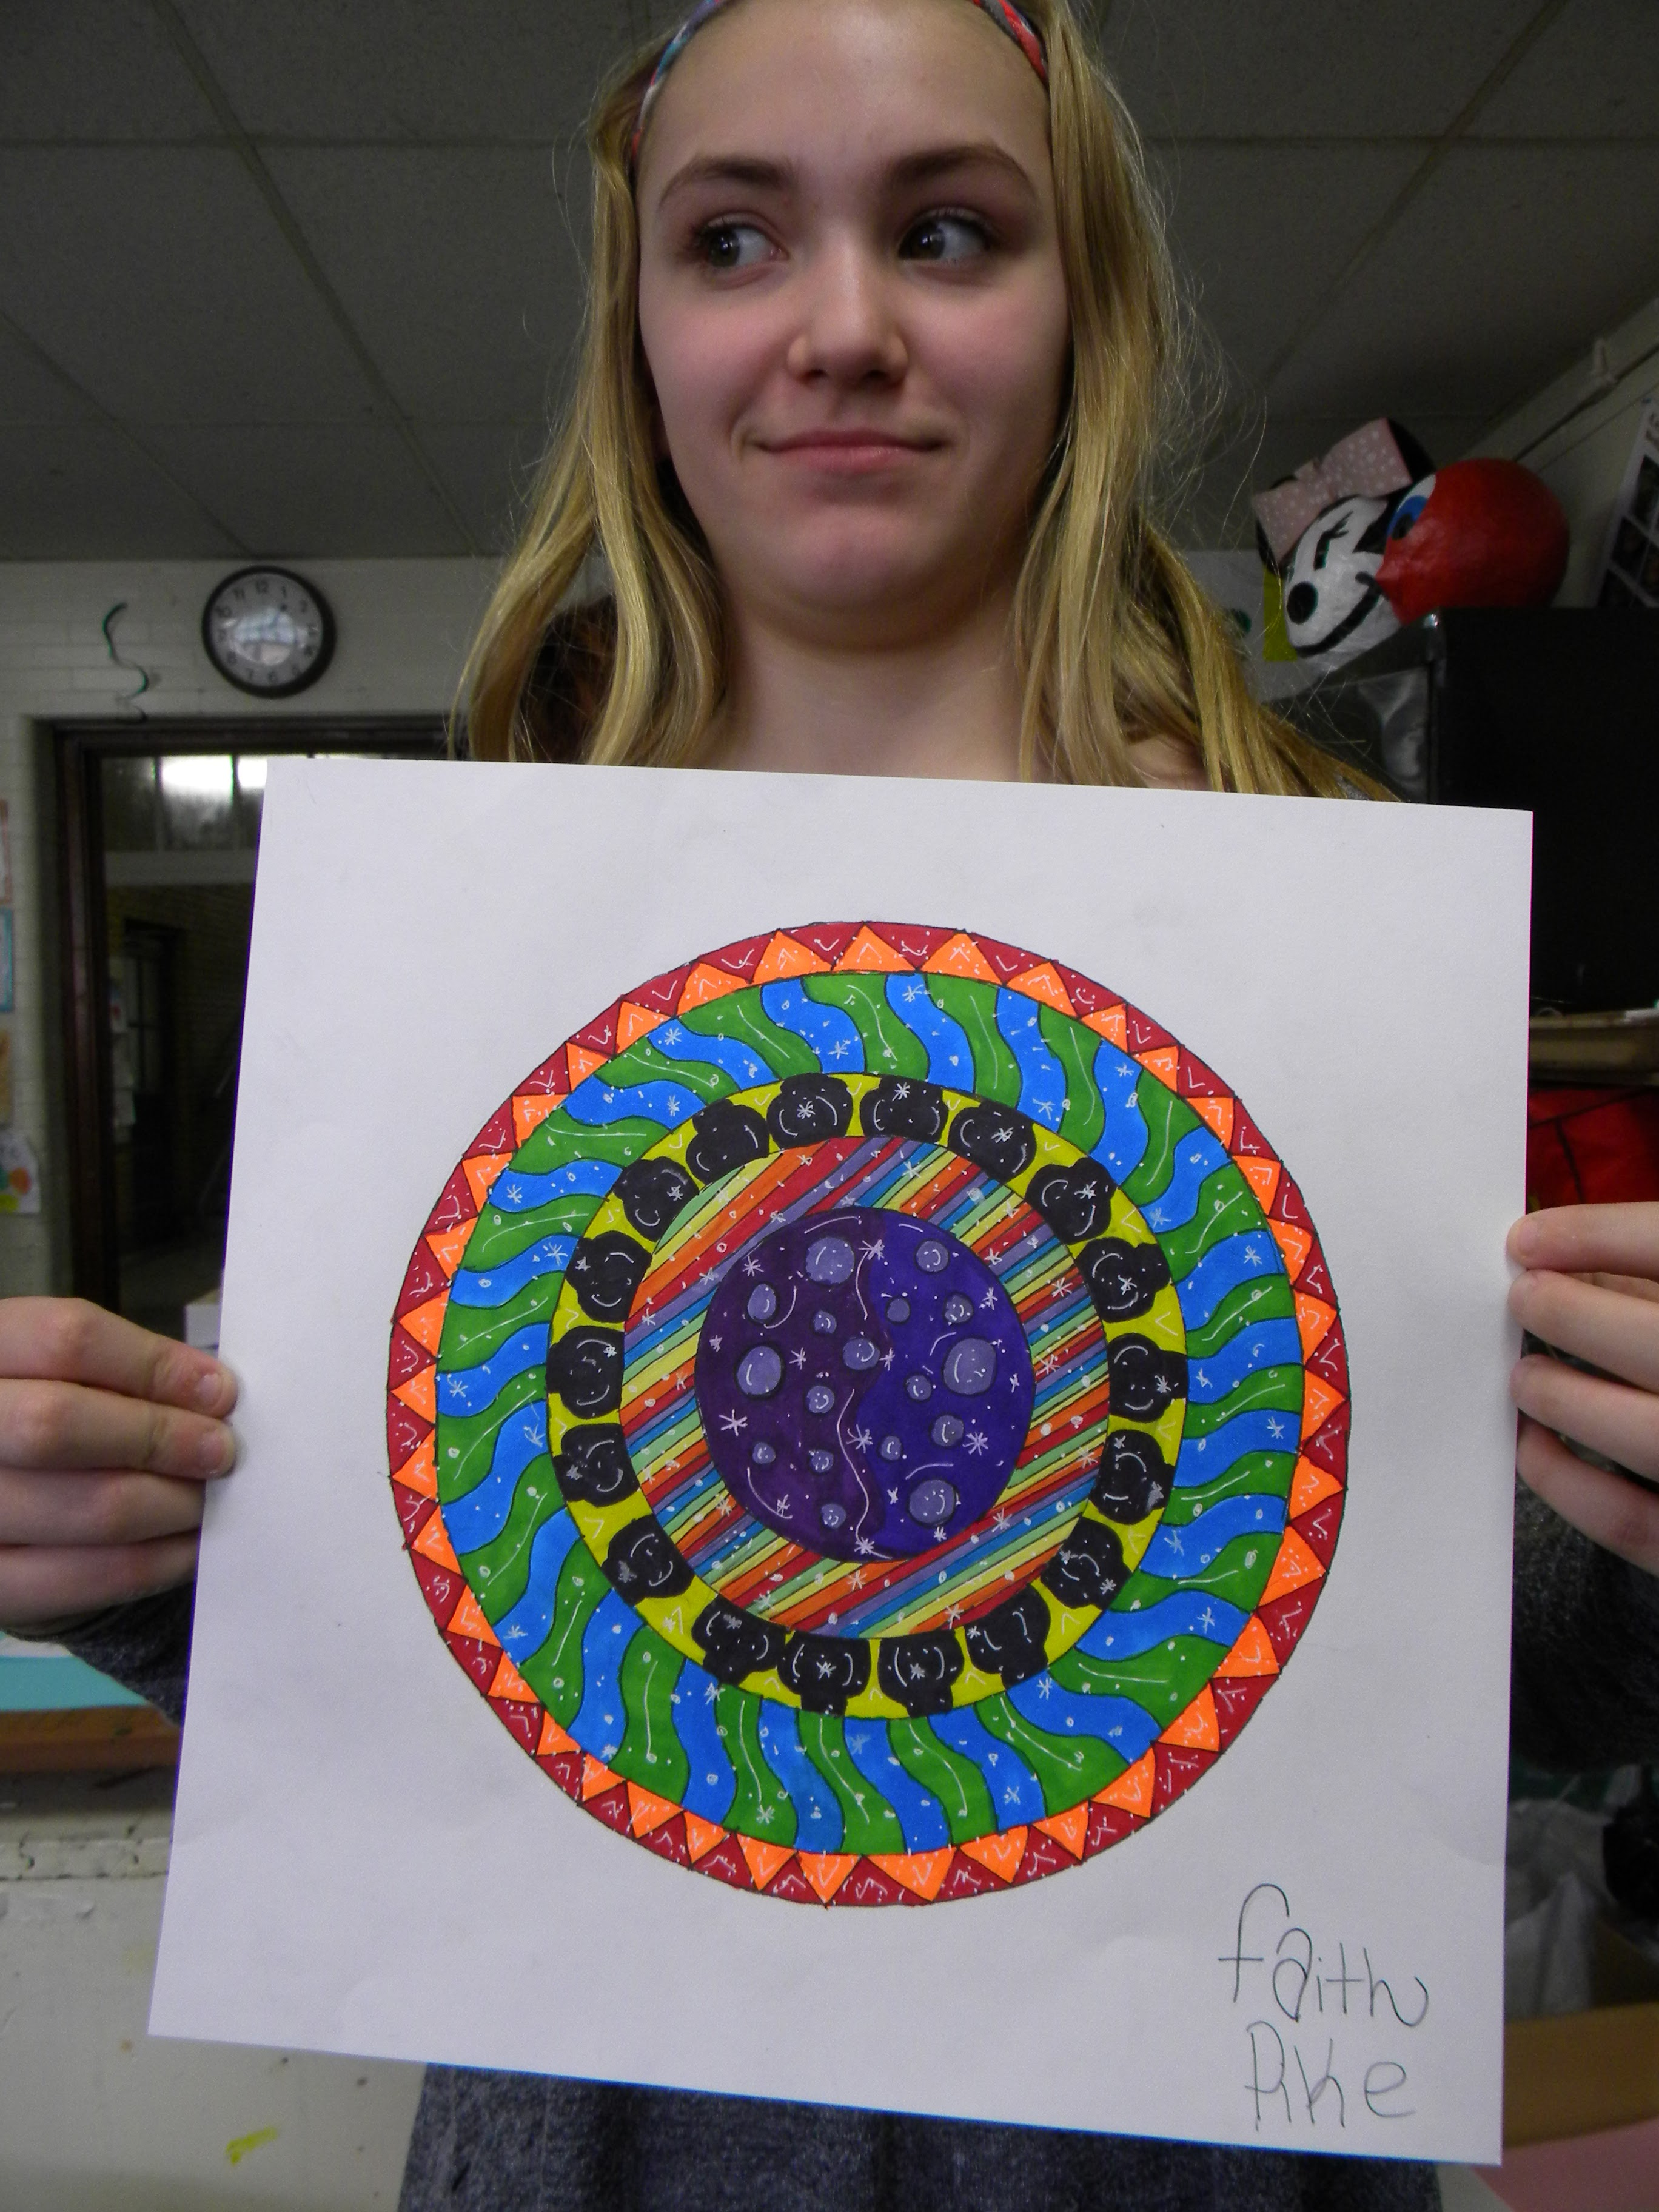
Ms. Kennedy M calls this one, “Tunnel”Preston D did a nice piece here using the line tool. Arzu did the above piece using the shapes that come with google draw.Wyatt M. did a nice mandala using google draw. Nice rich colors.
A nice animation by Katelyn S. Nice to see what can be accomplished with a bit of self motivation!
The above drawing was done using google draw by the wonderfully talented Grace P! Thanks for sending it my way, Ms. Grace. Ms. P did this nice folded puppy! She’s always coming up with something. Another google draw by Erin F. Pretty amazing work!
The above is a slide presentation done by the talented Ms. Katelyn S!
Another great google draw by Erin F.! He used a lot of move points on the lines to create the various shapes.
Above is a drawing done By Erin F. He used google draw for the whole thing! Usually students do not do quite this well with google draw, but Mr. Erin F. did this in under and hour or so, which is pretty amazing.
Ms. Hannah did a great example of some simple printmaking using scrap cardboard. This is is a good example of what the room looks like when we’re doing printmaking.
Some examples of some printmaking using cardboard.
Above is a student using scrap Styrofoam to make some prints.
I usually do potato prints along with printmaking every year, but this year, I’m not in my room due to co-vid restrictions. So it generally did not happen. Ms. Kalt suggested we try her class with potato printing and it would have been hard to say no. I enjoy it, and a lot of vocabulary and concepts are bought into play when you study printmaking. Above is the table where part of the action happened.
Above is a student getting started with the carving aspect of potato printing. I usually use spoons with the younger ones. It works fine to get the idea of removing material to get an image suitable for inking up and printing.
Above is a student rolling paint out on a piece of plexiglass, in preparation to apply the paint to the potato.
A row of activity and creation in various stages.
Another shot of the table where the paint was spread out and applied to the potatoes. Oddly calm and quiet looking.
He looks to be pondering his next move. I see potatoes inked up and some printed images, so things are going well.
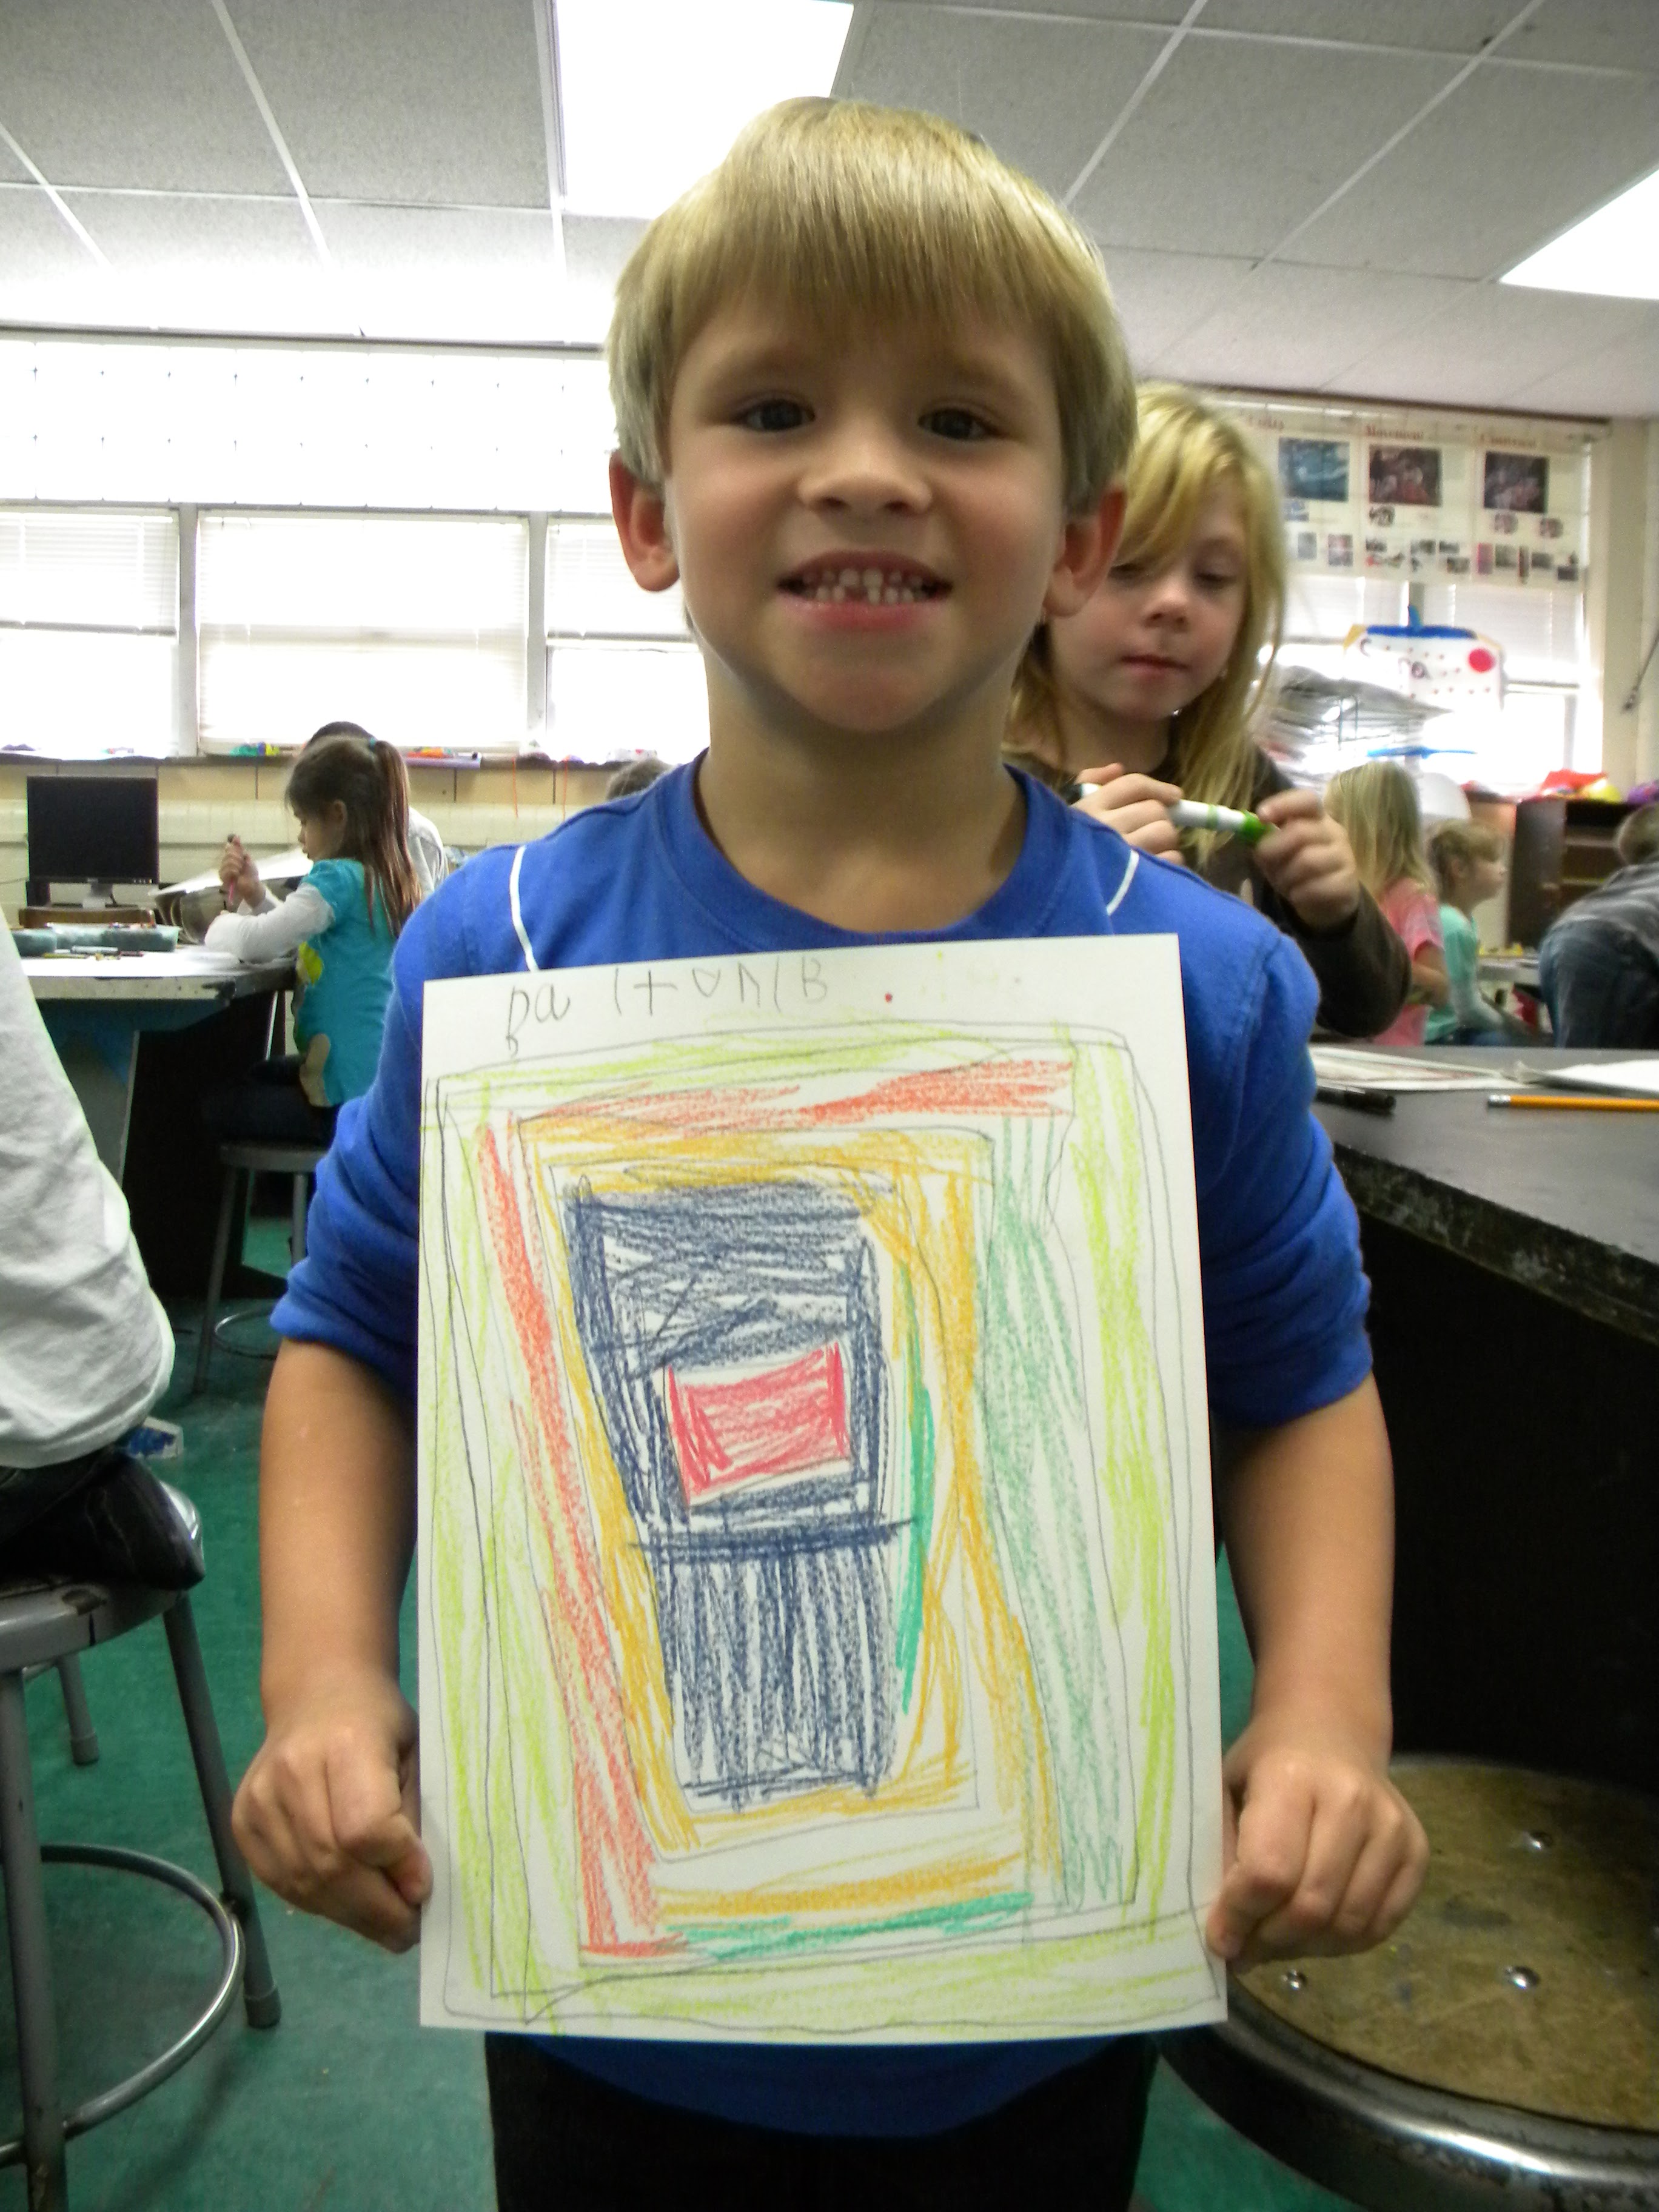
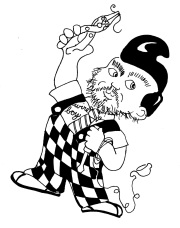
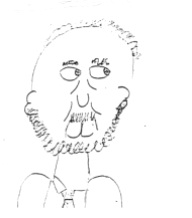
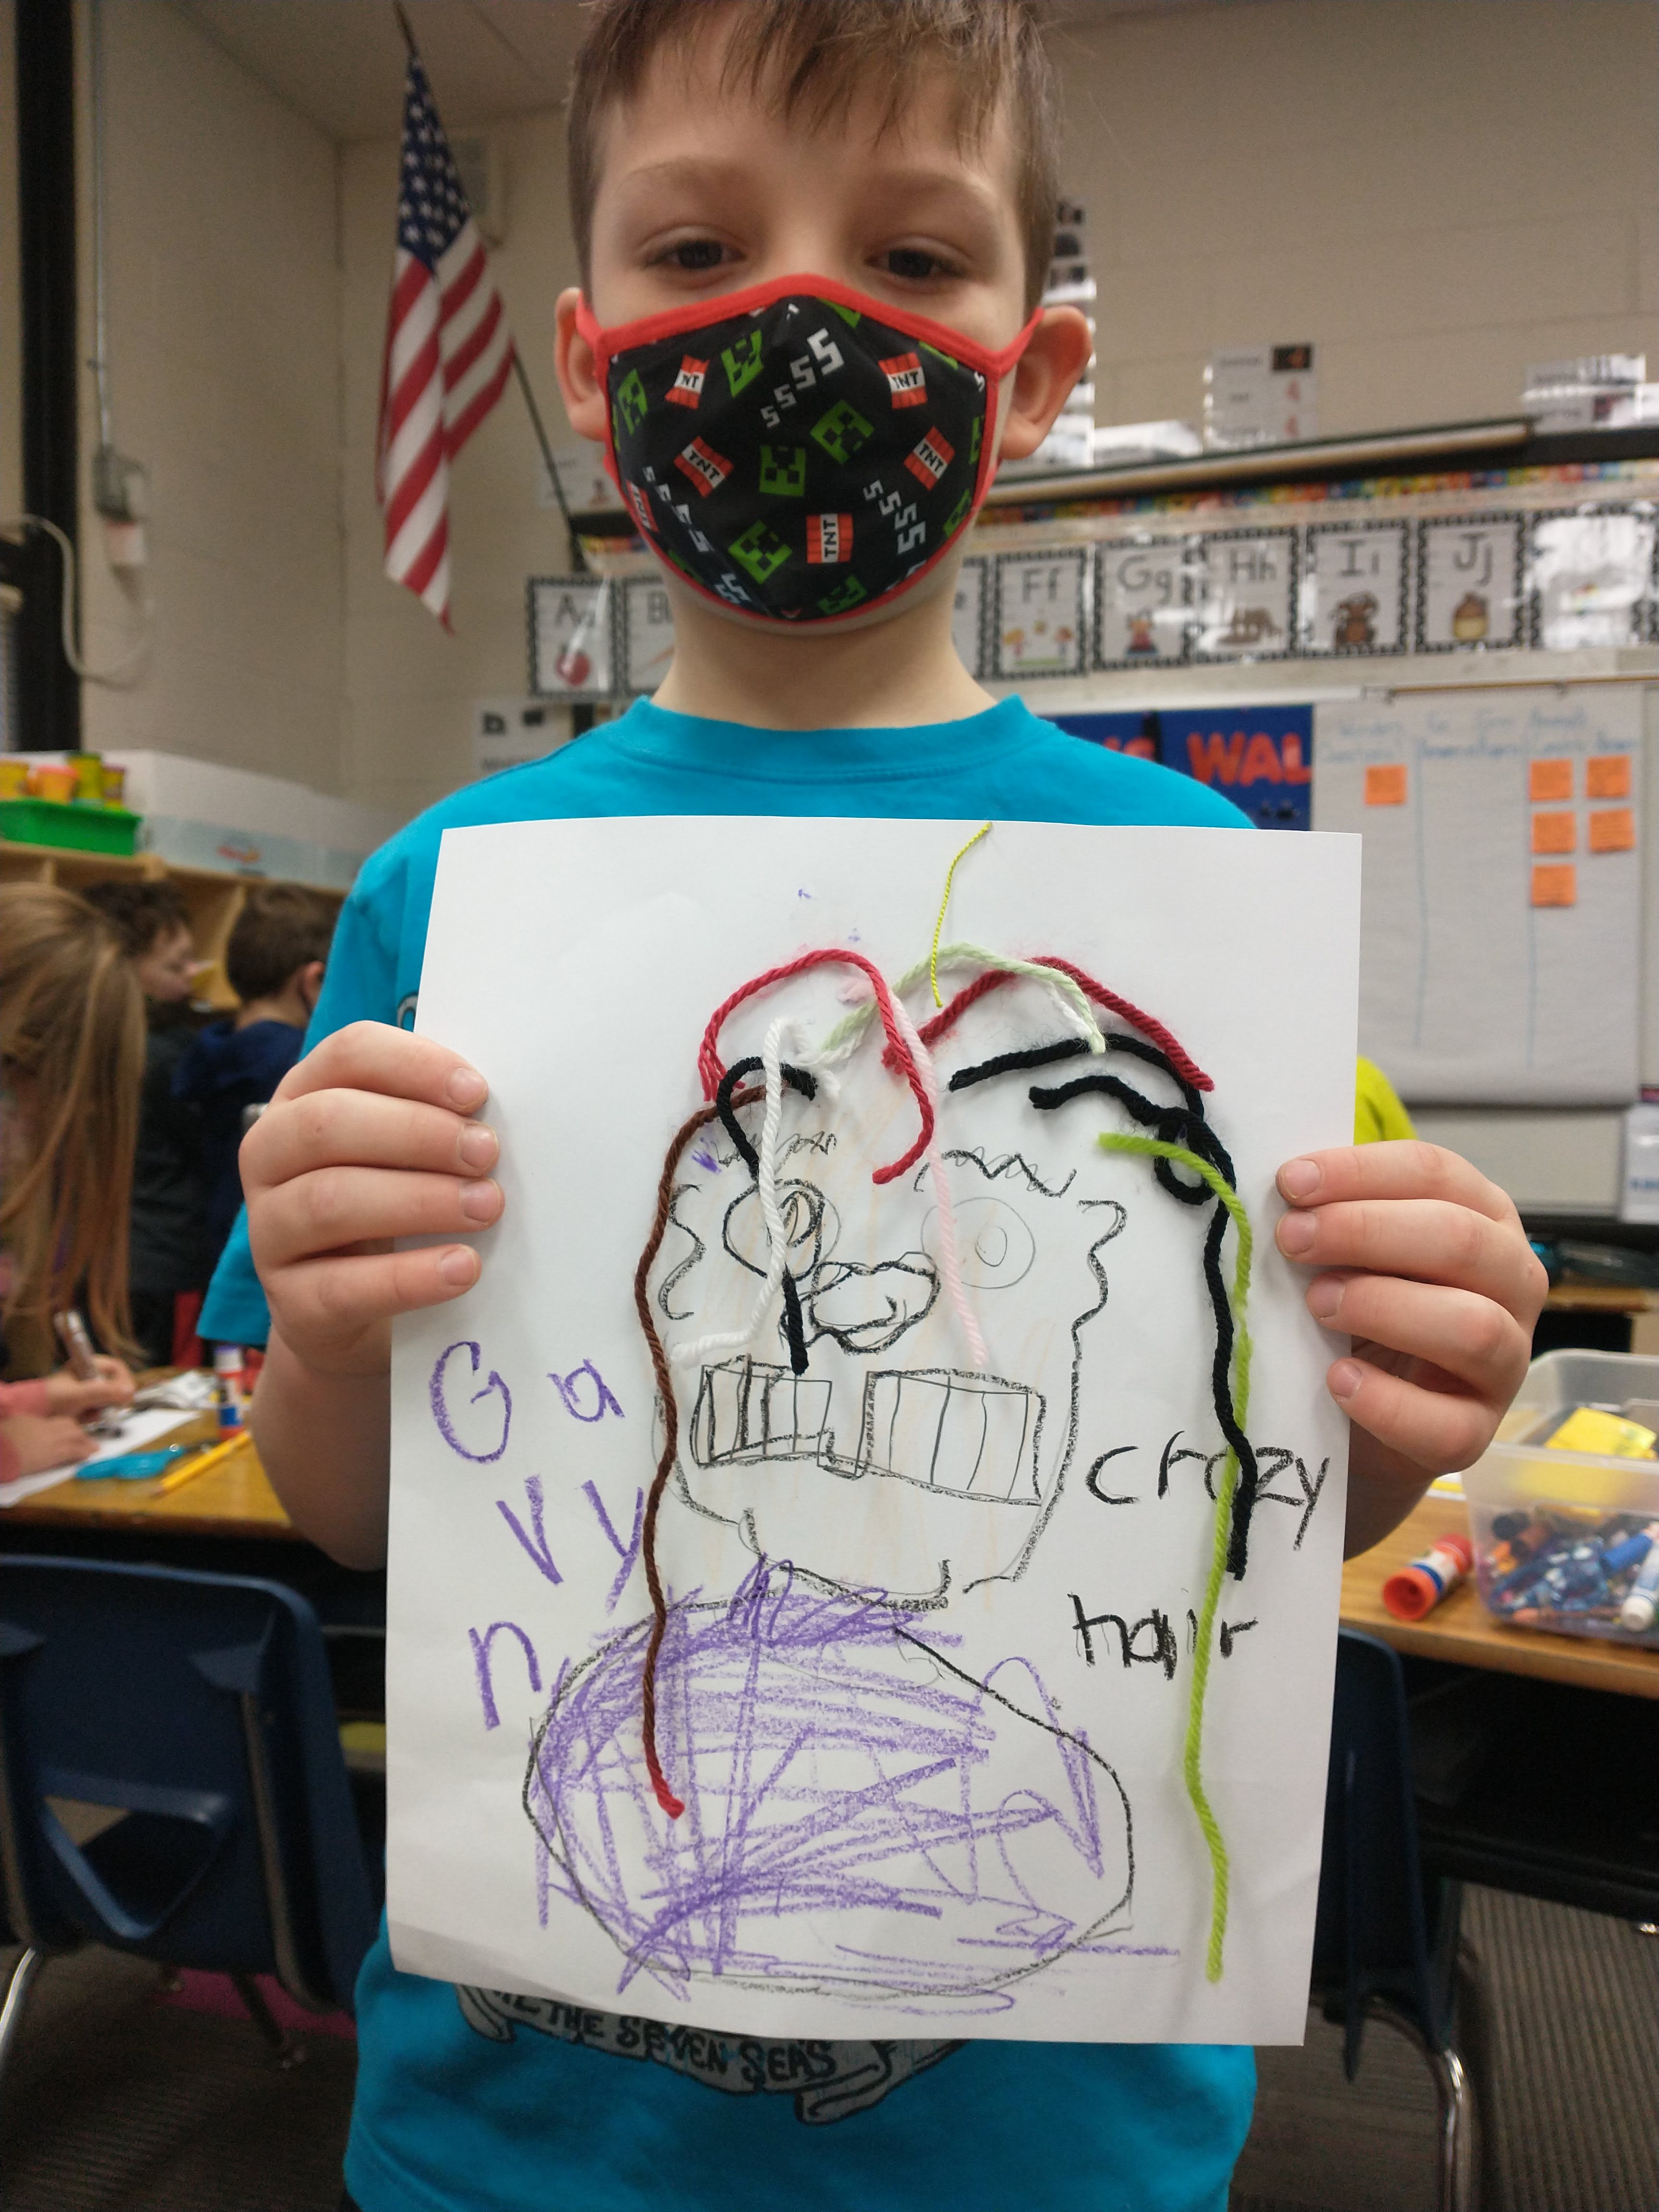
Which is about this kid who makes his hair into a crazy look because he thinks it’s “Crazy Hair Day” at his school. Turns out it’s the next week and so begins the adventure.
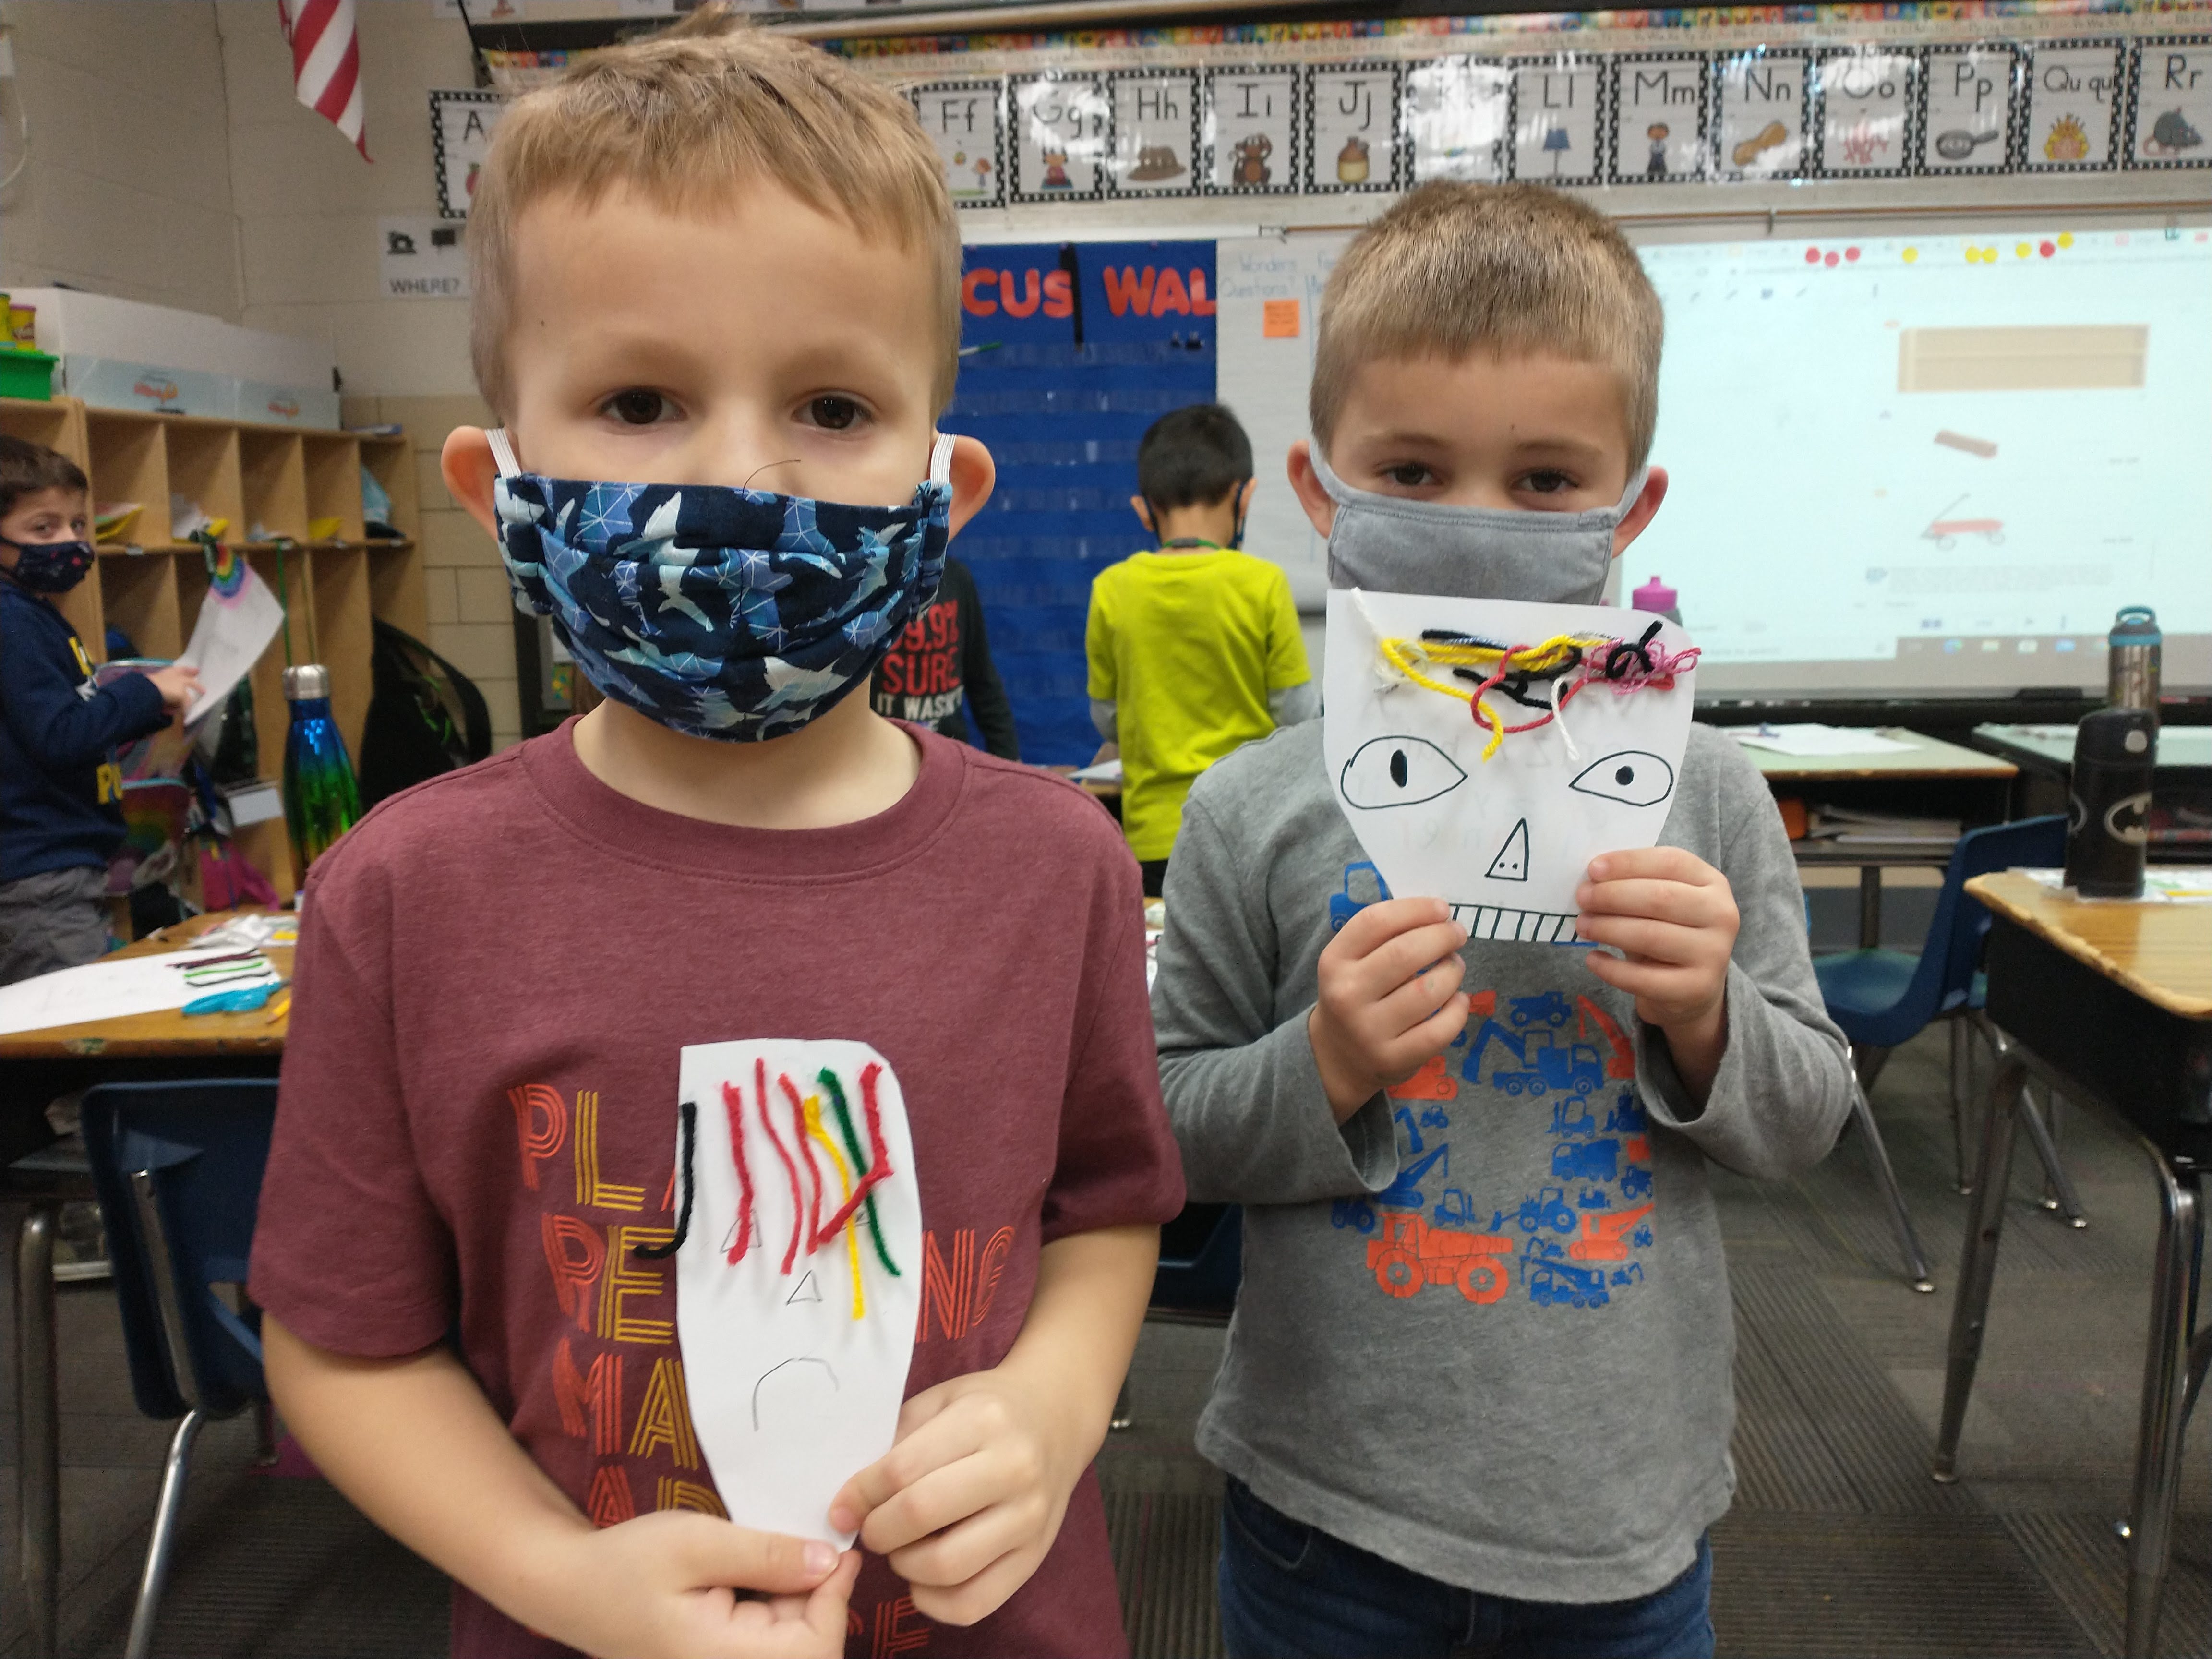
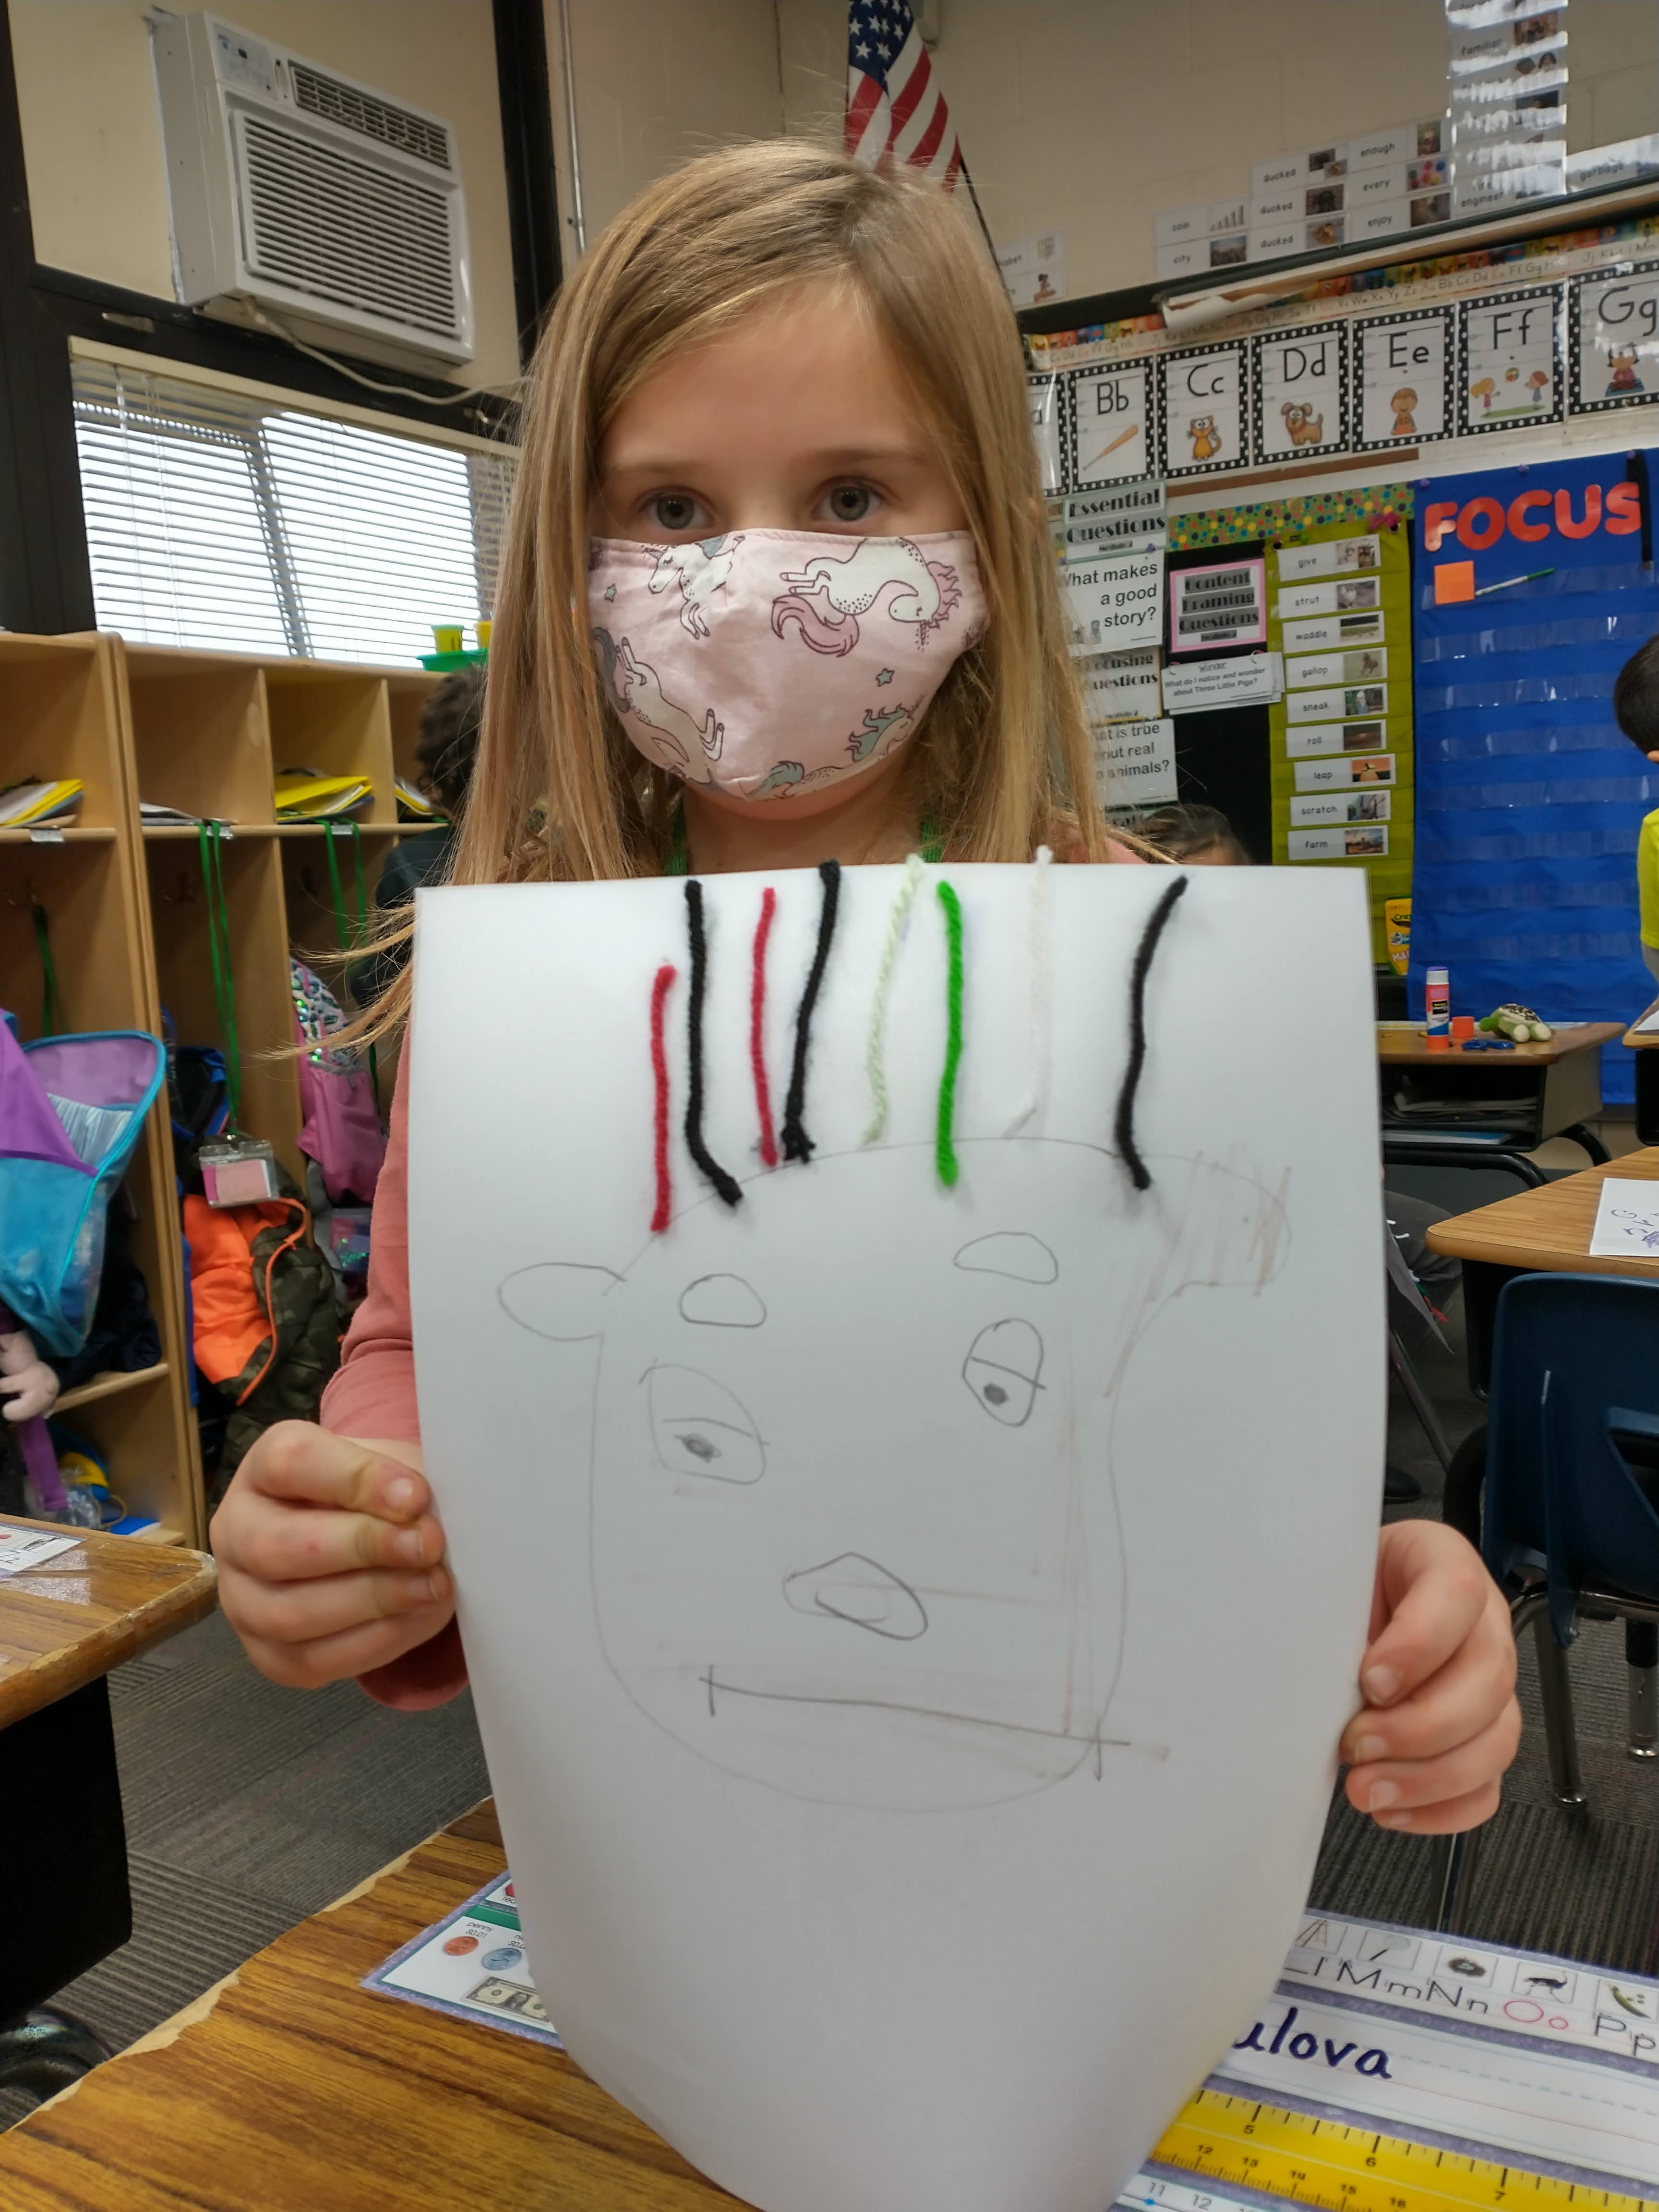
I read this with my kindergarten students and then we cut out and add yarn to a piece of paper that we draw a head onto. They like it, and from an occupational therapy perspective, it’s a good scissor activity. If you look at the first one, you can see someone who really does not permit a lot of chaos into his life. It’s fun seeing K kids and they way they are starting out in the world of education.
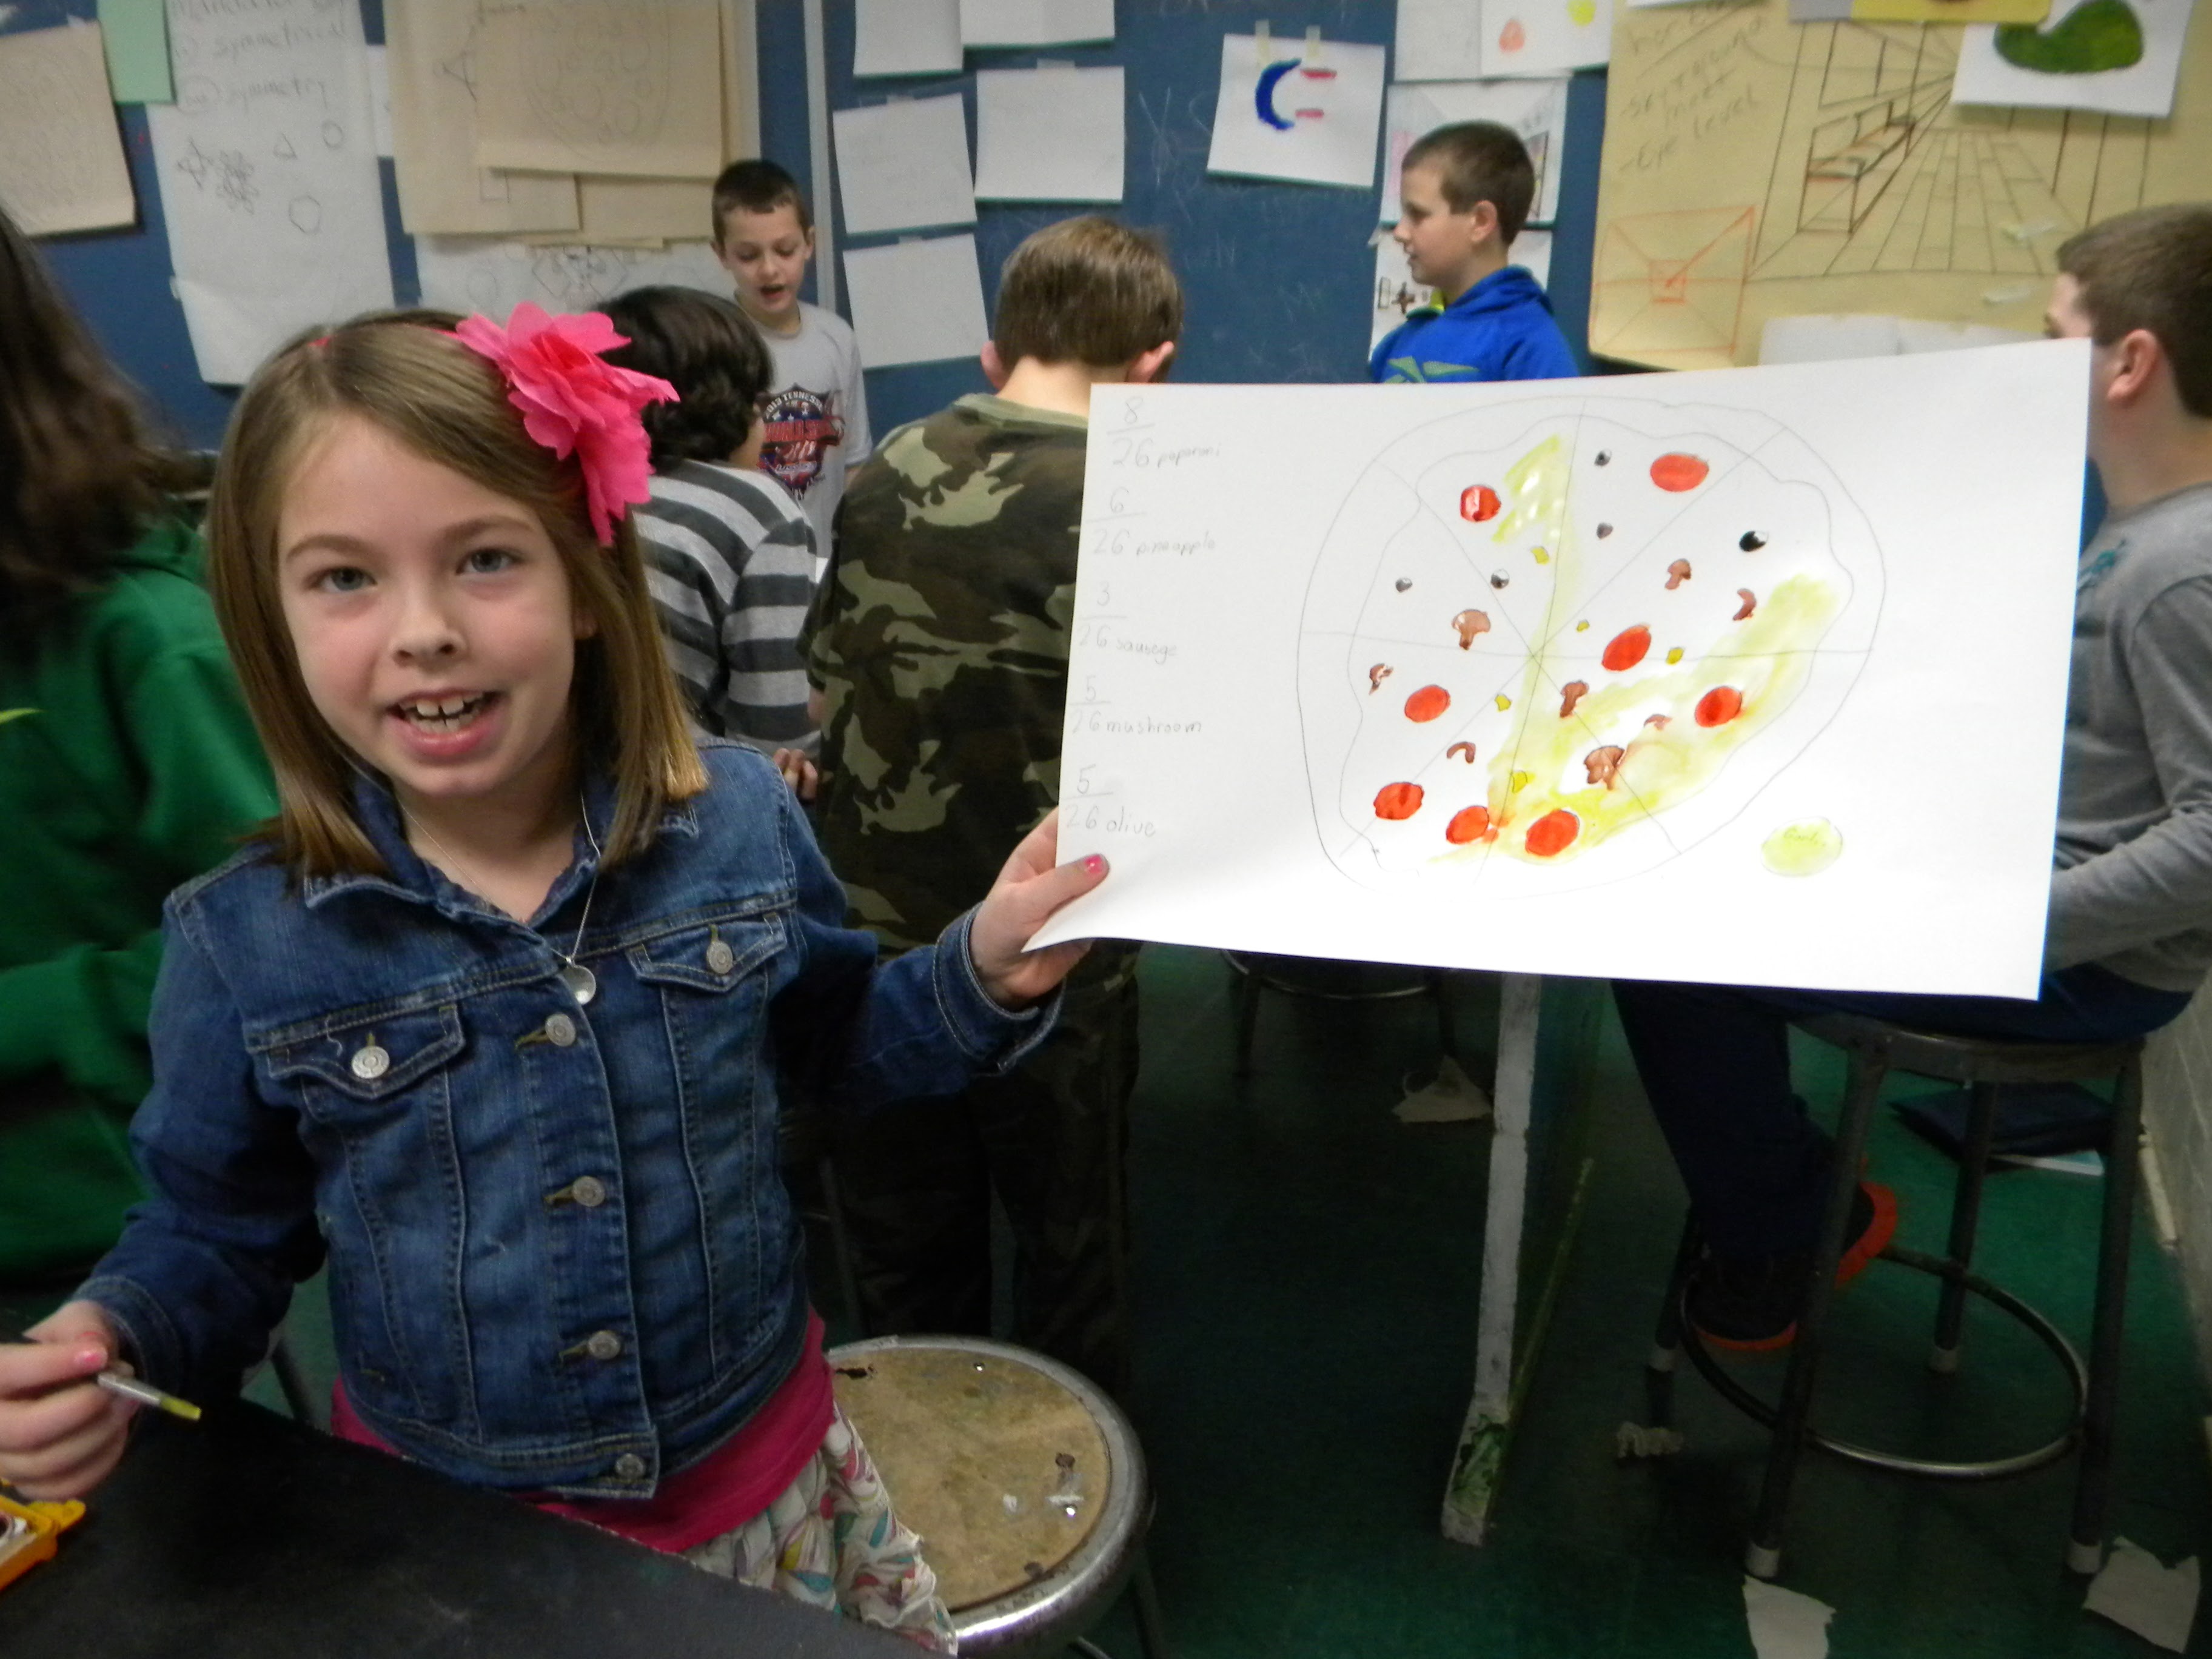
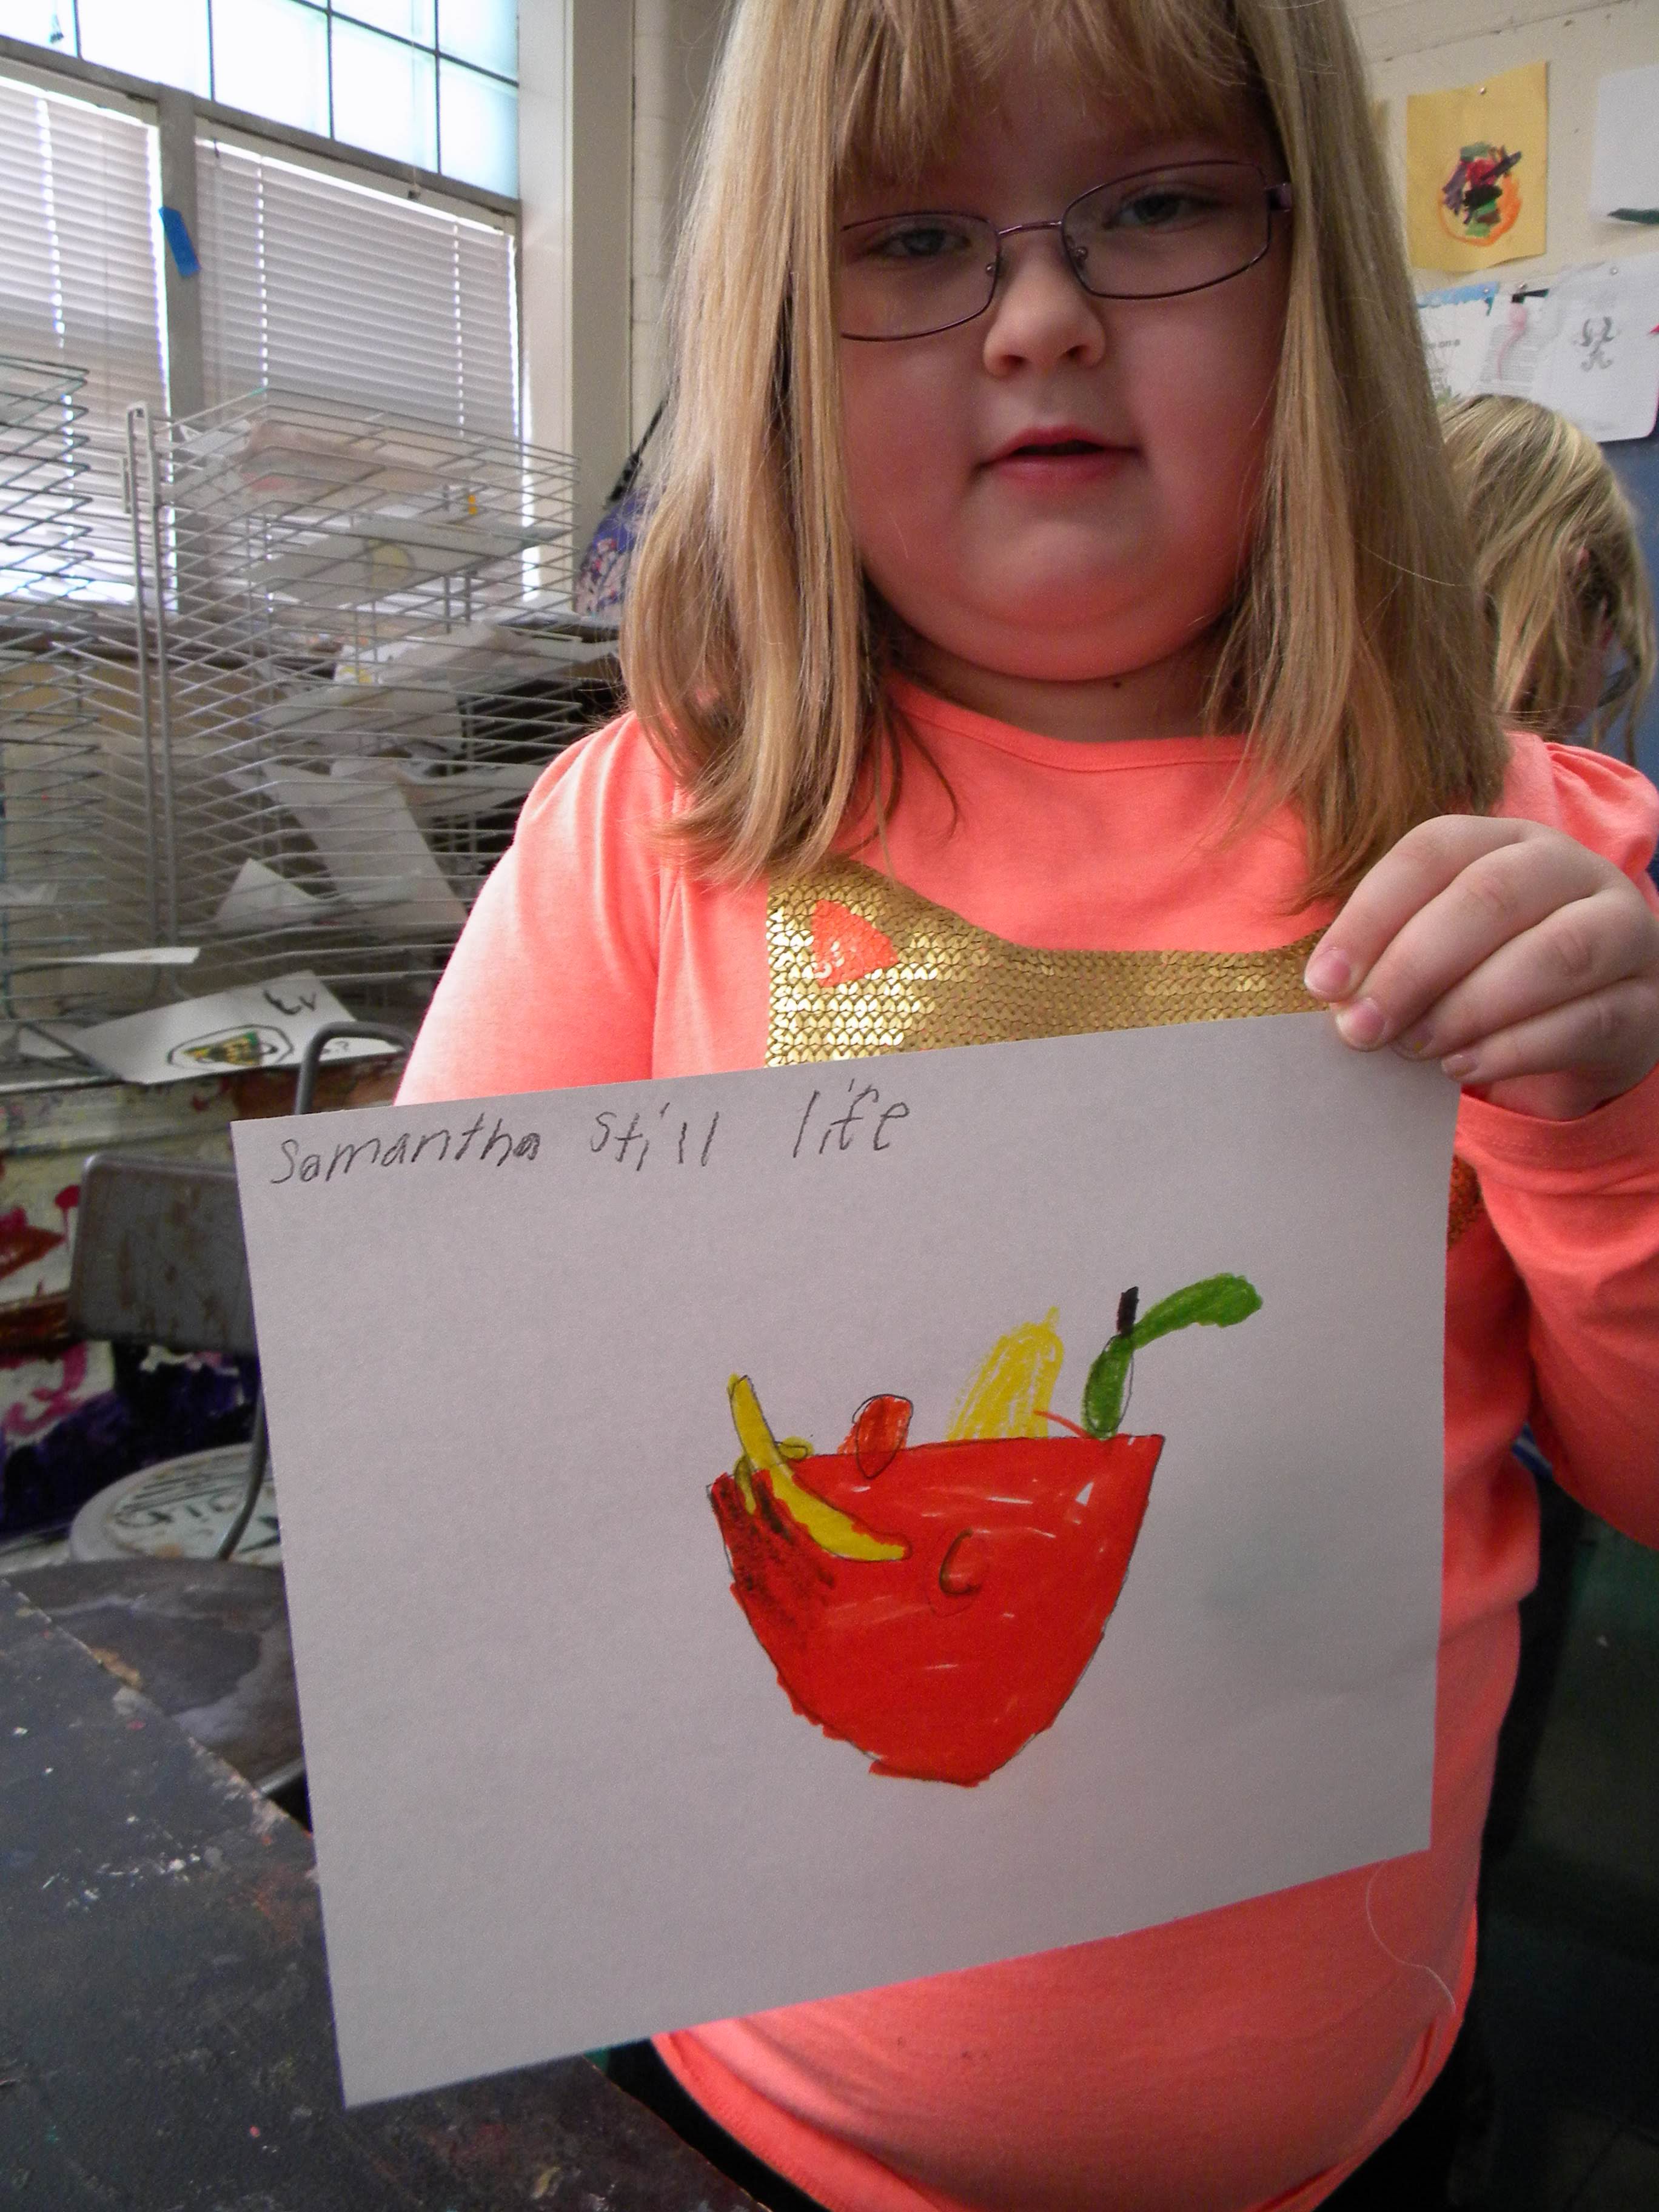
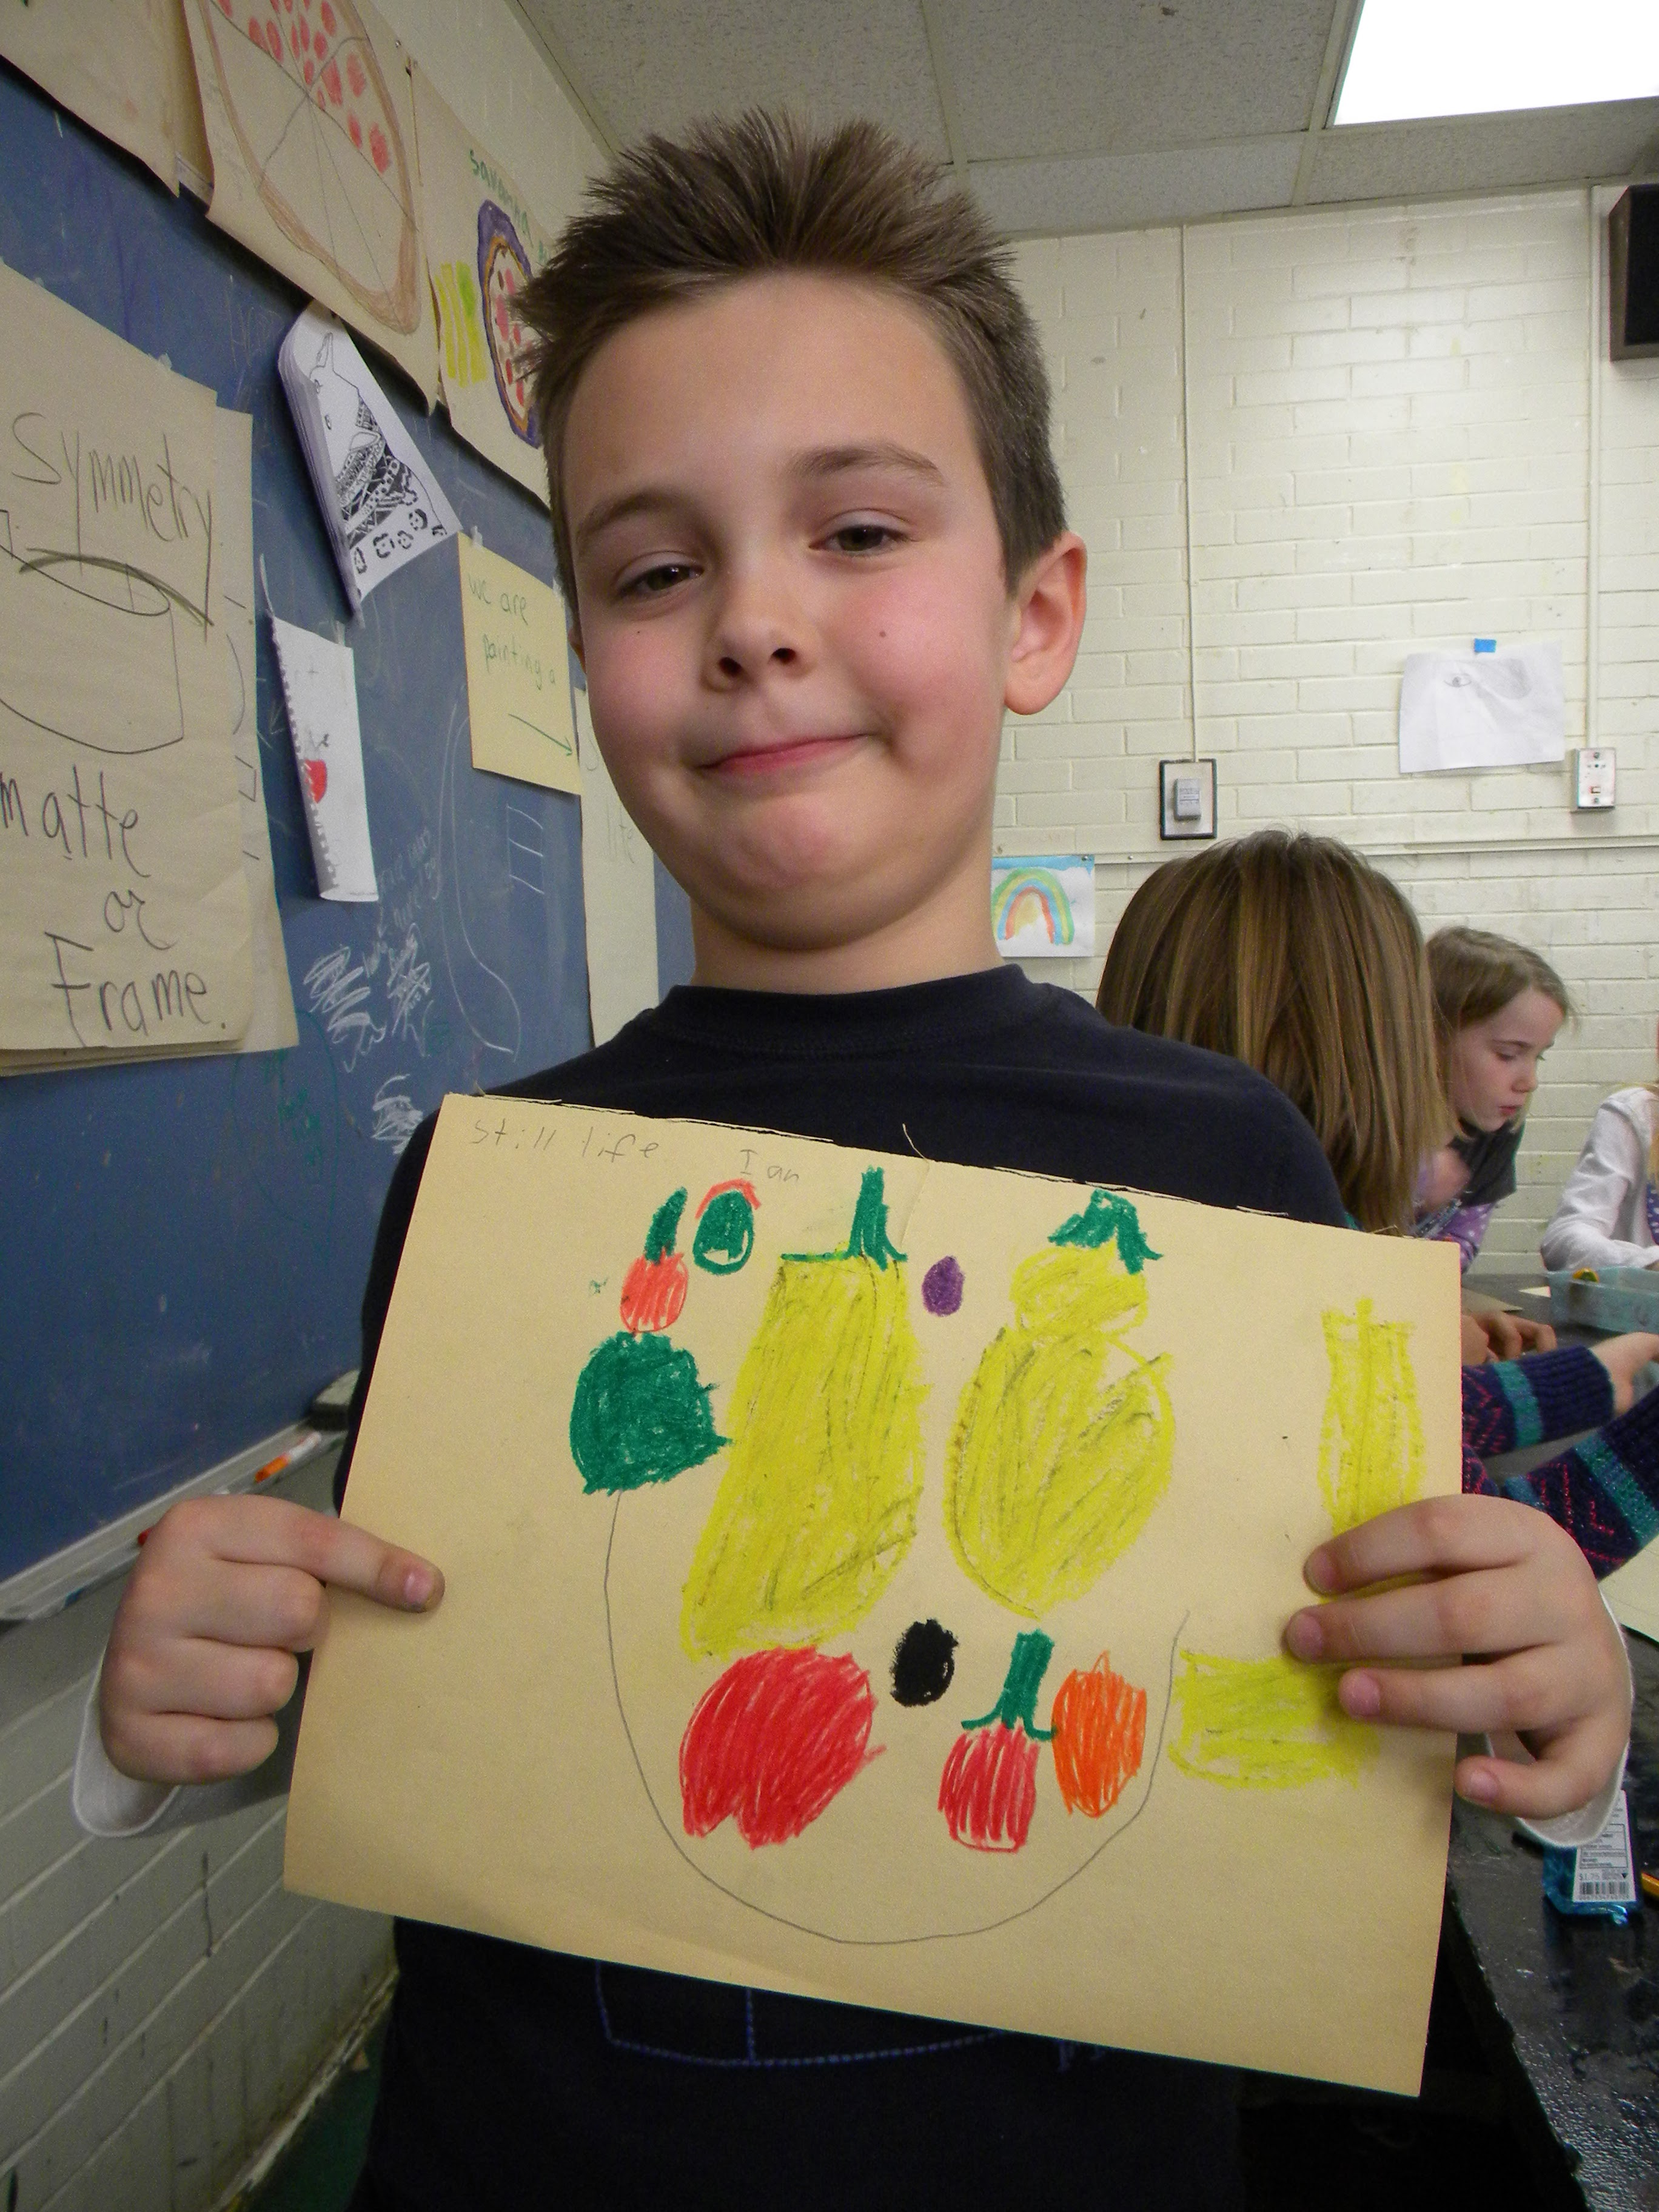
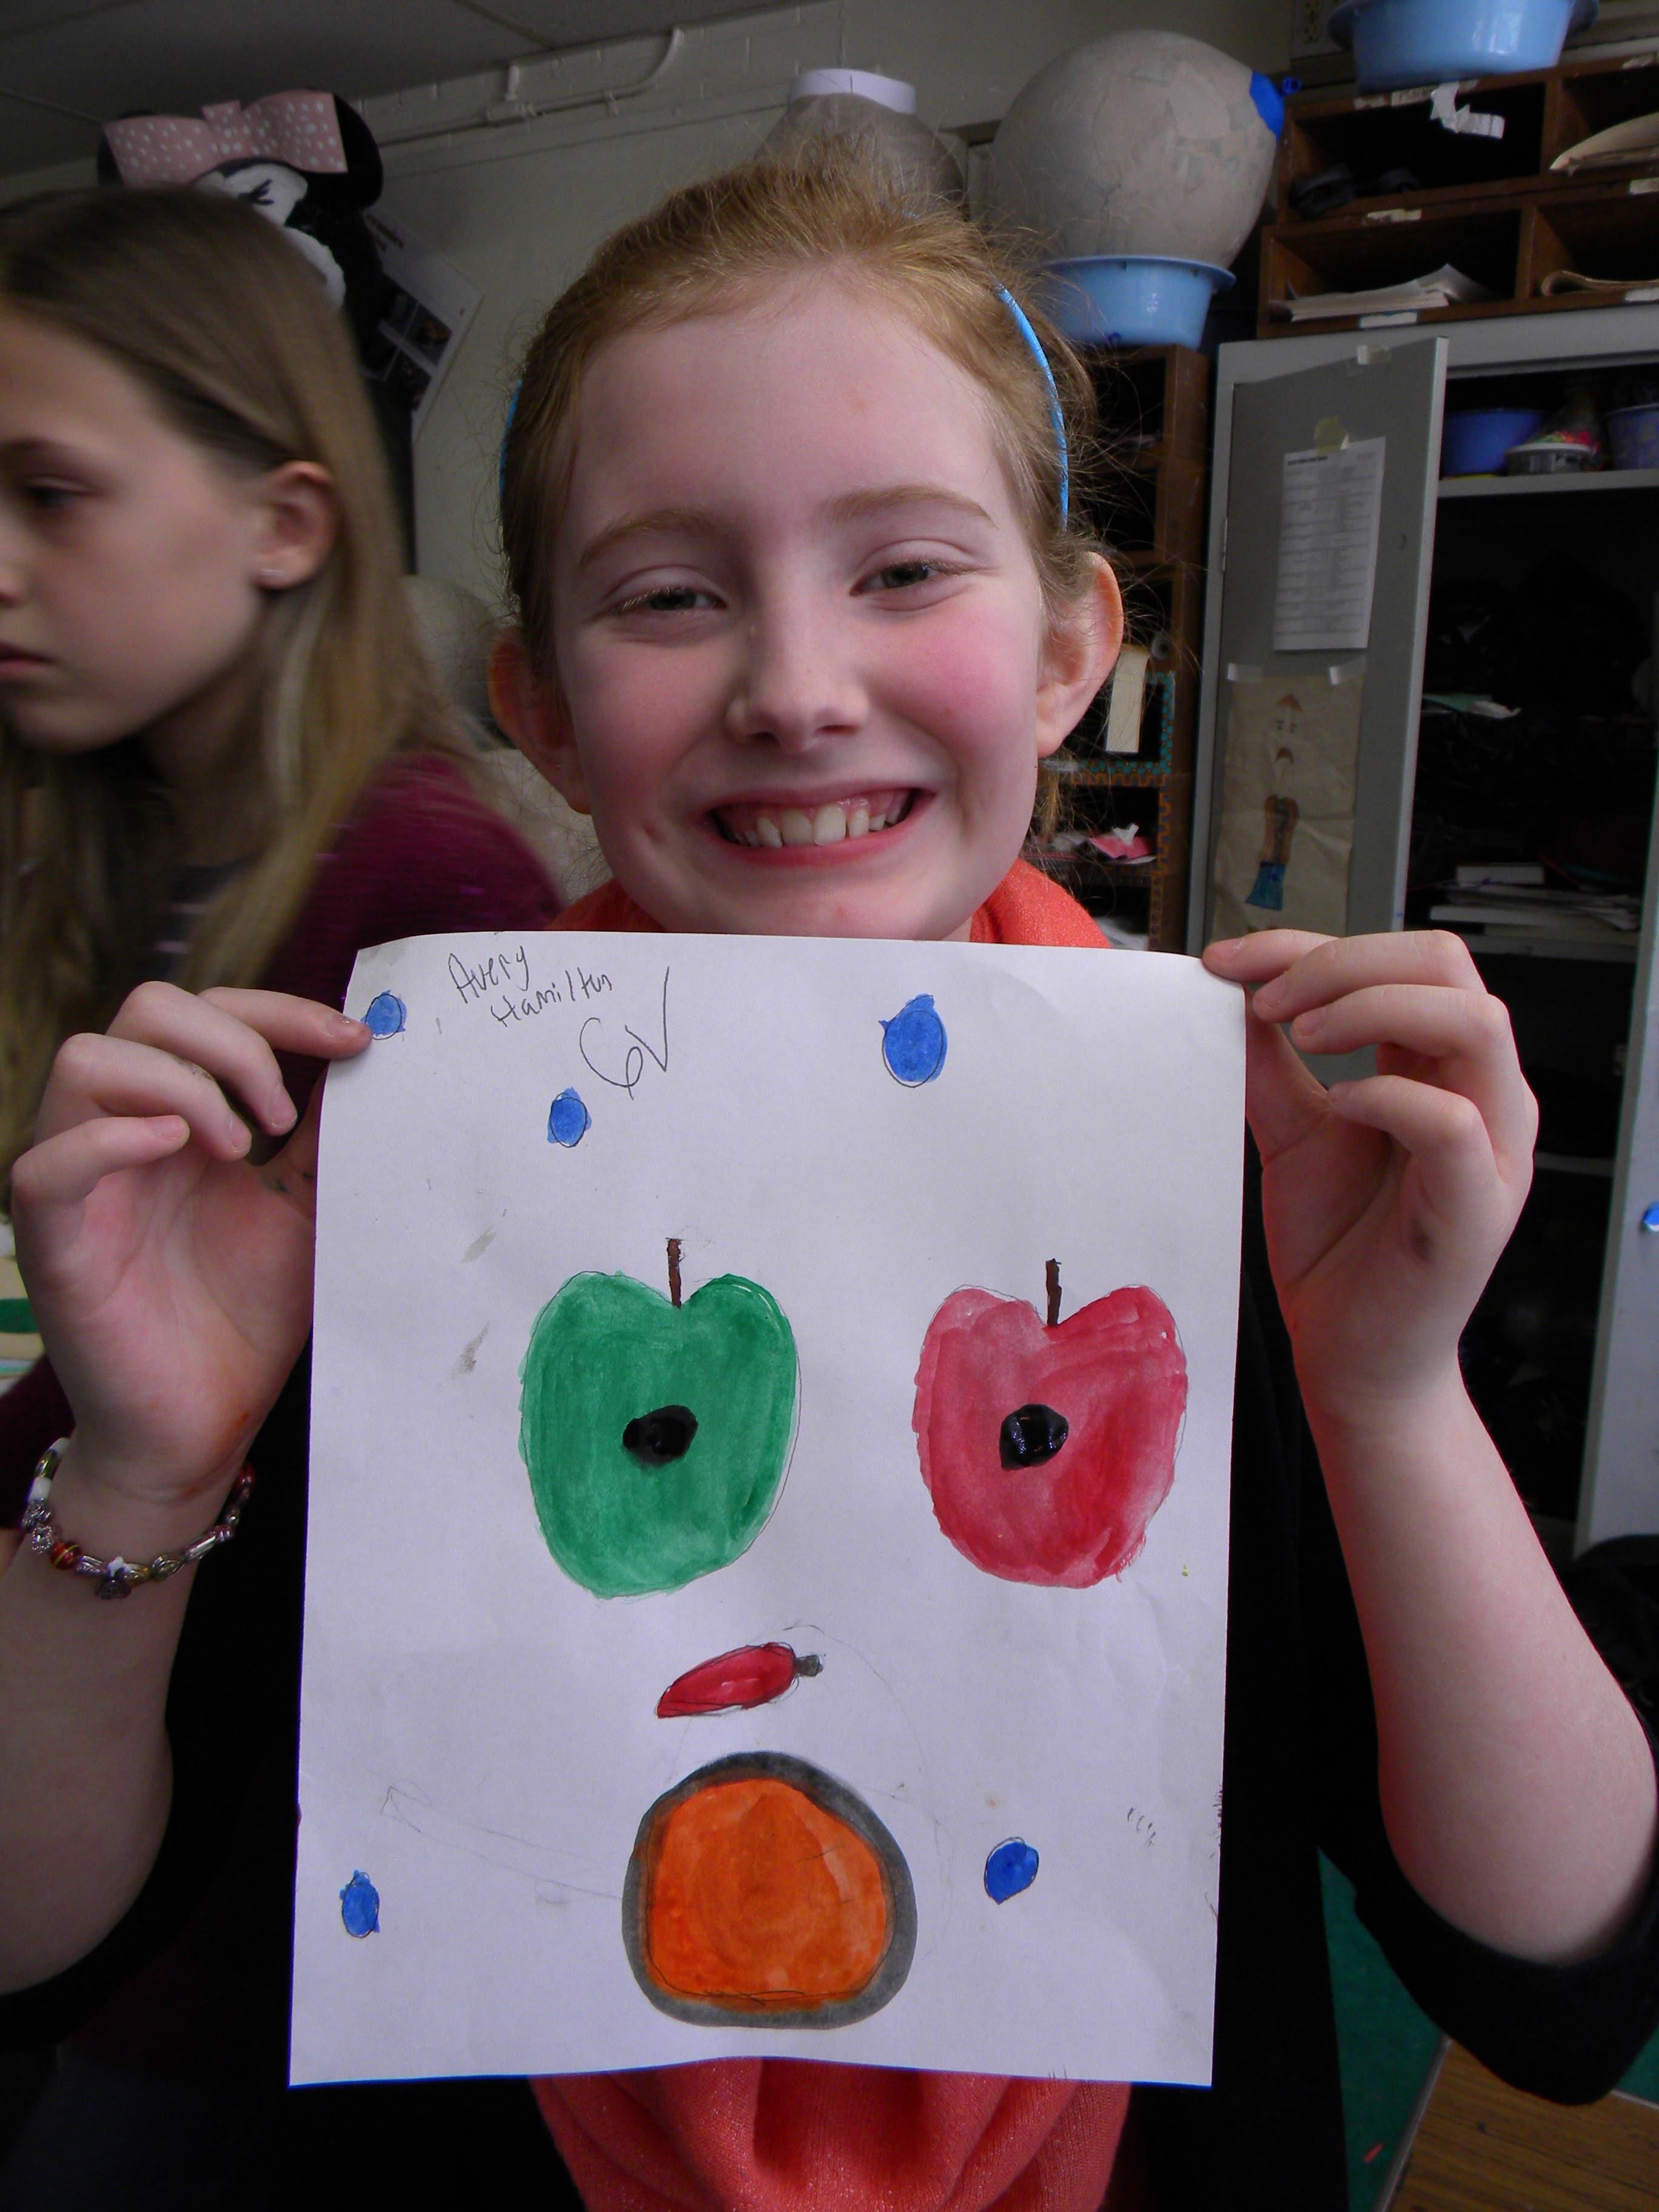
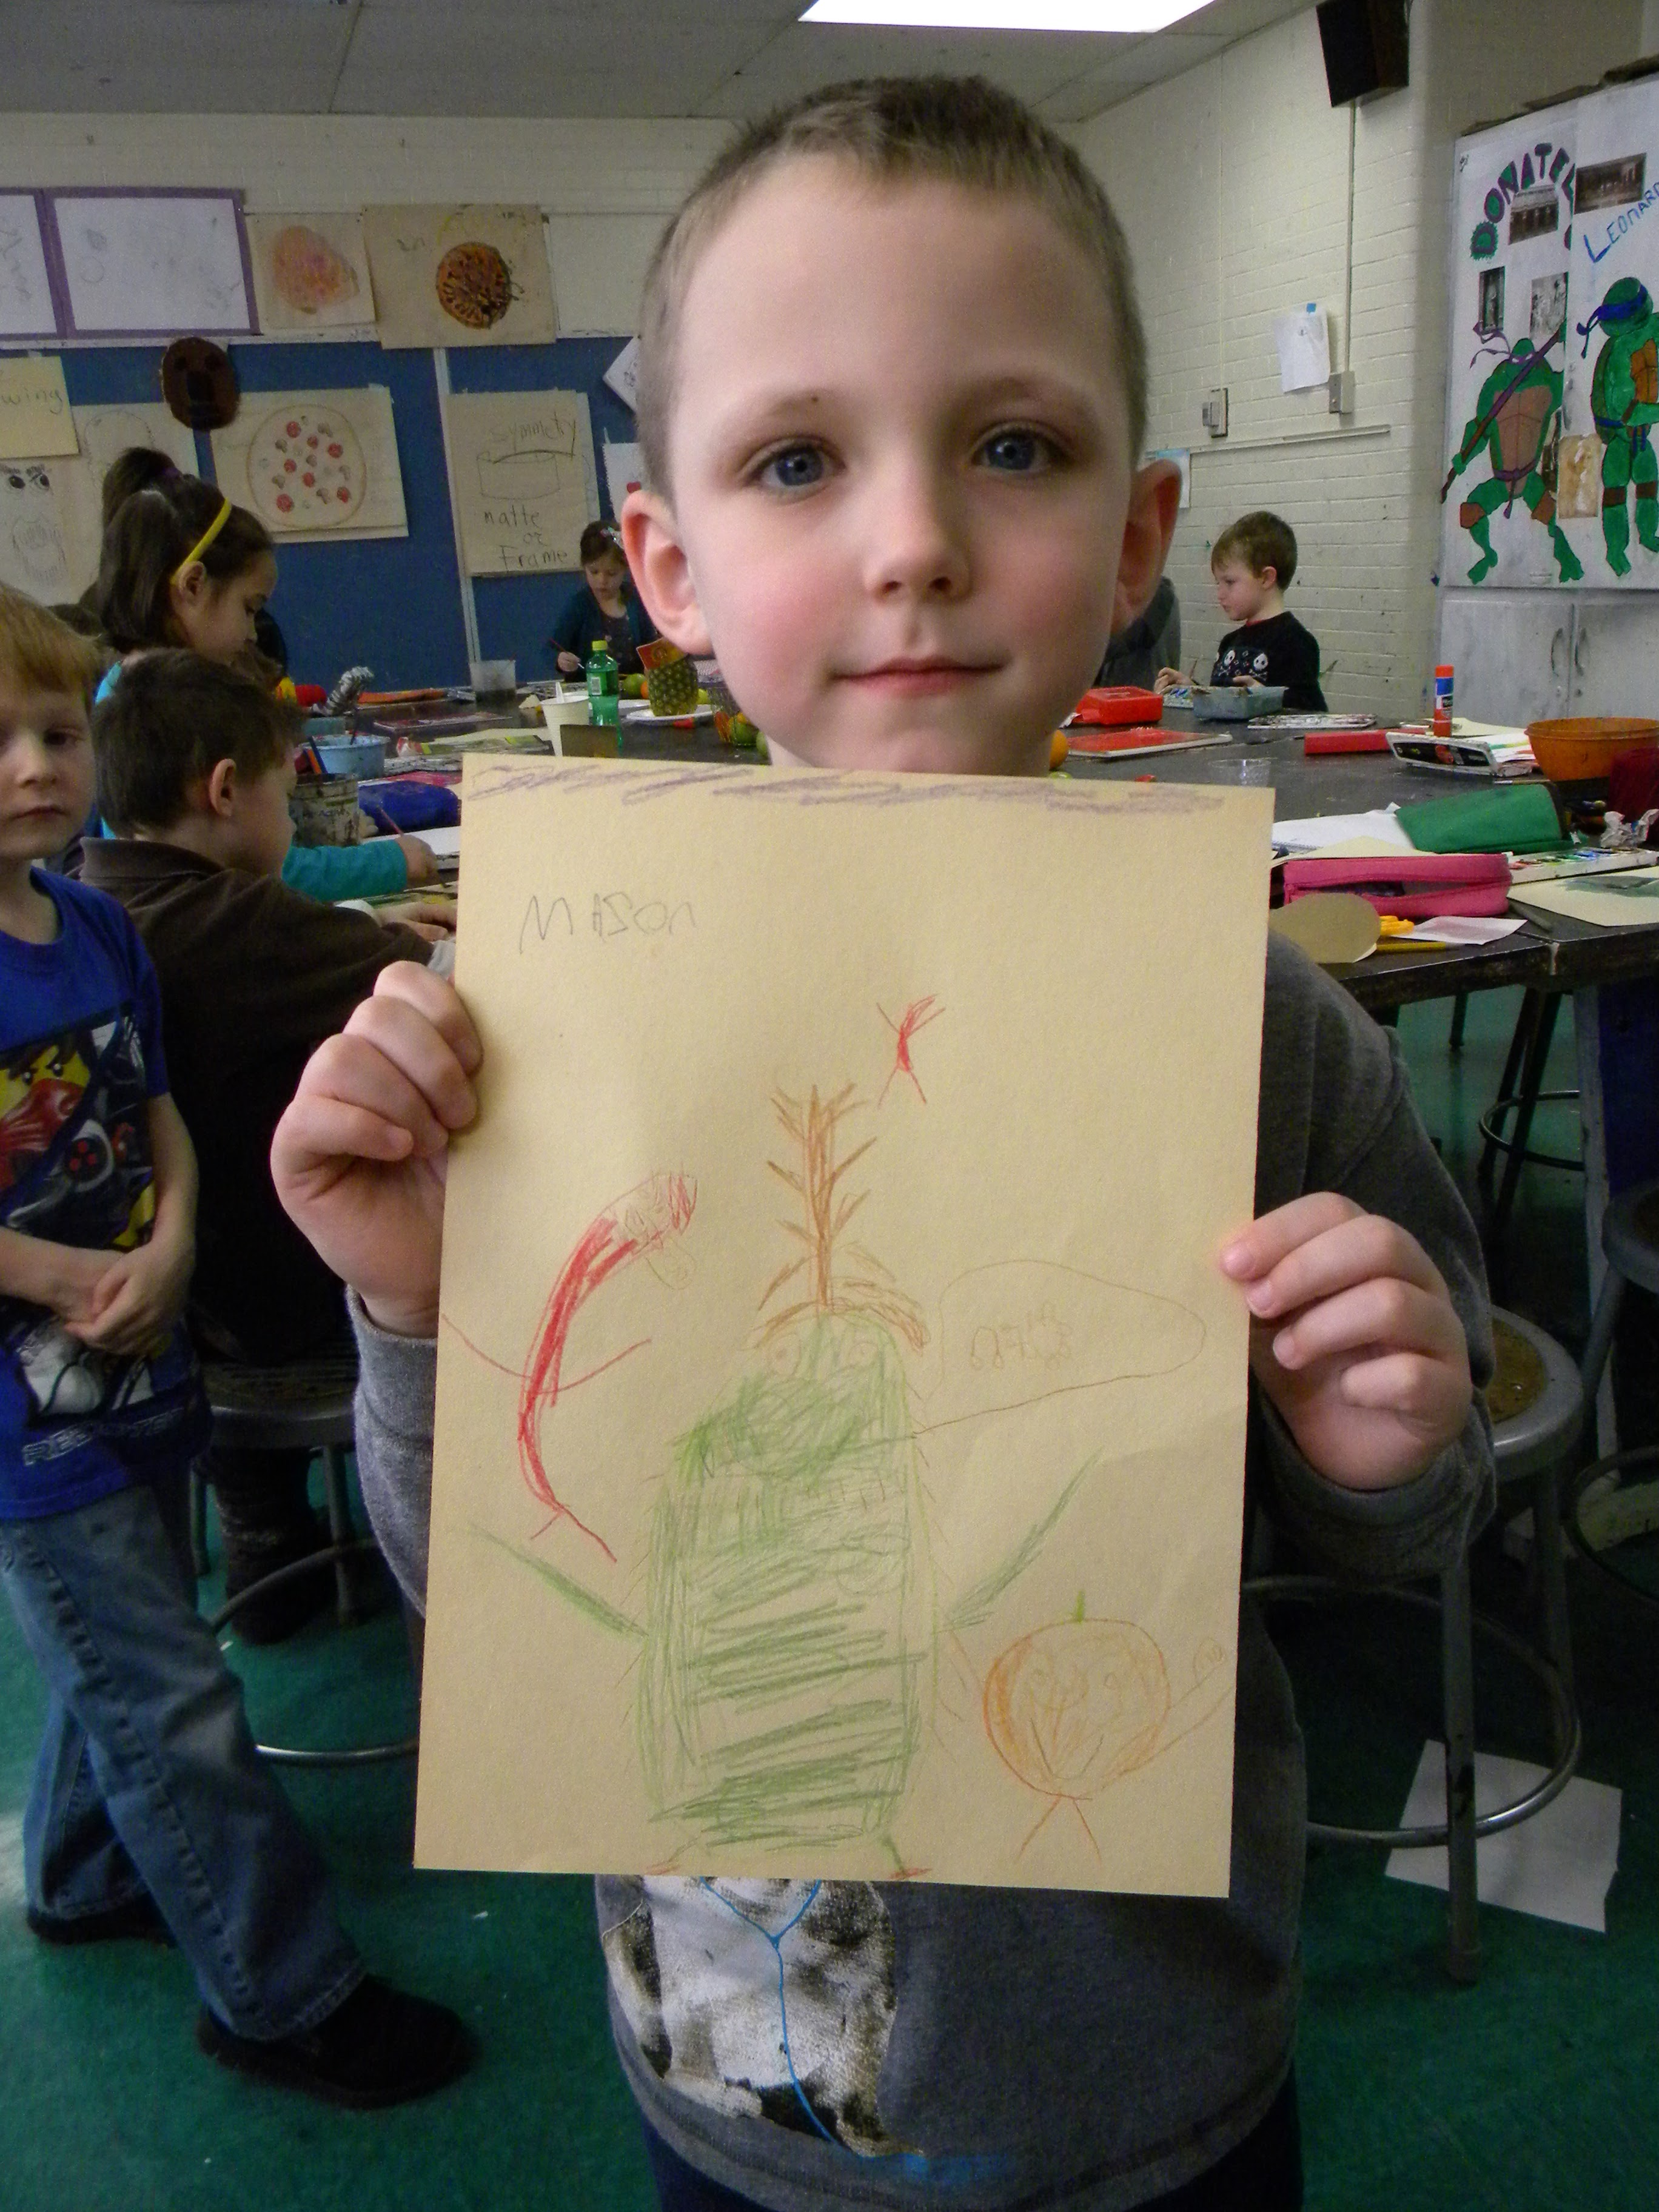
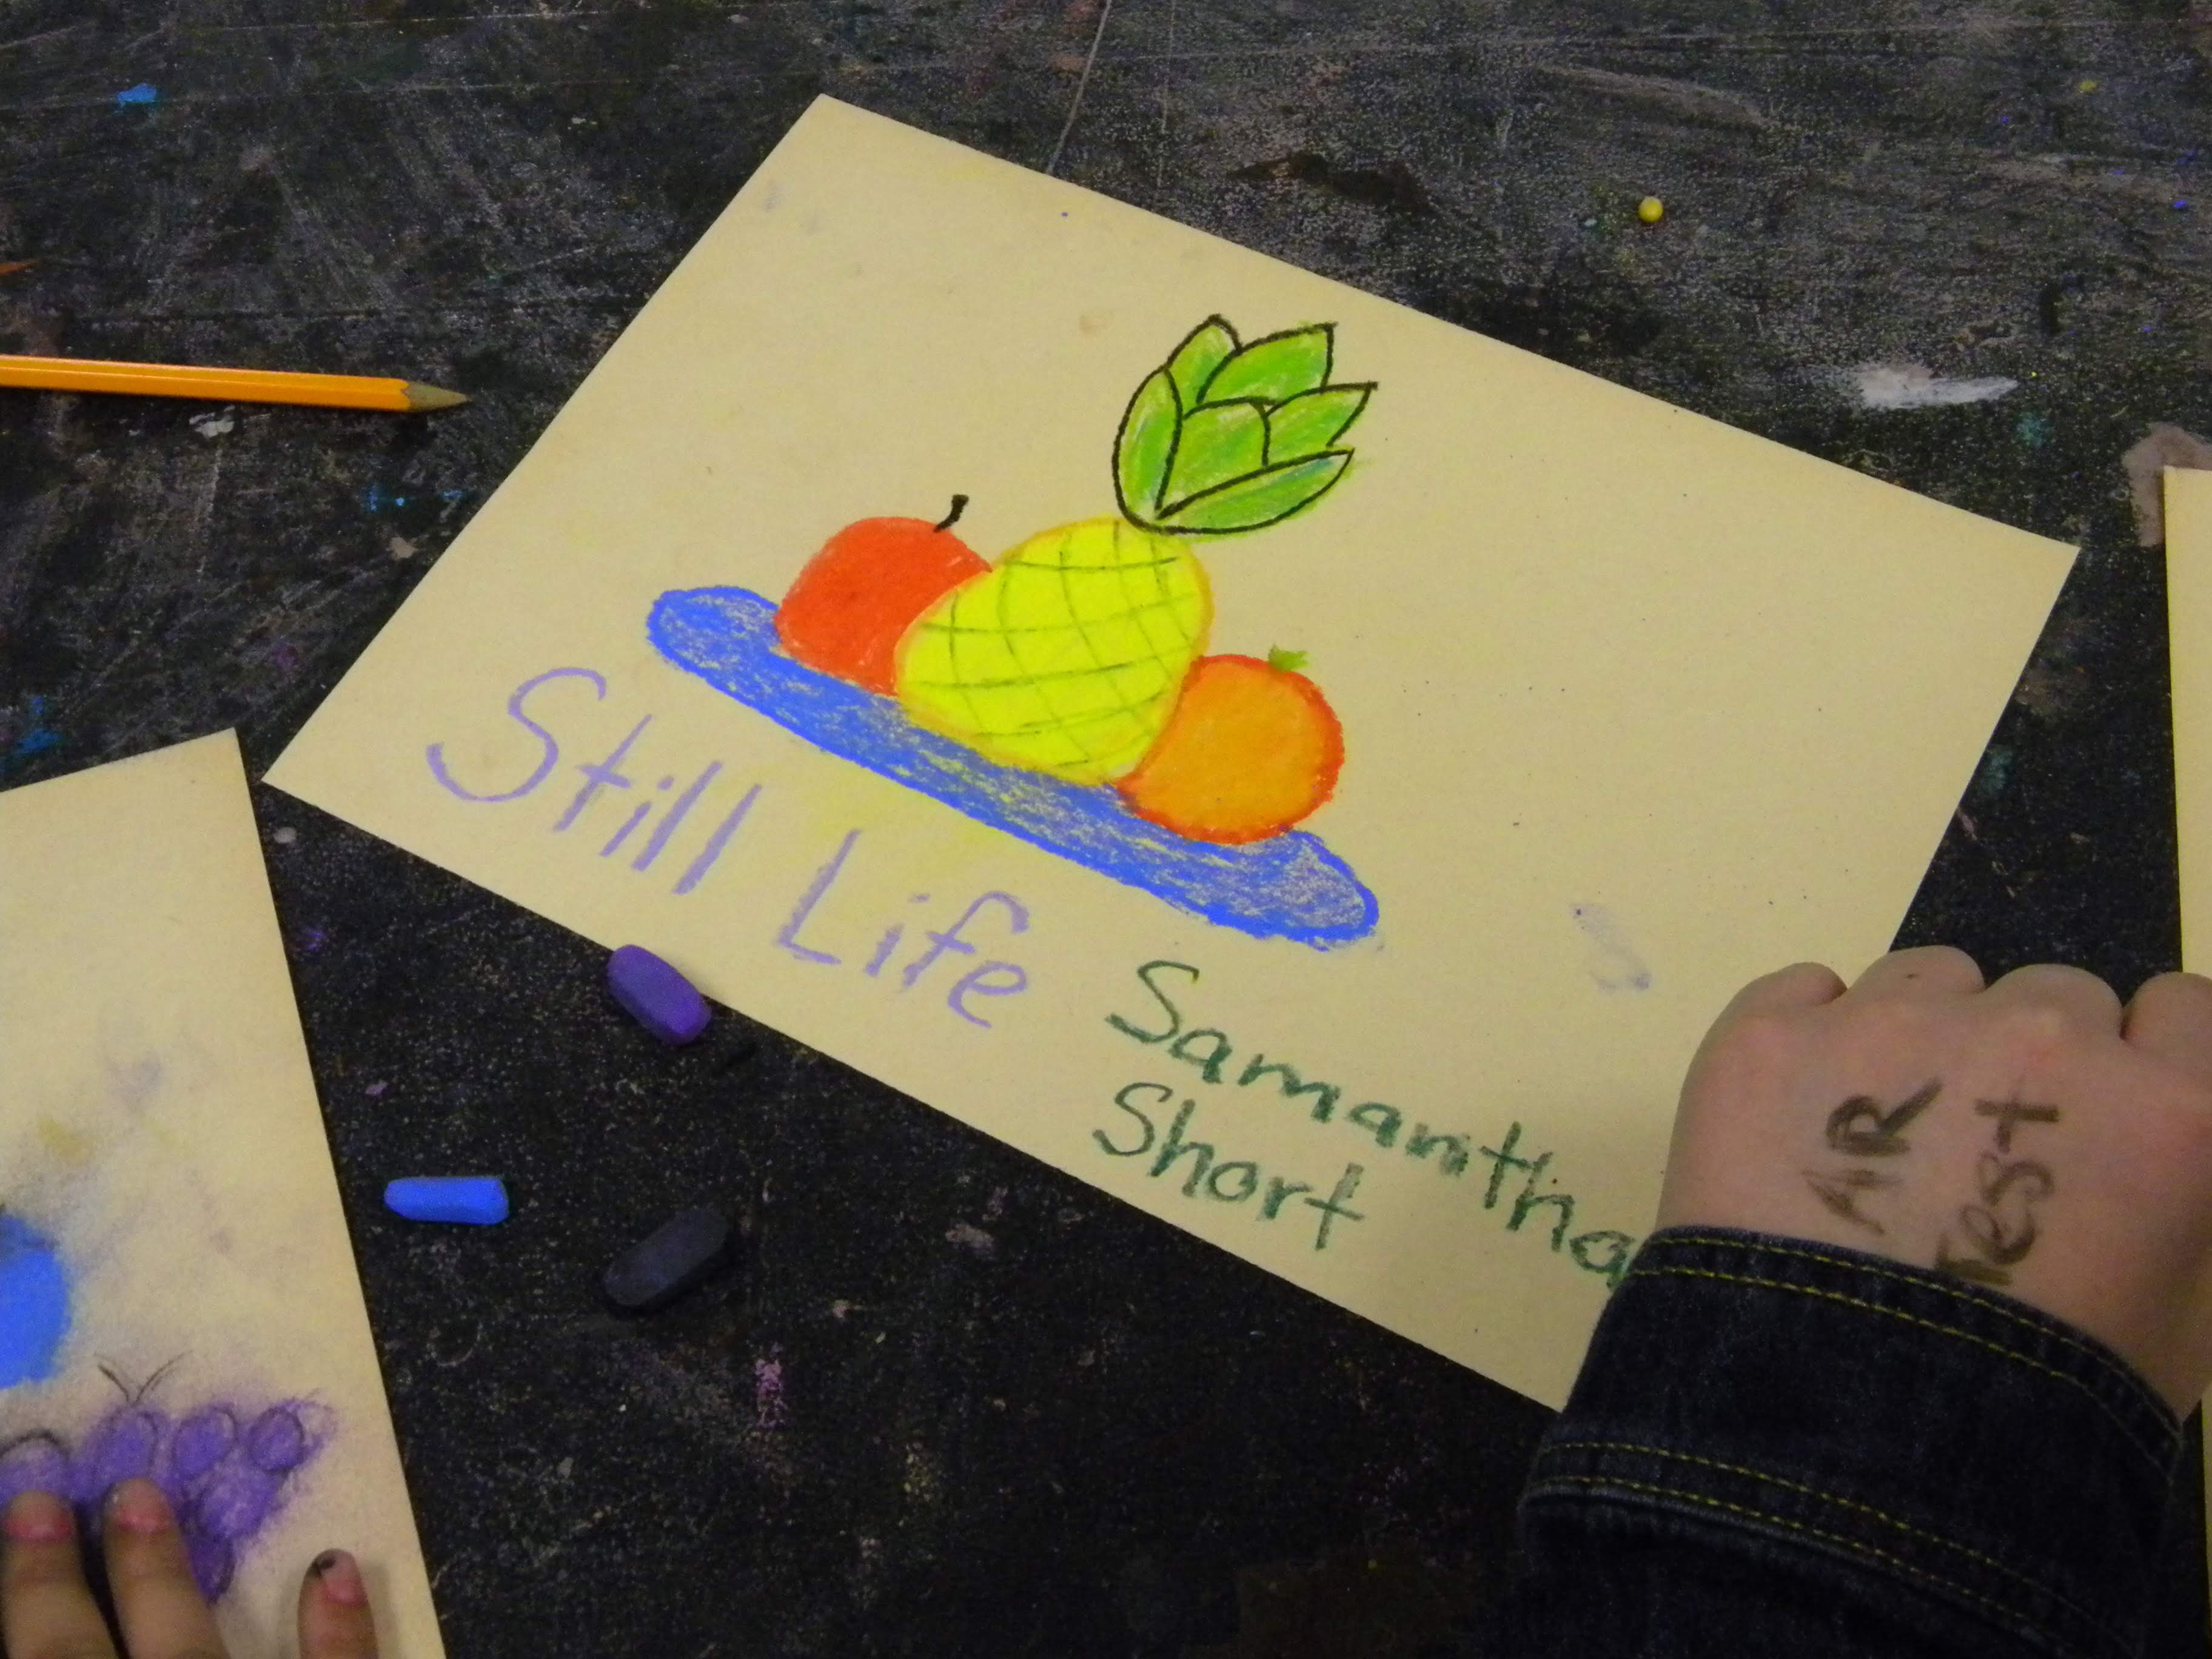
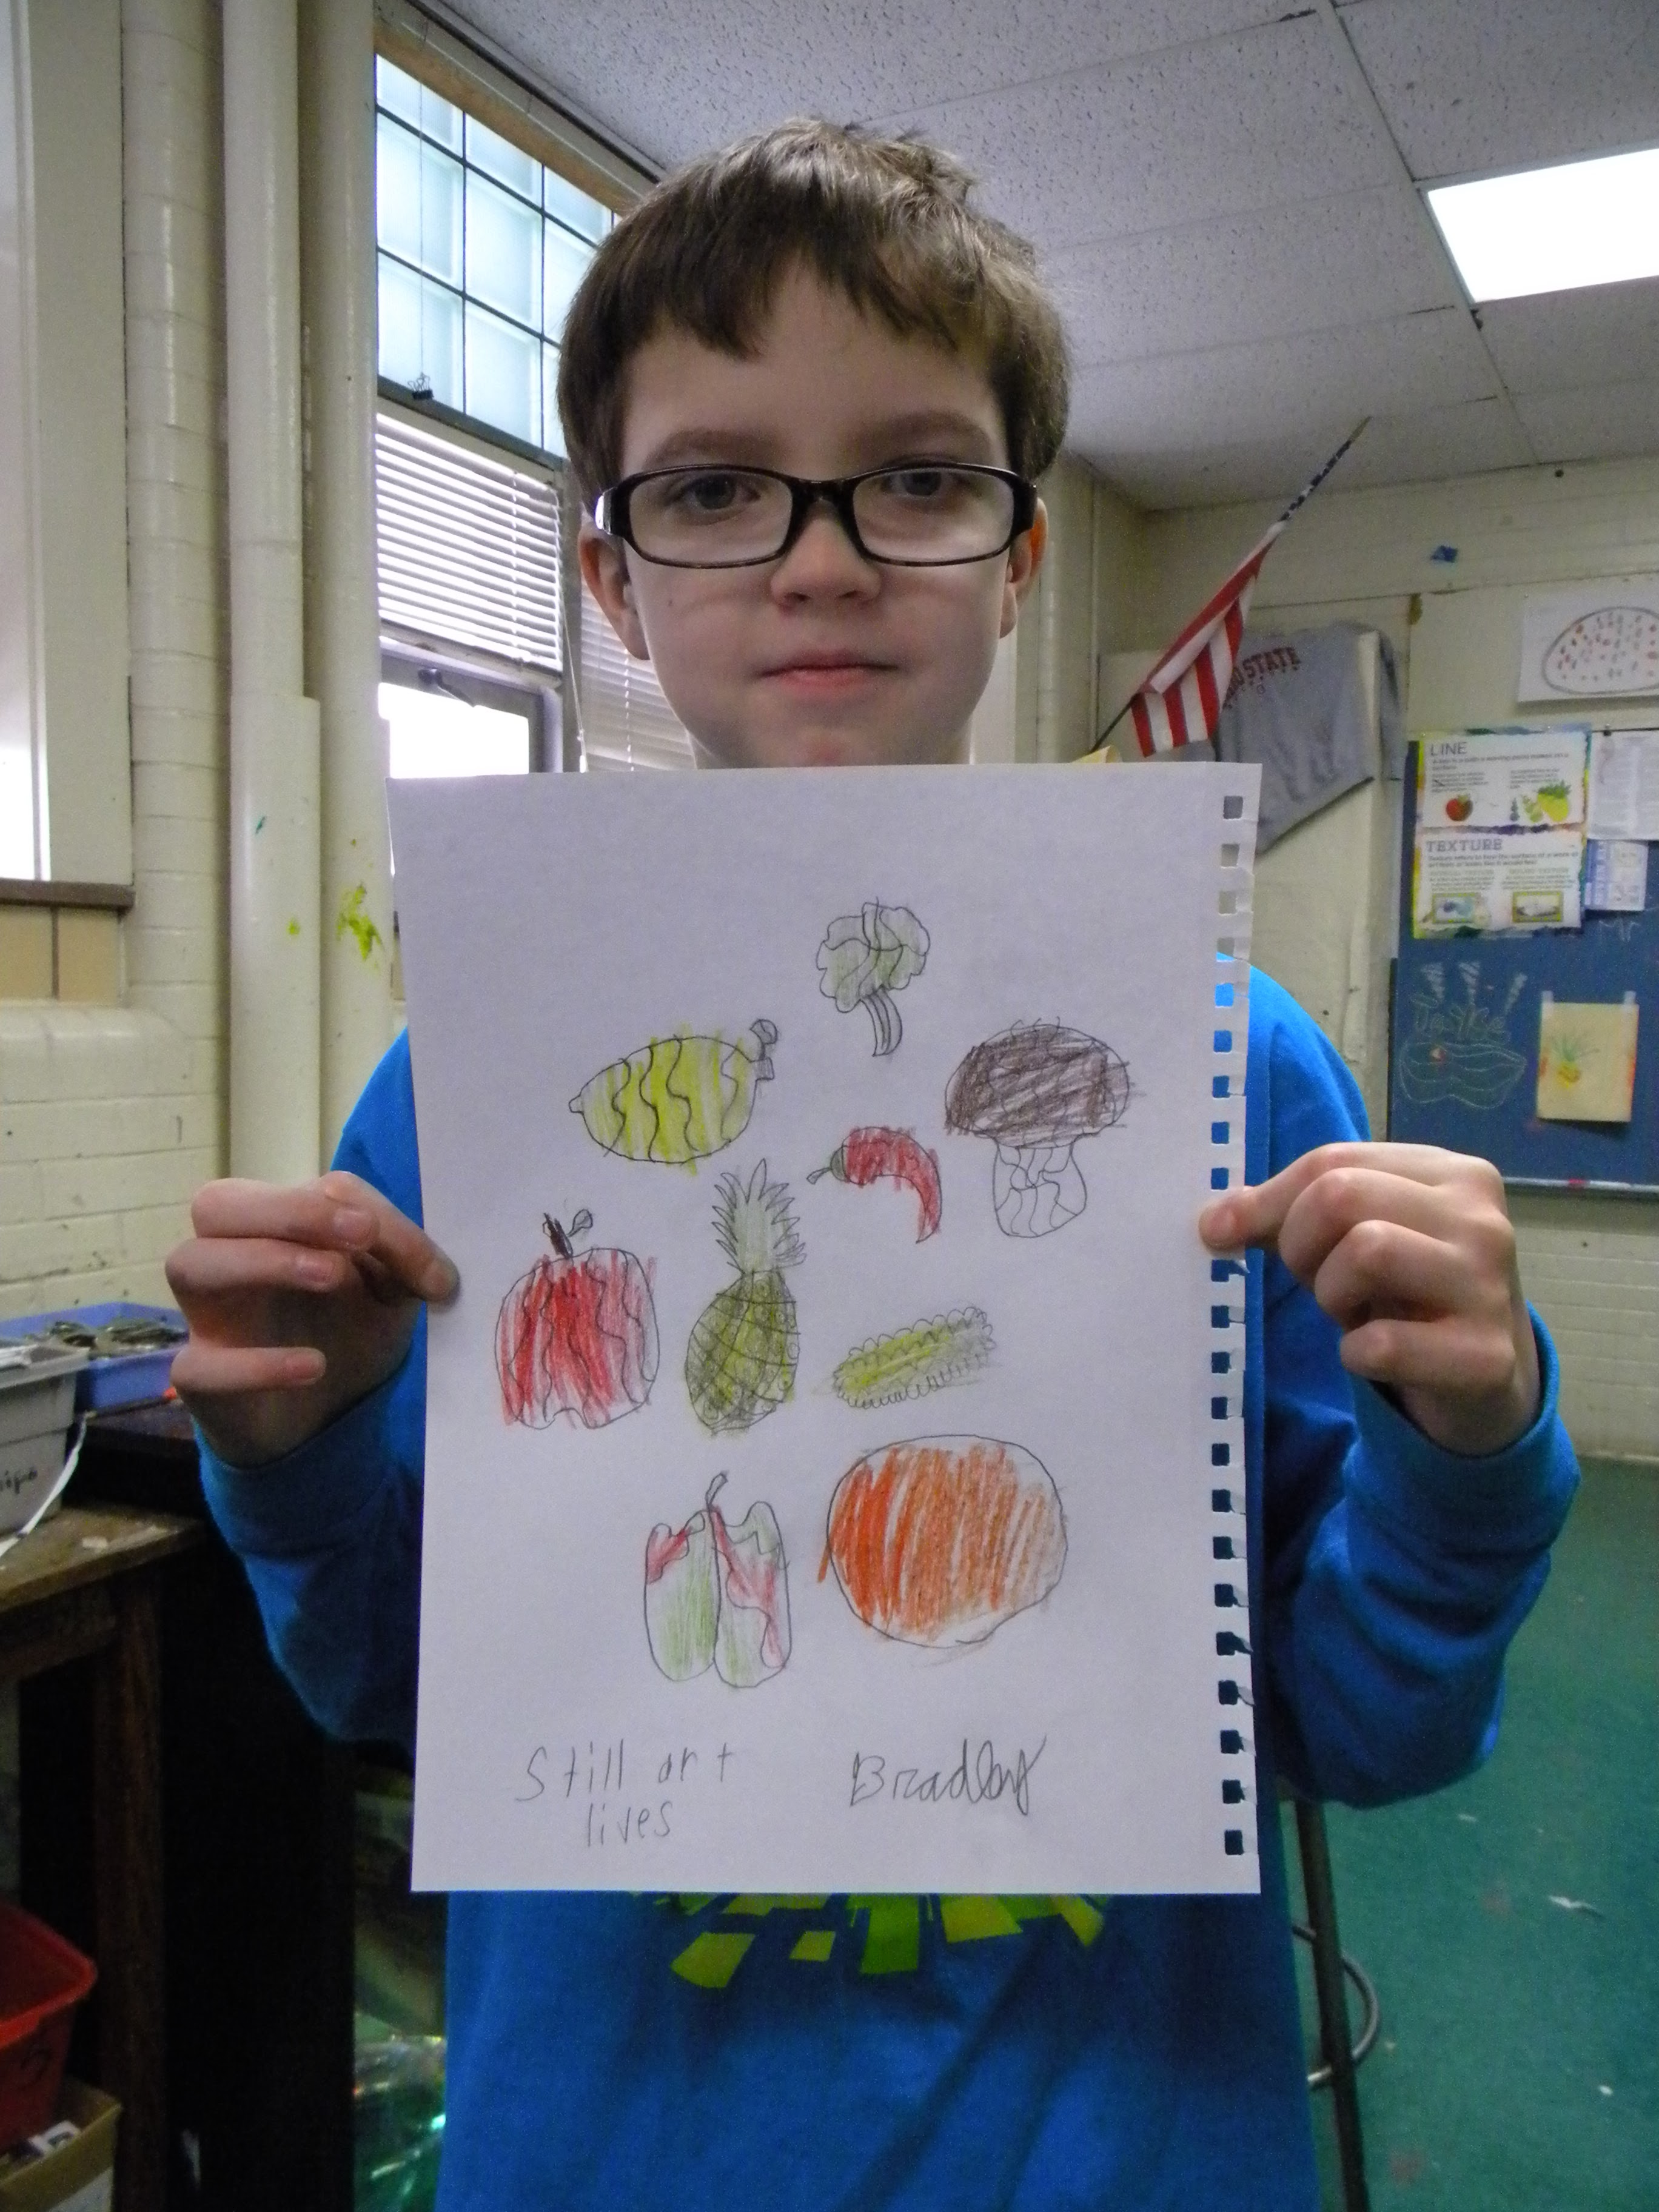
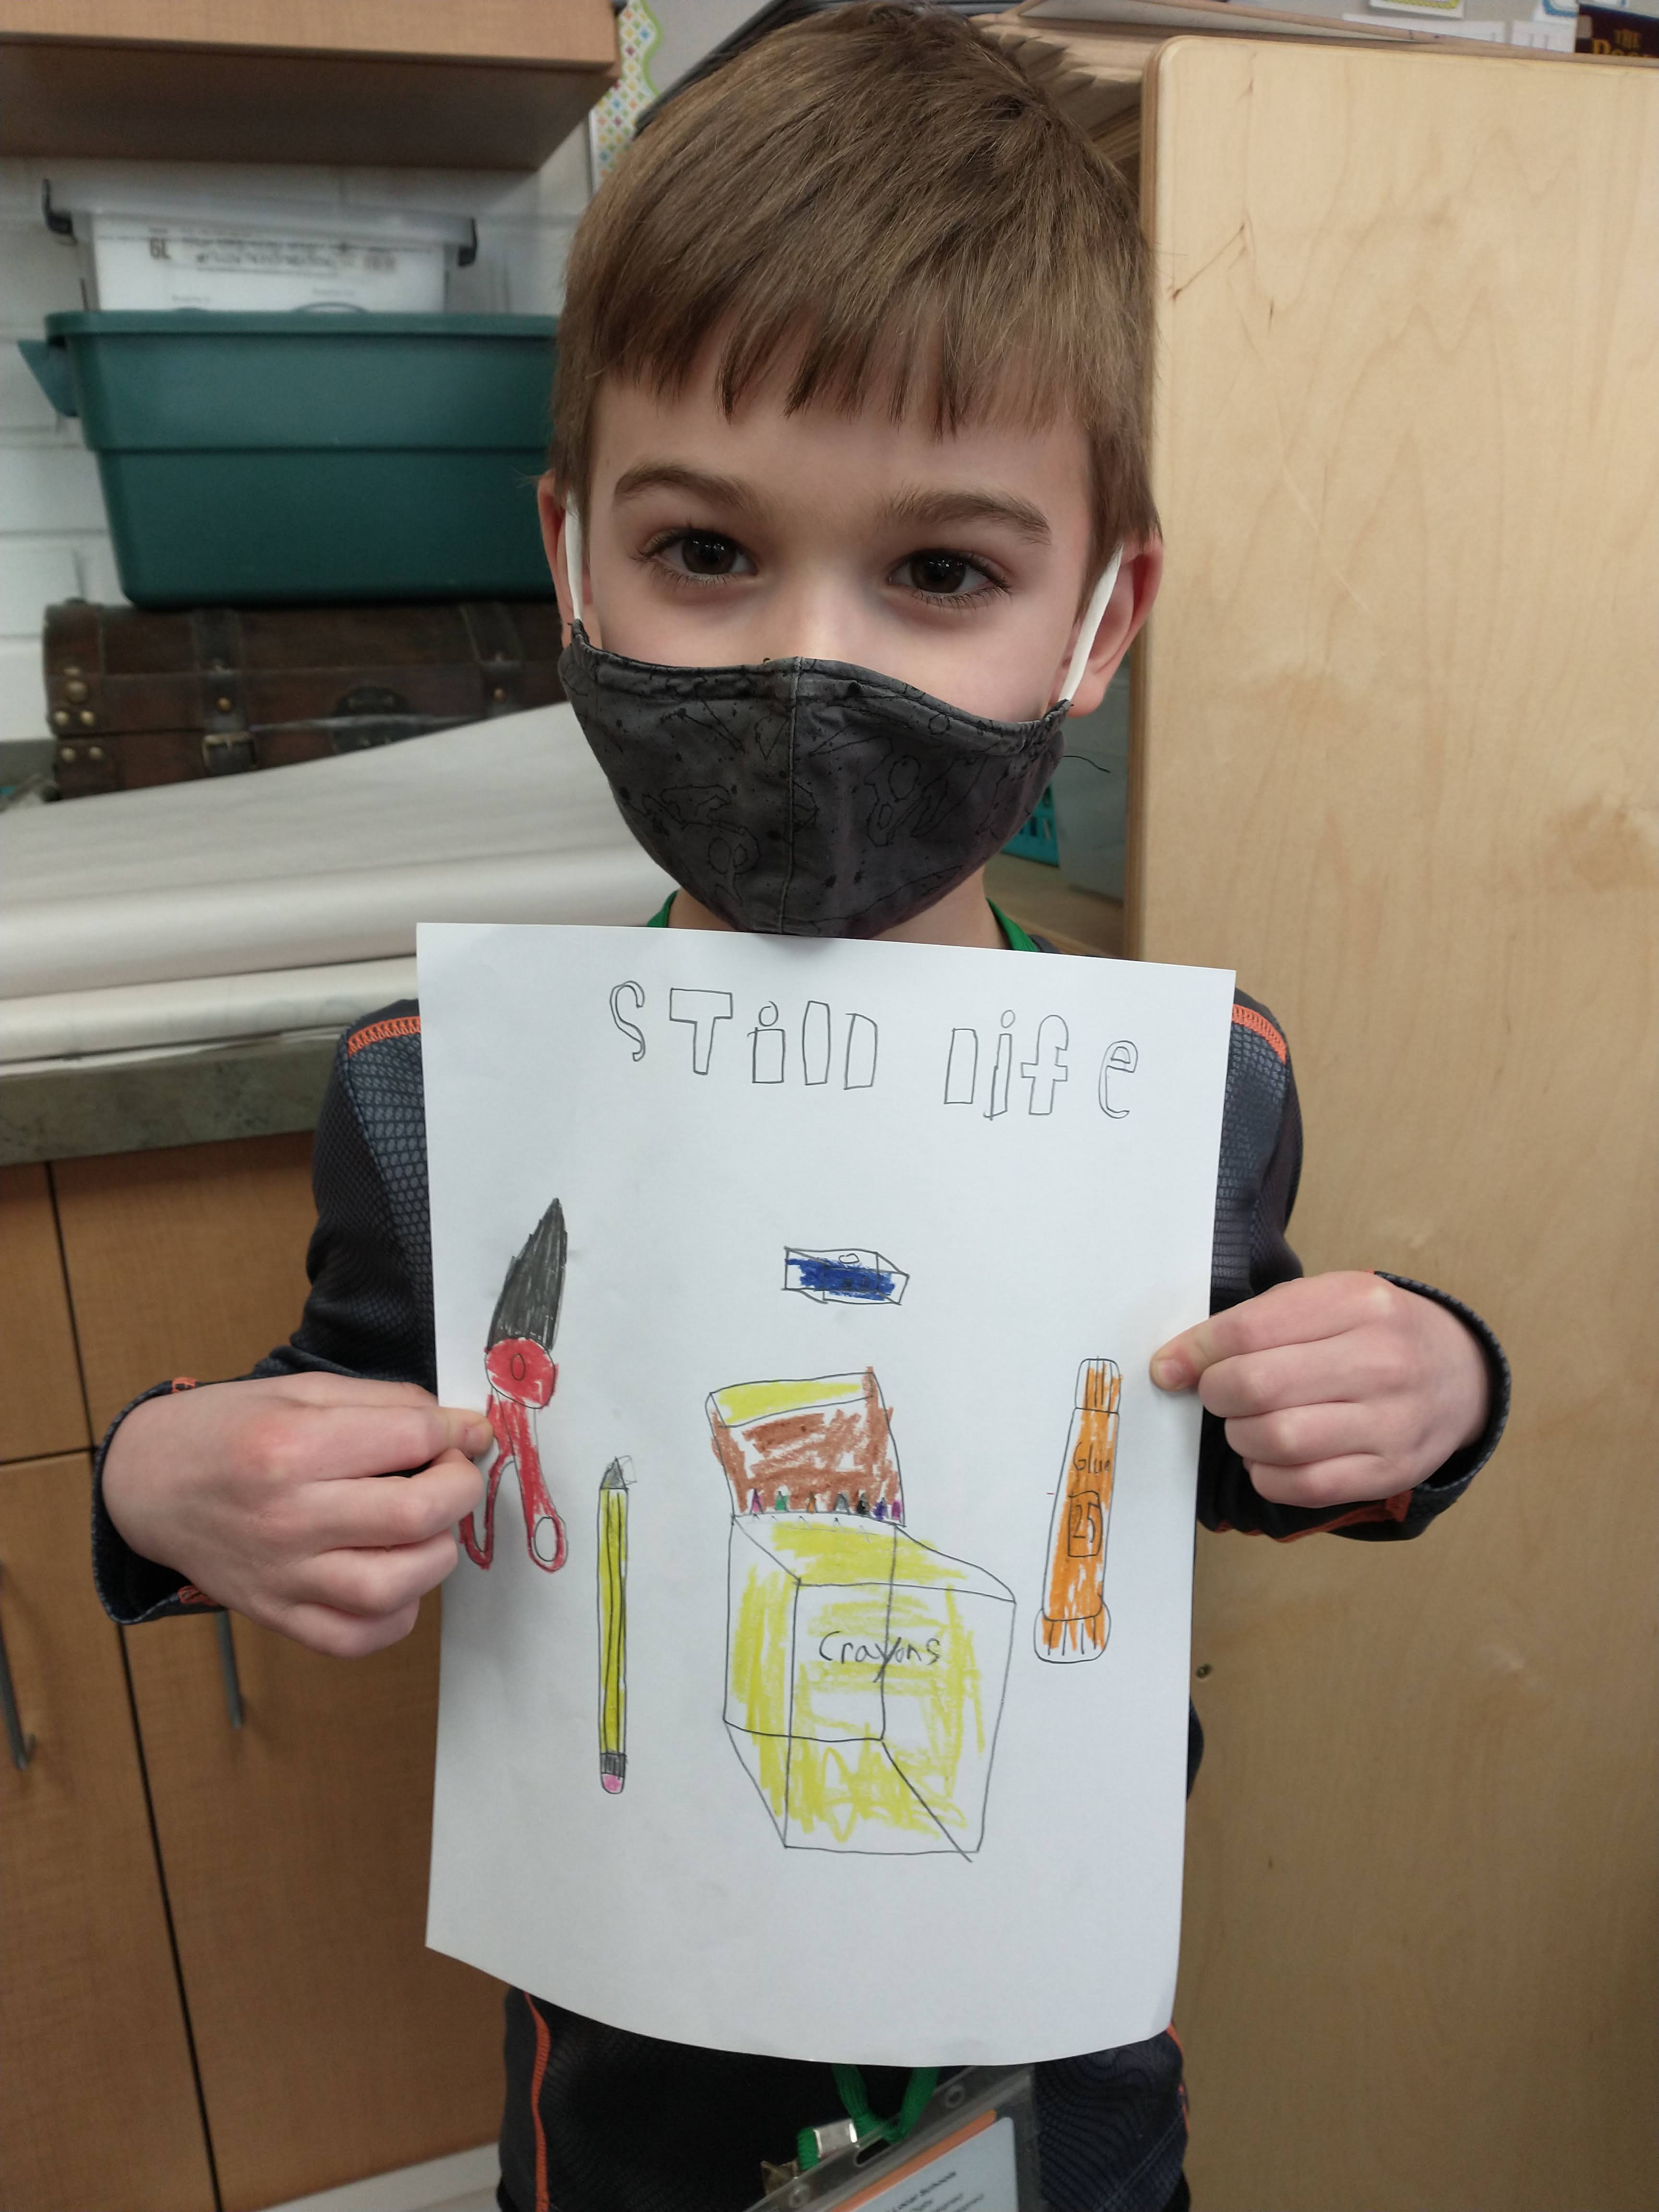
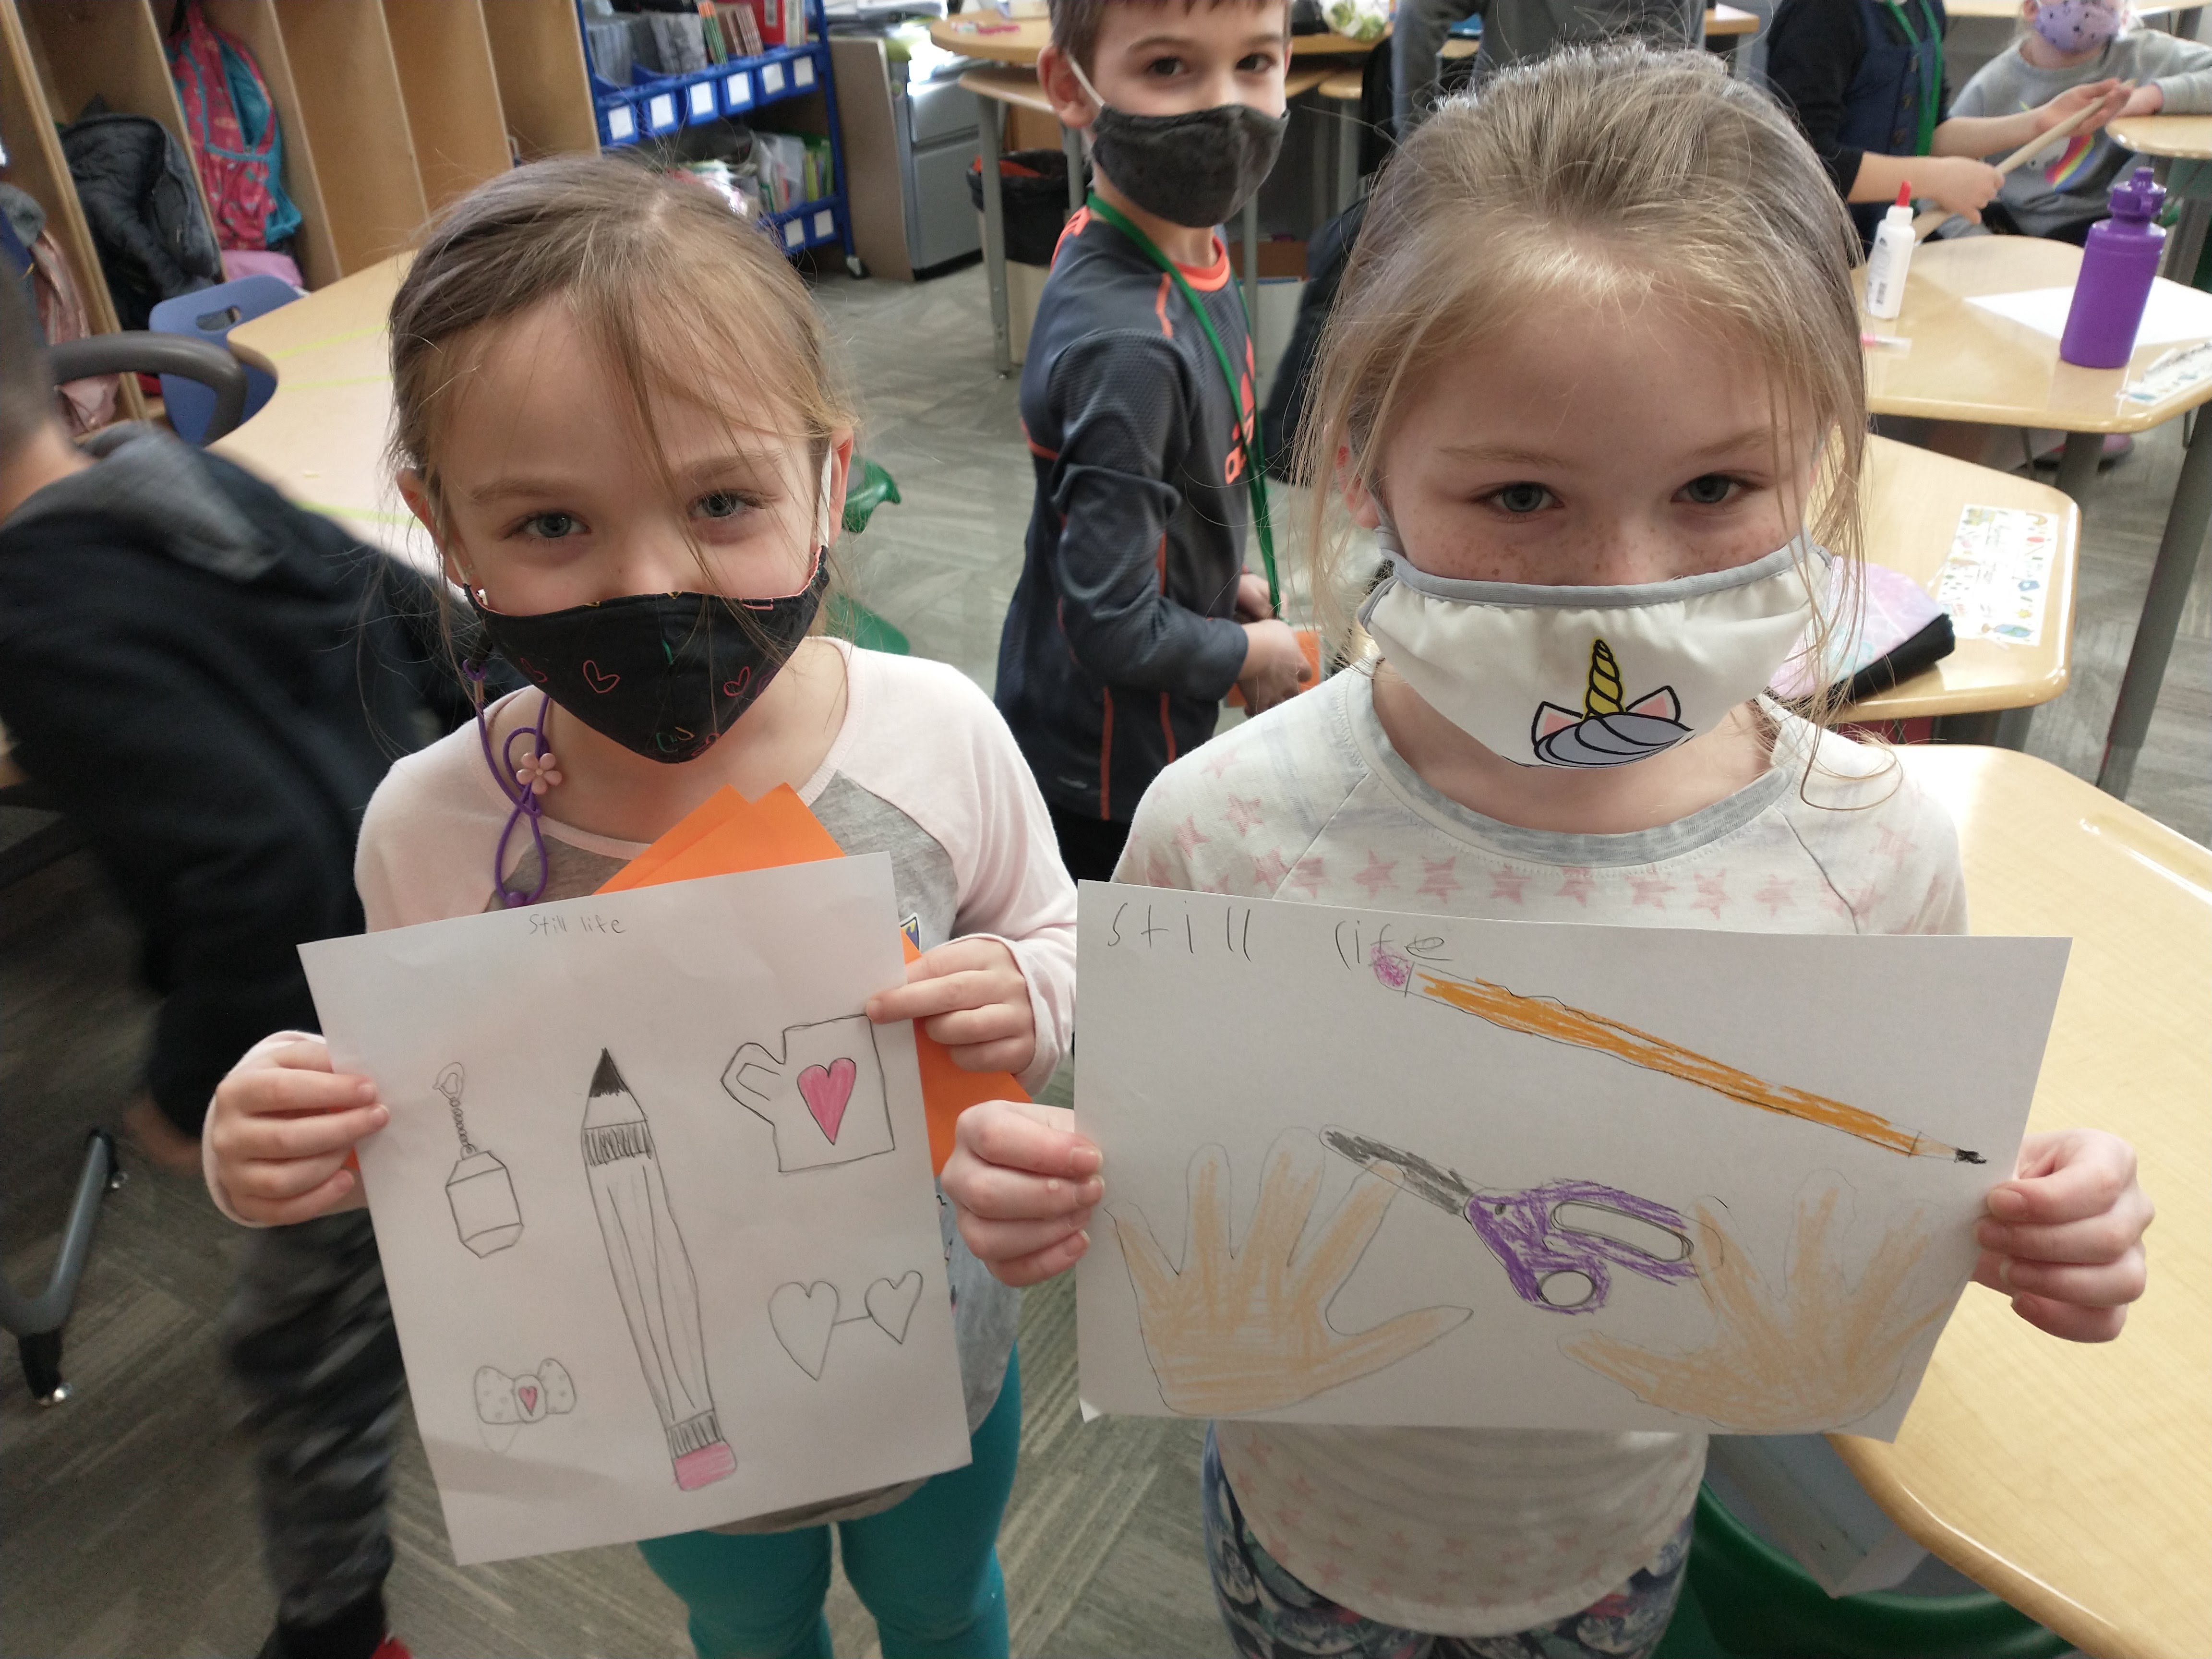
There are also 2 pics of some first graders doing their first still life, and they have got the cute thing hammered!
The first one this week came from Janine! You can see it towards the bottom here.
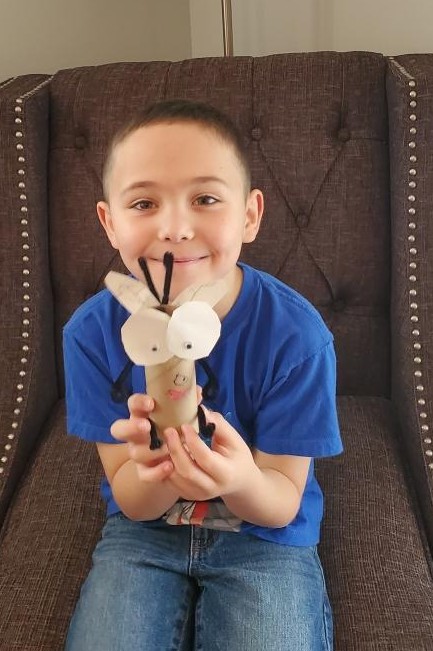
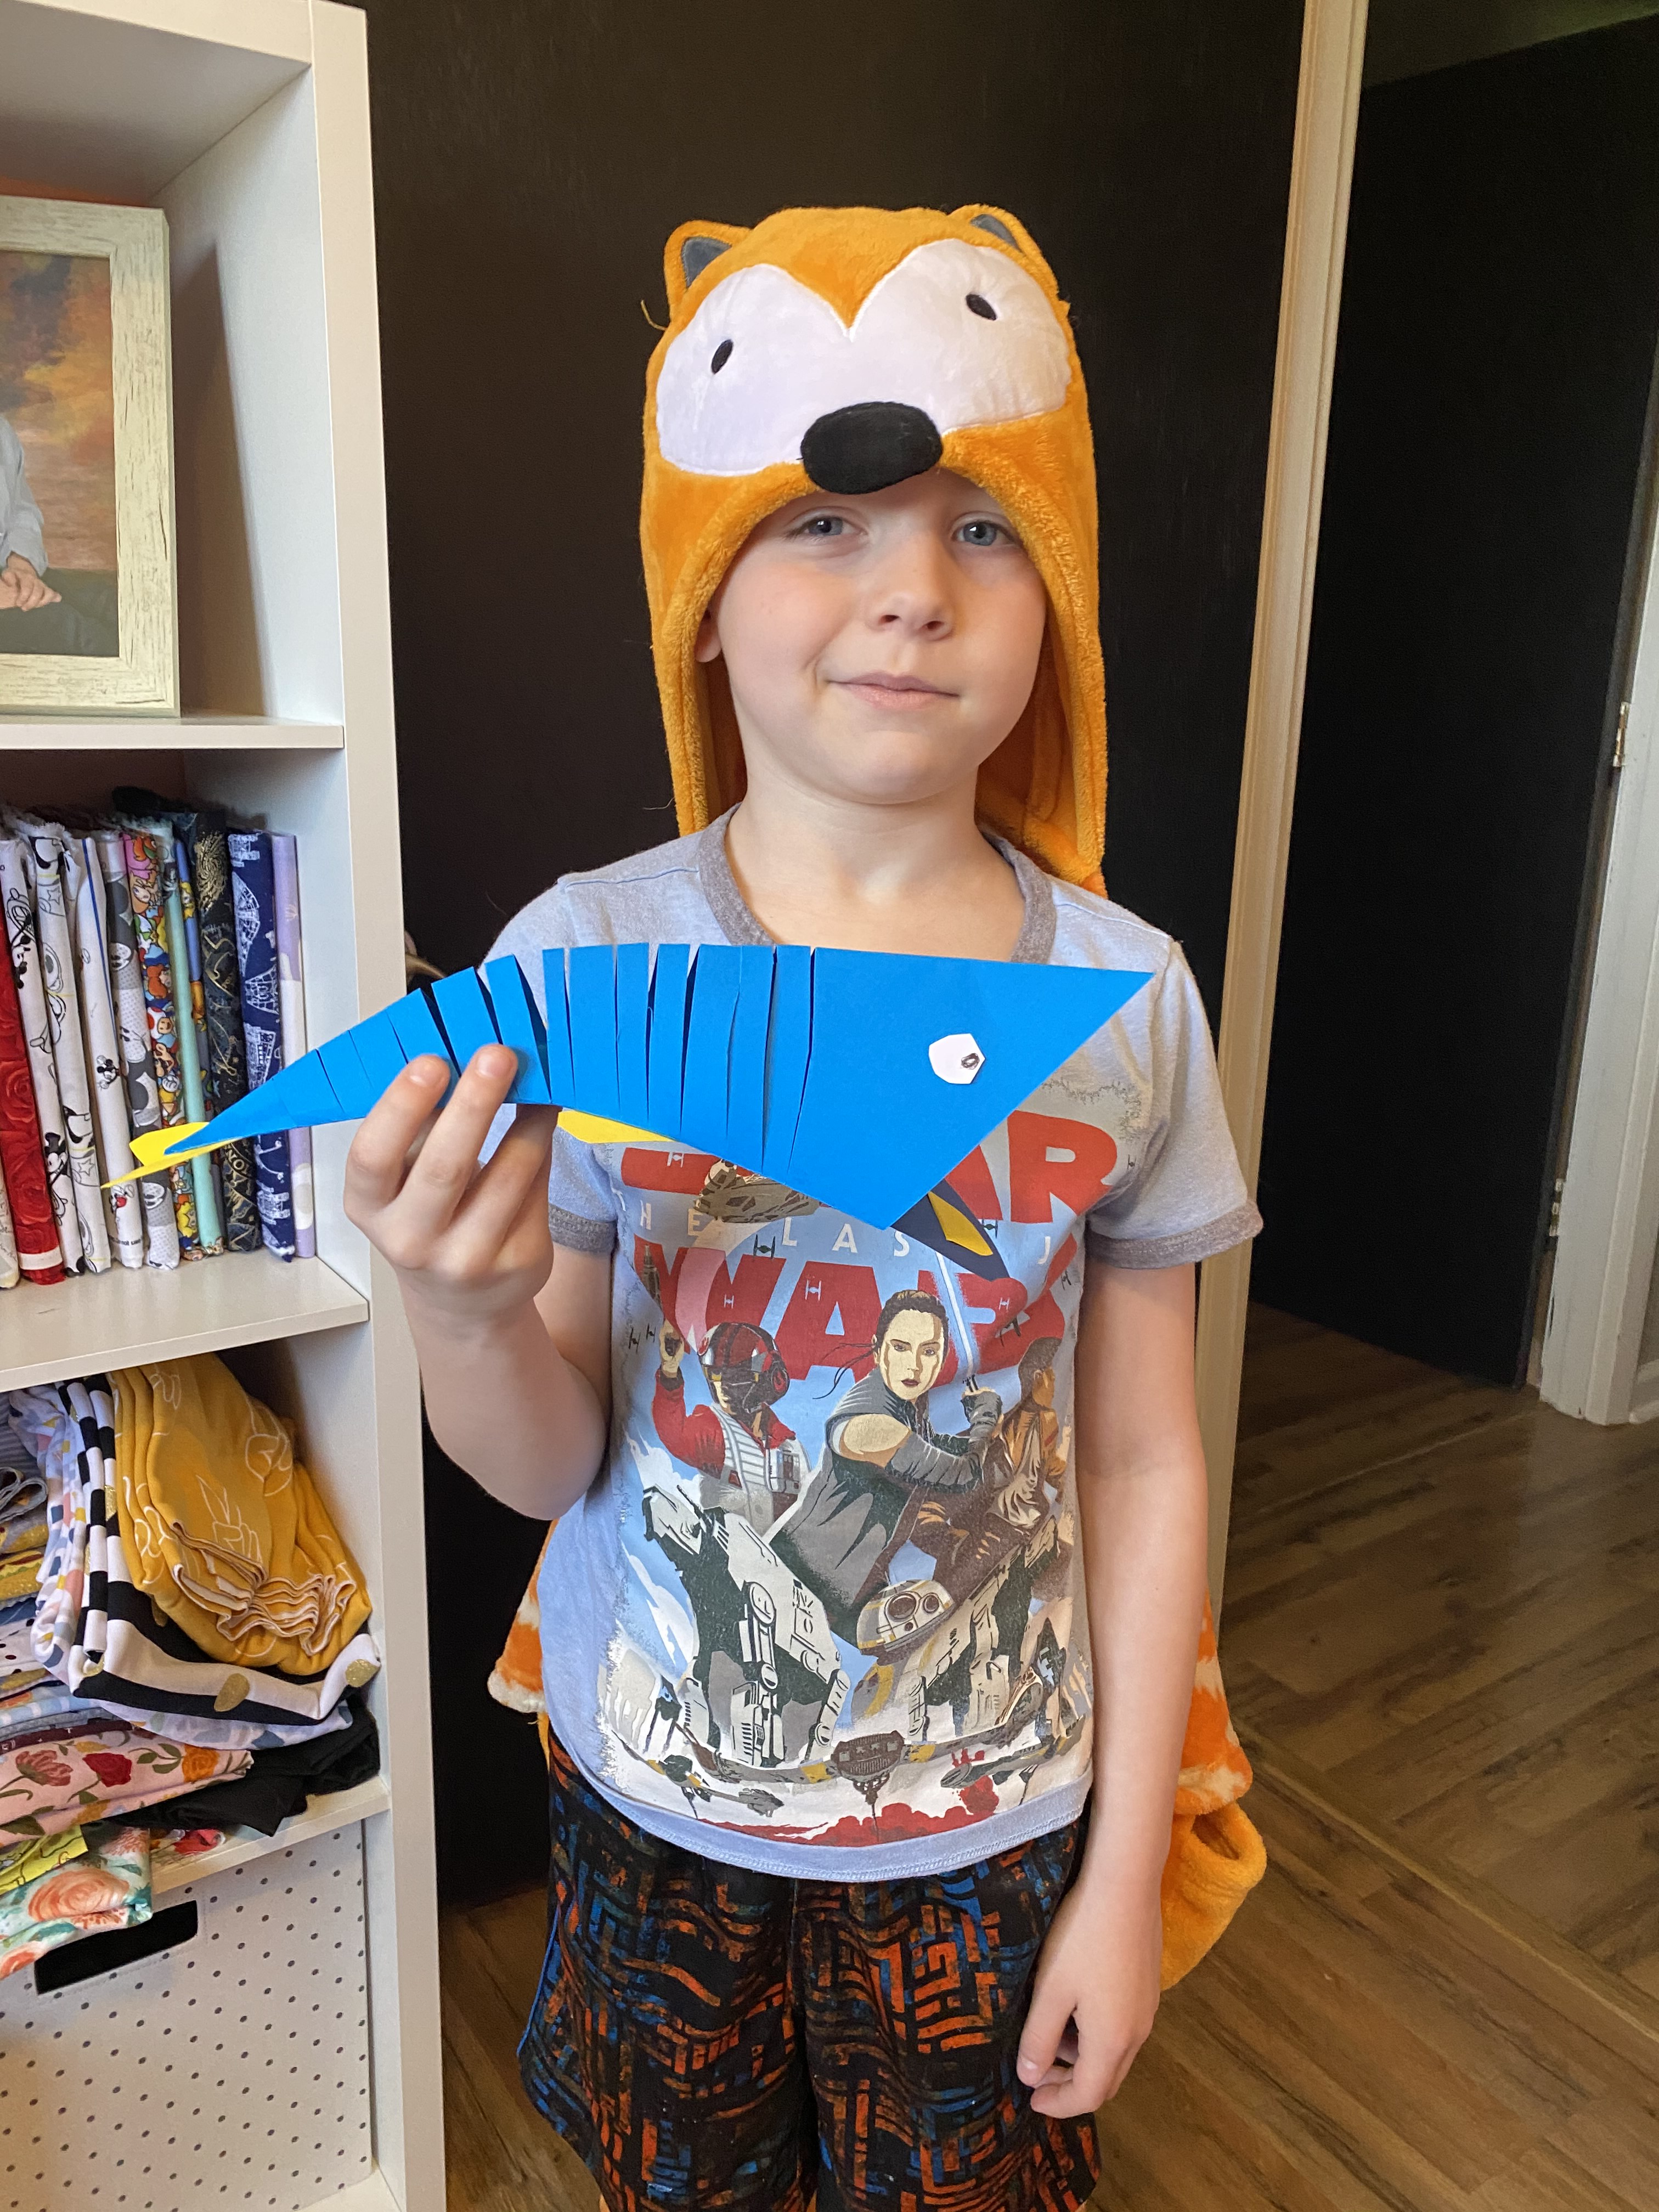
Fly guy came out great for Mr. Riley. Thanks for sending in and keep up the good work!
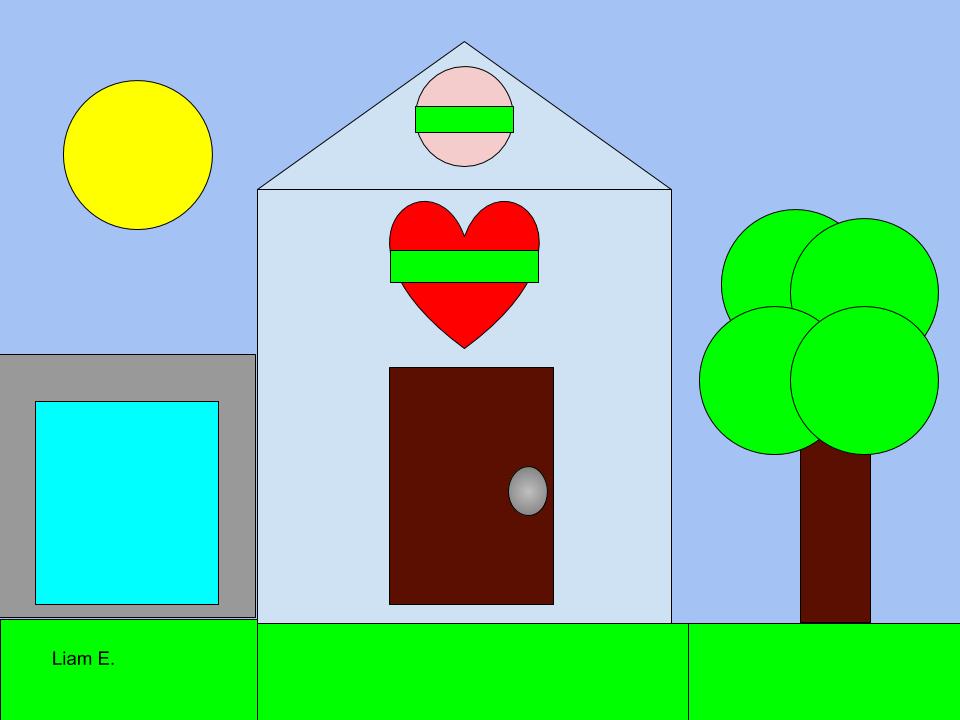
From my 7th grade classes, Ms. Skye L did the castle gif build and Ryan R. did the nice house gif.
Ms. Dinara T did the unicorn above. Looks good, Dinara. The eye is nice, I wonder how it would look with a rainbow?
This slideshow requires JavaScript.
Savannah H has been busy this week. Birds, unicorns, and a basket. Thanks for sending Savannah! I put your work as a slideshow, it should play automatically after a second or two.
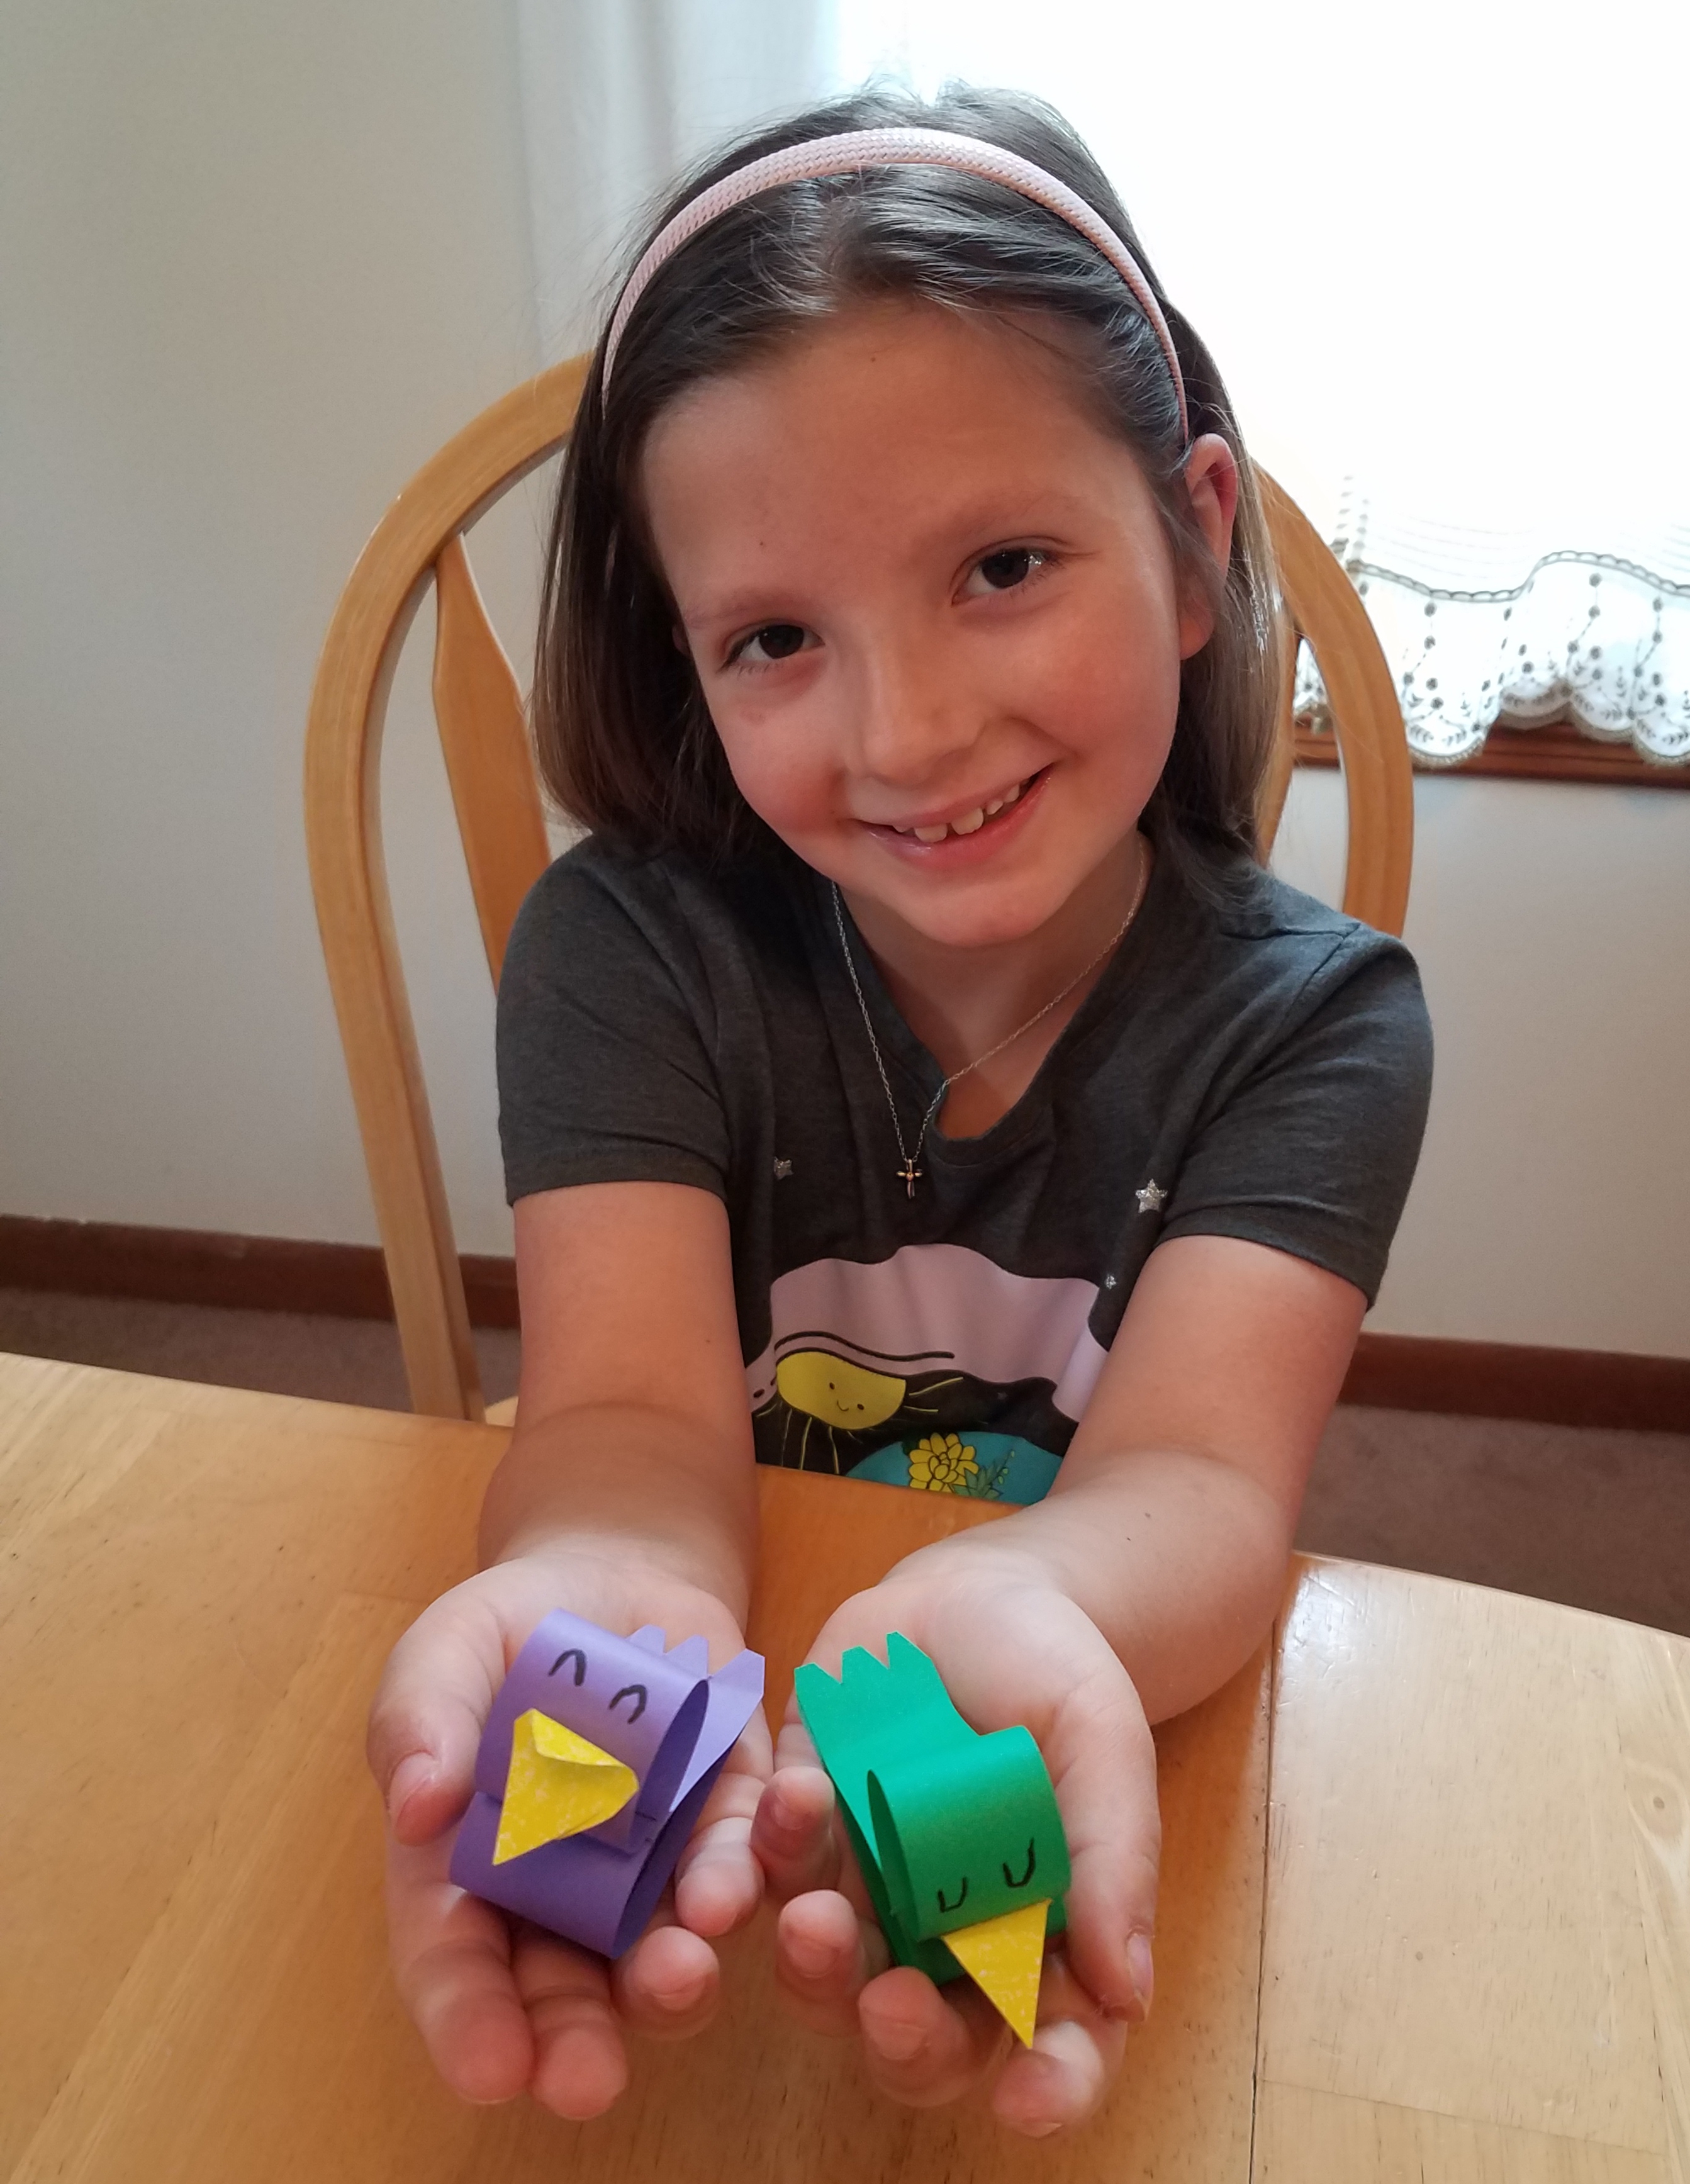
Janine did a great job with the birds. I had never done this one and I thought it was a good, simple solution to doing a paper bird. Thanks for sending and keep up the great work!
Ms. Sadie Z. did some nice colorful birds here. Just the right size to fit in your hand. Thanks for sending.
Mr. Riley M. was the first person to send work this week. I’m certainly happy to see what everyone is working on.
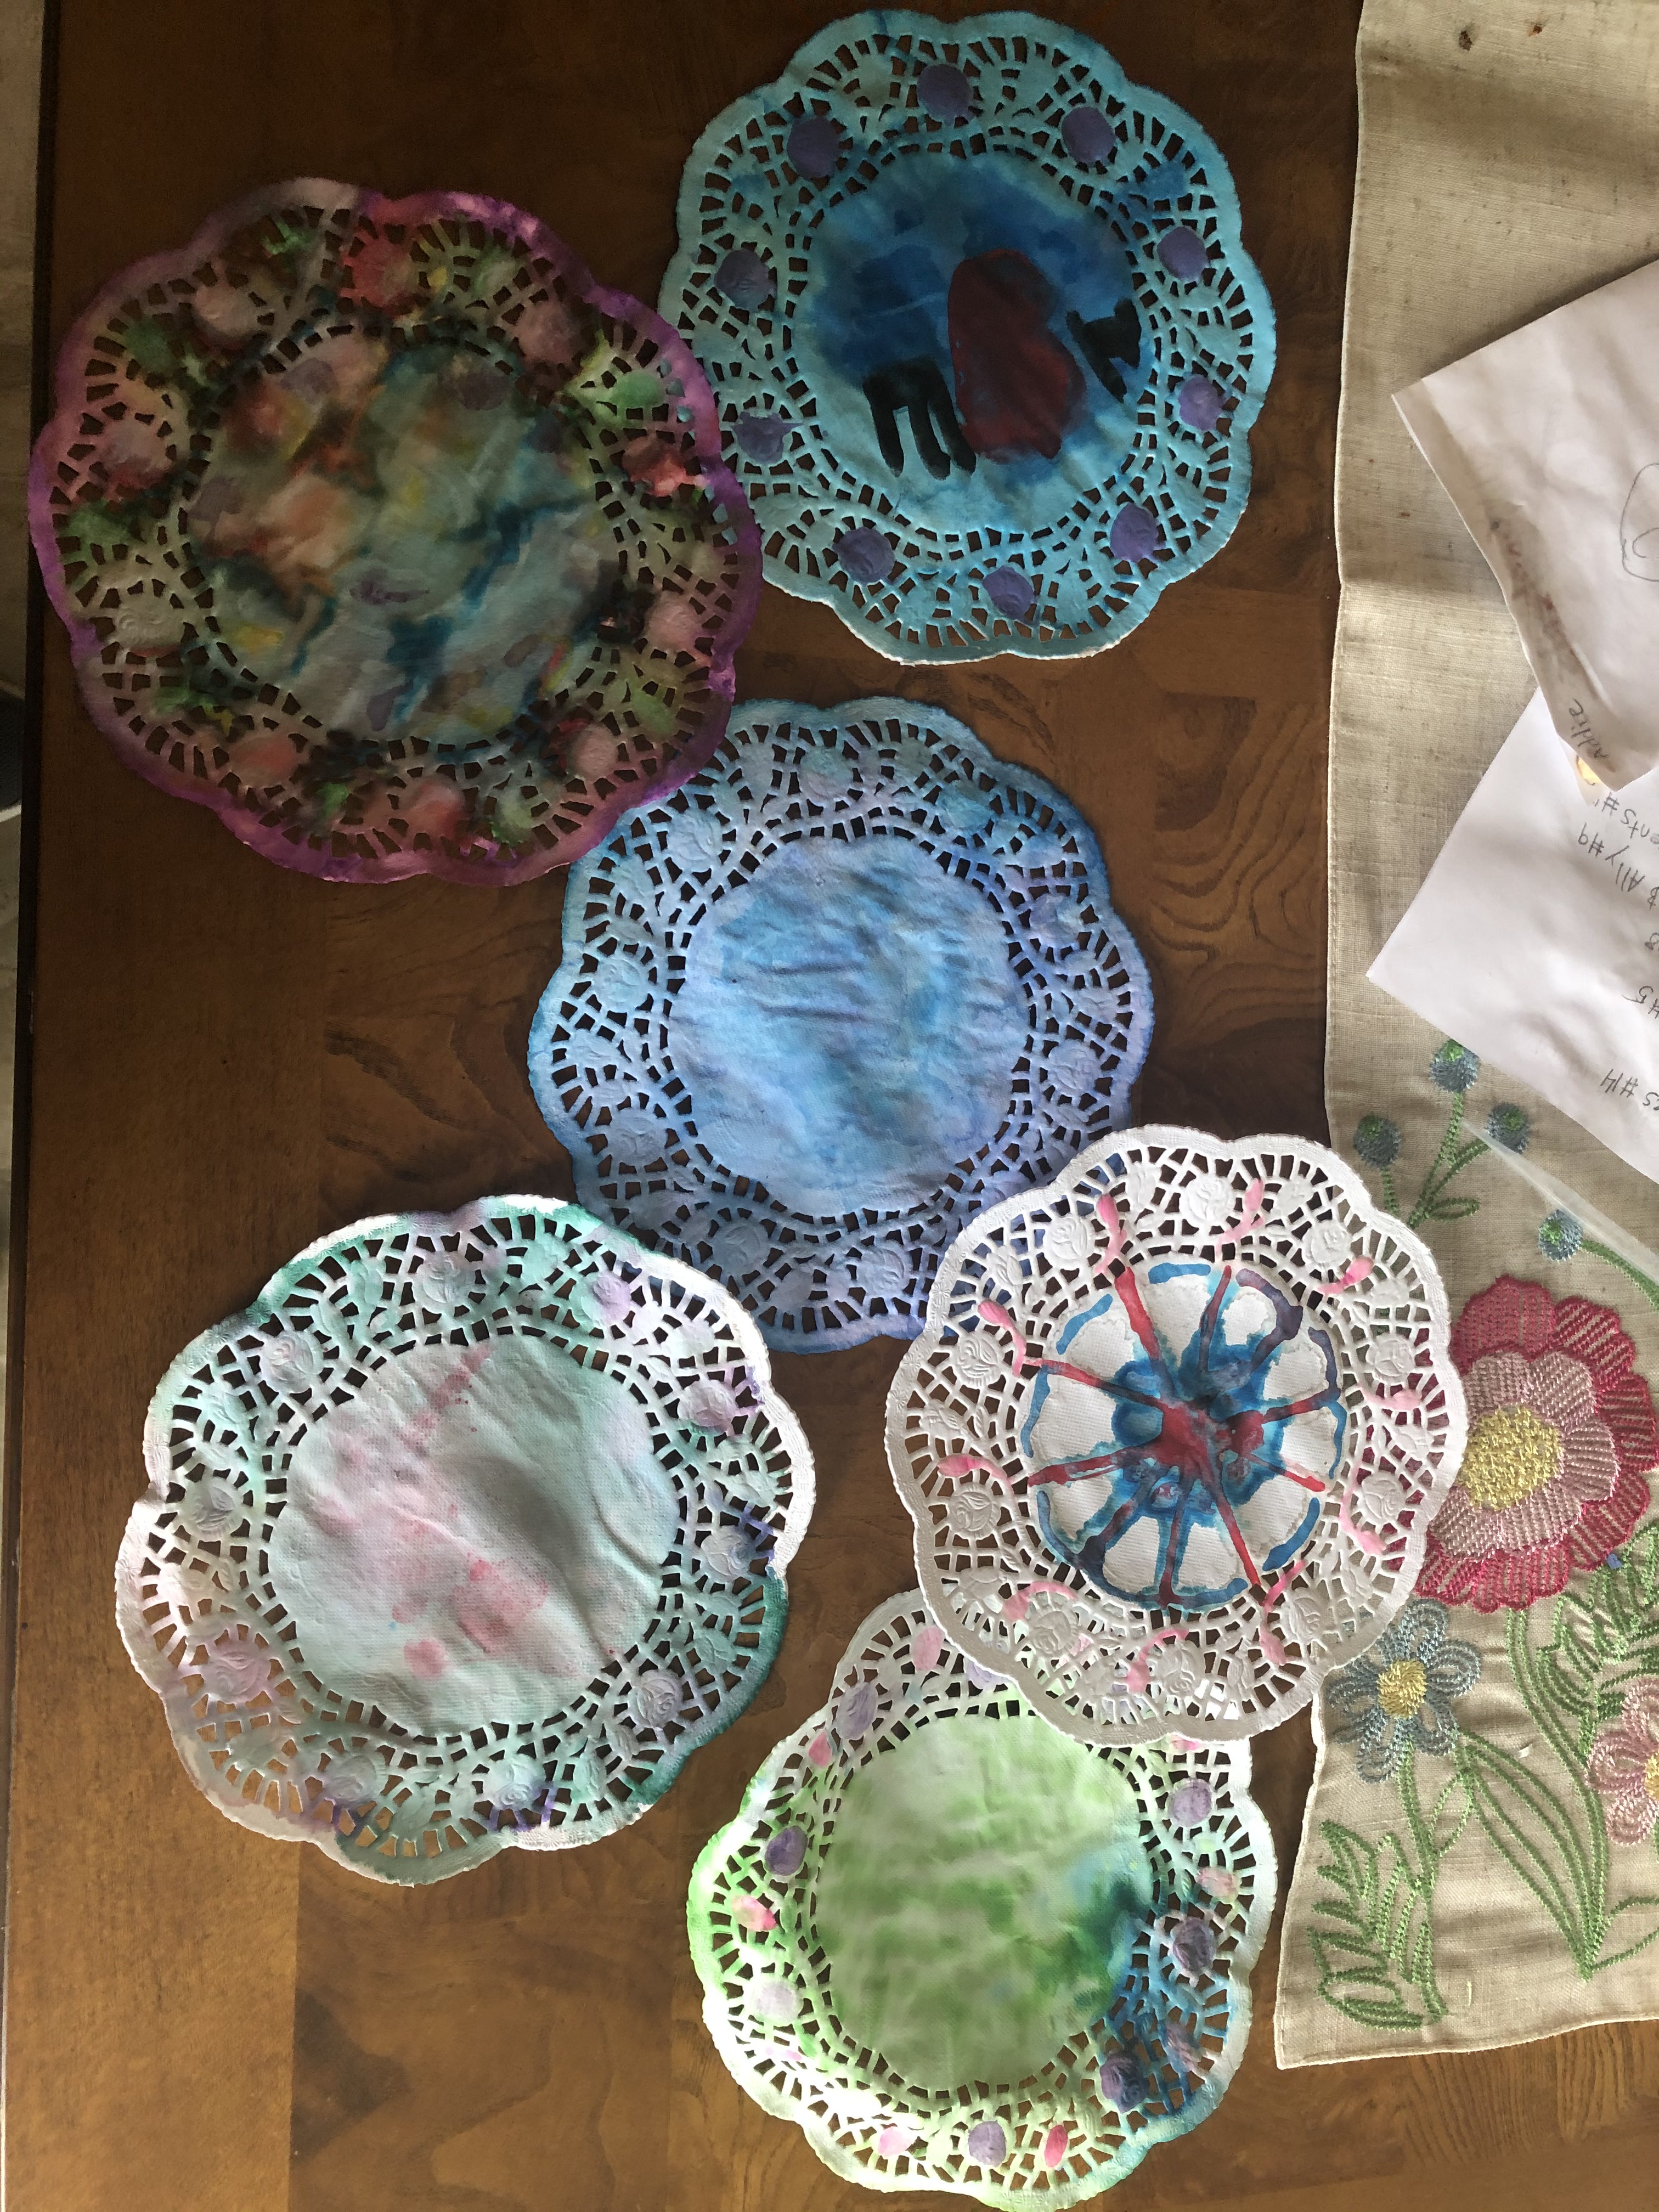
Ms. Addie W did the dyed work above. Very colorful! Thanks for sending.
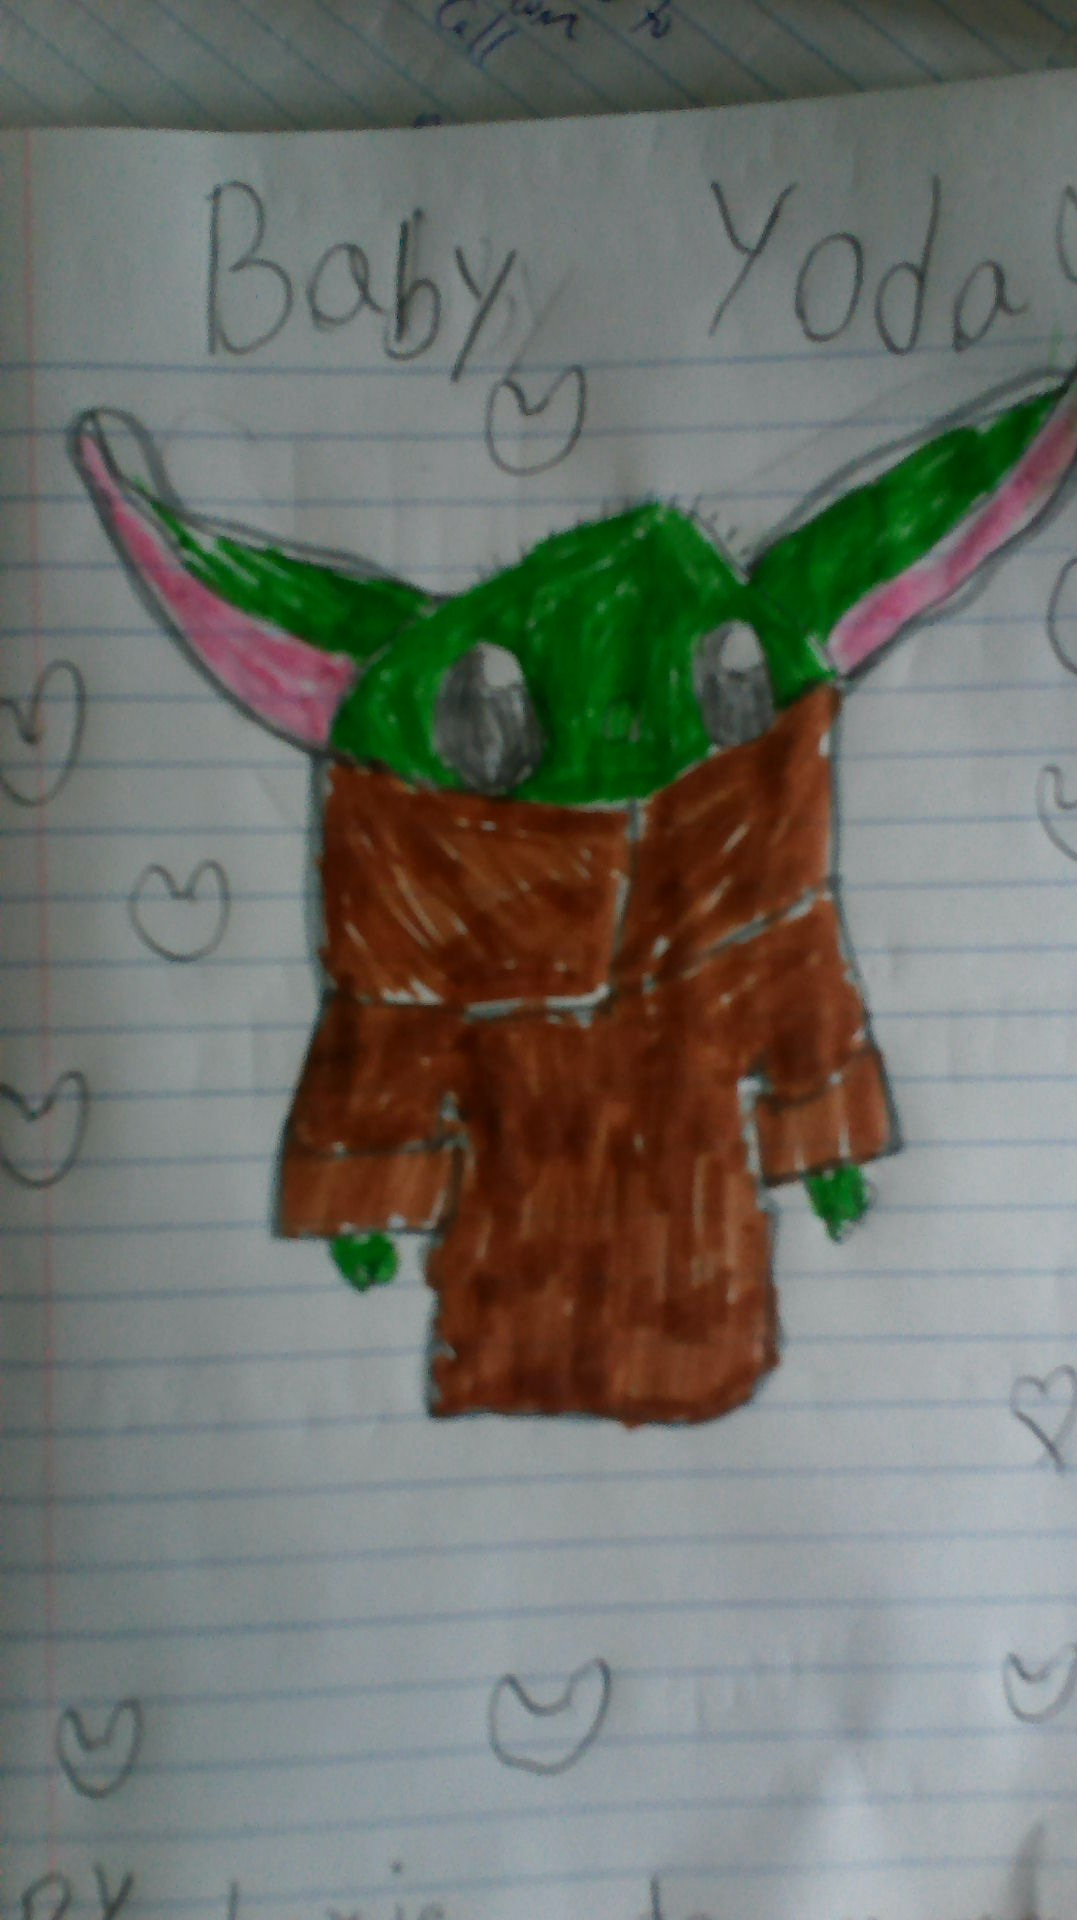
Ms. Alex T did the Baby Yoda above, I like the background shapes. Thanks for sending!
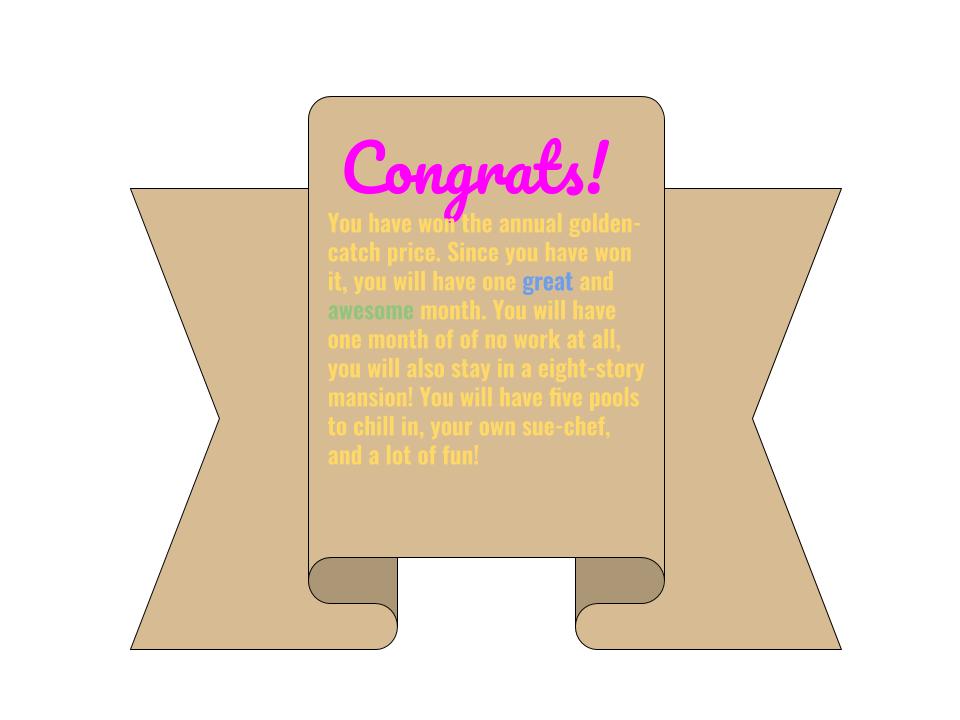
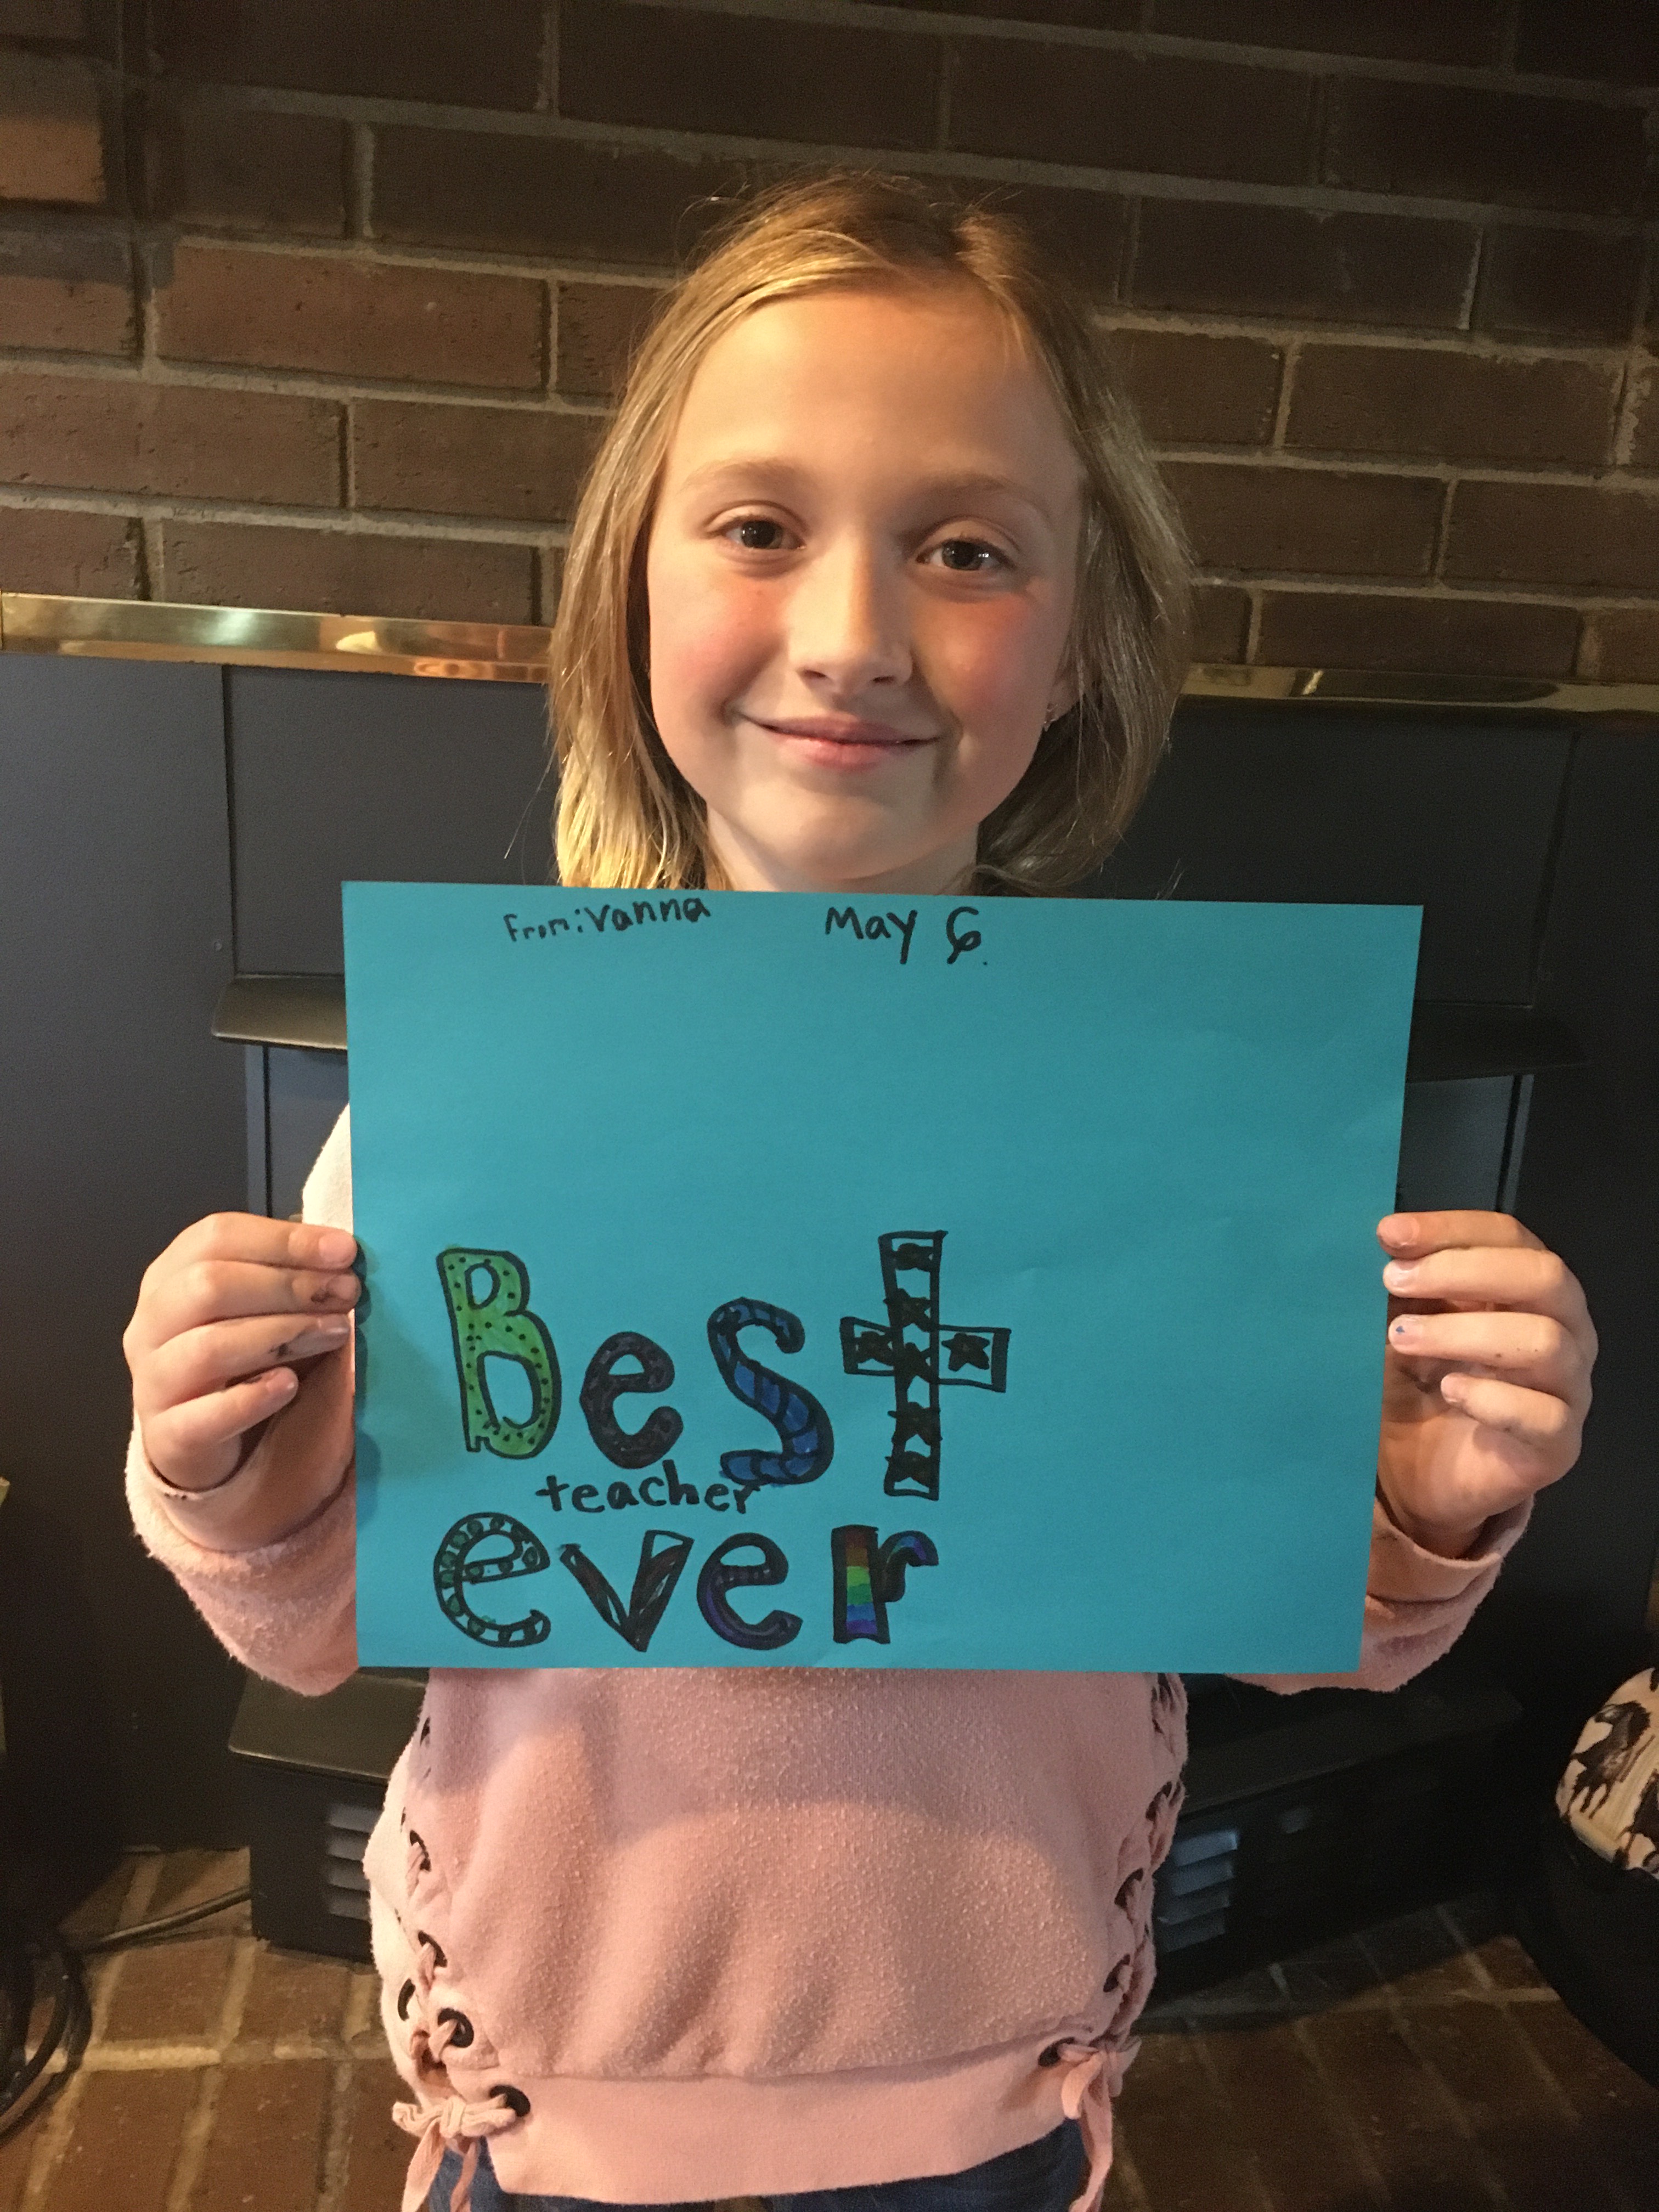
Ms. Vanna R. sent in the wonderful sign above. What a nice thing to say and no teacher ever hears that enough! Thanks for sending!
This slideshow requires JavaScript.
Ms. Reese B did all the work in the slideshow above. I’m so happy she remembered and tried the still life. Thanks for sending Reese!
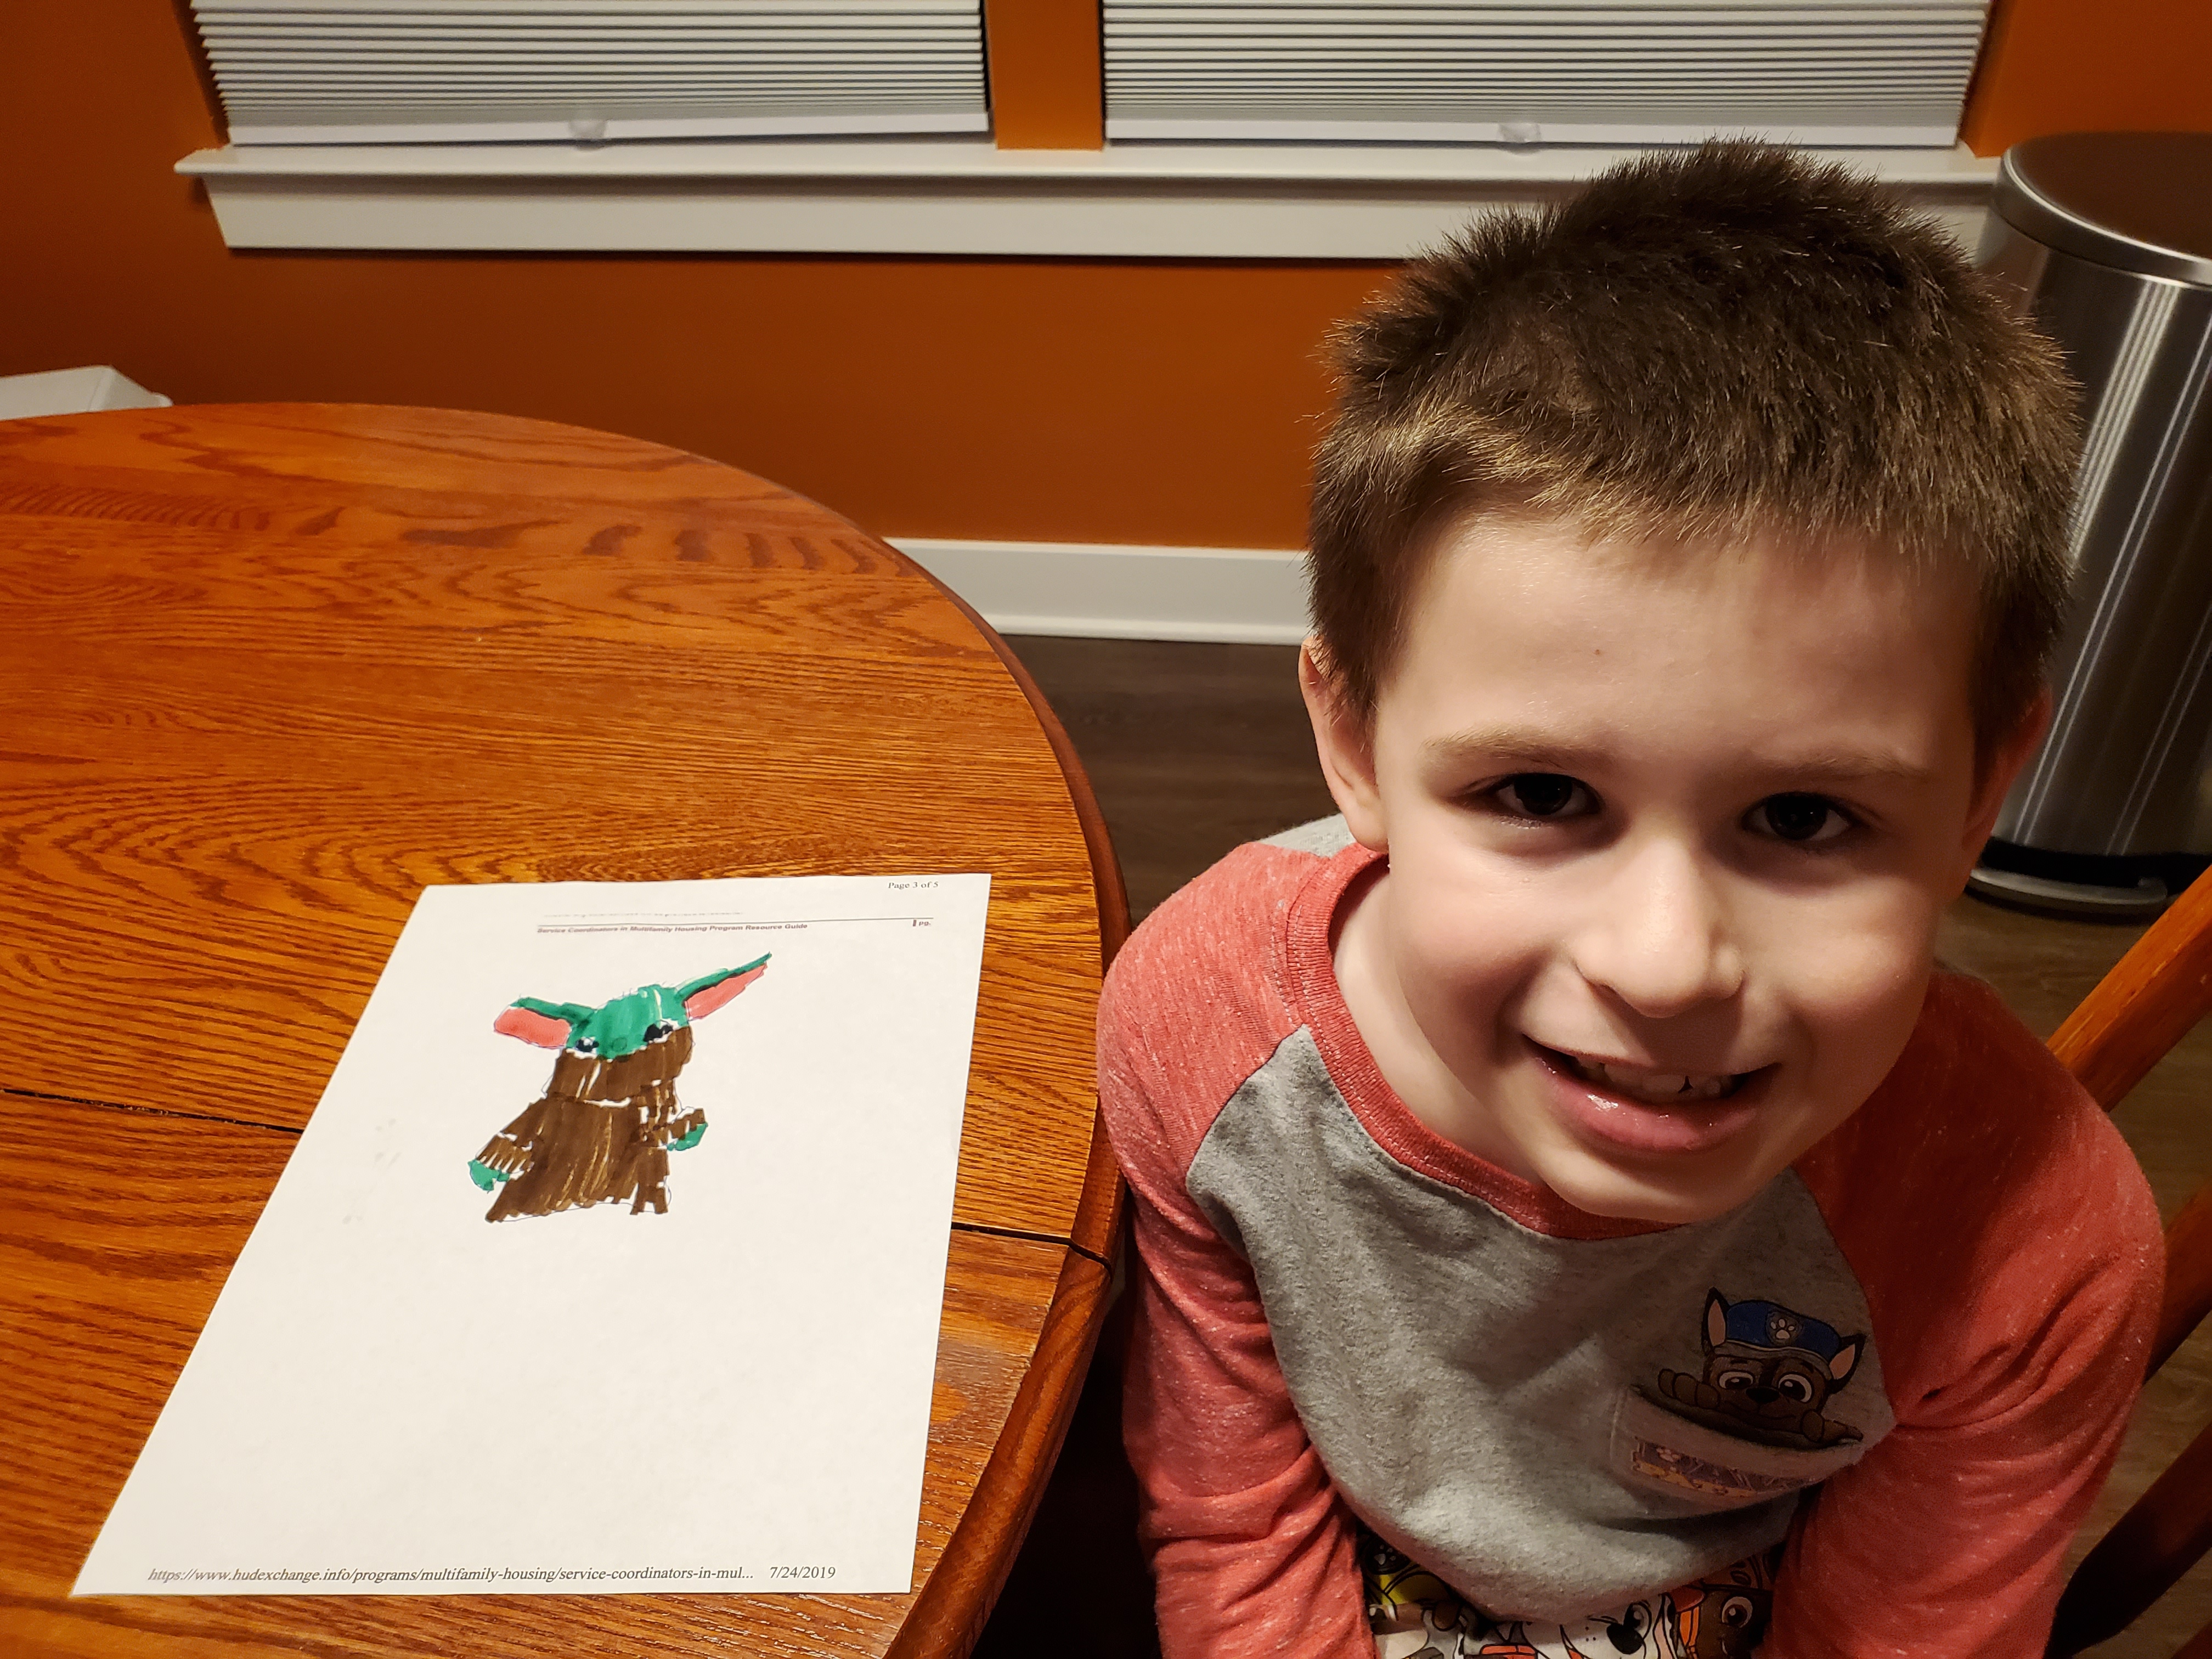
So many nice Baby Yoda’s this week! The one above was drawn quite well by the amazing Dinara T.
This slideshow requires JavaScript.
Above is Ms. Savannah doing some projects at home, she does well on just about everything she puts her mind to. Thanks for sending the pics, I made a quick slide show of your work, I hope you like it.
Rowan M. did a nice drawing of an original animal he came up with all by himself, Thanks for sending, Rowan!
This slideshow requires JavaScript.
Ms Bailey W. did the nice work above. She does great at drawing people and they are very professional looking. It will be interesting to see what she comes up with in the coming years.
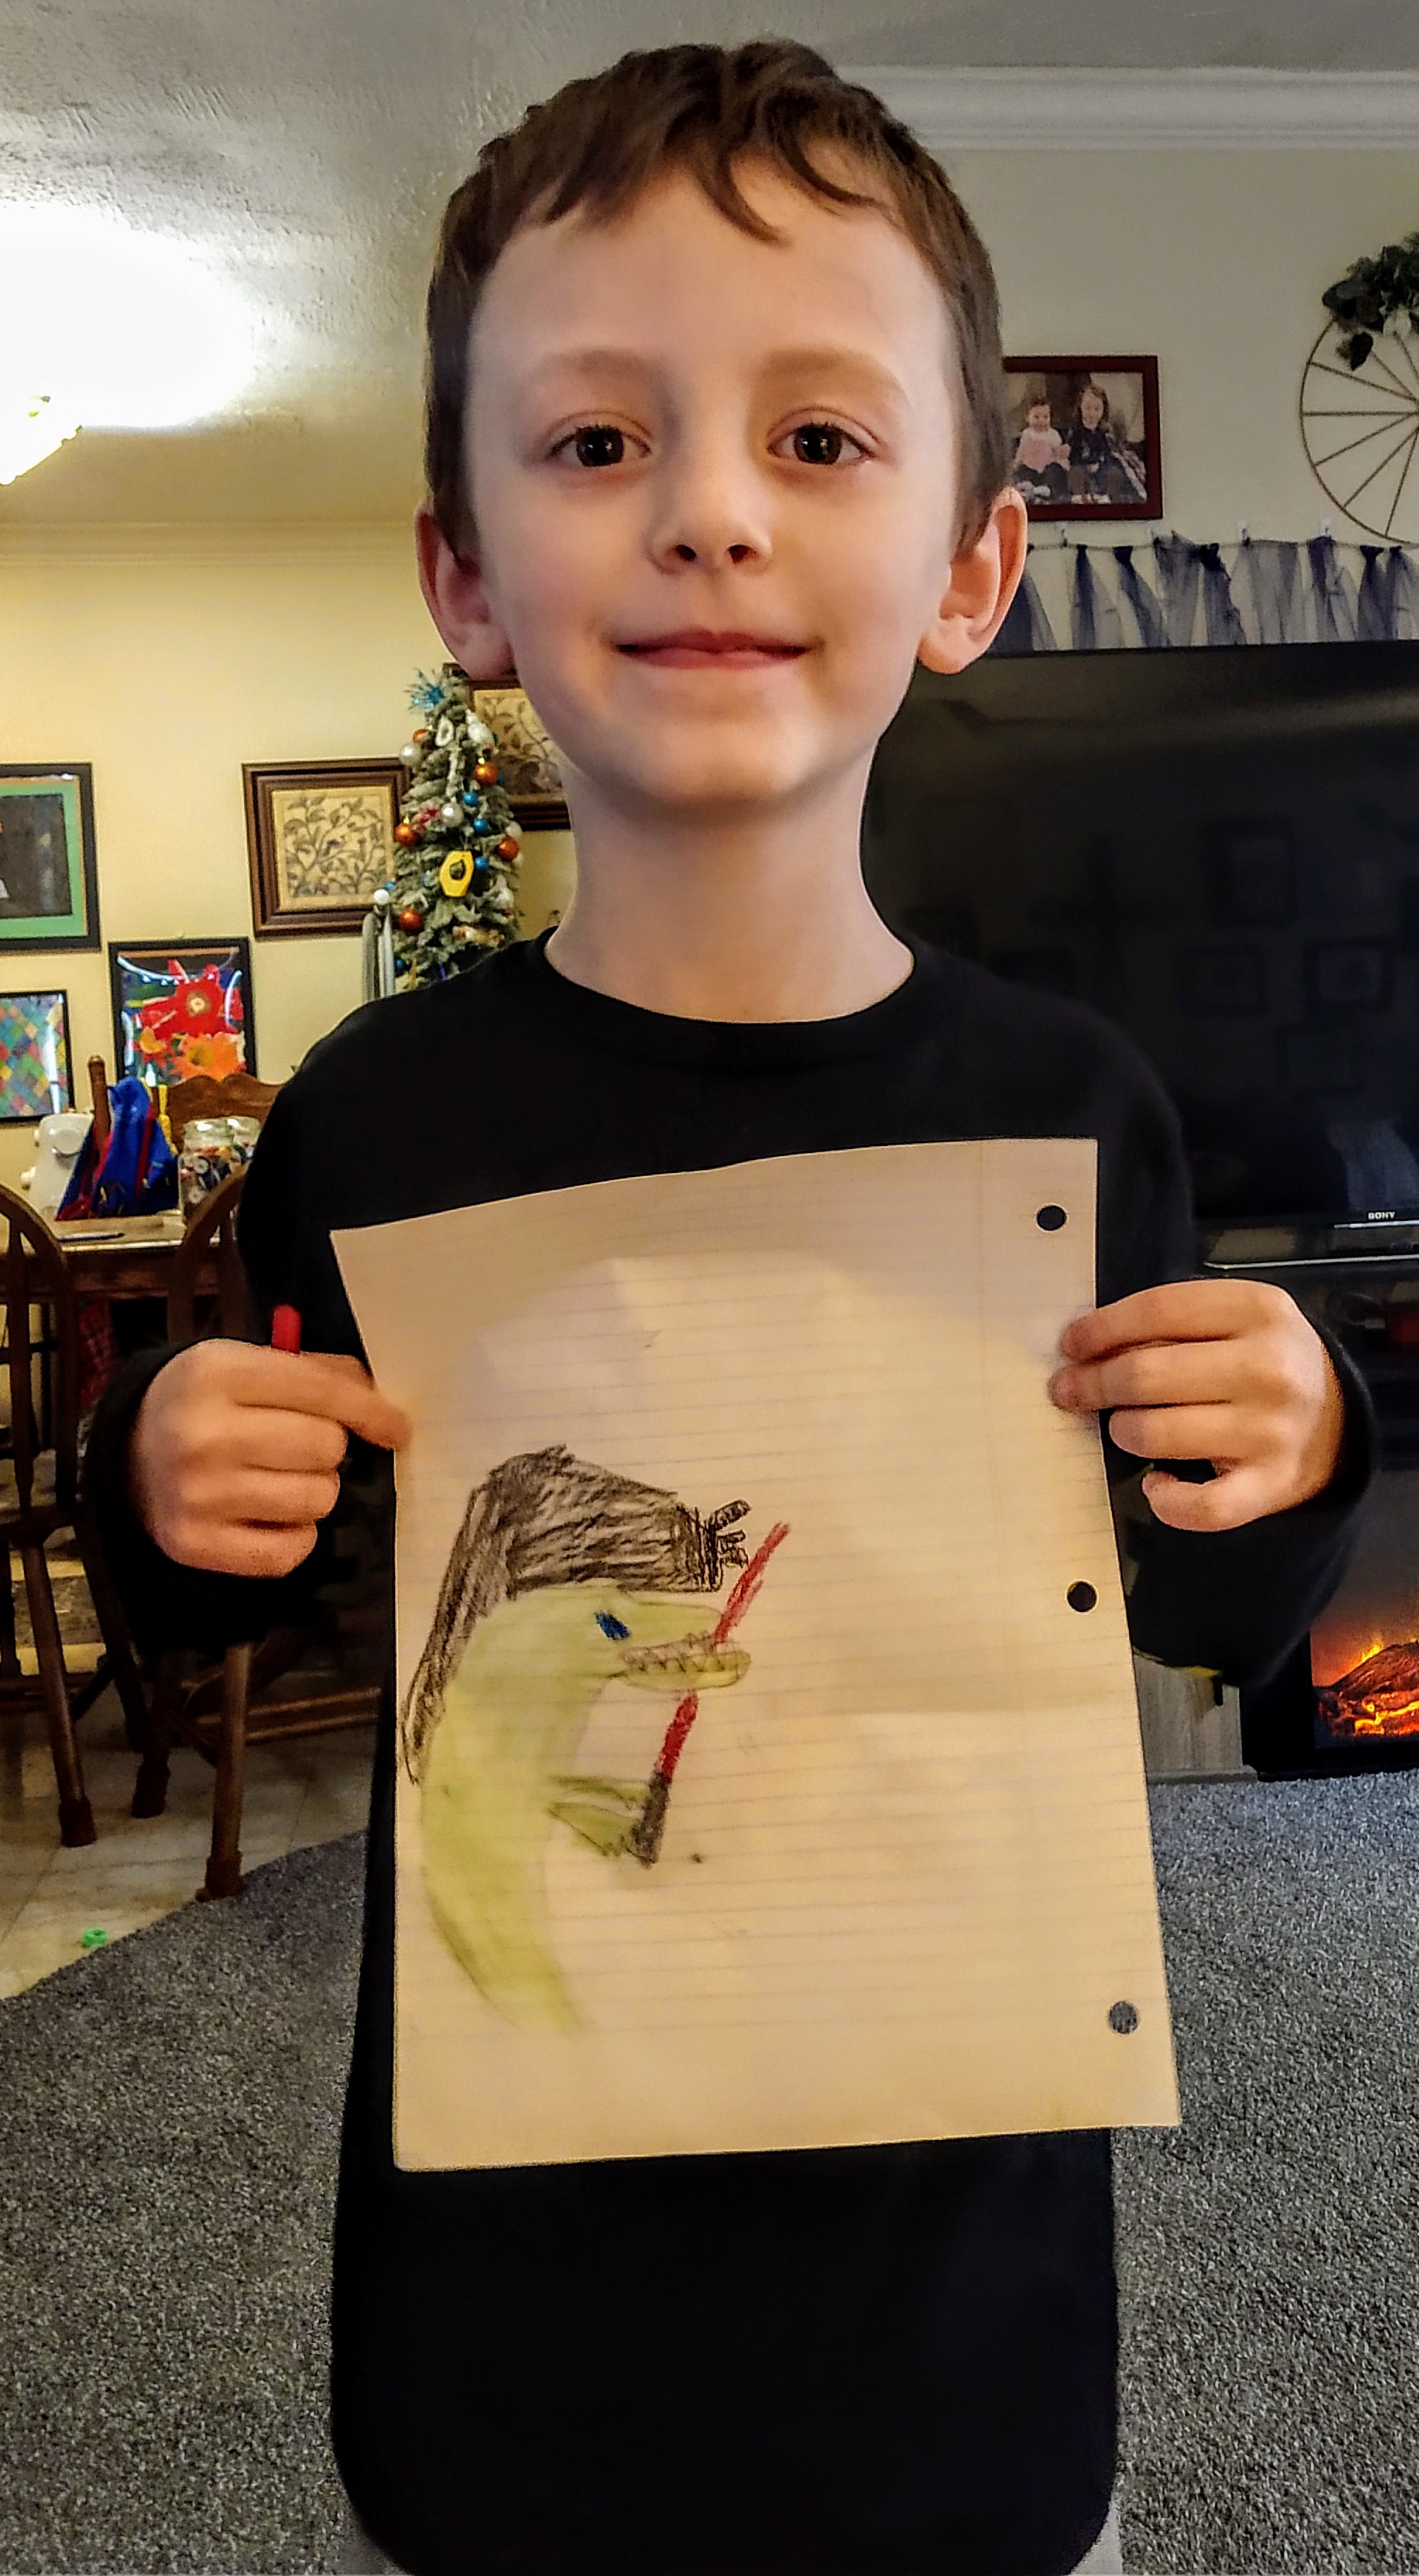
Brian H did some nice work with the Baby Yoda, great colors, Brian! Thanks for sending
Riley did the great baby Yoda above, what a great way to celebrate May 4th! Thanks for sending Riley.
Janine did a great job with the basket and the Baby Yoda drawing. I miss your big smile, Janine!
I’ll probably change the title. I’m going to put work that is e-mailed to me below. I Hope lots of people send me work that they are doing at home.
__________________________________
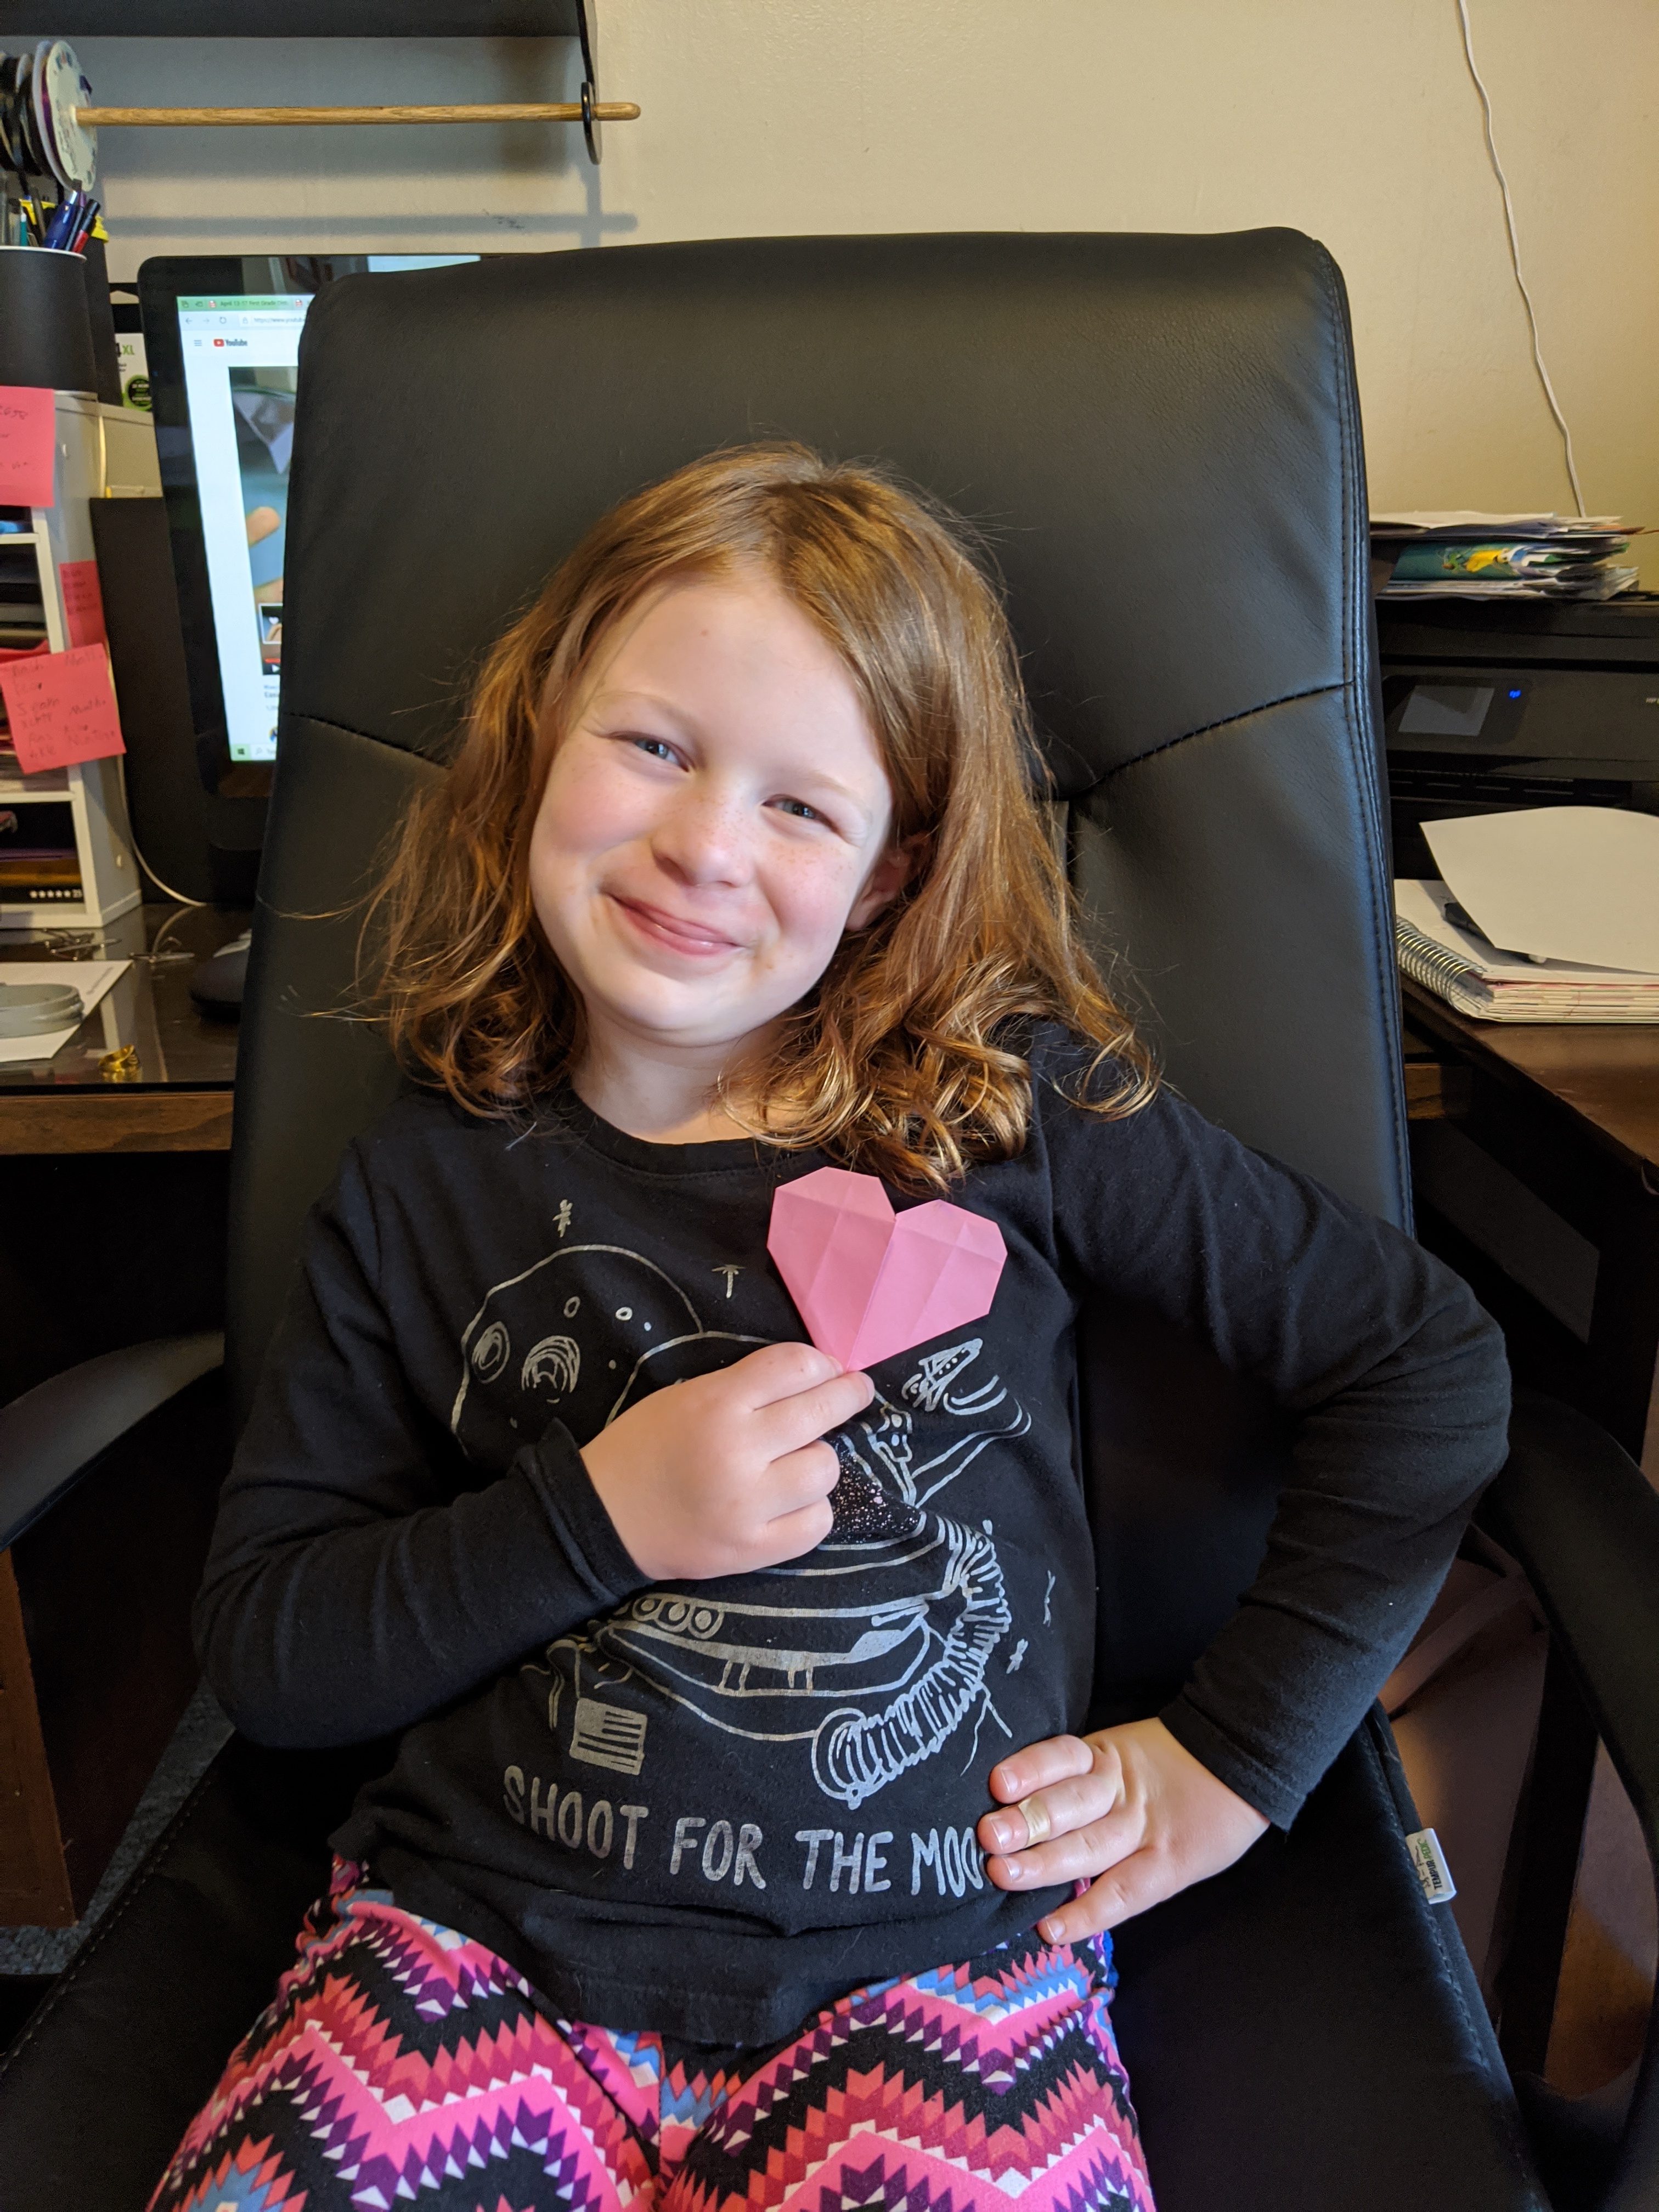
Ms. Sydney S did a nice job on the heart, she has some nice folding skills and it’s wonderful to see a picture of her. I hope we’re all together soon!
Ms. Lydia A. did the table above. It will be great to see what she comes up with next.
Mr Dylan C. got out his sewing machine and made his own mask. Not everyone knows how to run a sewing machine, thanks to your mom or grandma, most likely, you do now. I come from a family of women who sew, although I don’t do it very much. Thanks for sending the pic in and keep up the good work.
I love the turtles! I want to know what the clear plastic is so other people can do it too! Thanks for sending and keep up the good work. I hope you send some more photos.
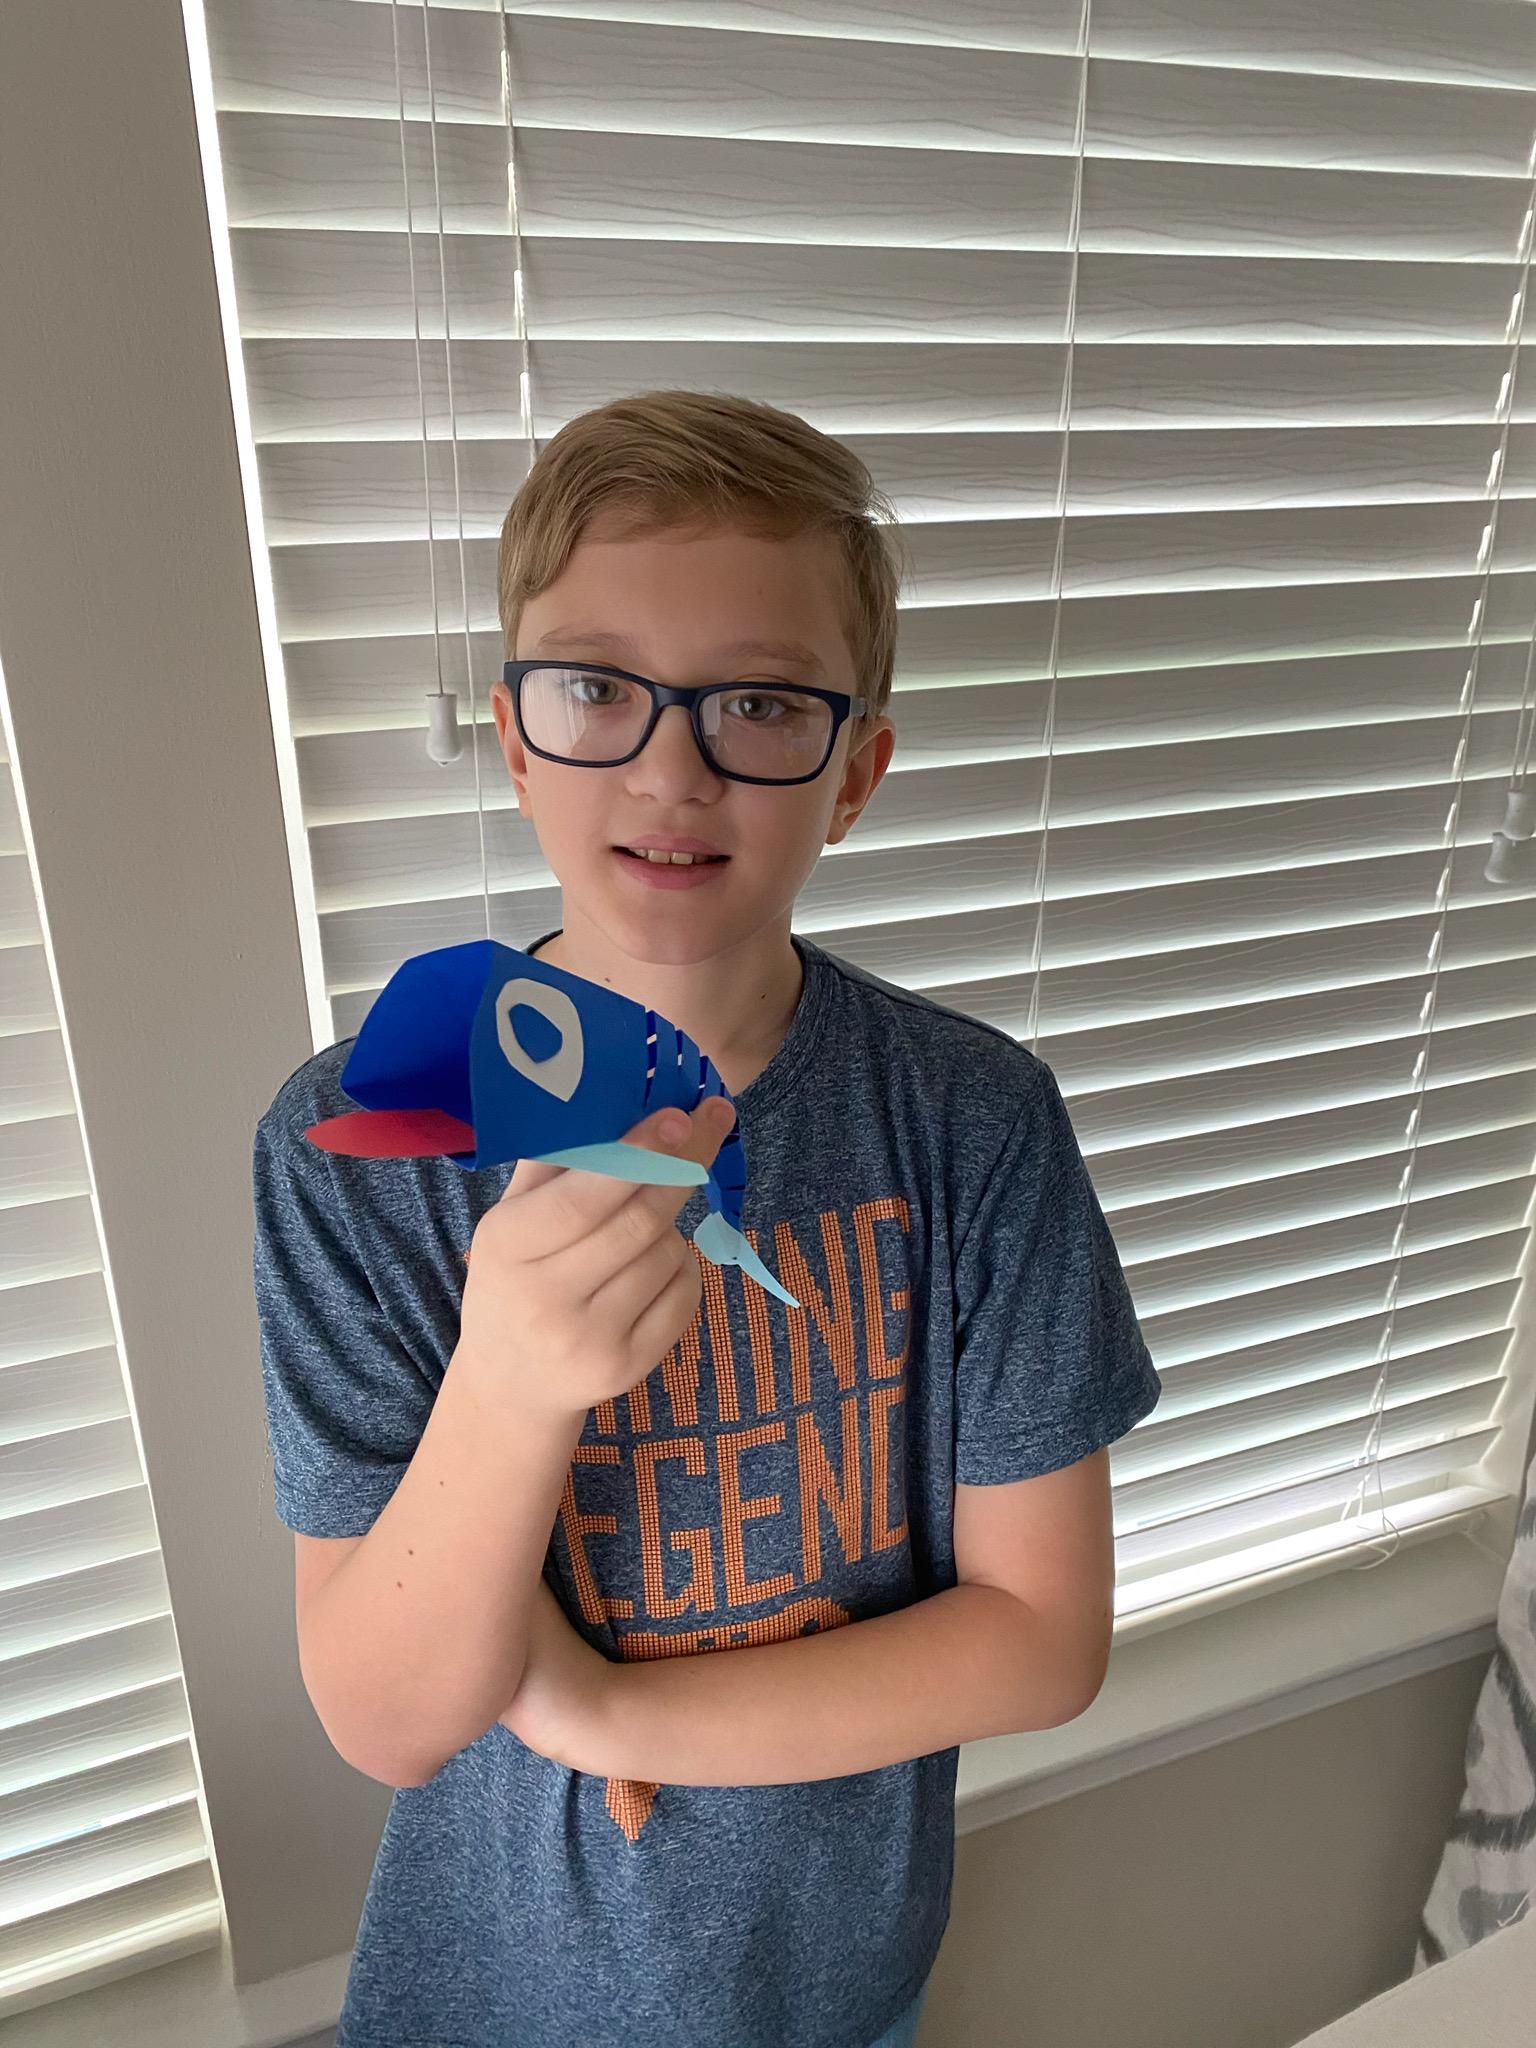
The fish looks good Garrett B! Glad you tried it and I can’t wait to see what else you’ll come up with. Thanks for sending.
Lucas did a great job on the walking, folded paper horse. I put it on you tube and the pic to click should be above. Thanks for sending!
Ryan S. did the fish project up very well. Eyes and tails look great!
Excellent job on the folded, cut, and glued paper fish! I just learned this myself. Glad to see your working from home.
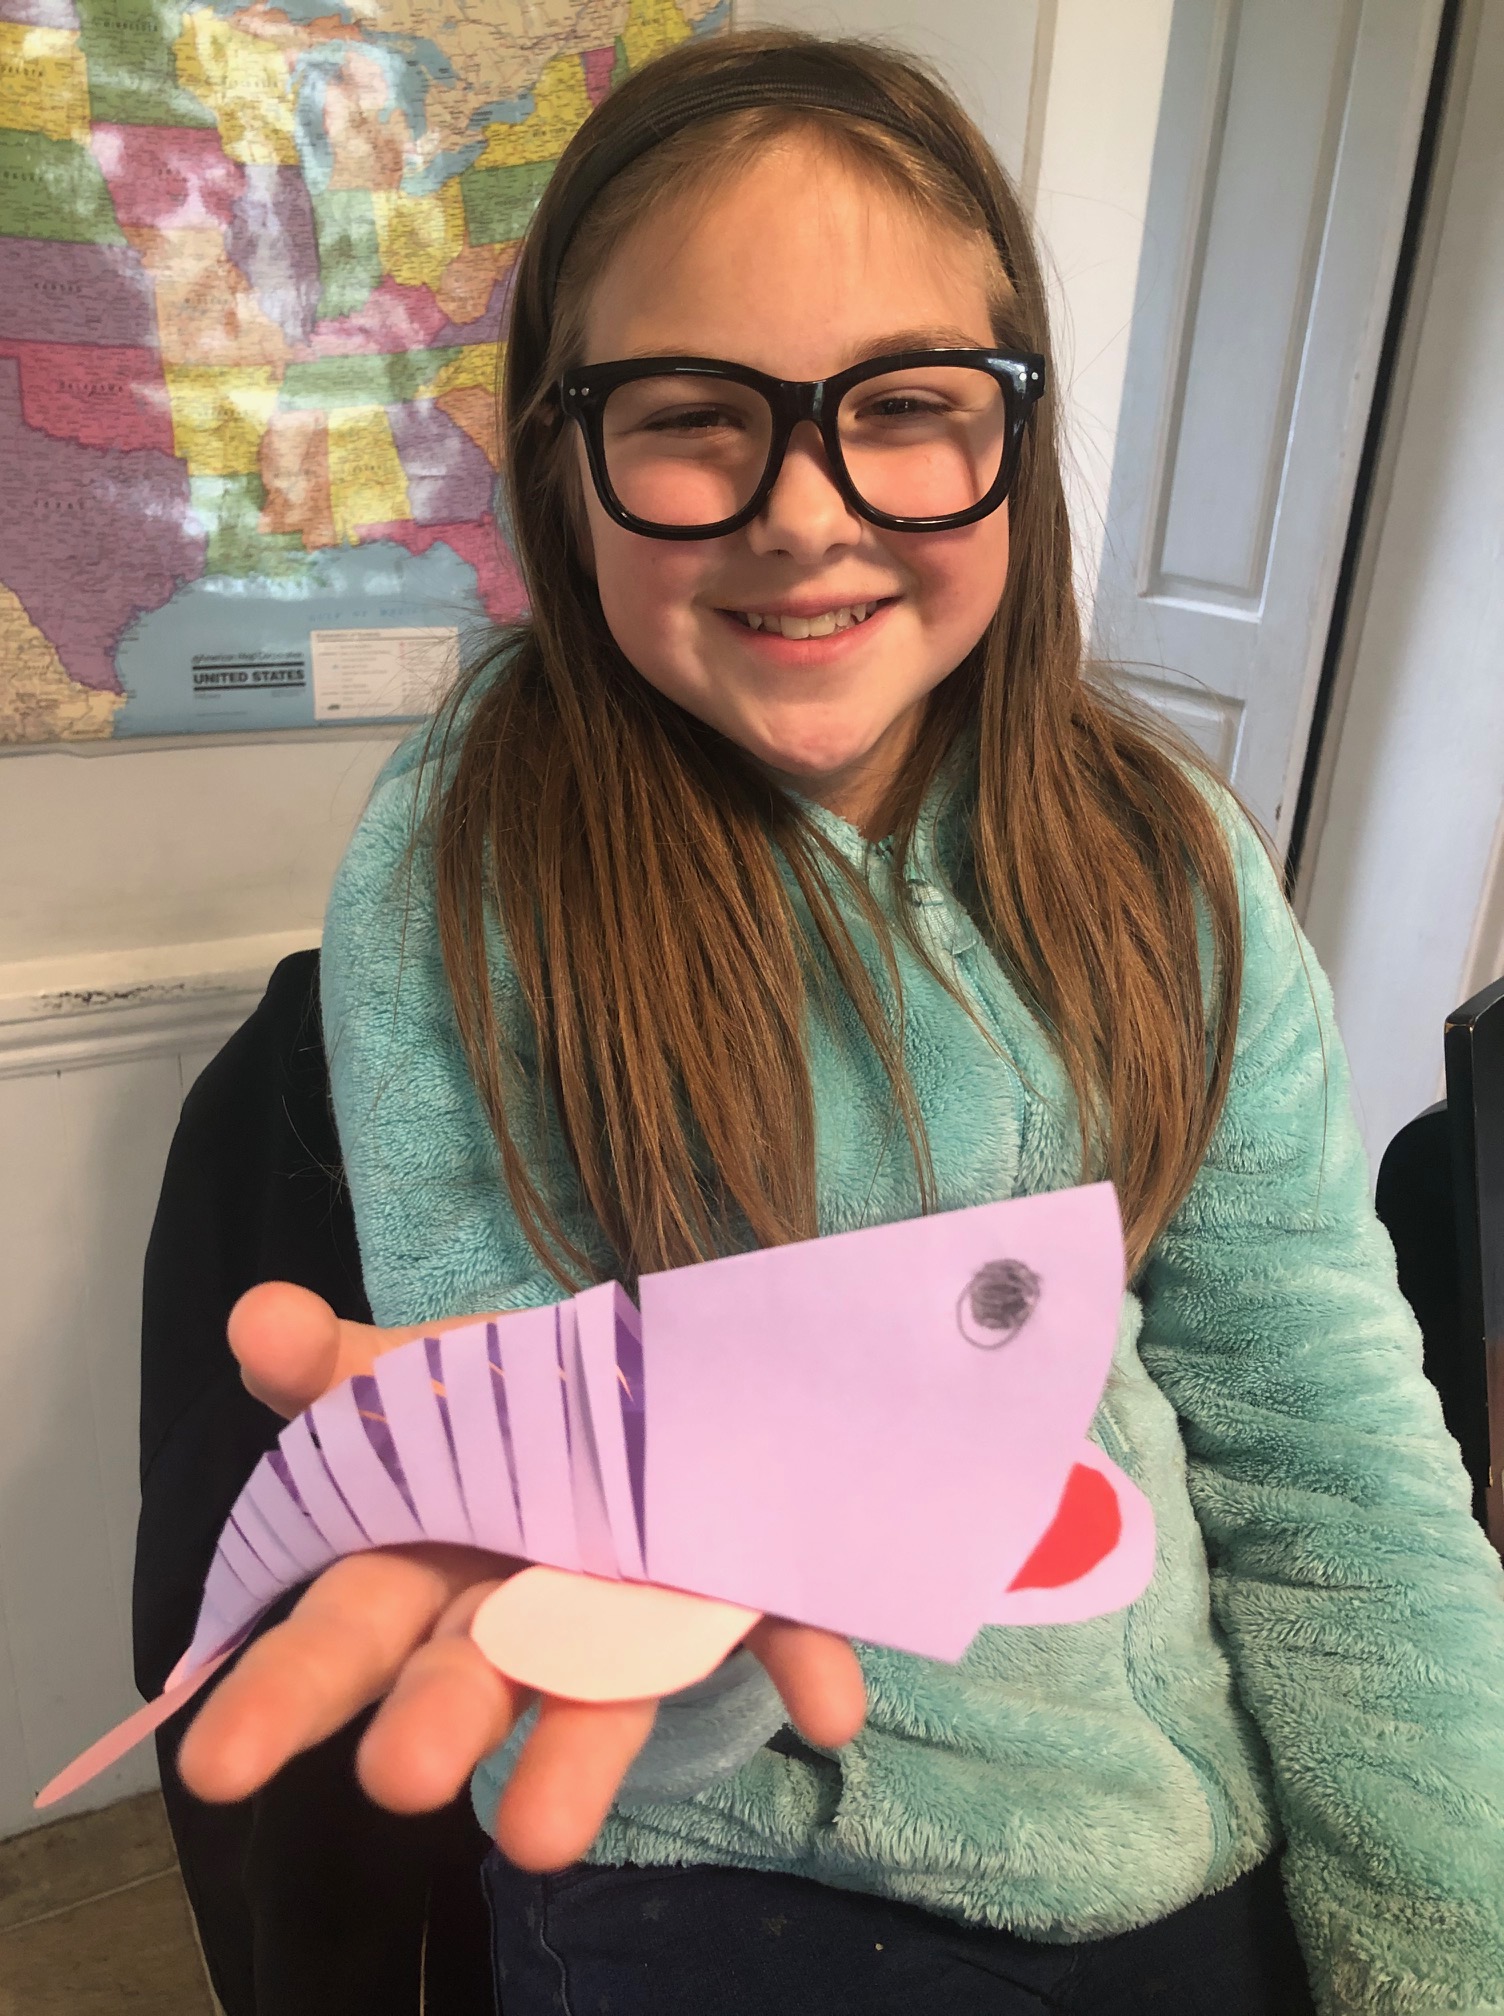
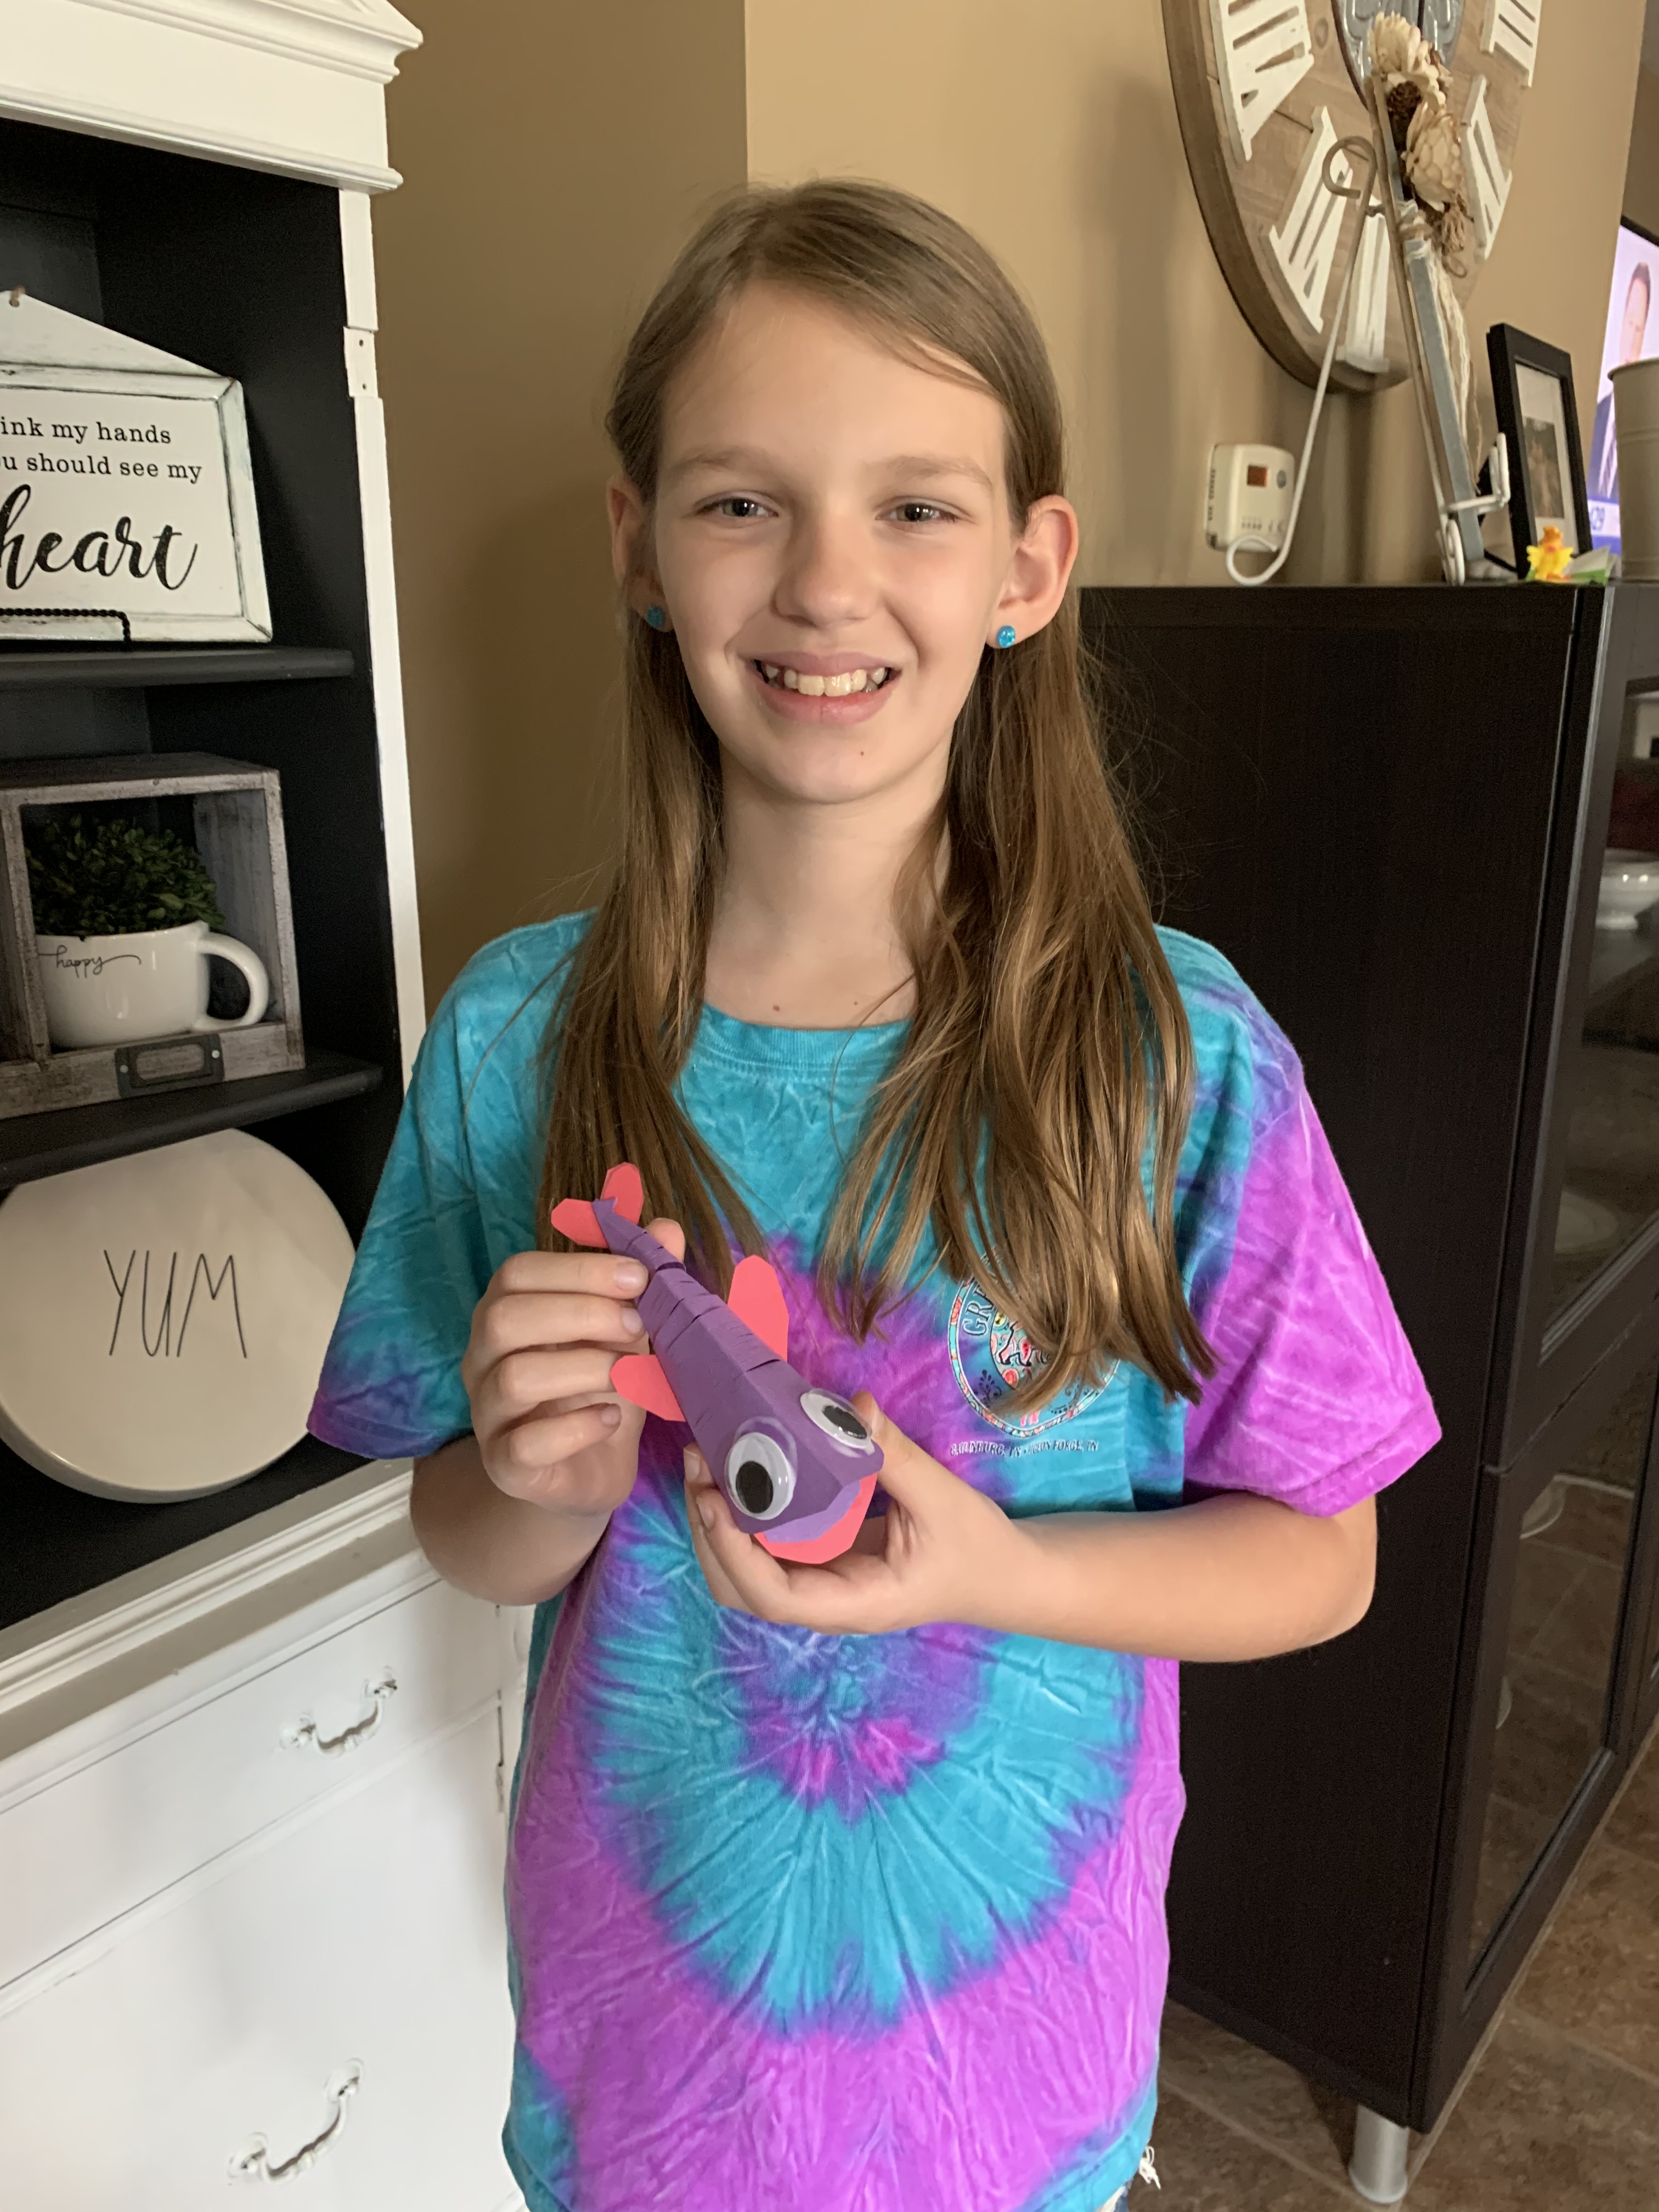
Ryleigh’s fish with the googly eyes came out great. I wonder what else you could make with the same idea. Thanks for sending in the picture, Ms. Ryleigh T.
Ms. Ava B. did a nice job with the fish. I love the new painting you’re starting with the black background, very nice job on some popular cartoons!
Lucas H. did some nice origami here, thanks for sending!
Brennan M did the drawing above which sums how everyone probably feels right about now.
Bennet tried the fish I posted and looks to have done a pretty great job on it. Thanks for sending the picture and keep up the good work!
Ms. Savannah H. did some nice cut paper creations. I just learned the fish myself, I thought it was a nice cut and fold piece. Ms. Savannah, I can’t wait to see what you’ll come up with next? Thanks for sending pics of your work!
_________________________________
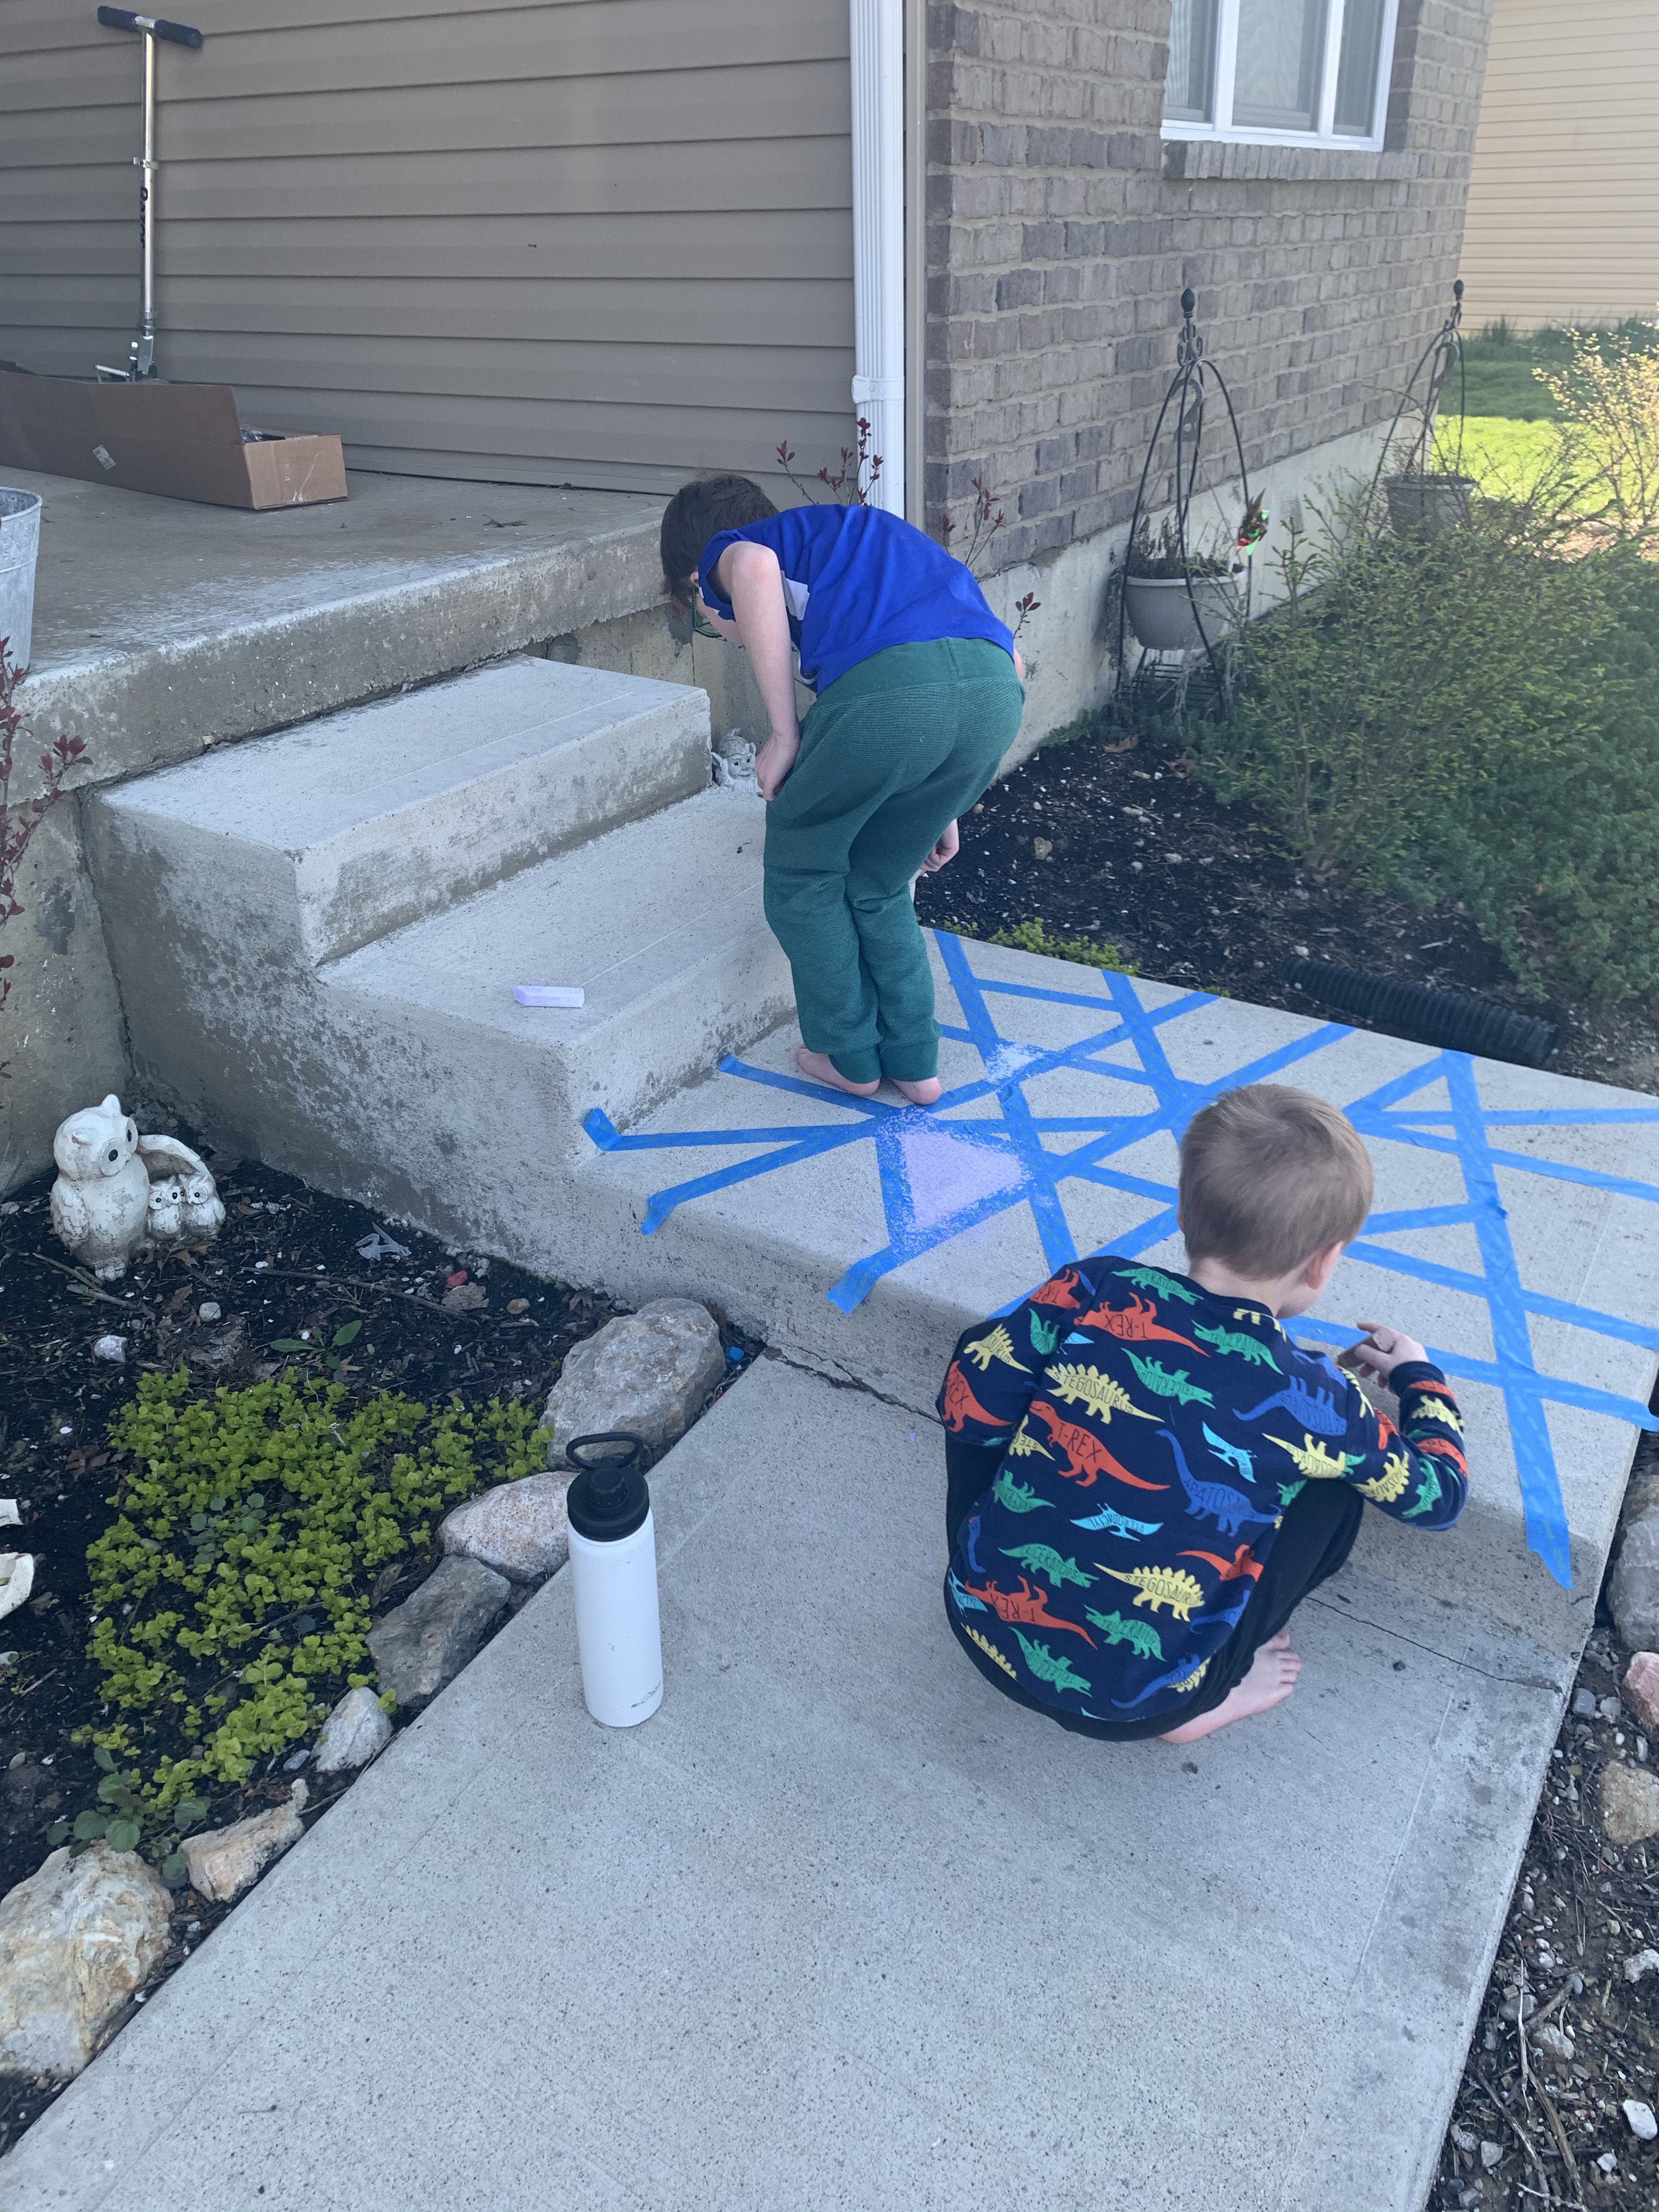
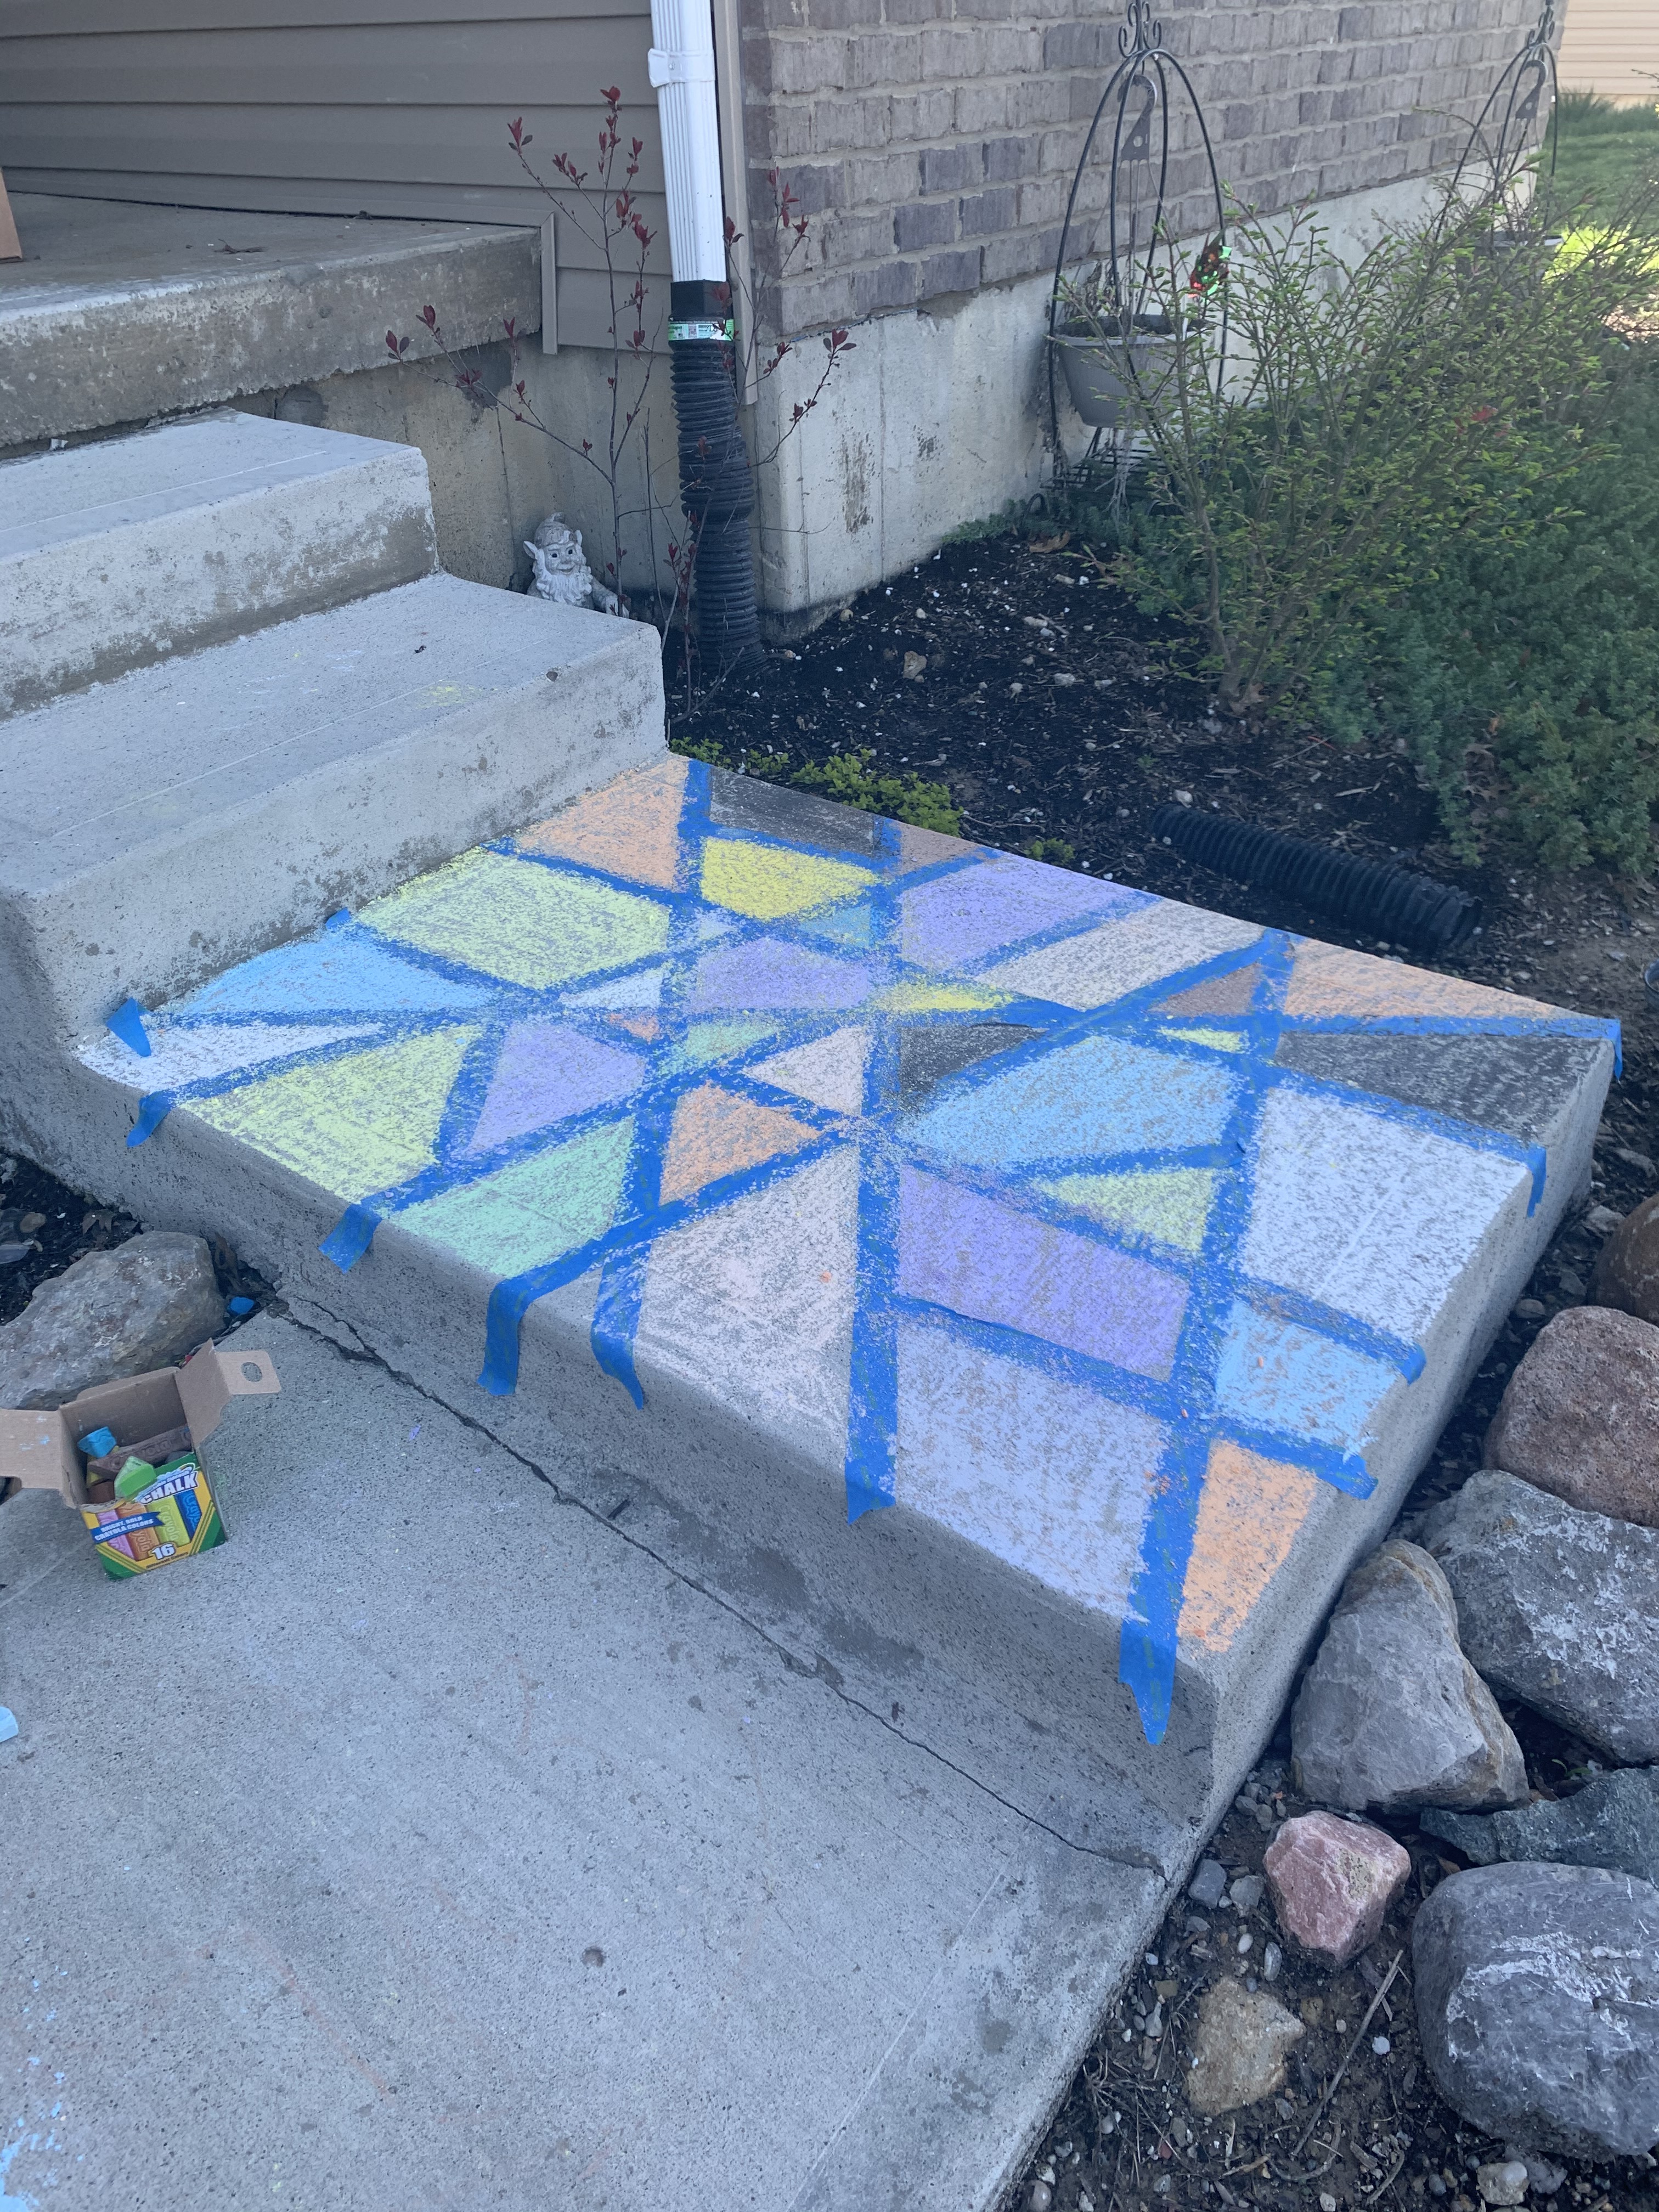
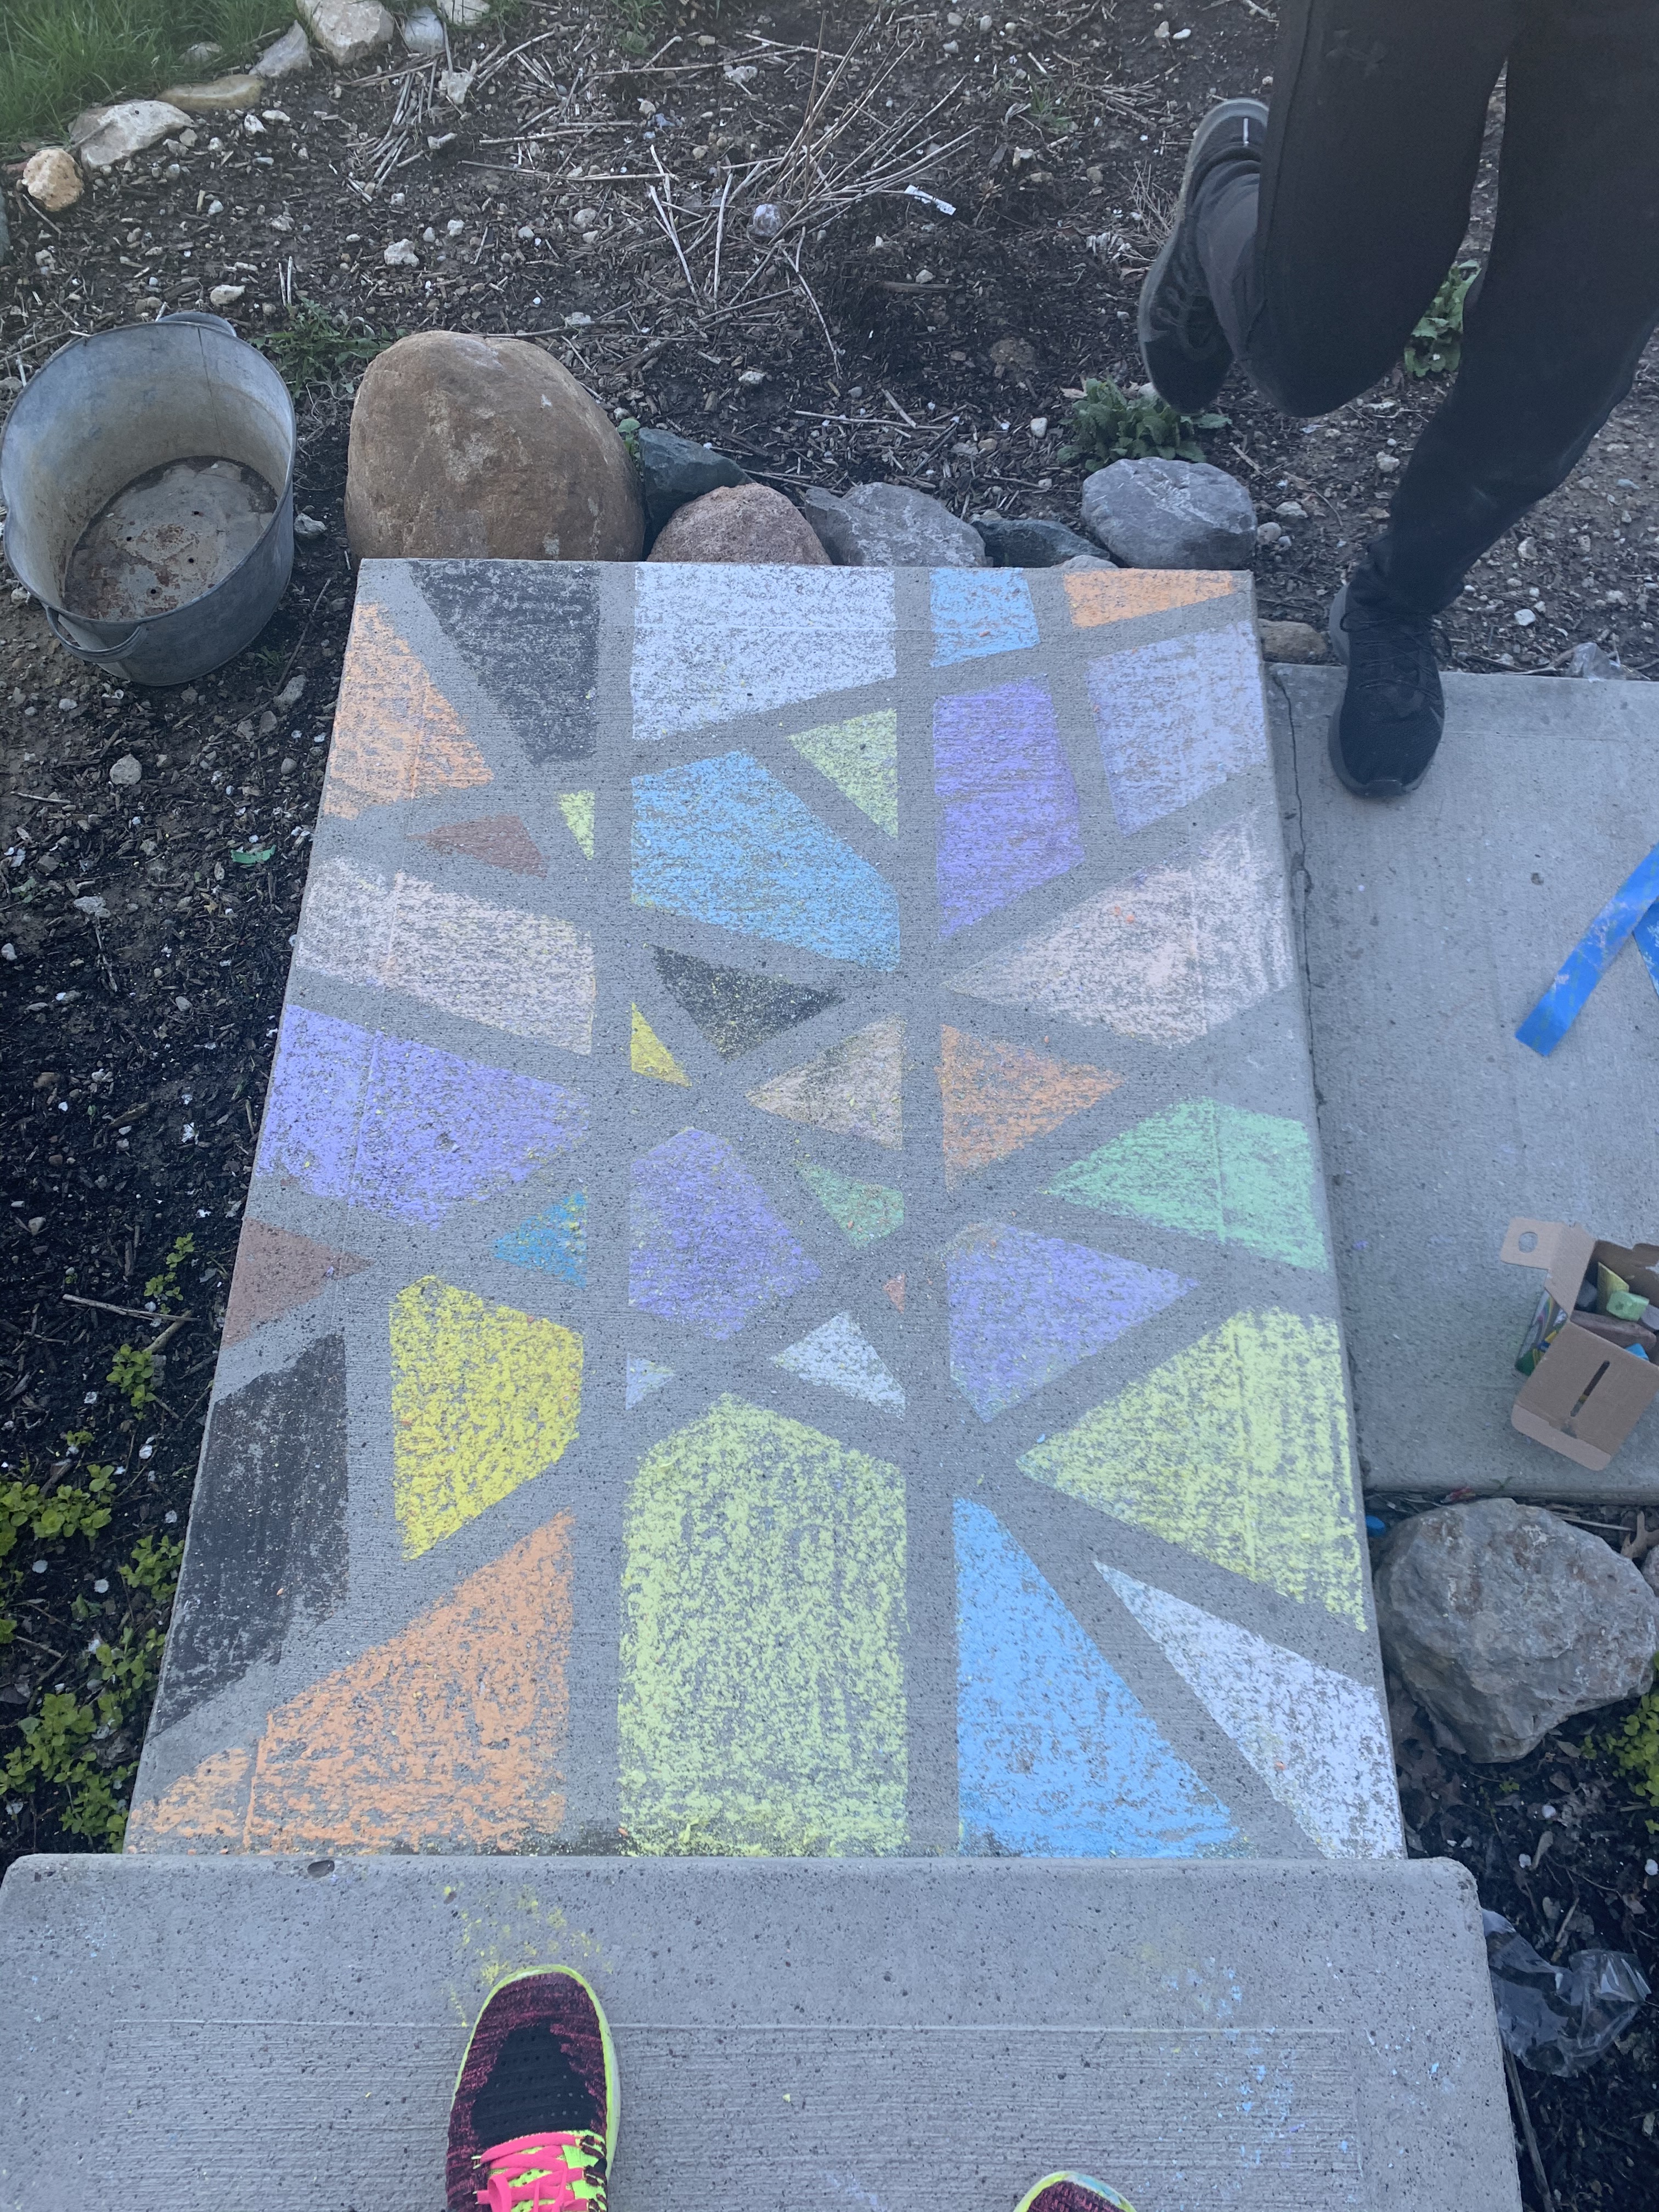
Grant M did a step by step piece on the steps outside of his house!
Great work Grant, I want you to try this in paint when we get back in school!
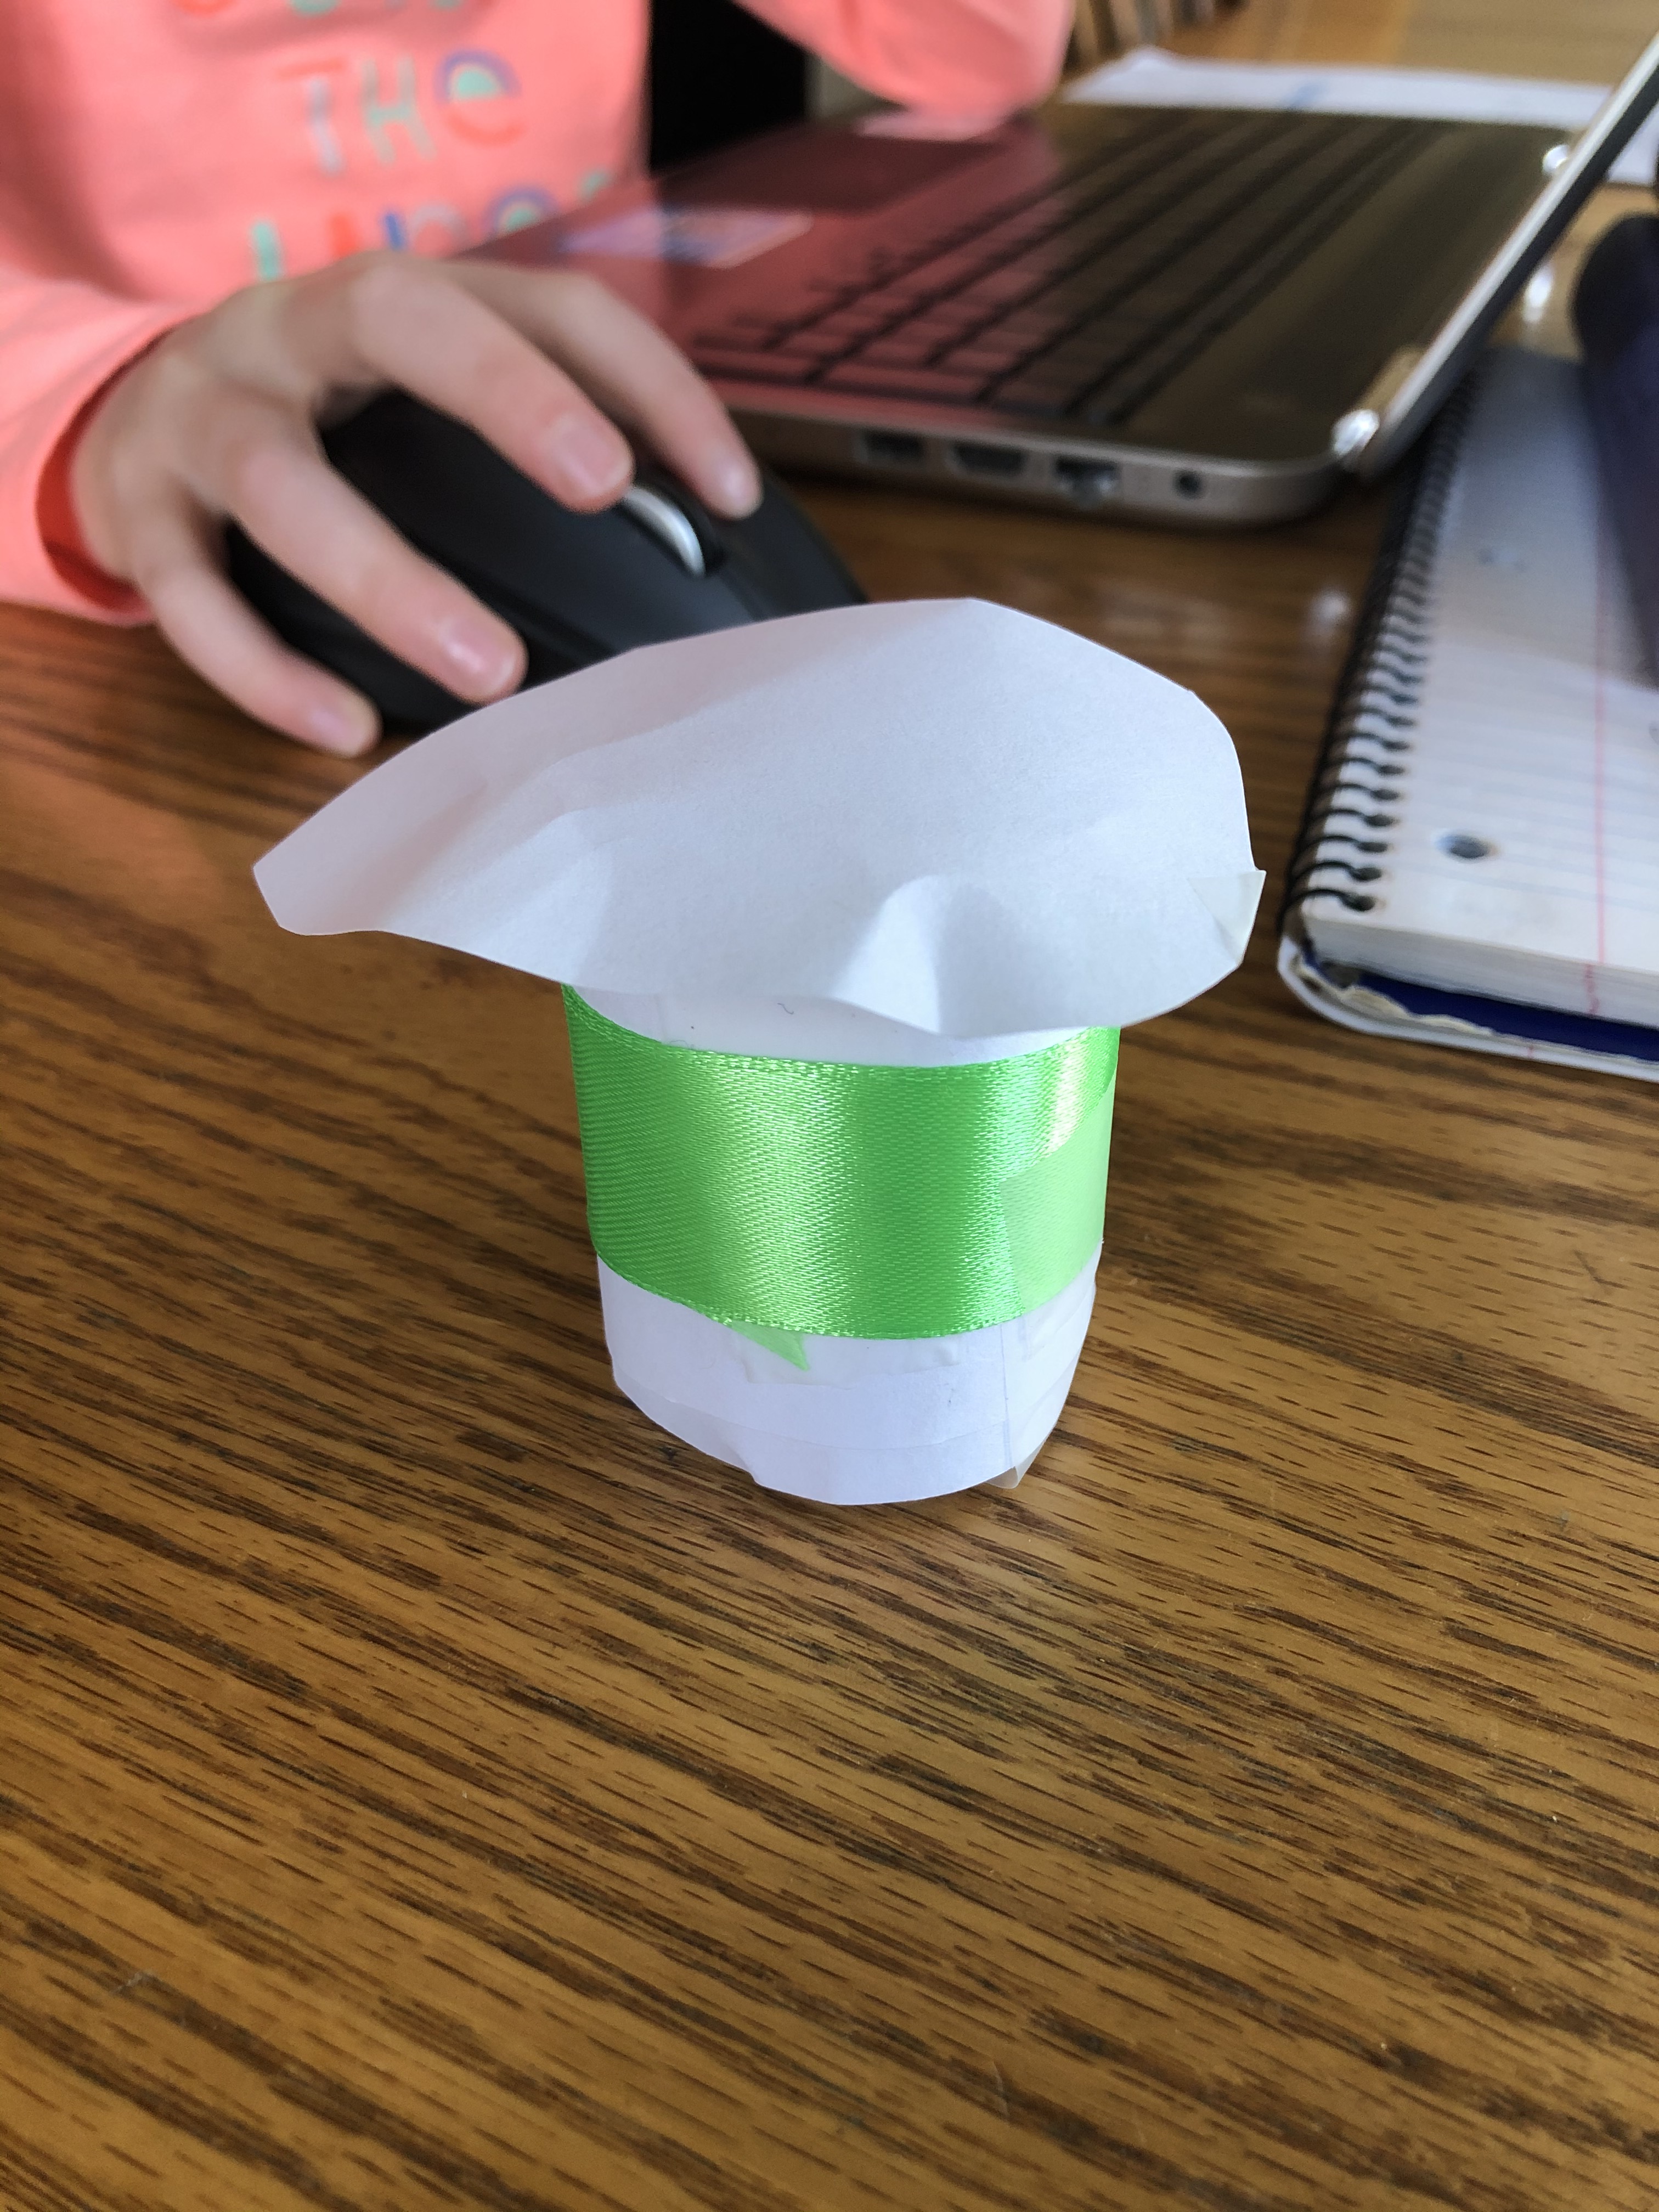
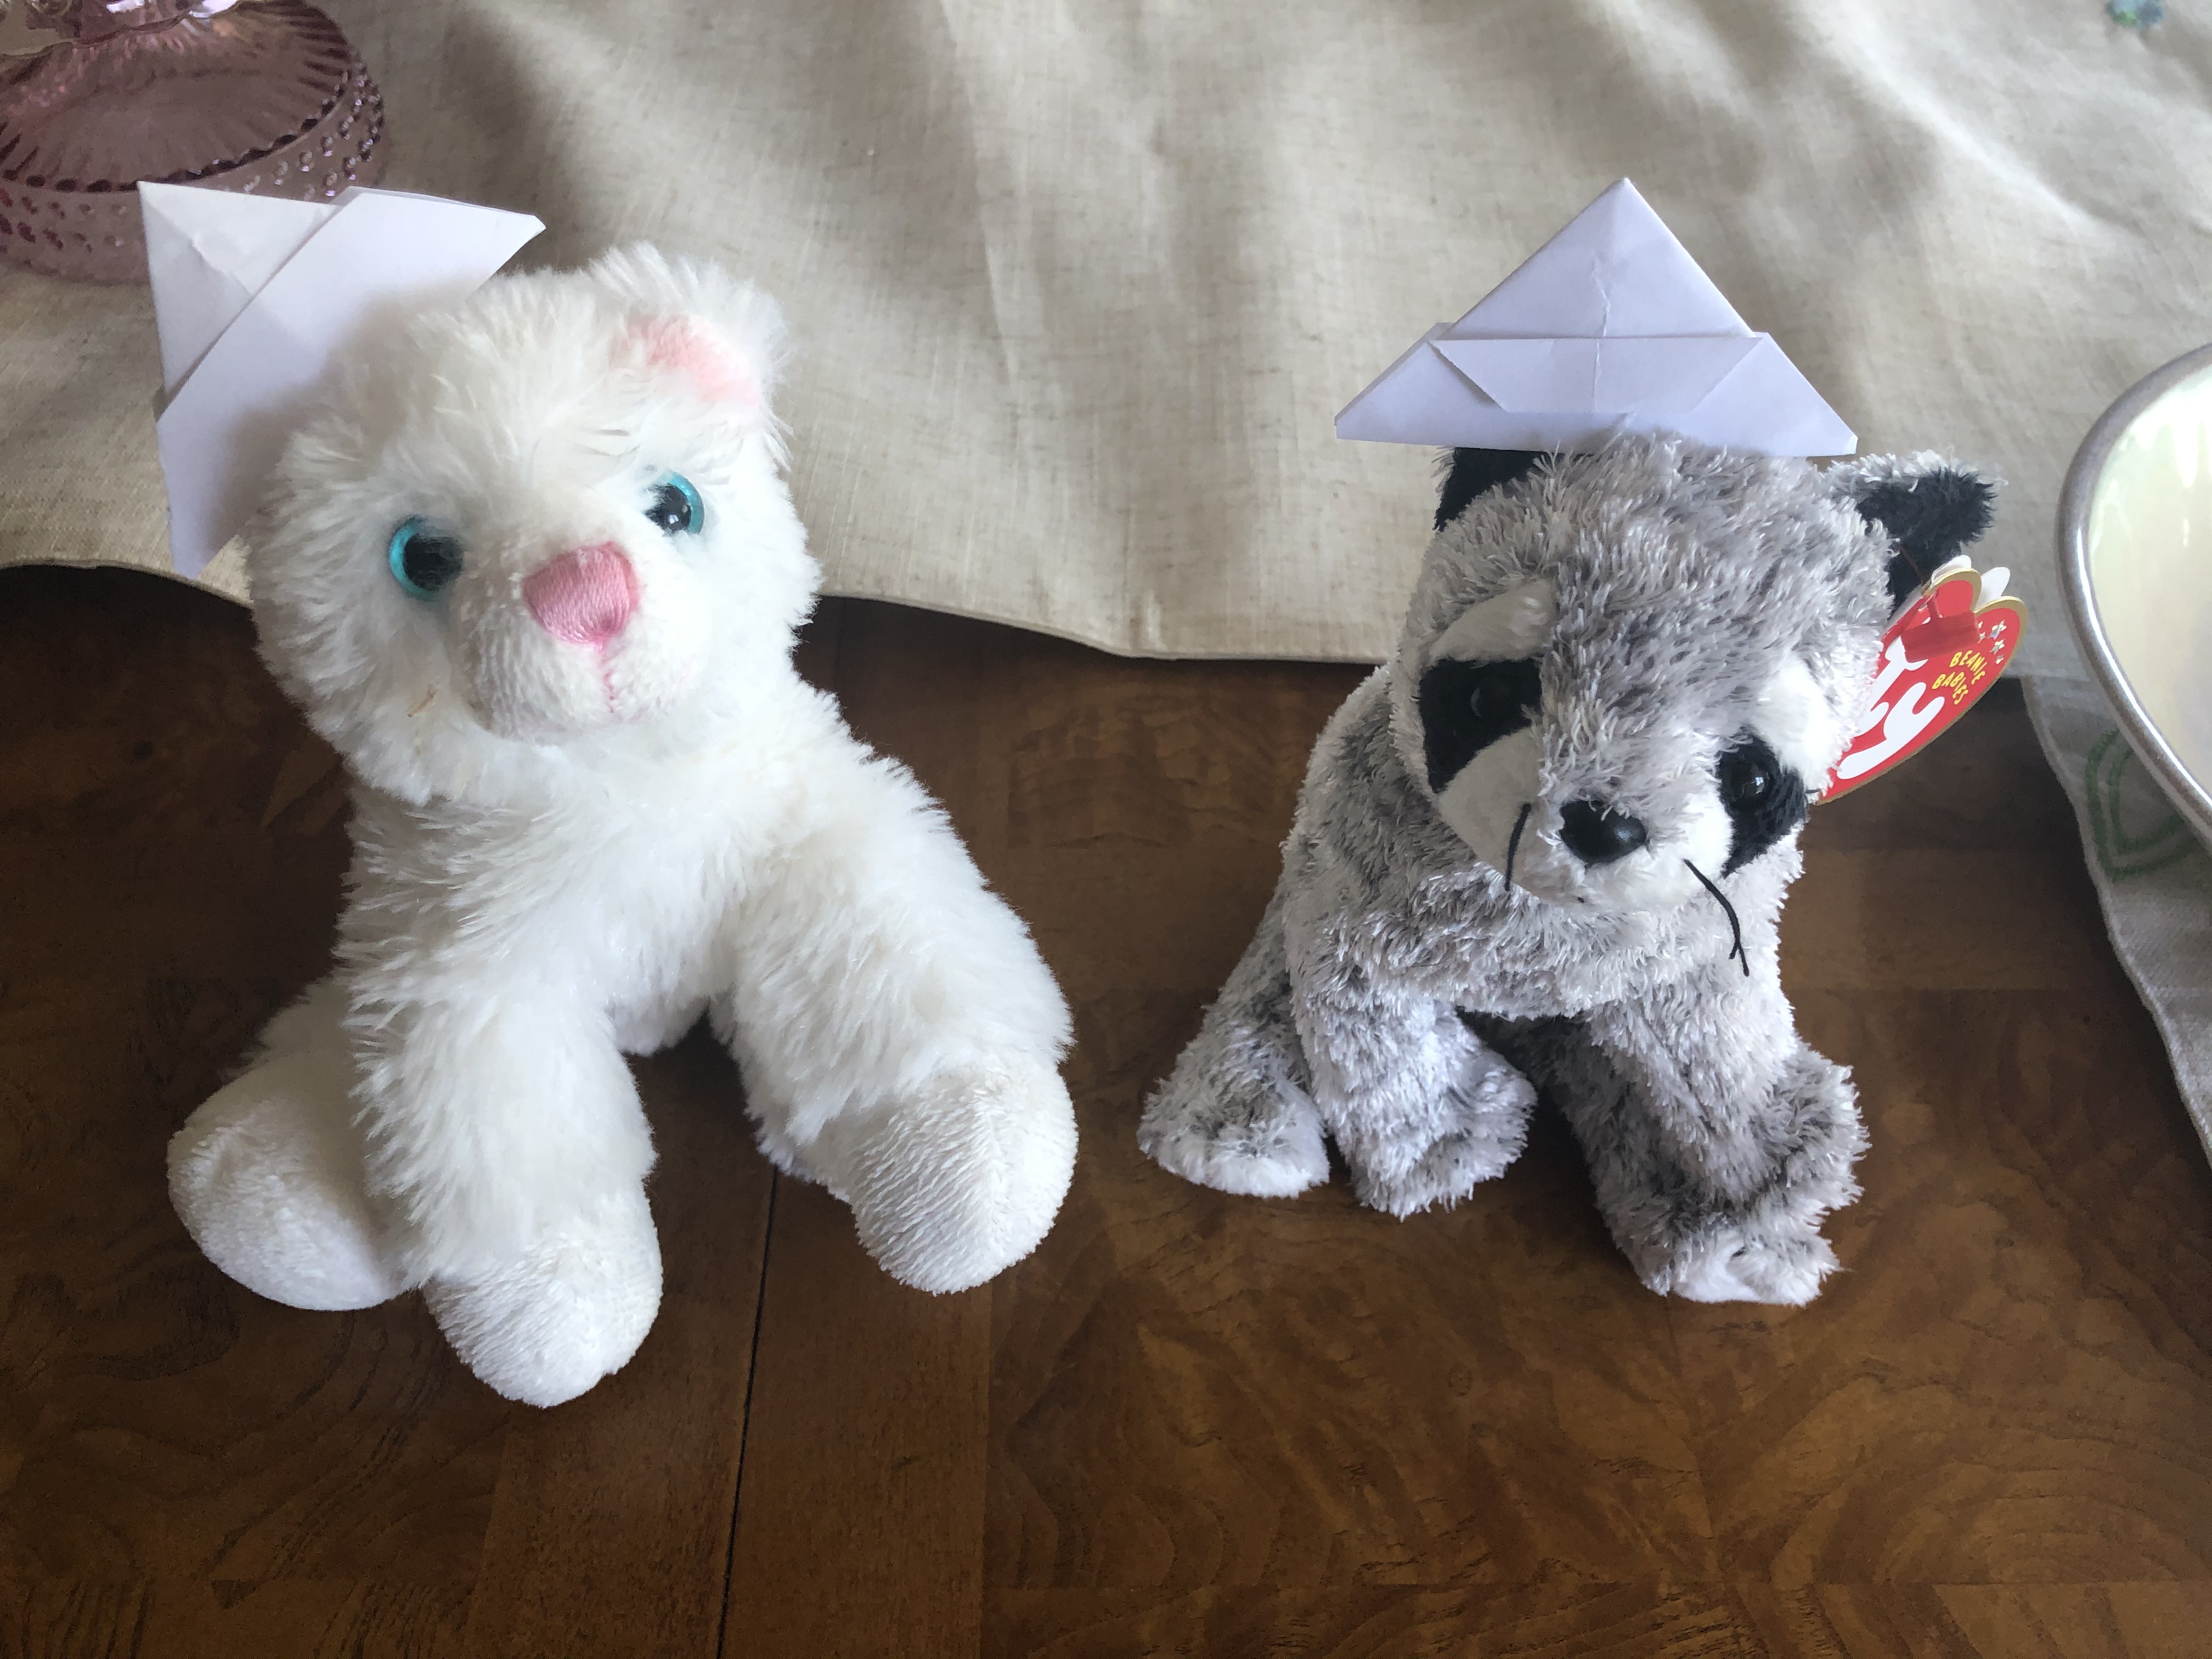
These hats are Made by Ms. Adaline W. I’m glad you remembered how to make the hats, they work very well with your stuffed animals. Thanks for sending the picture!
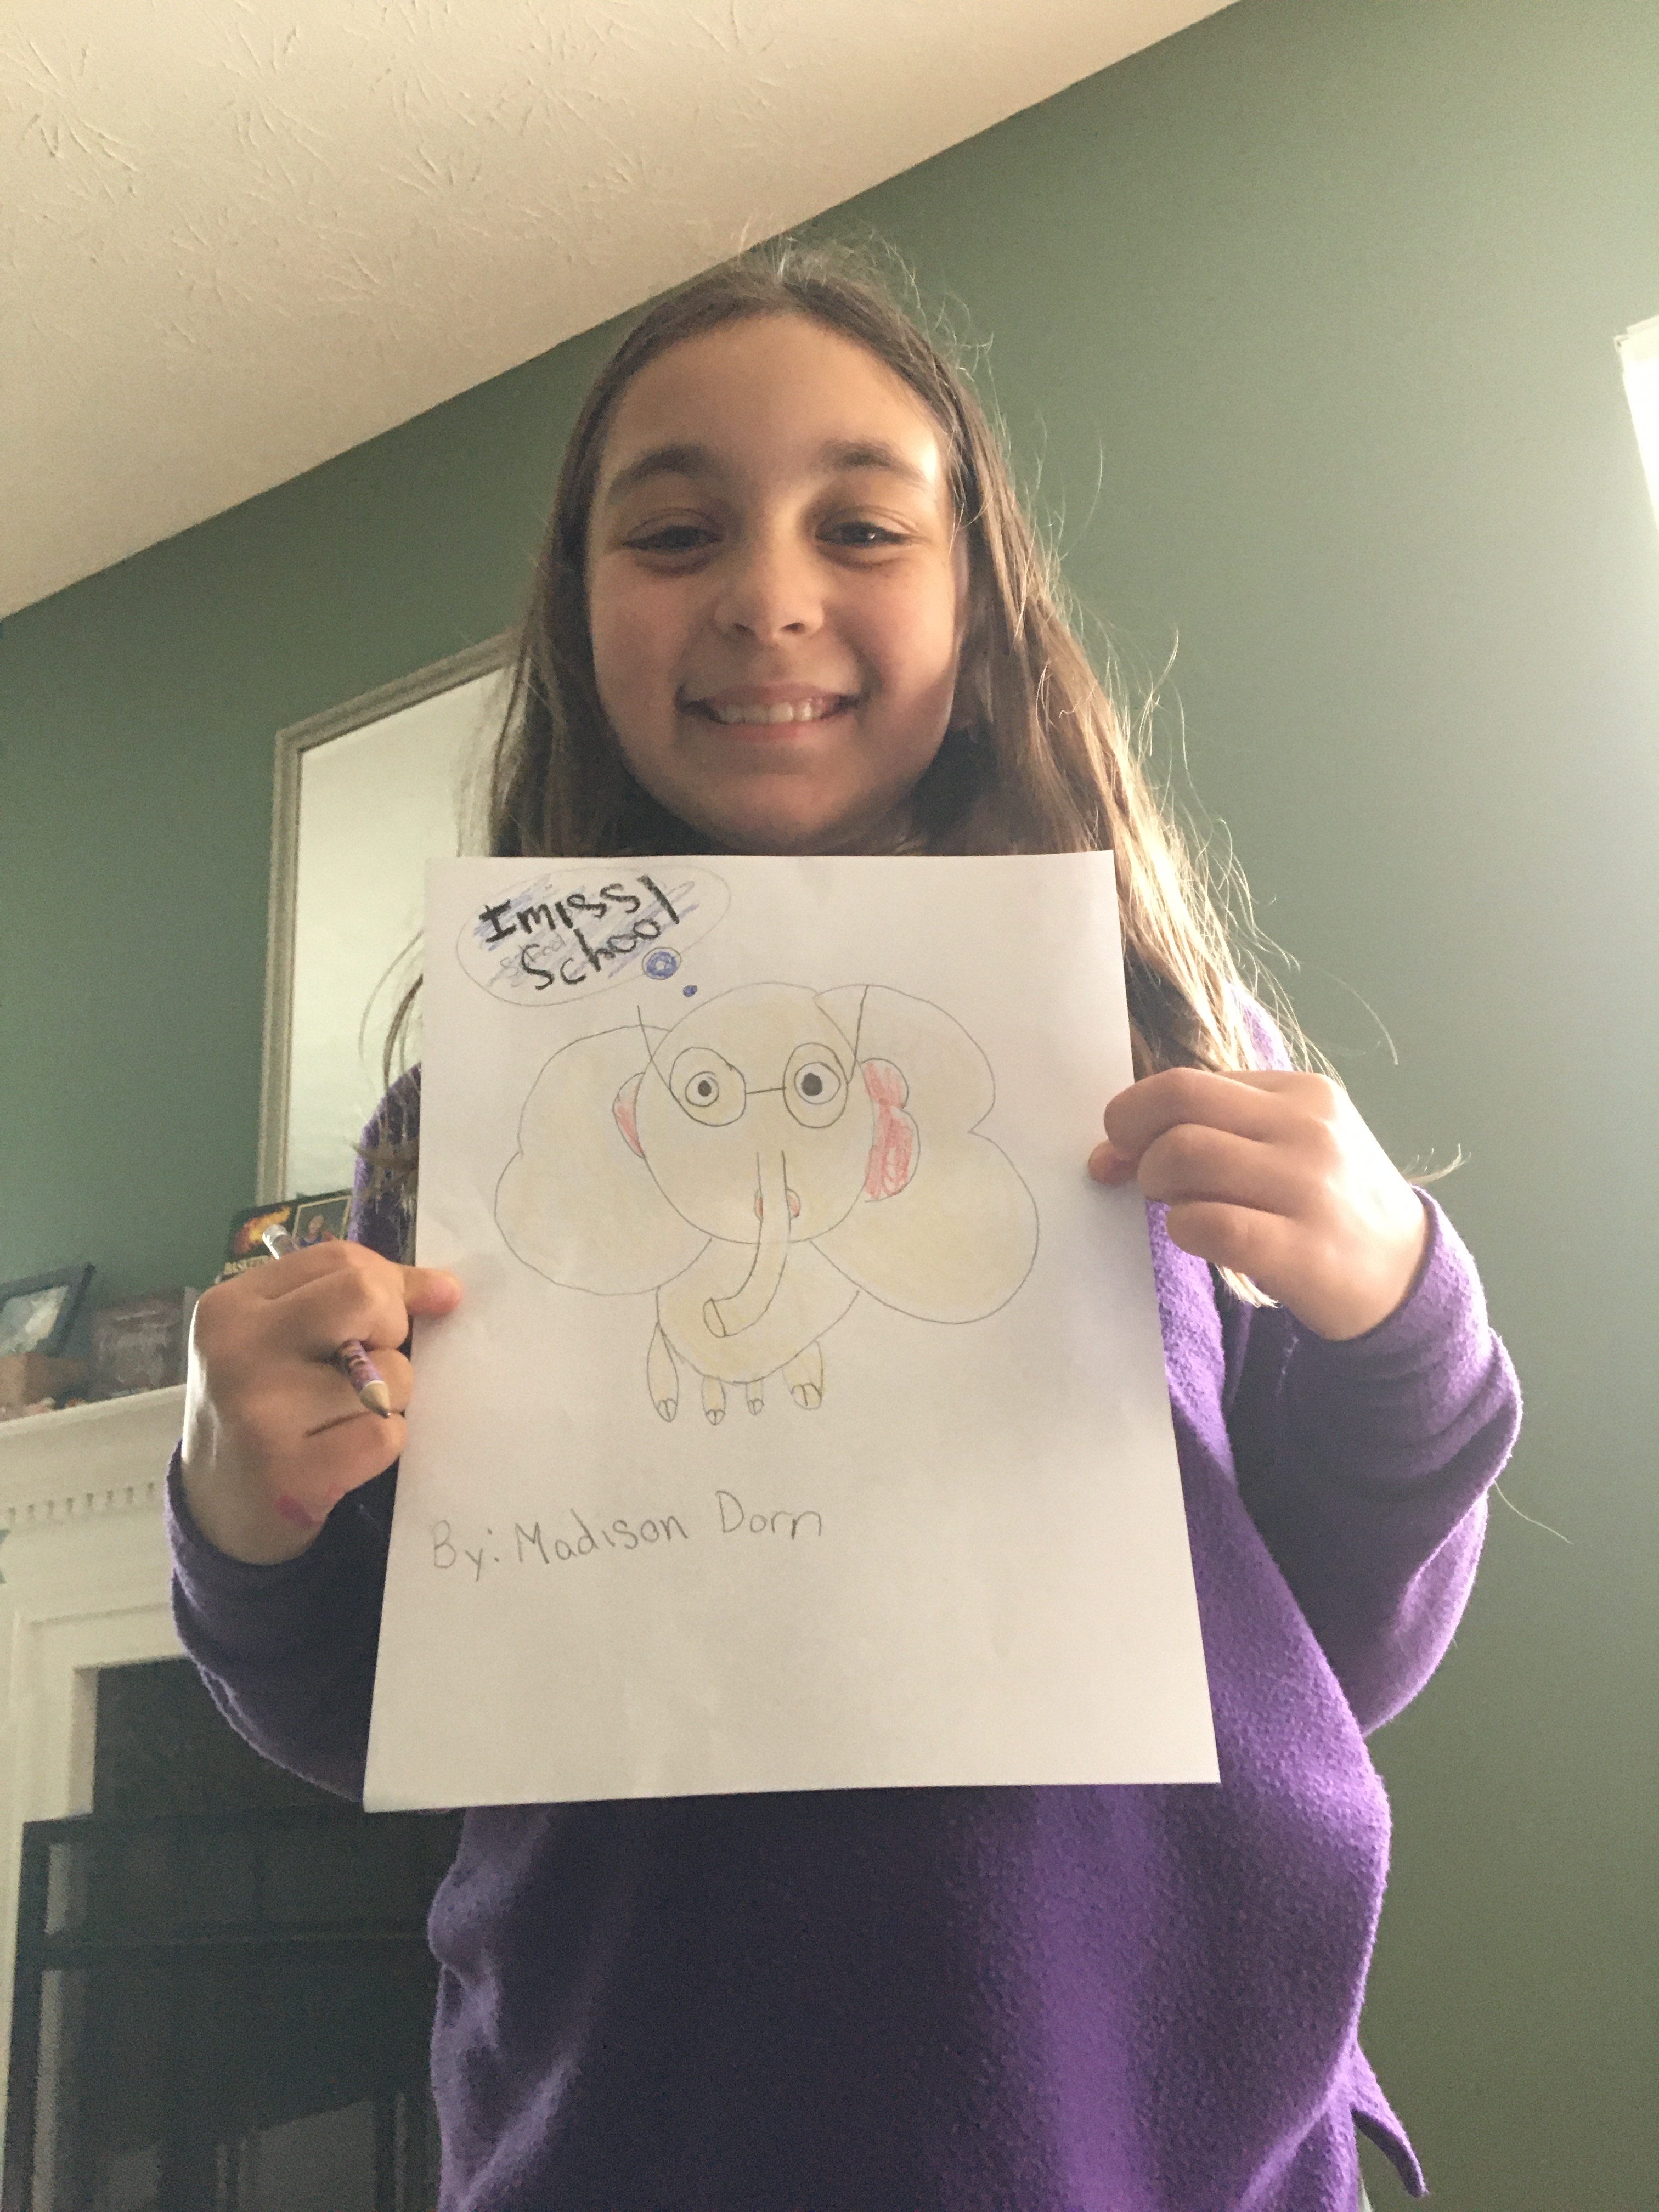
Another one from Ms. Jessica D. I think at this point we all miss school! Thanks for sending.
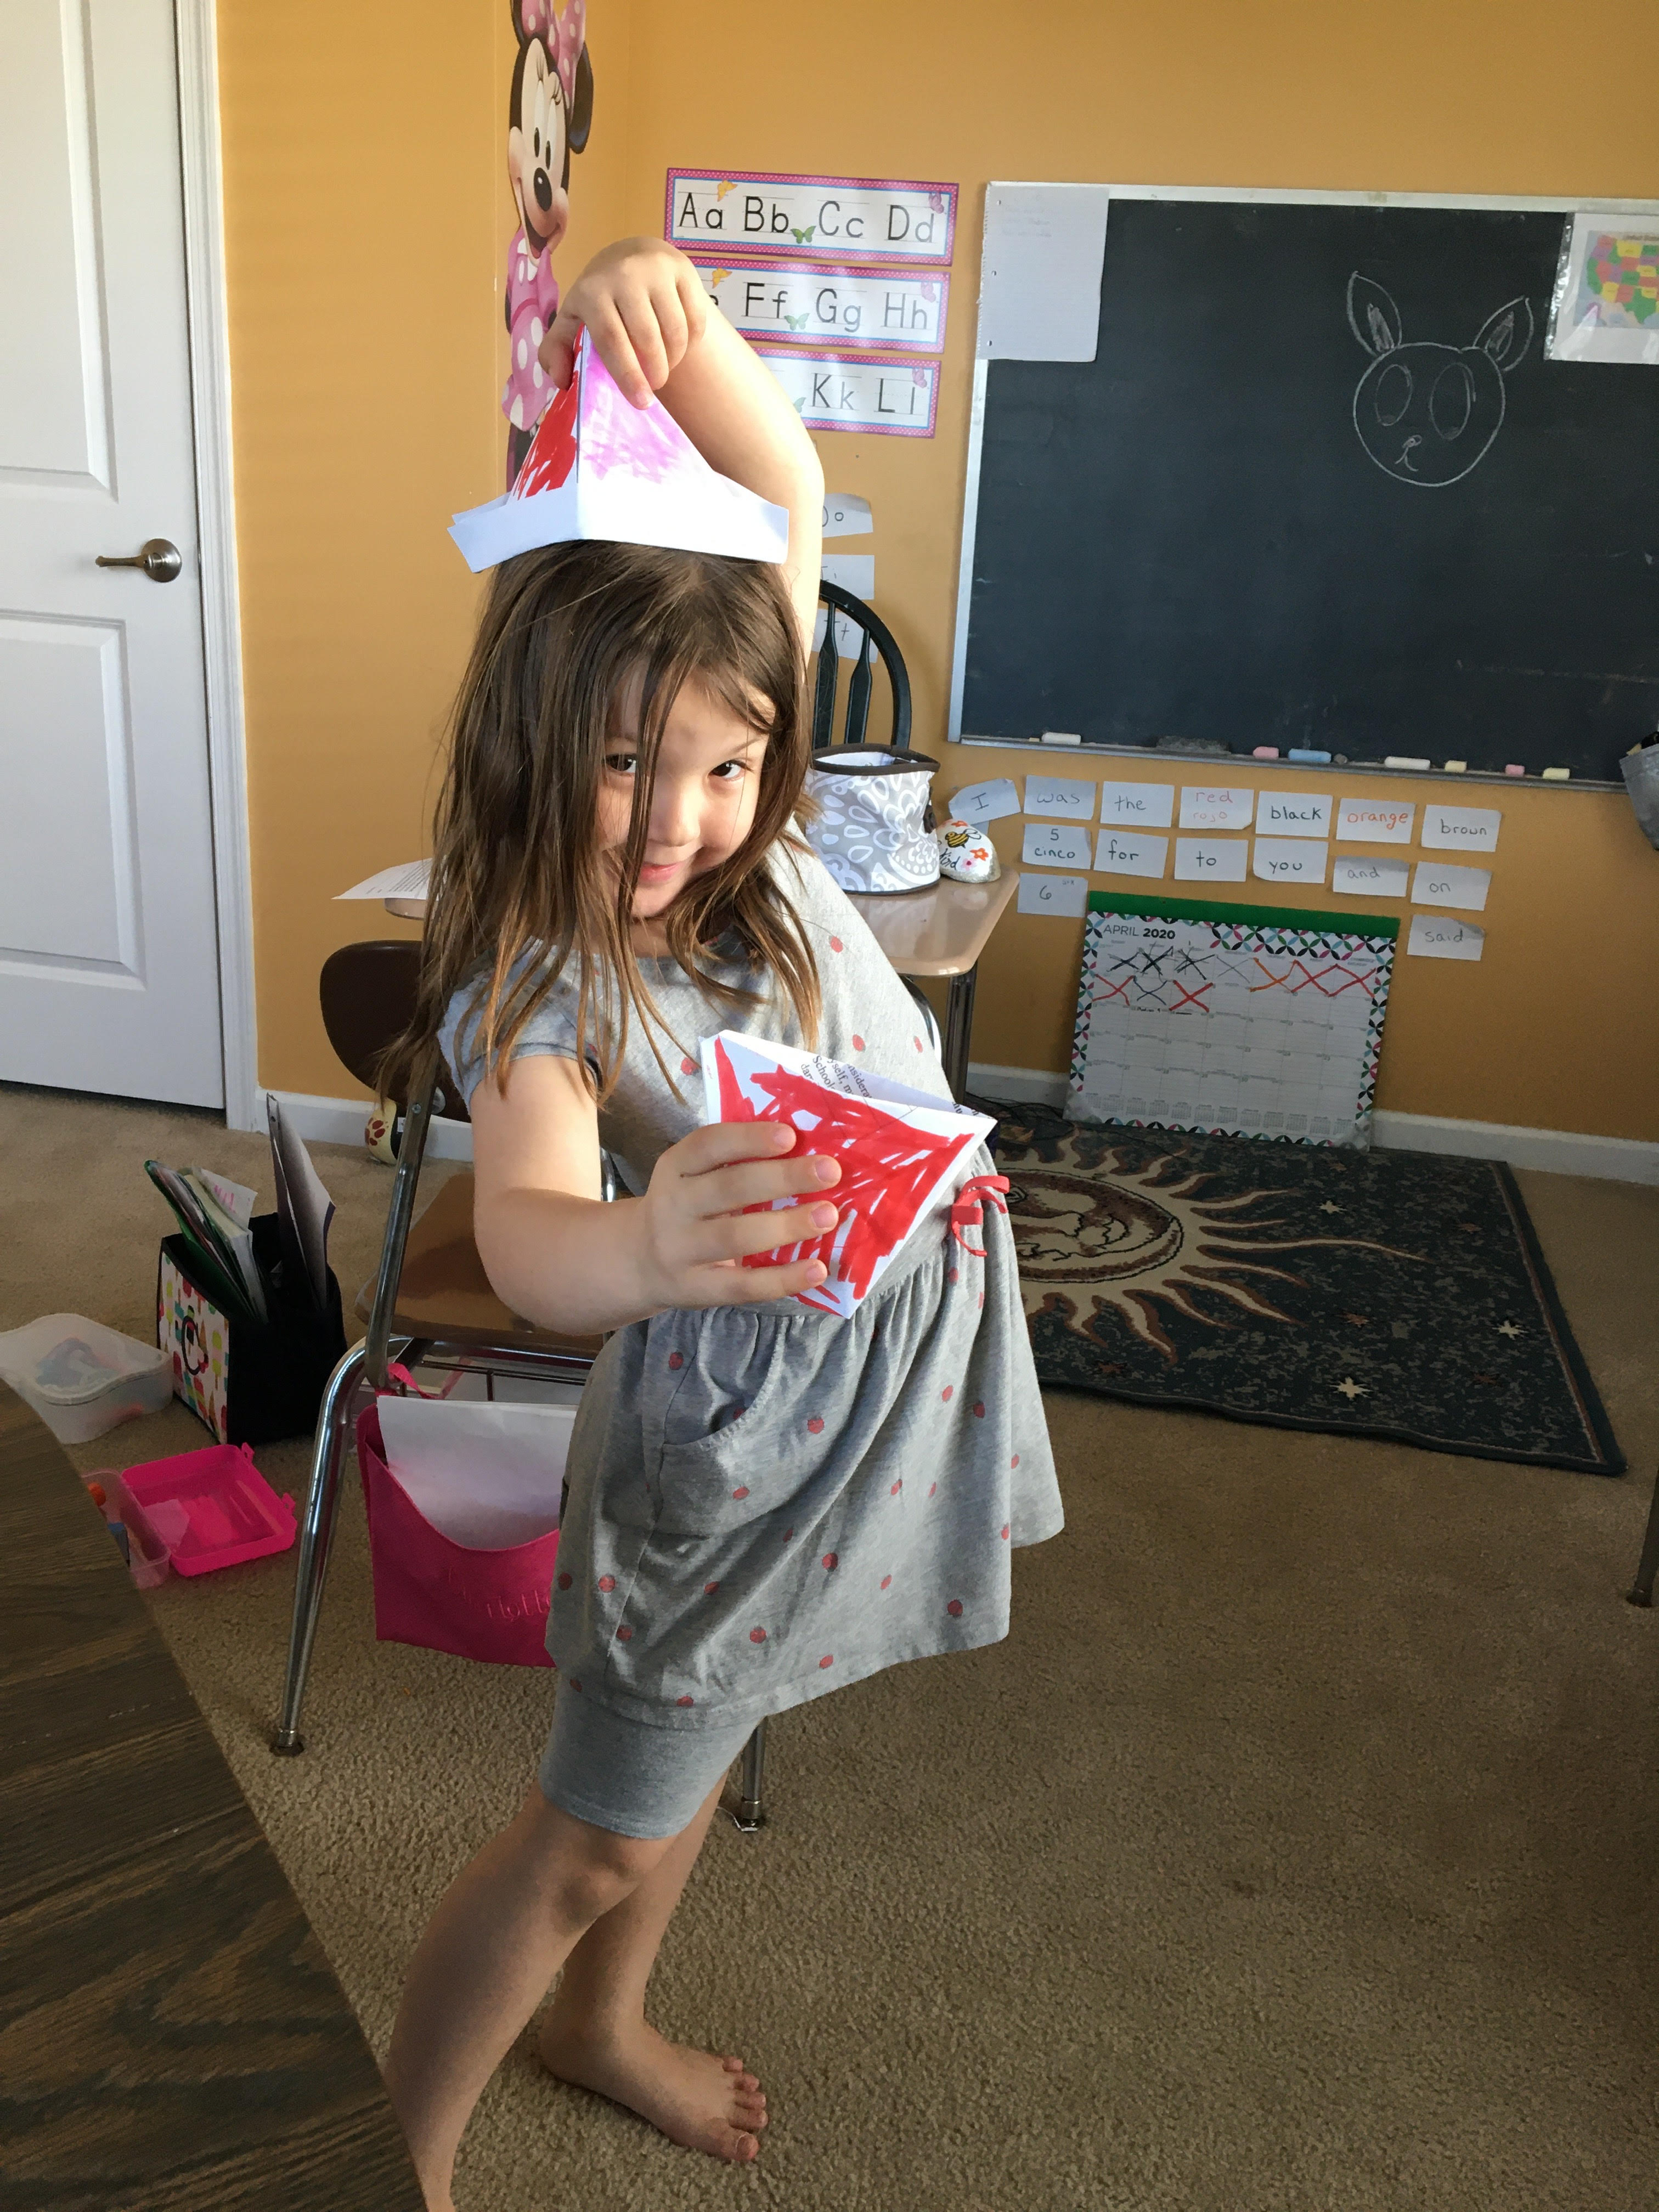
Above is Ms. Charlotte D. Modeling an origami creation. Thanks for sending and keep up the good work. Send me more pictures of anything you make! Thanks to your mom for sending!
The above pieces are done by Grace P. It’s great to see you’ve been busy making things during our time at home! Thanks for sending and send more whenever you can!
Thanks to Olivia, Katelyn, and Ethan for sending some work my way to post! It’s great to hear from you and great to see you’ve been busy working. I hope all is going as well as can be expected. Send more or your work when ever you have time. Thanks to your mom for sending!
Thank you Ms. Lily for sending in a such a great(and large)Penguin. It looks great Lily, I miss you and everyone else!
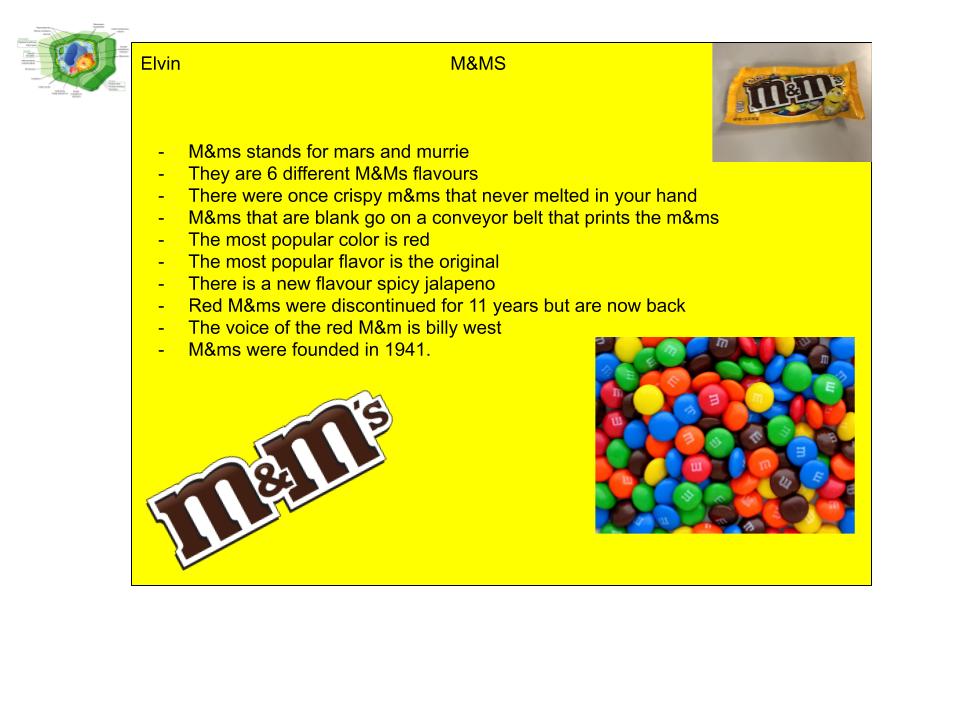
One of the assignments here is for the student to construct an infographic about something of a personal interest. The actual assignment, on a google doc, is here. I’m also going to put some student drawn cartoons and some collage pieces. I’m also going to put some personal interest collages and some animations. Probably should have titled this “September Work”
I like the way Rusty G did the animation above with and pasted in a GIF for fire, an easy way to add to your animation without a lot of work.
I believe Ms. Elmira did the nice work above.
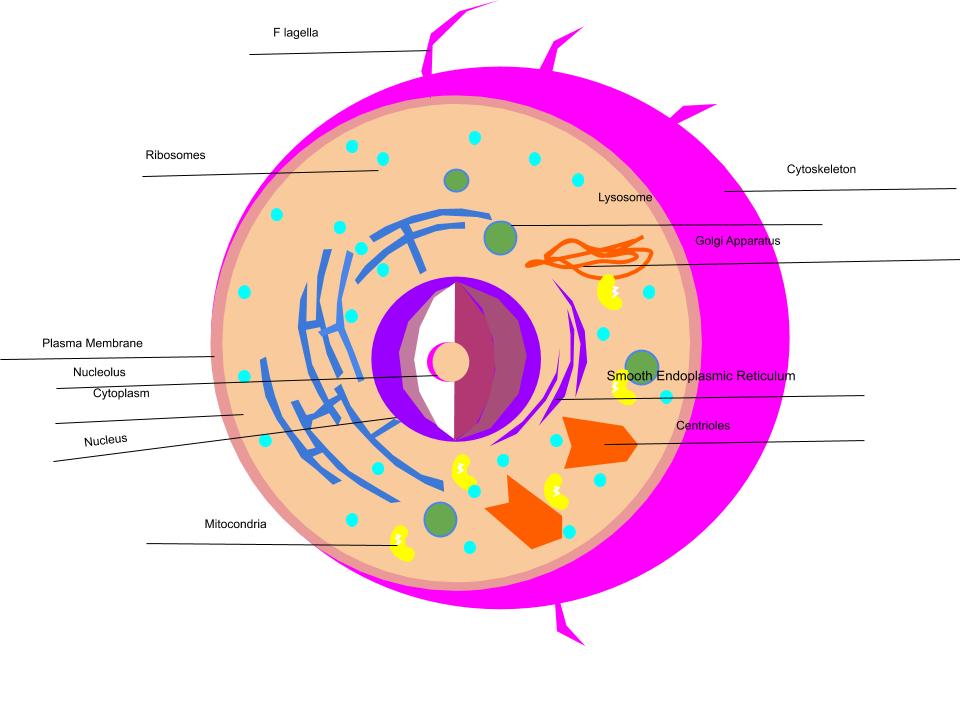
Guess who drew the above? Since the draw file was sent to me, I opened it in draw and added some stuff, and then downloaded it as a jpeg.
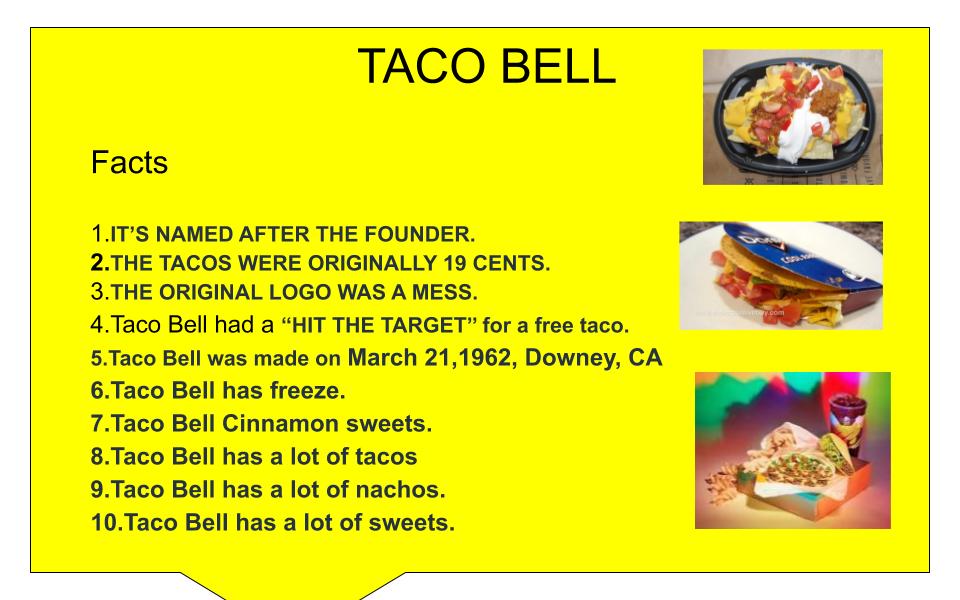
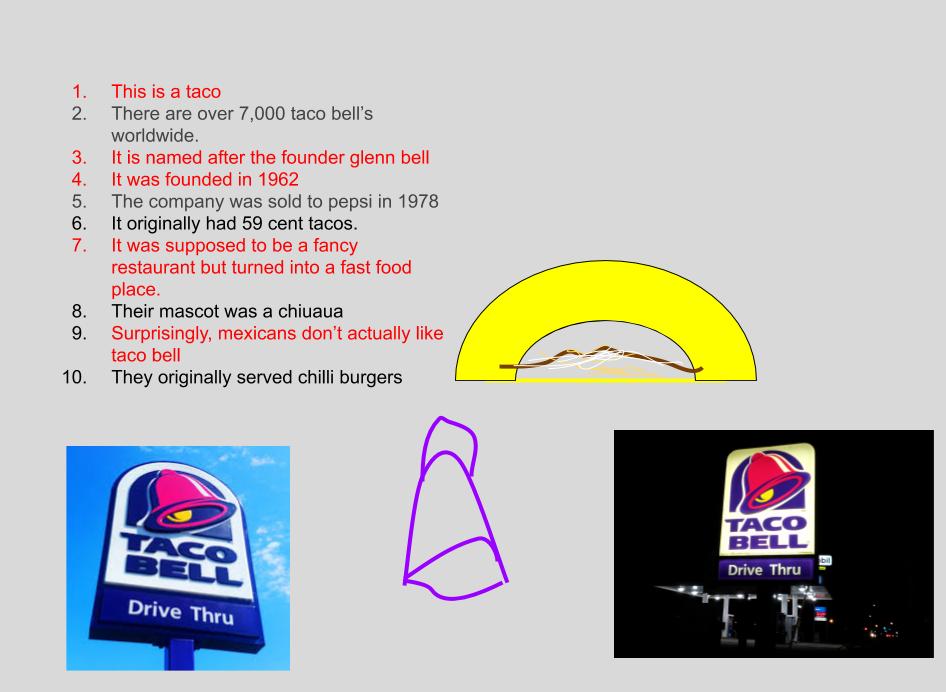
Ms. Skye S. did a great job on the above info graphic!
In case you’re wondering, the idea of a recording going “Platinum” means the recording sold 1,000,000 copies. So in the UK that means sales of over 6,000,000 and in the U.S, 2,000,000! They’ve done well-I’m going to give them a listen later.
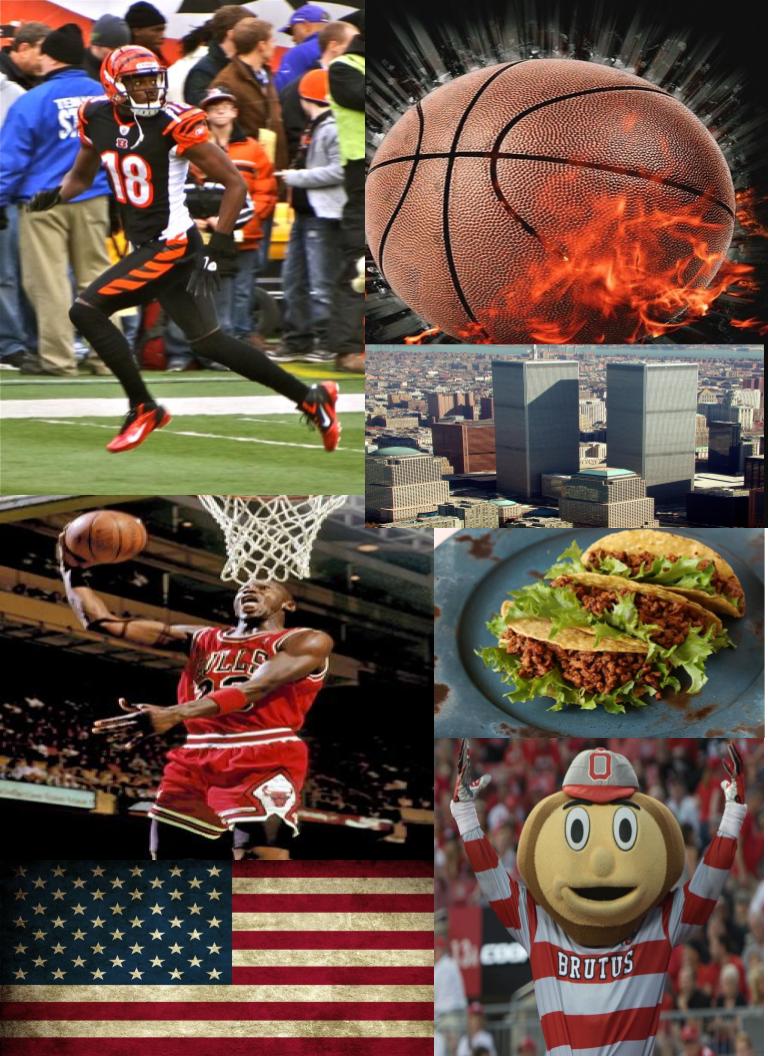
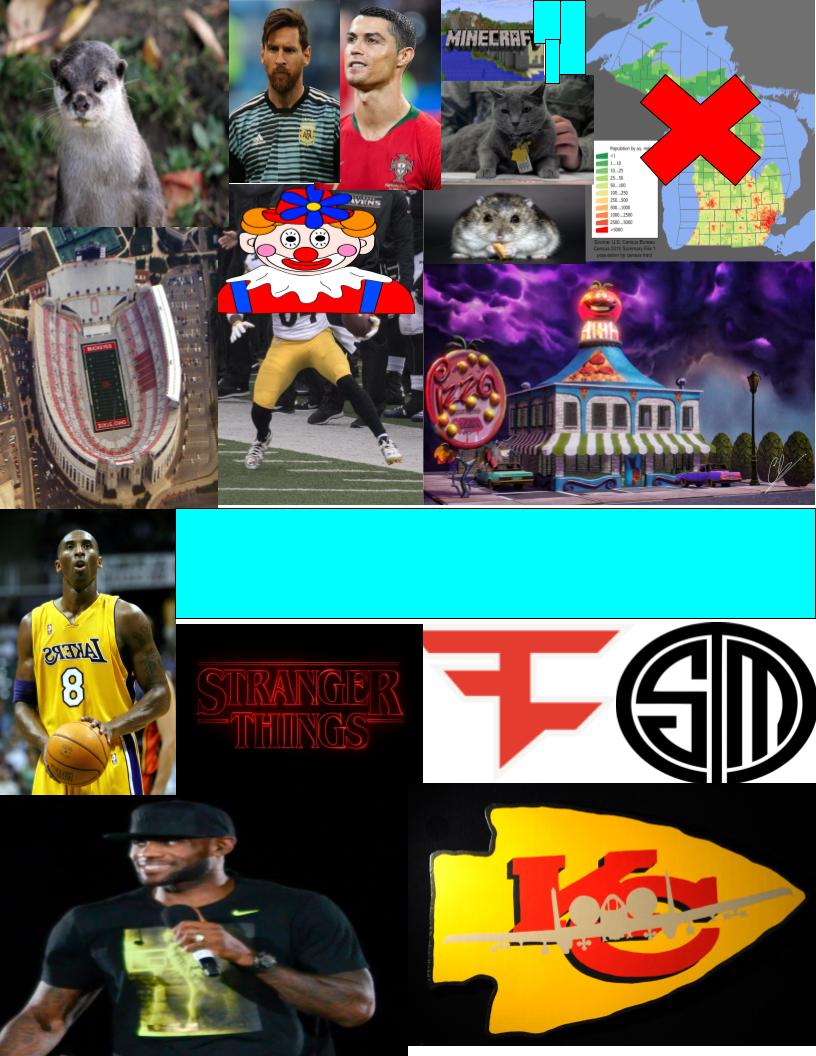
I believe Ian R, did the one above, the pizza pic looks weird.
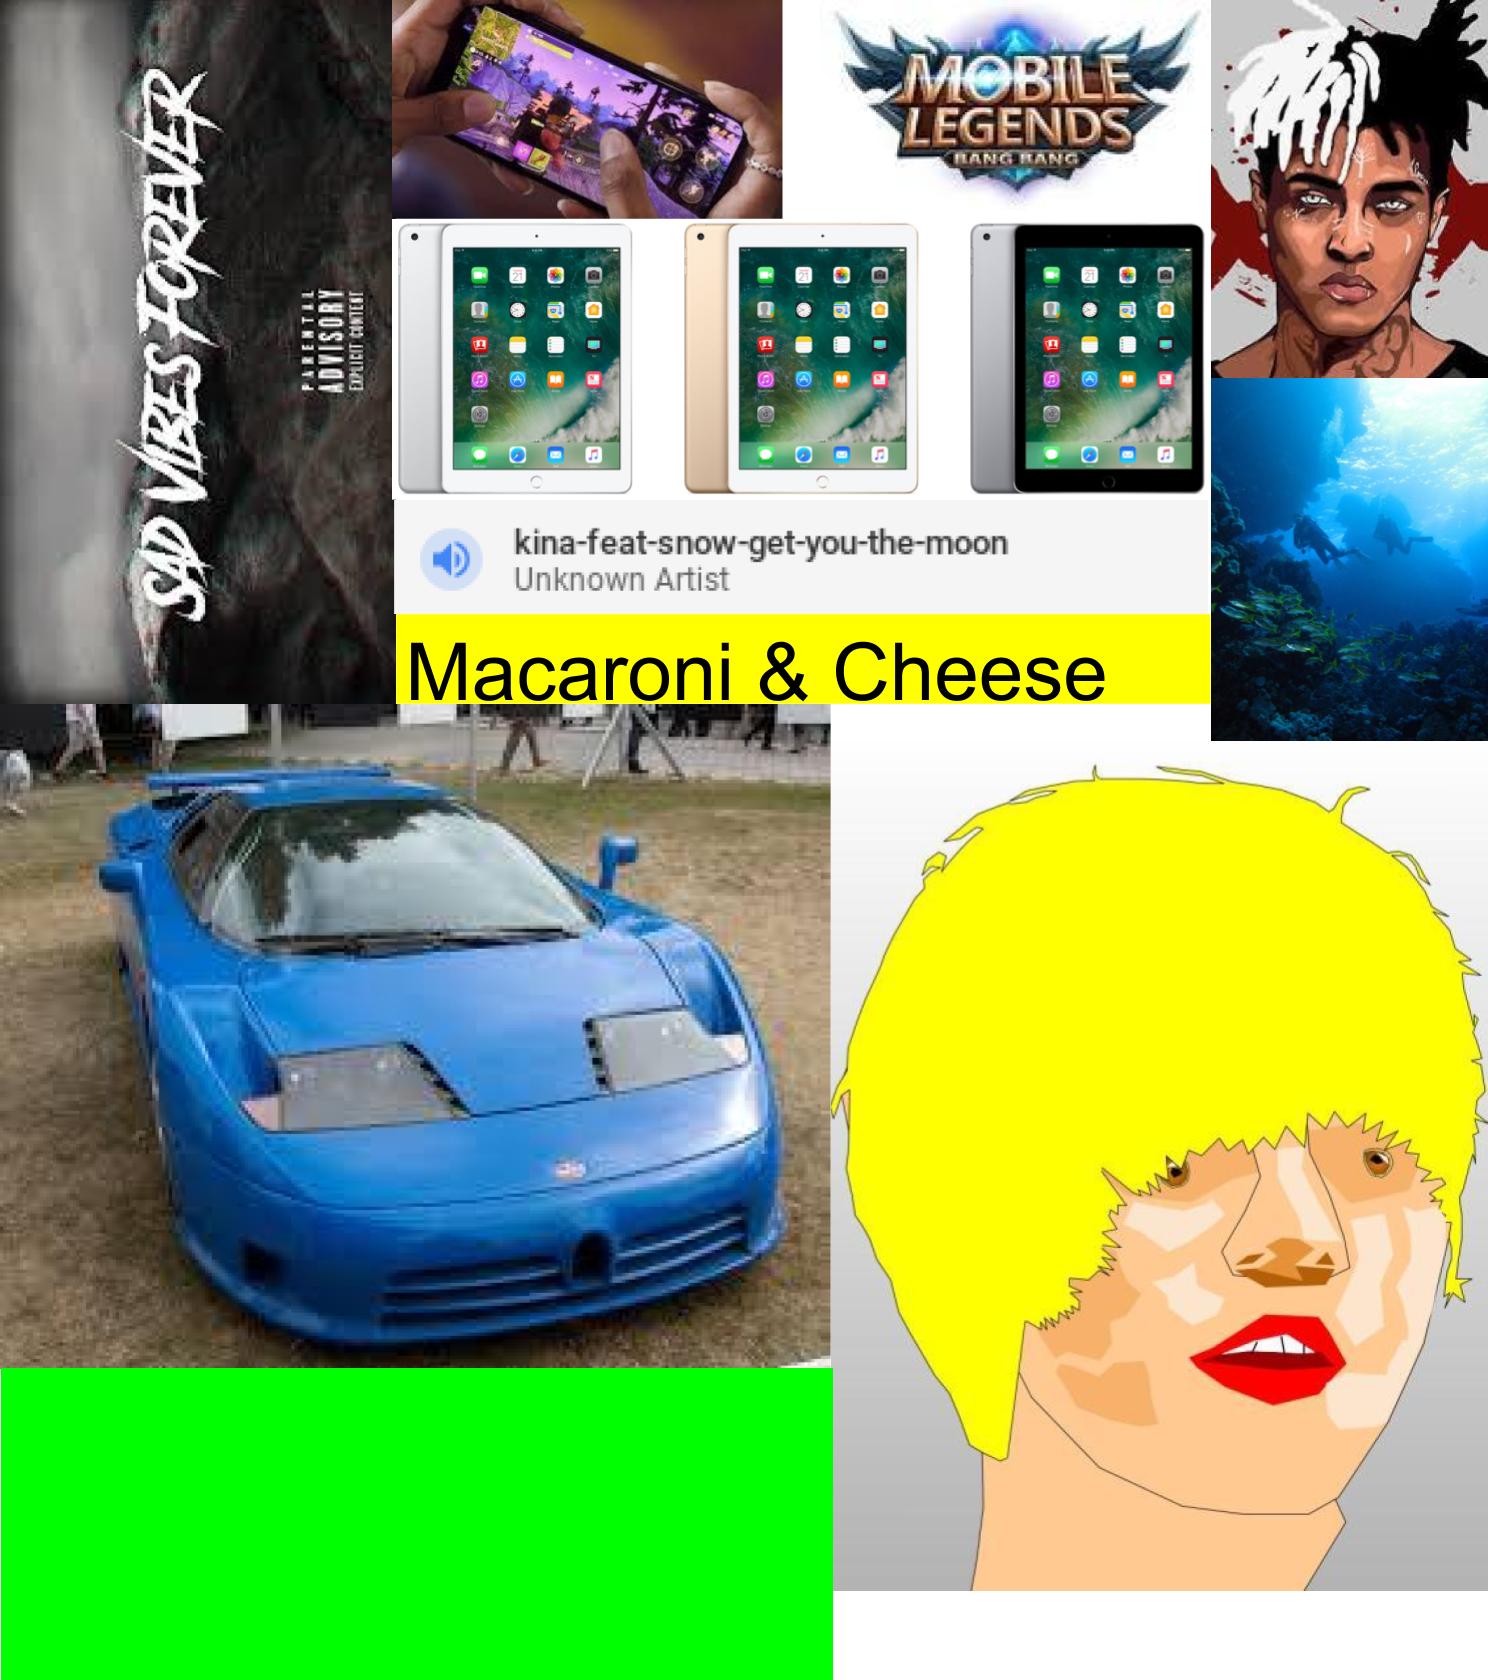
Christian B did this one above. Interesting mix of images.
Below are a small selection of pixel drawings and quickie animations from graphic arts class.
CHECK YOUR GRADE ON SCHOOLOGY, MAKE SURE EVERYTHING IS TURNED IN AND YOU LIKE THE GRADE YOU’RE GETTING! THERE IS STILL TIME TO RAISE YOUR GRADE.
Nick J, who’s only been in the class for 3 weeks did the above animation. Great work, Nick!
Blake did a great animation of a castle build here.
I believe Noah did the nice castle above!
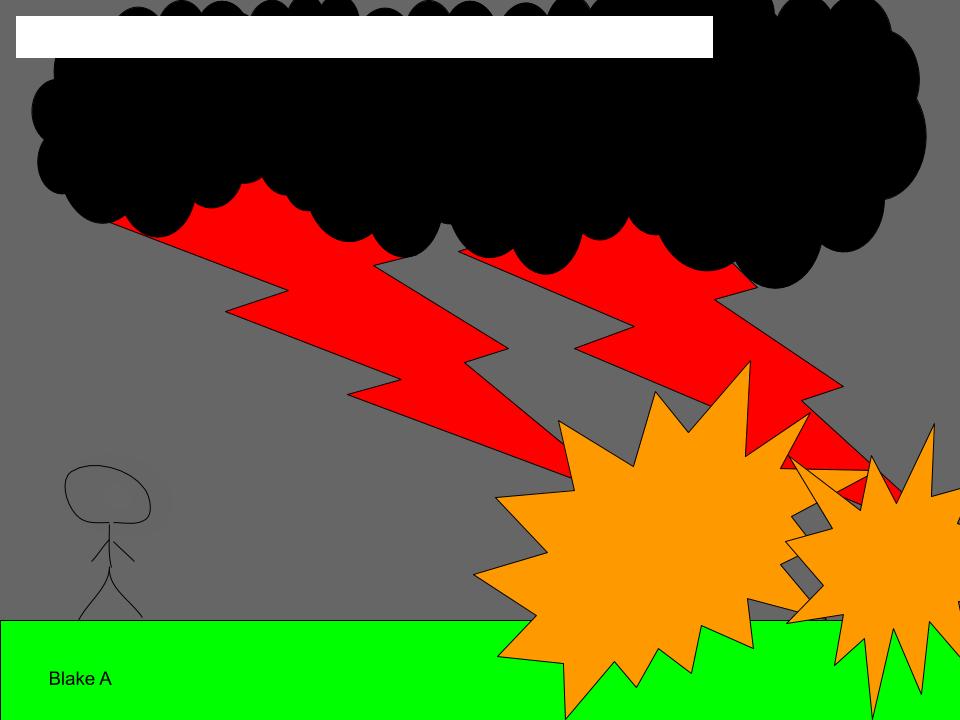
Leeland did a nice explosion here!
Garrett, for some reason this file does not look right. Let’s figure this out tomorrow, or go back and resize it on your own. You’ll need to re download it and make sure the res is set for 300 or so.
I believe the good castle build above was done by the famous Caden H.
The amazing Anmol did 406 frames to make the above castle animation happen!
The amazing Brandon M did the castle gif above! He better get those clouds moving if he wants an “A”!
Nick J. did the one above. Pretty great work, especially when you realize he’s only been in the class for about 2 weeks!
Kazim did the fireworks inspired piece above.
Mr. Cohen K. did a great bomb explosion here.
Nice character exploding by Sofia C.
Another great piece by Anmol!
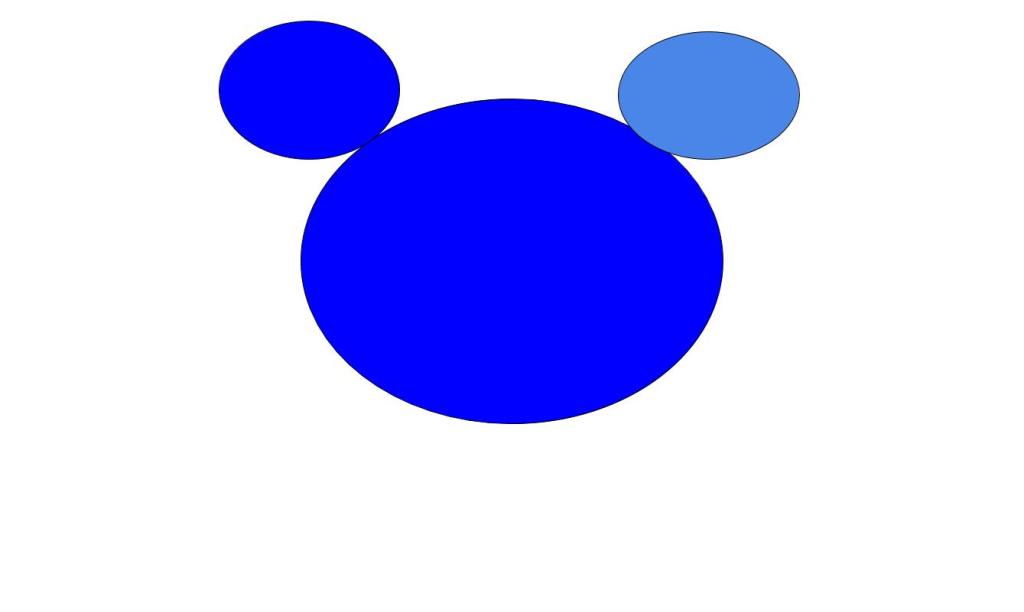
From Ms. Morgan, I believe. Great first drawings using a new draw program!
Noah did a nice Space Invaders drawing with moving legs and arms.
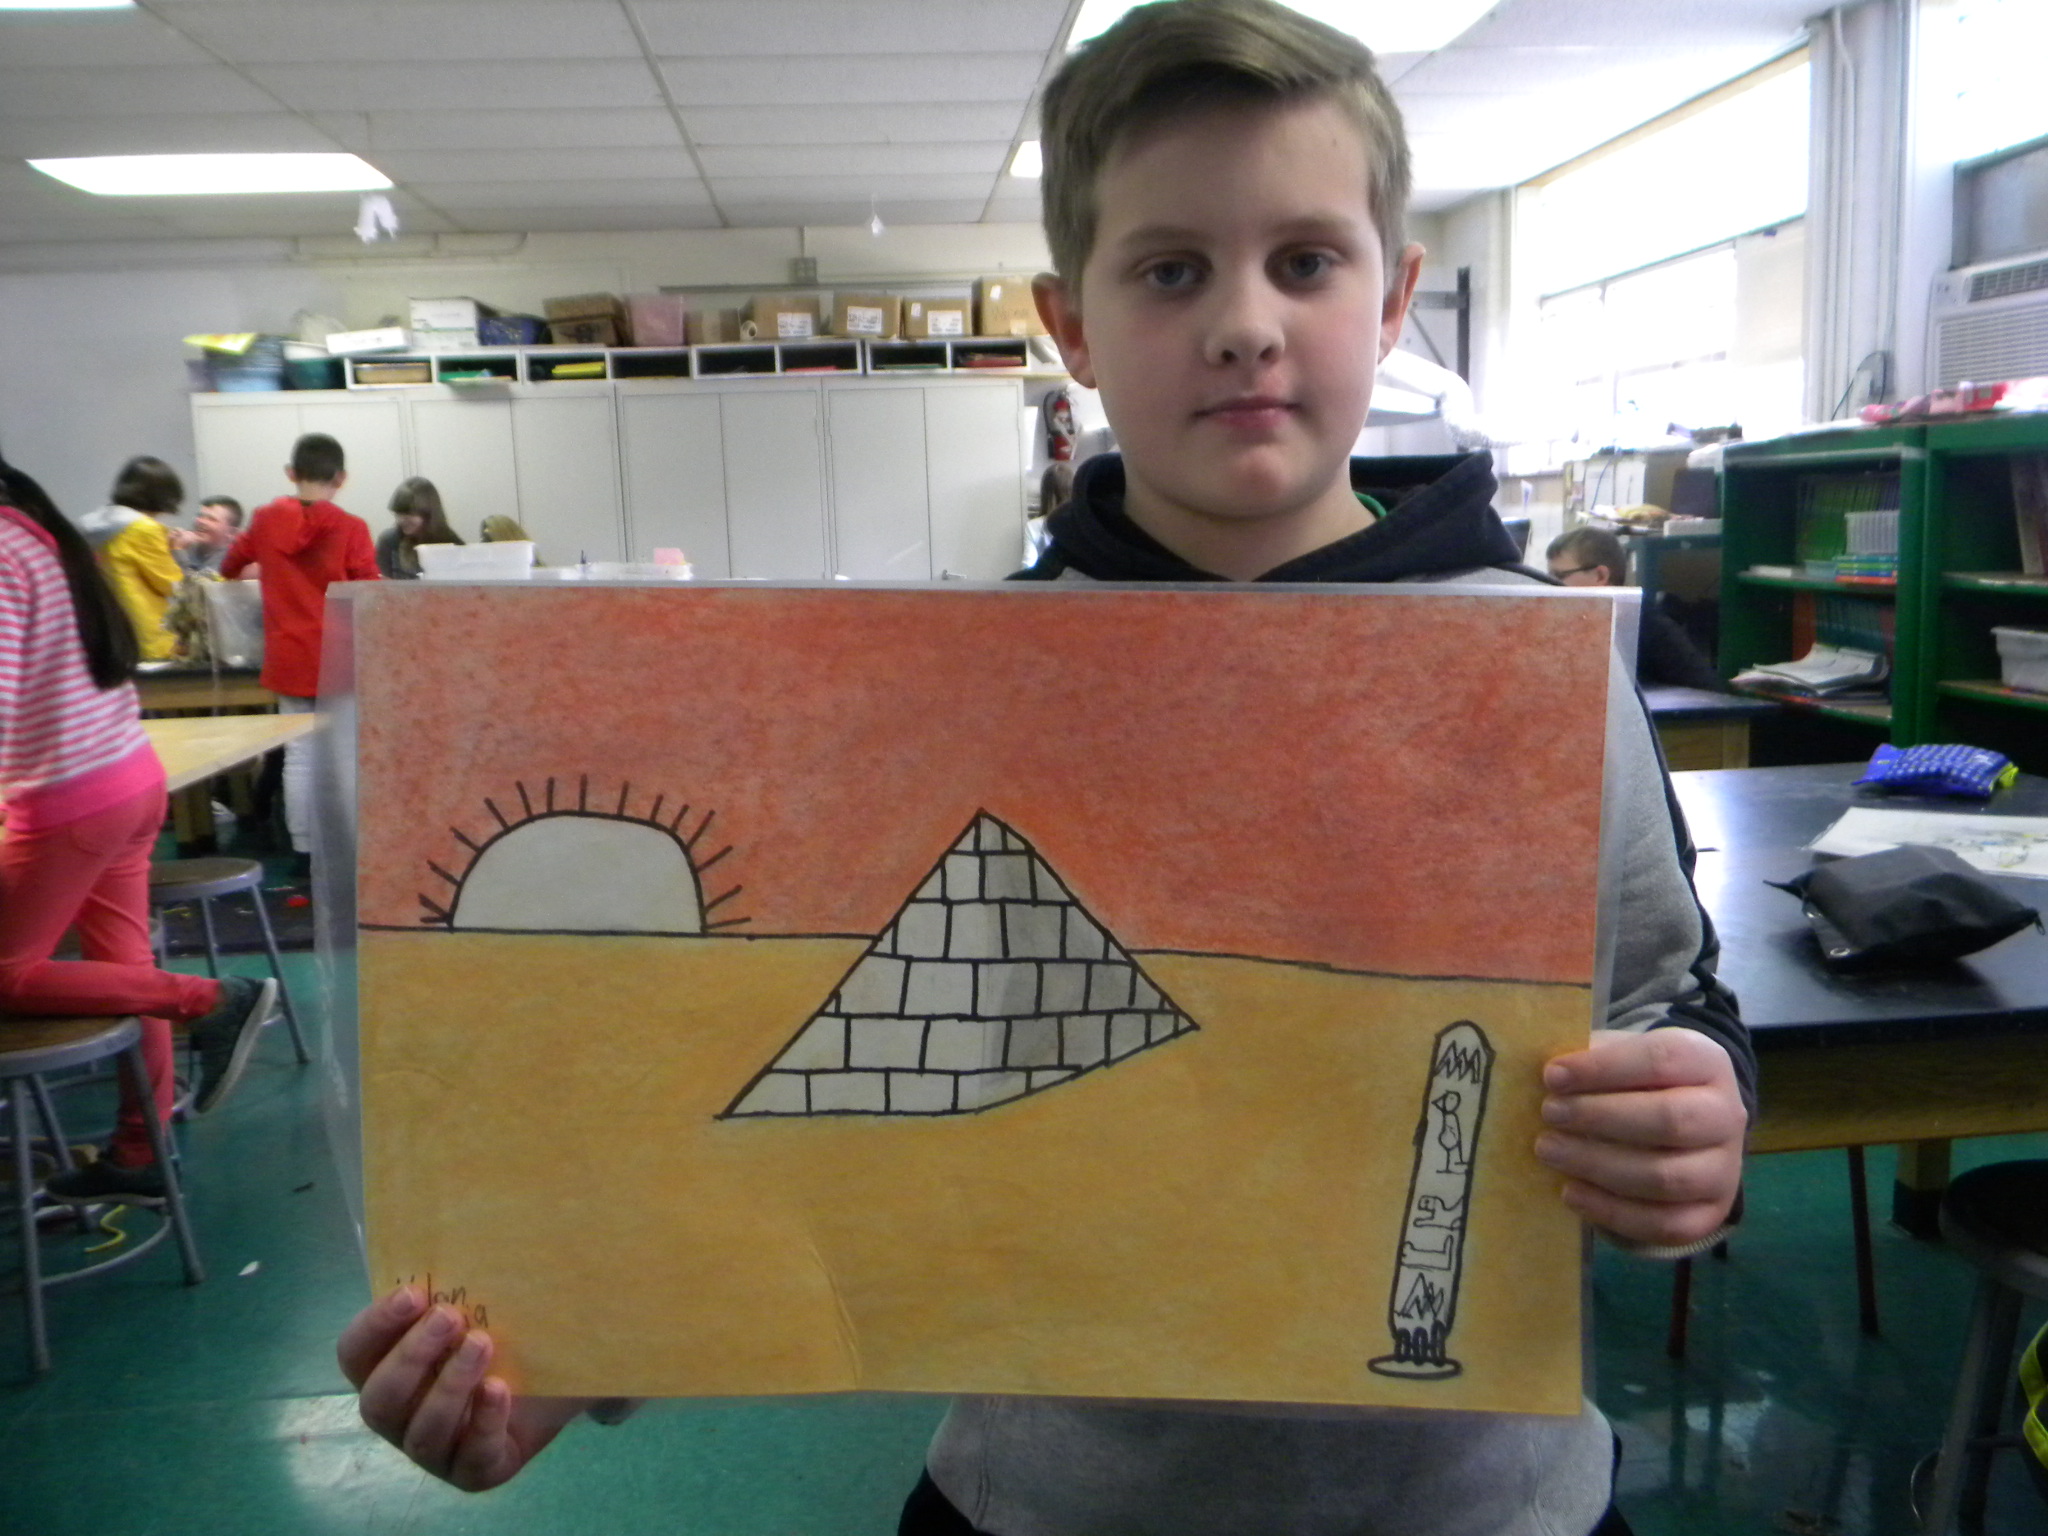
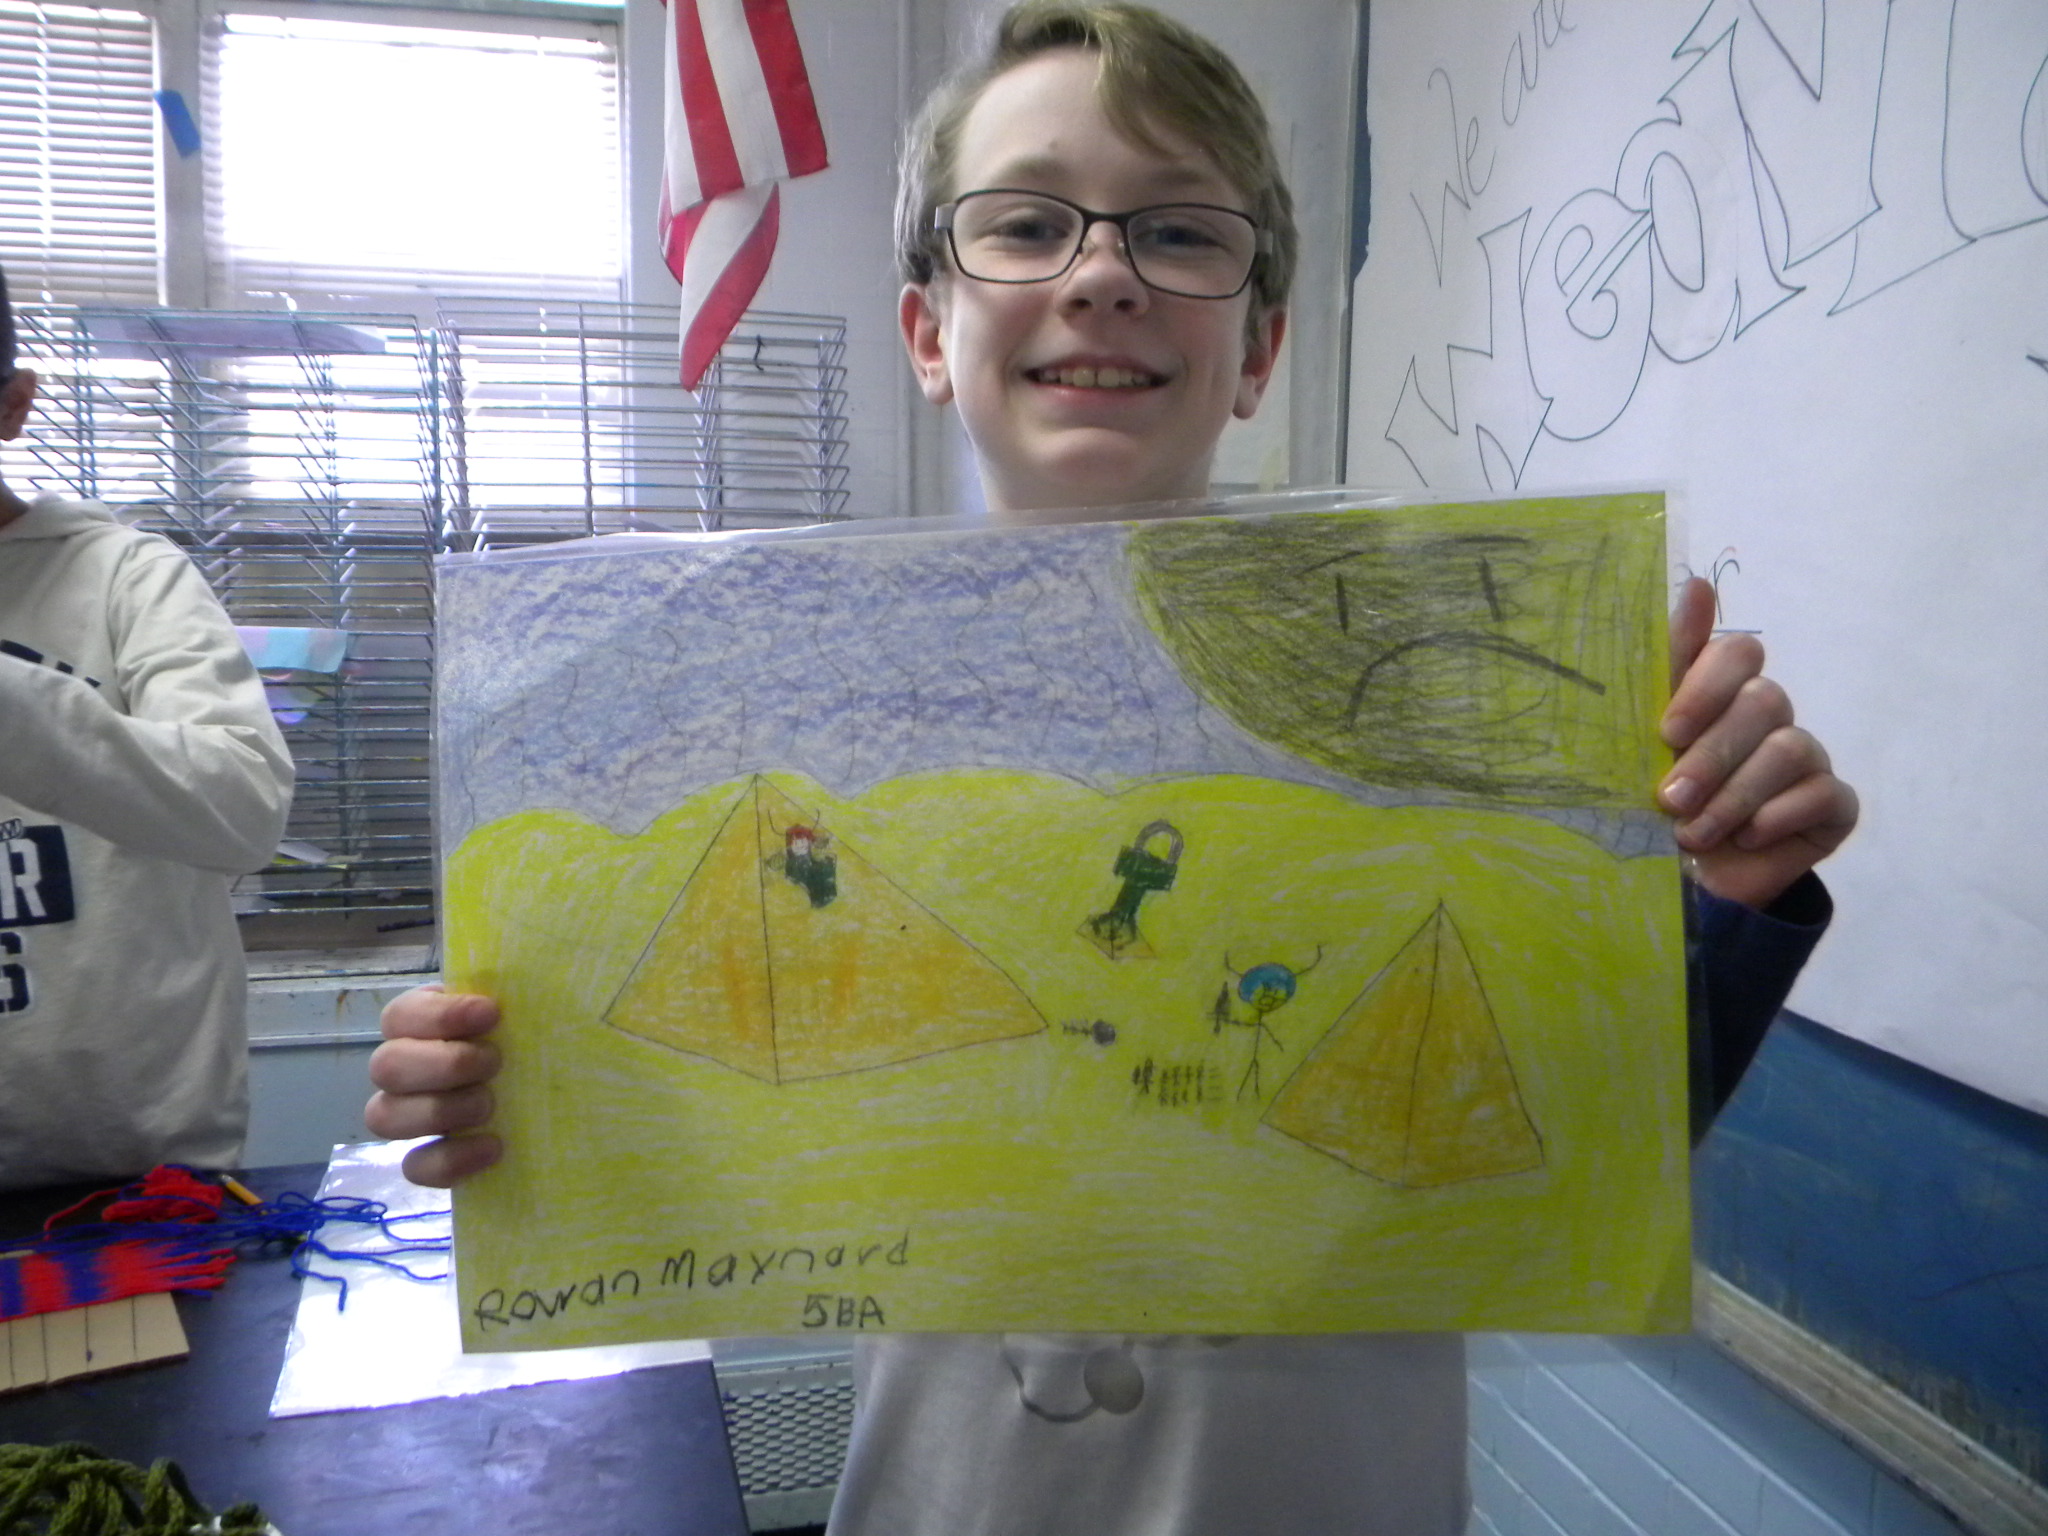
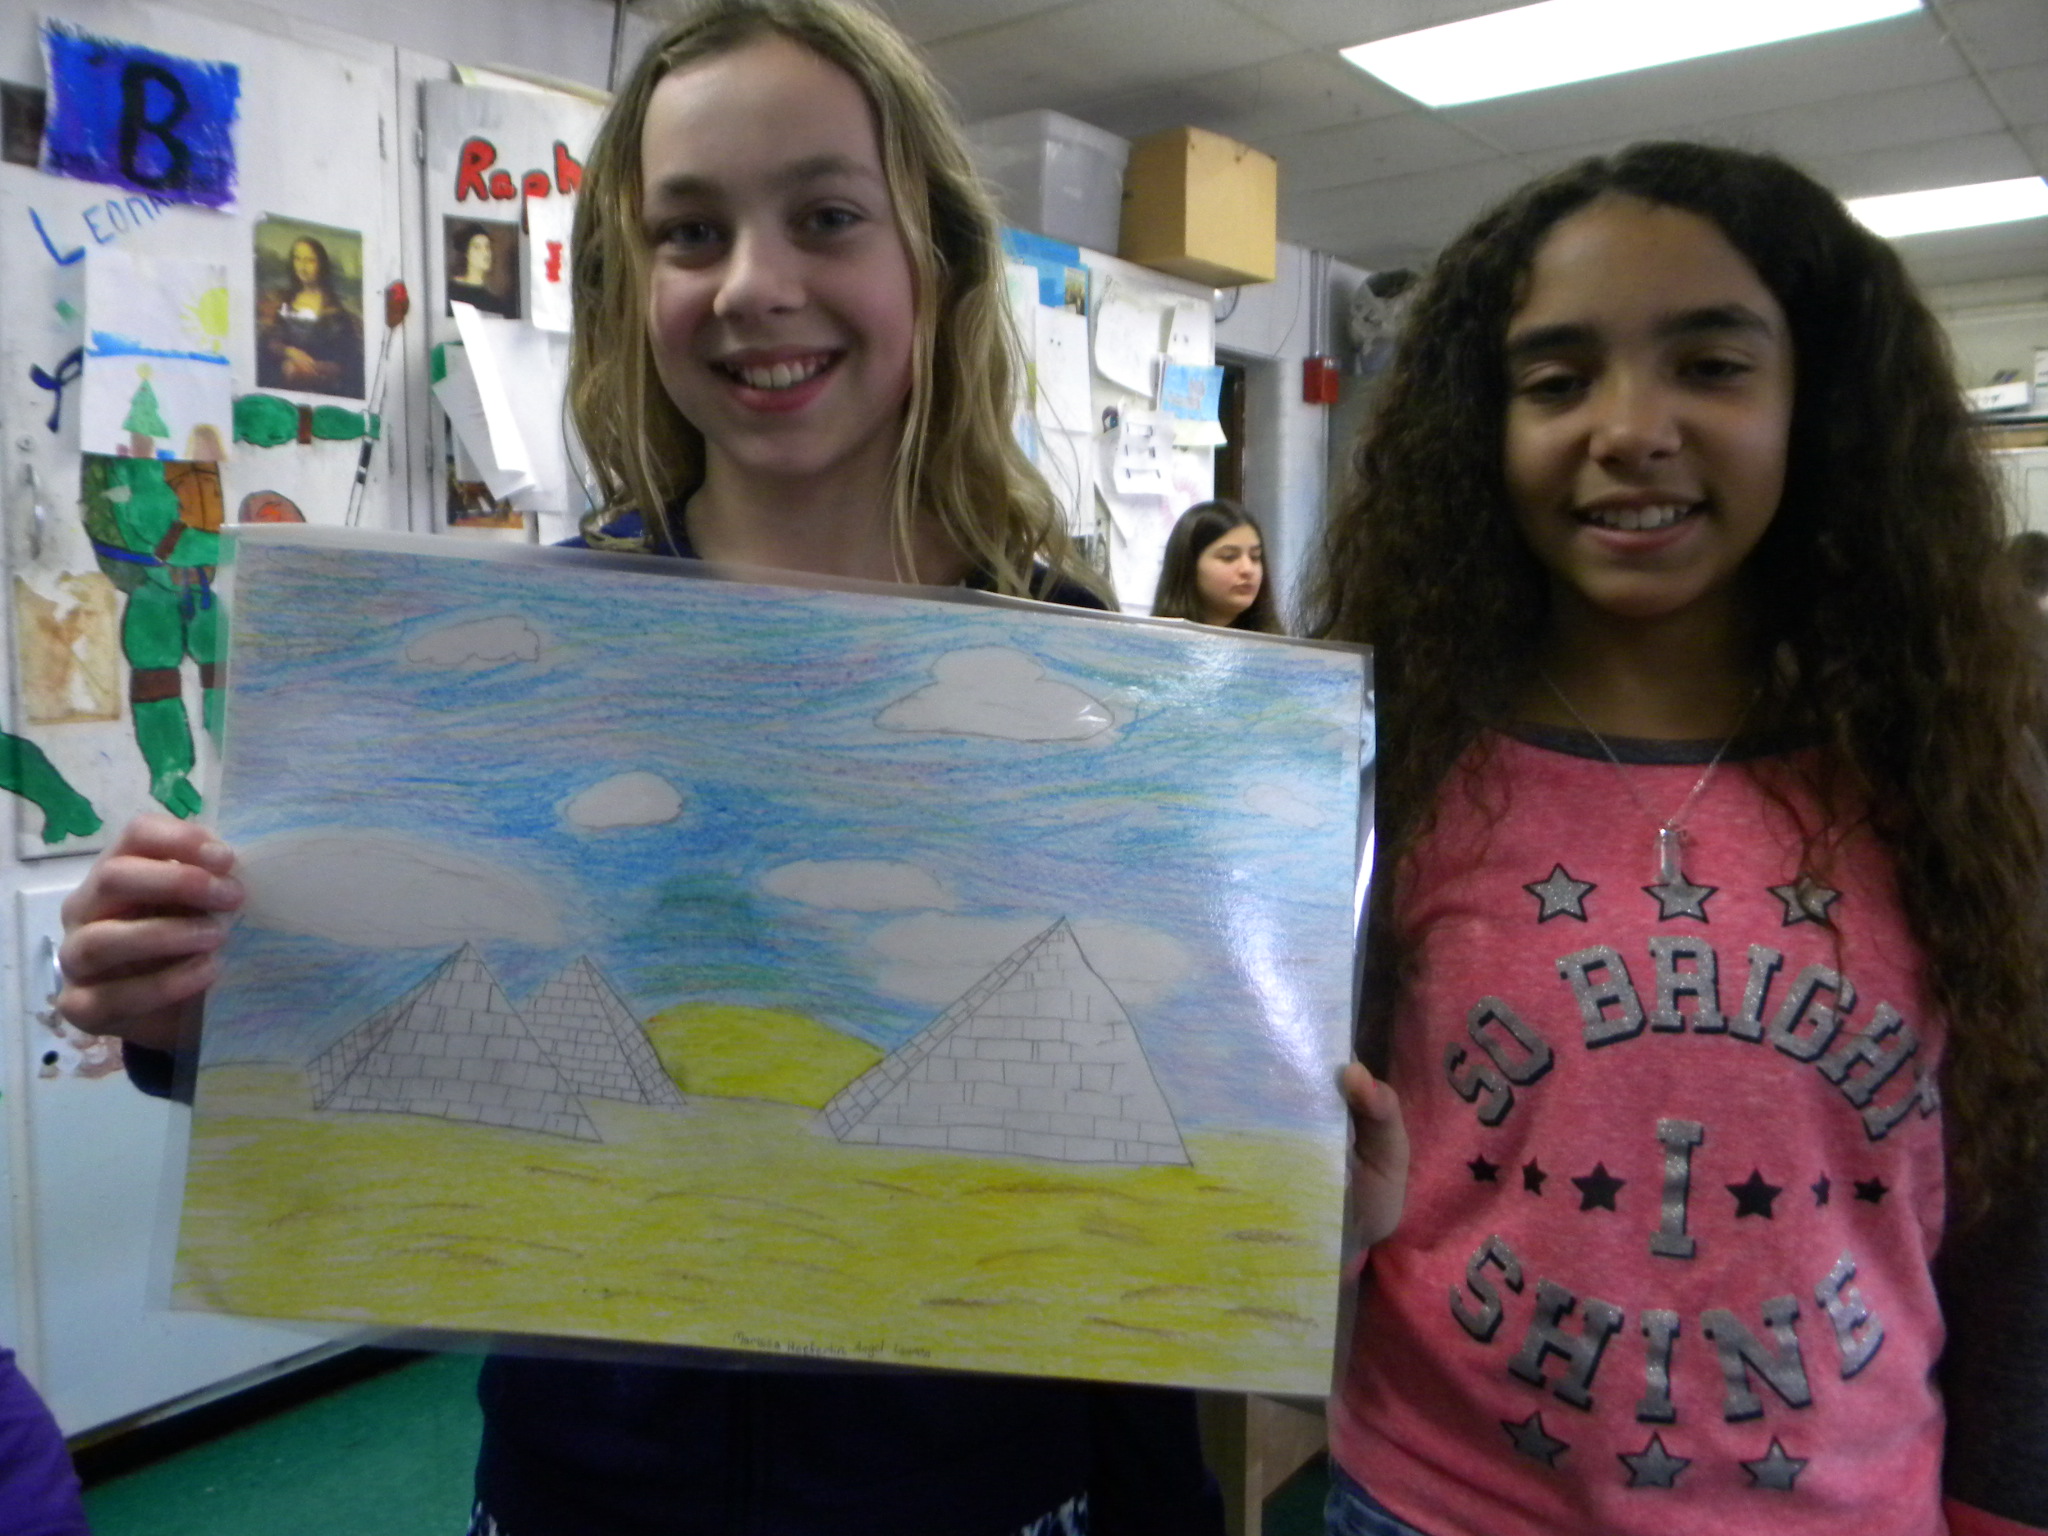
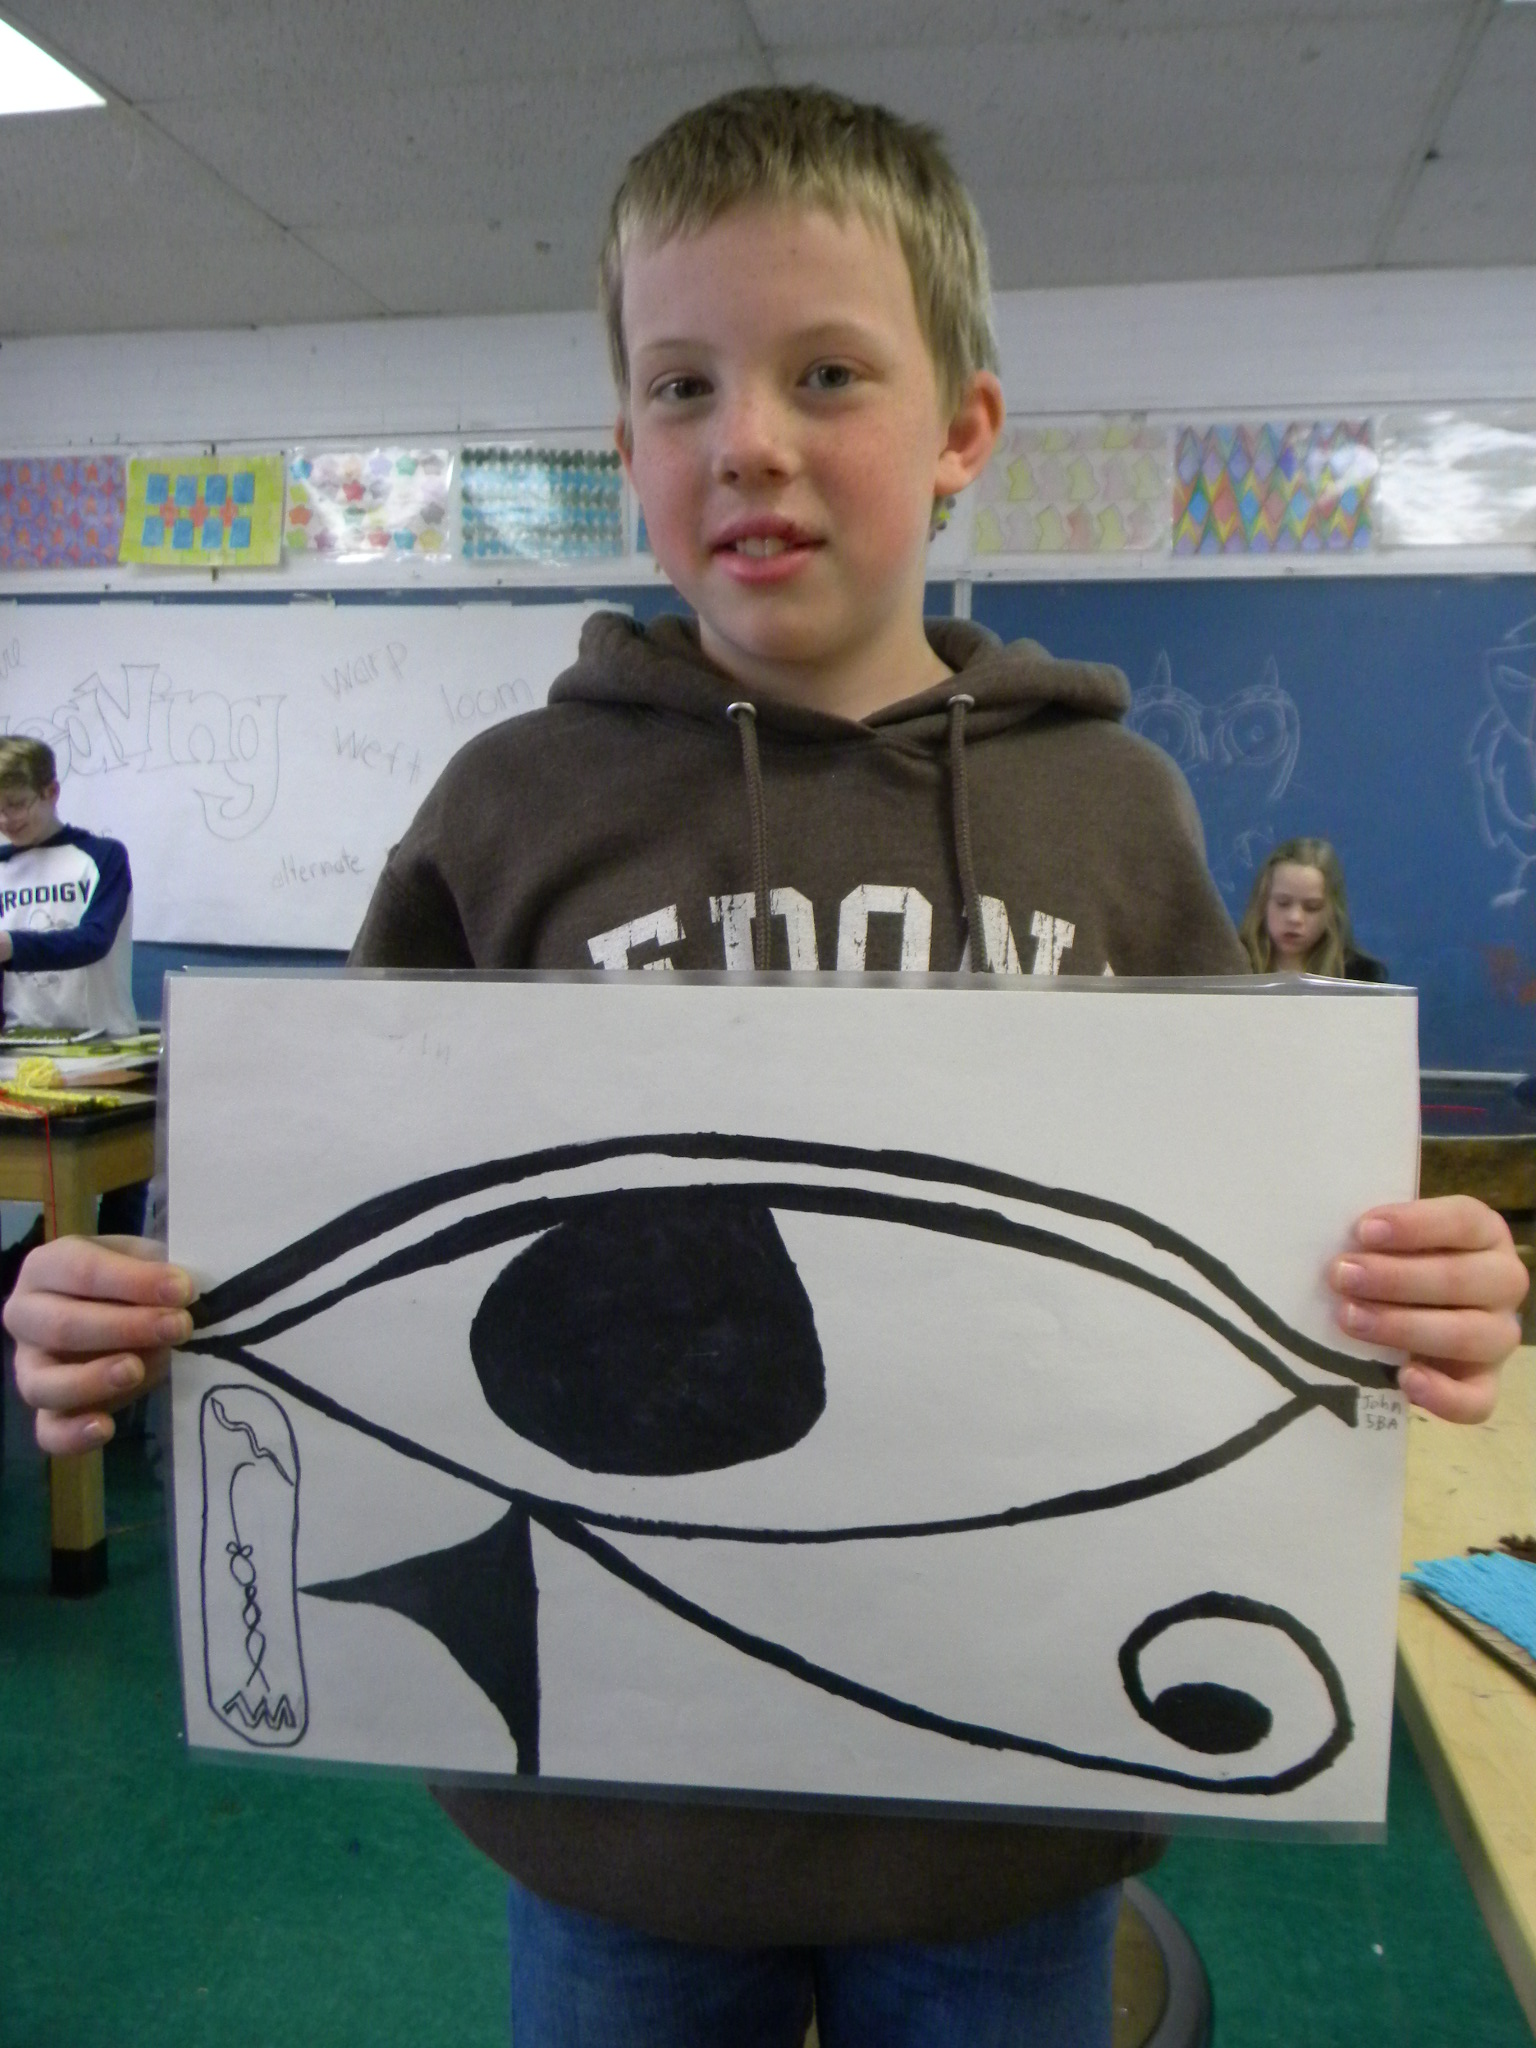
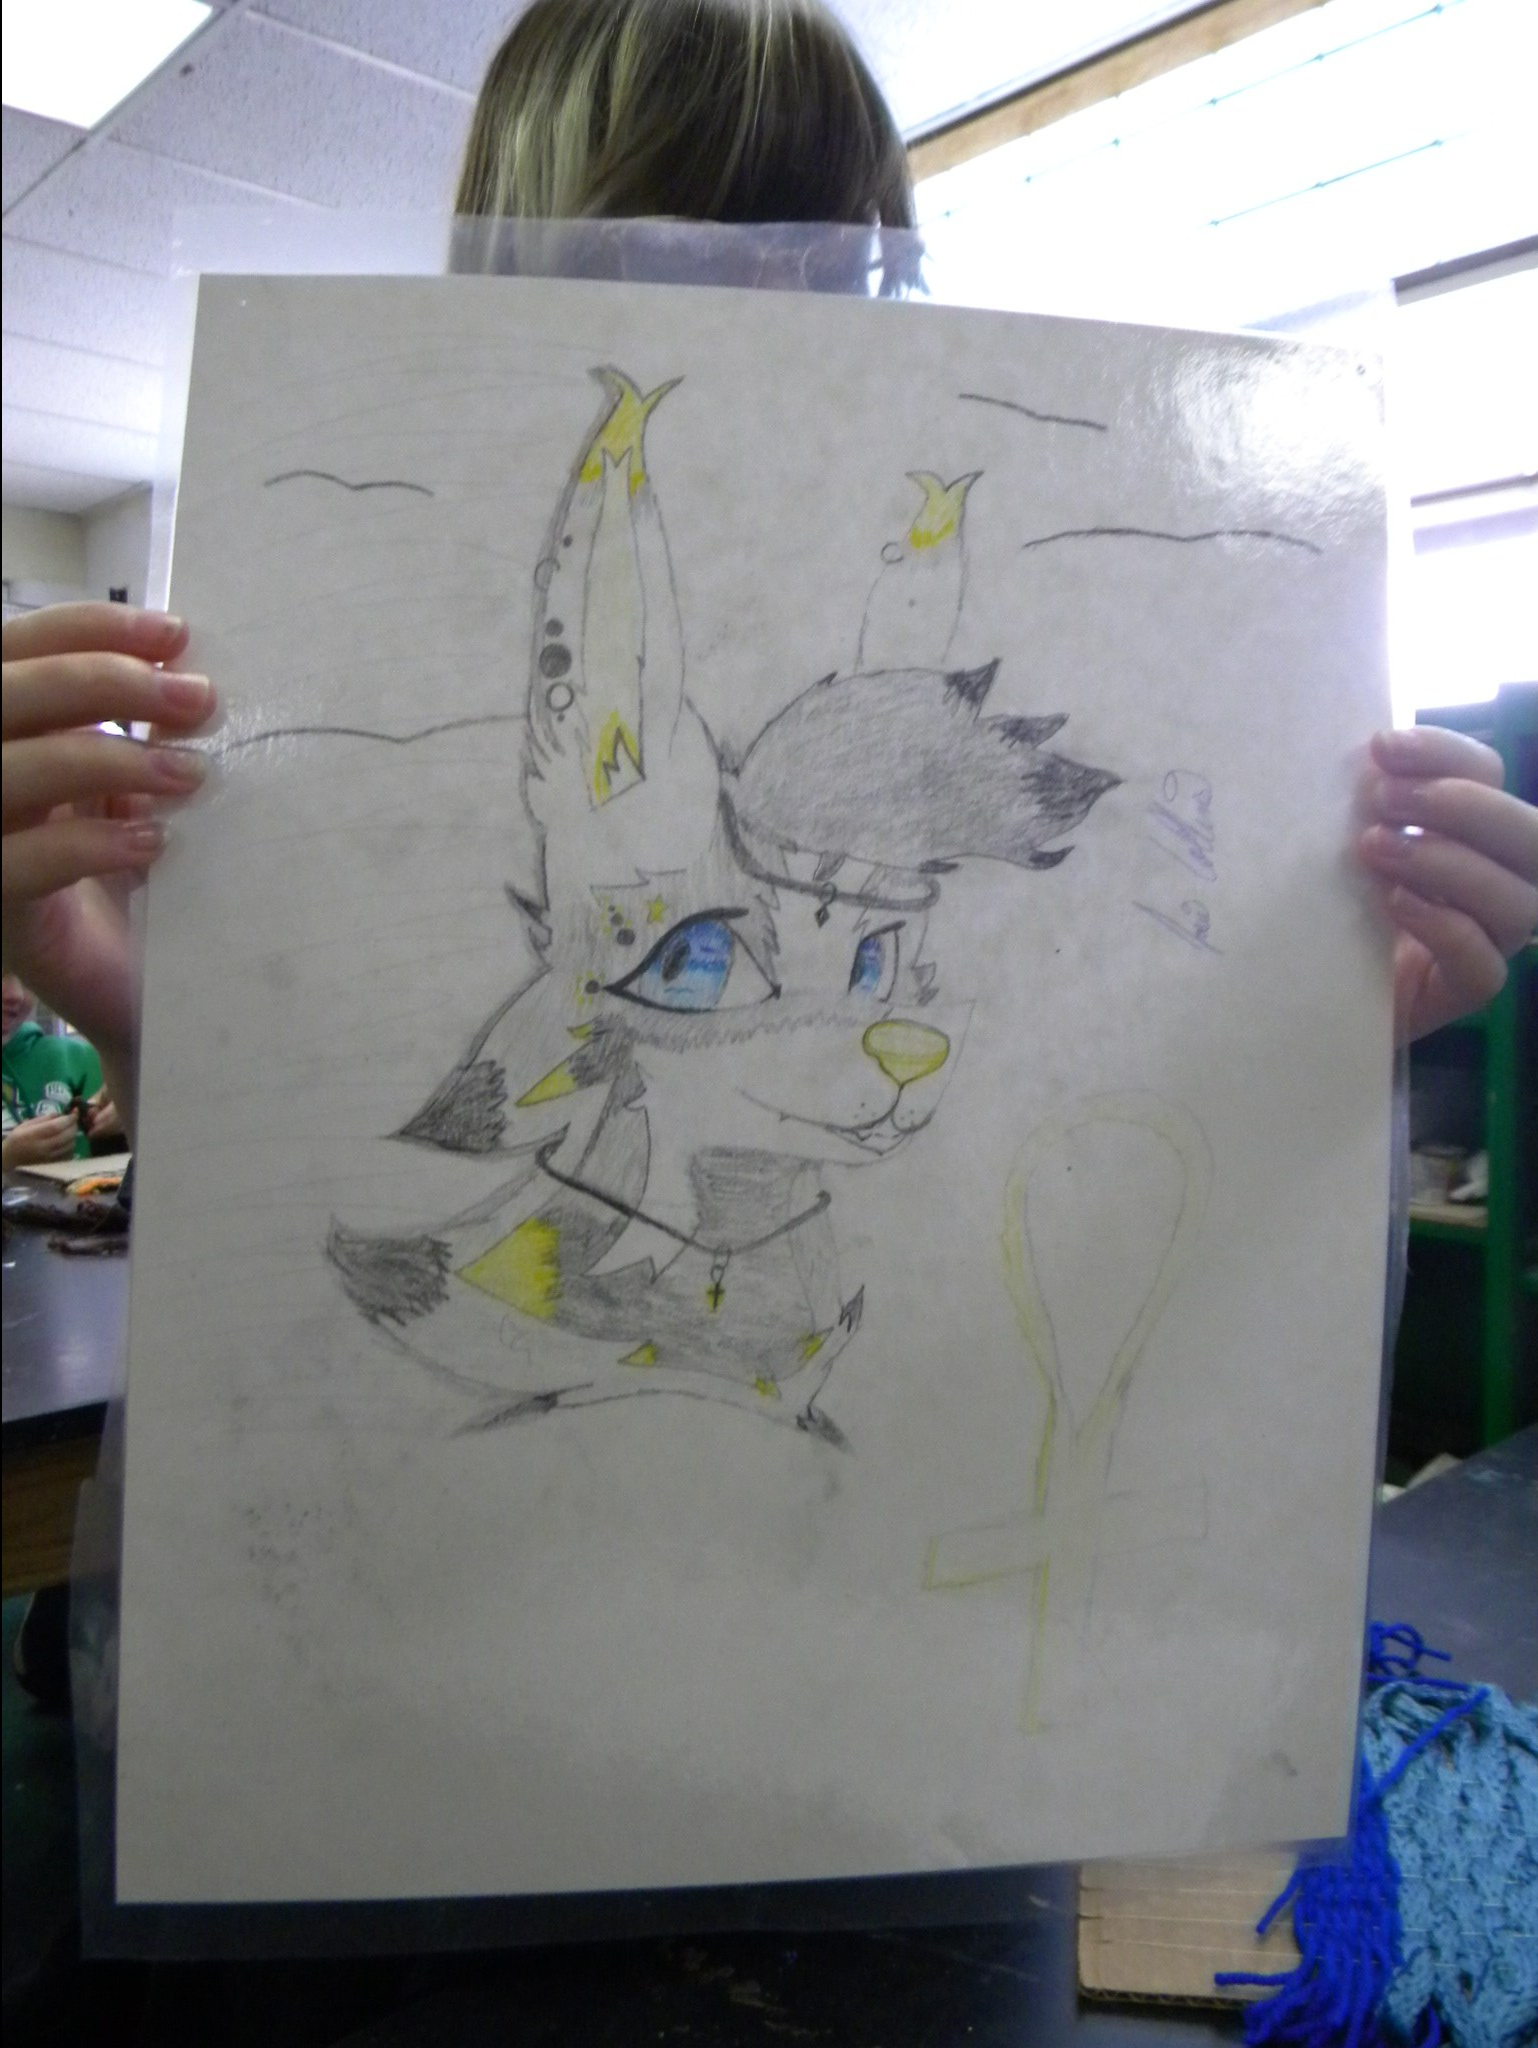
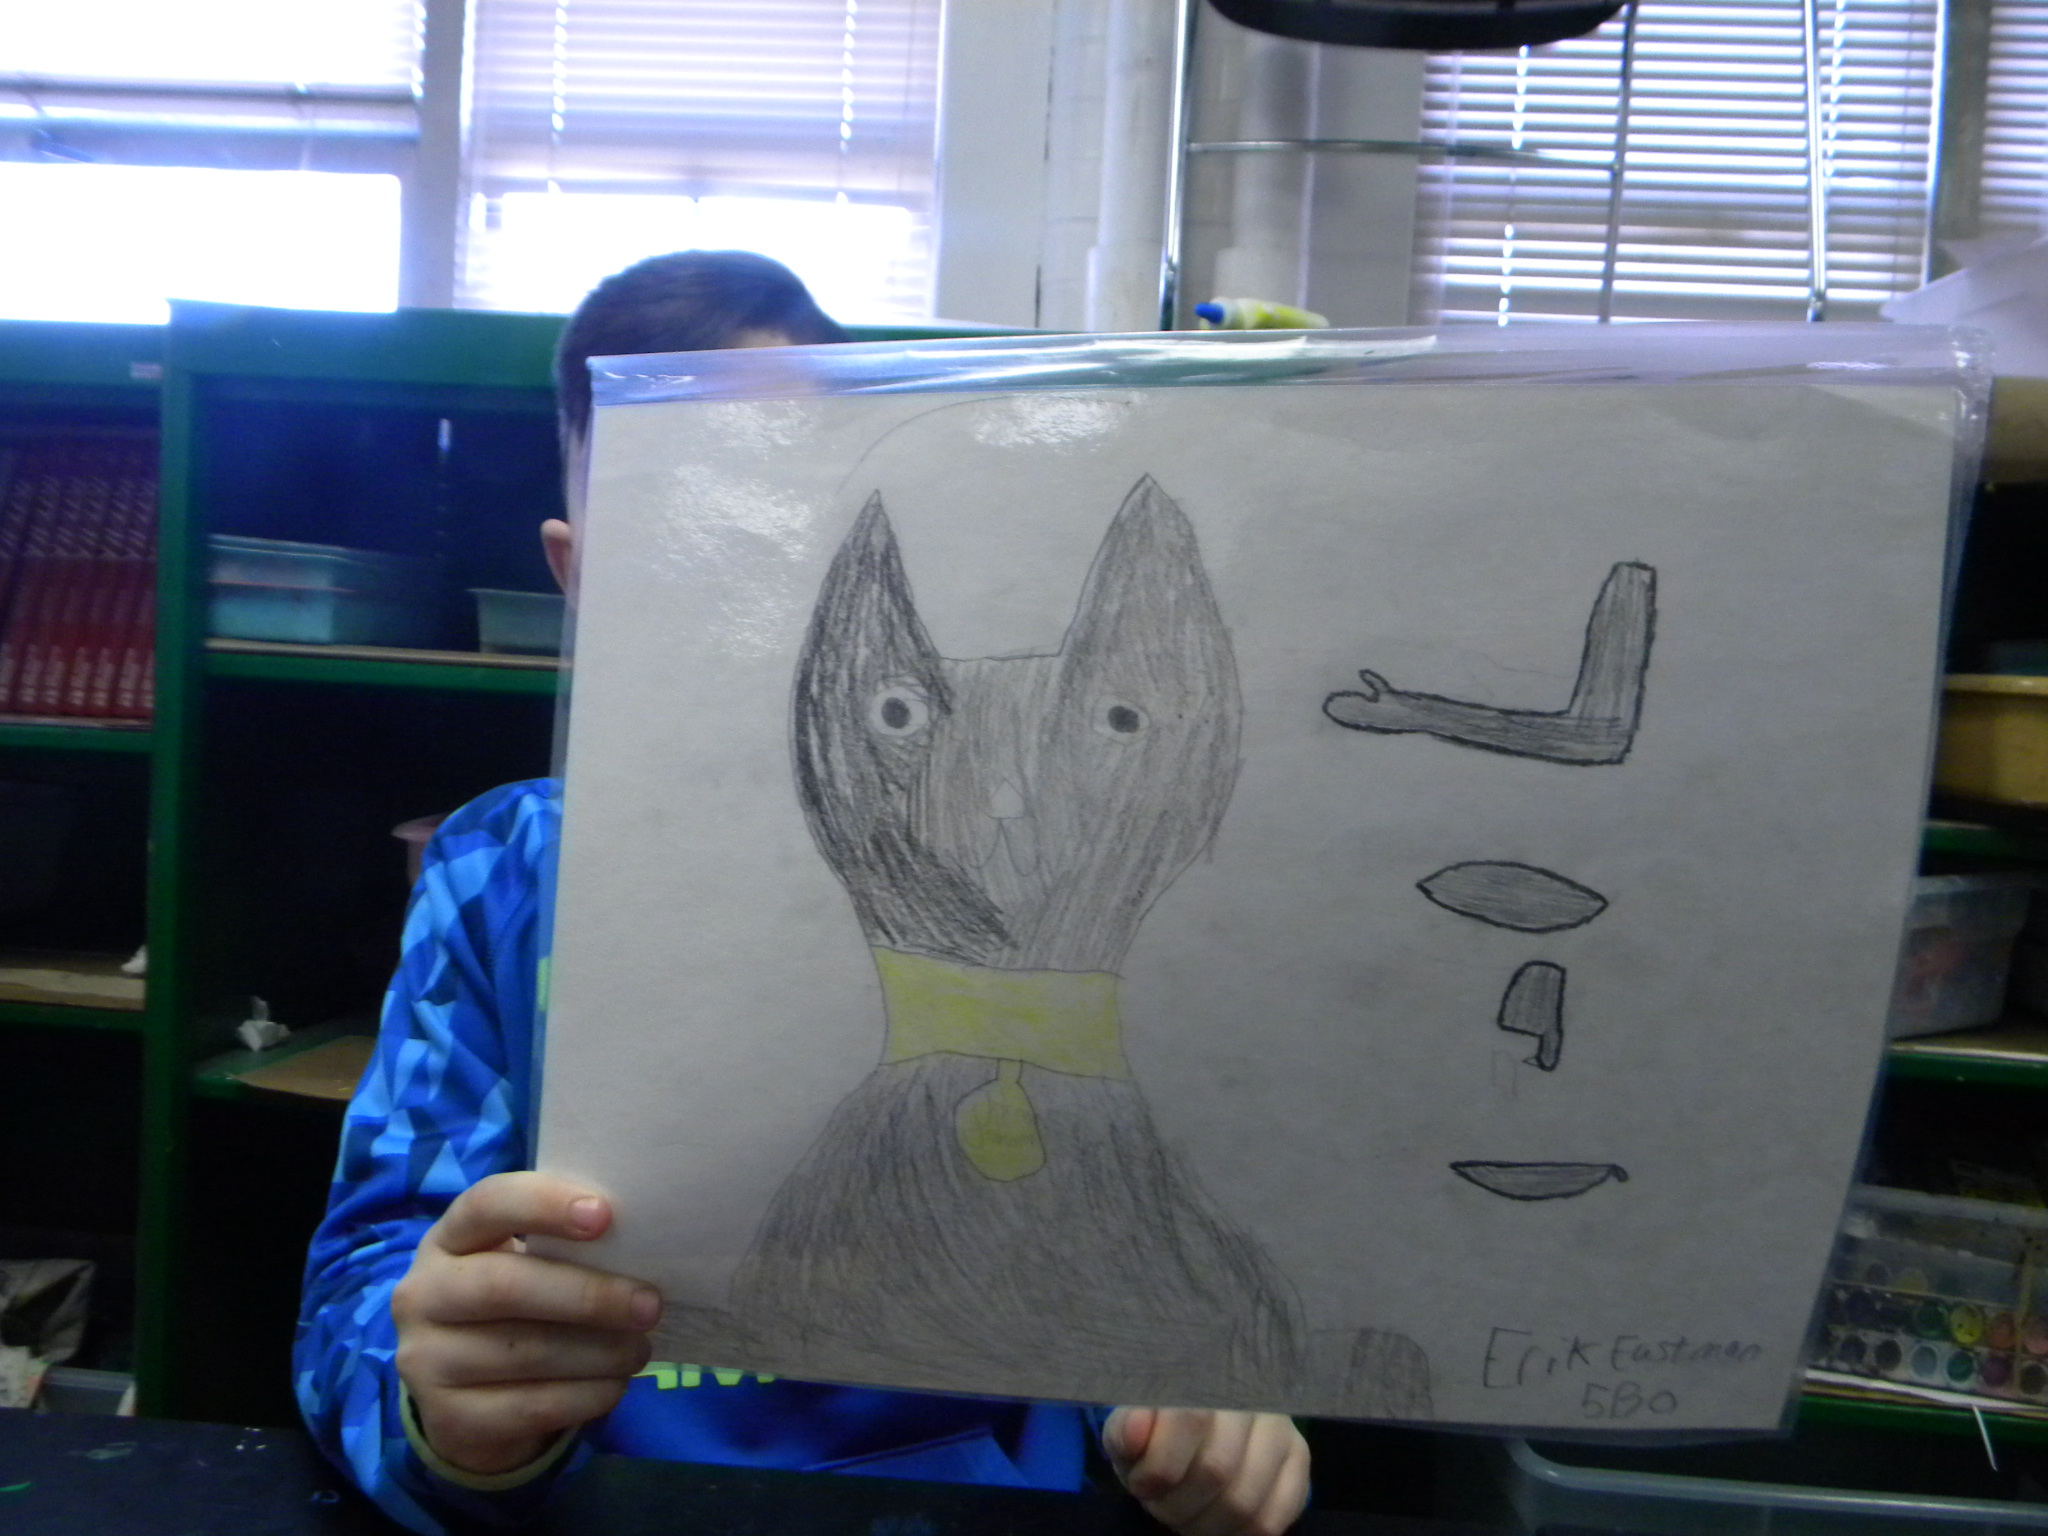
What follows follow is a small sampling of some finished work from the Egyptian project. Students had to do some research first and the assignment that was given is here.
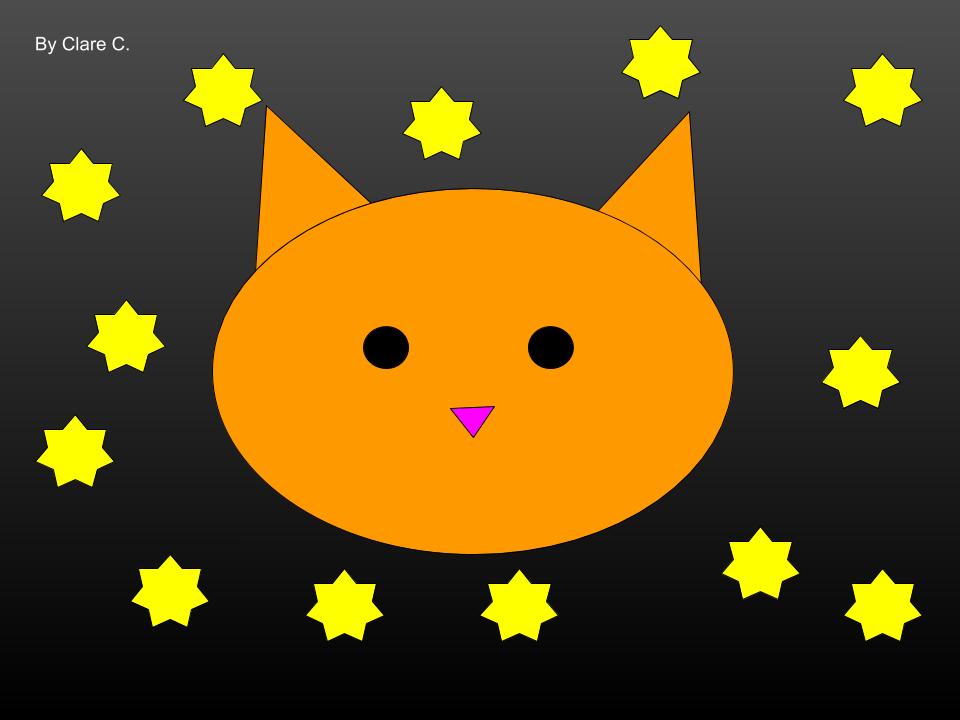
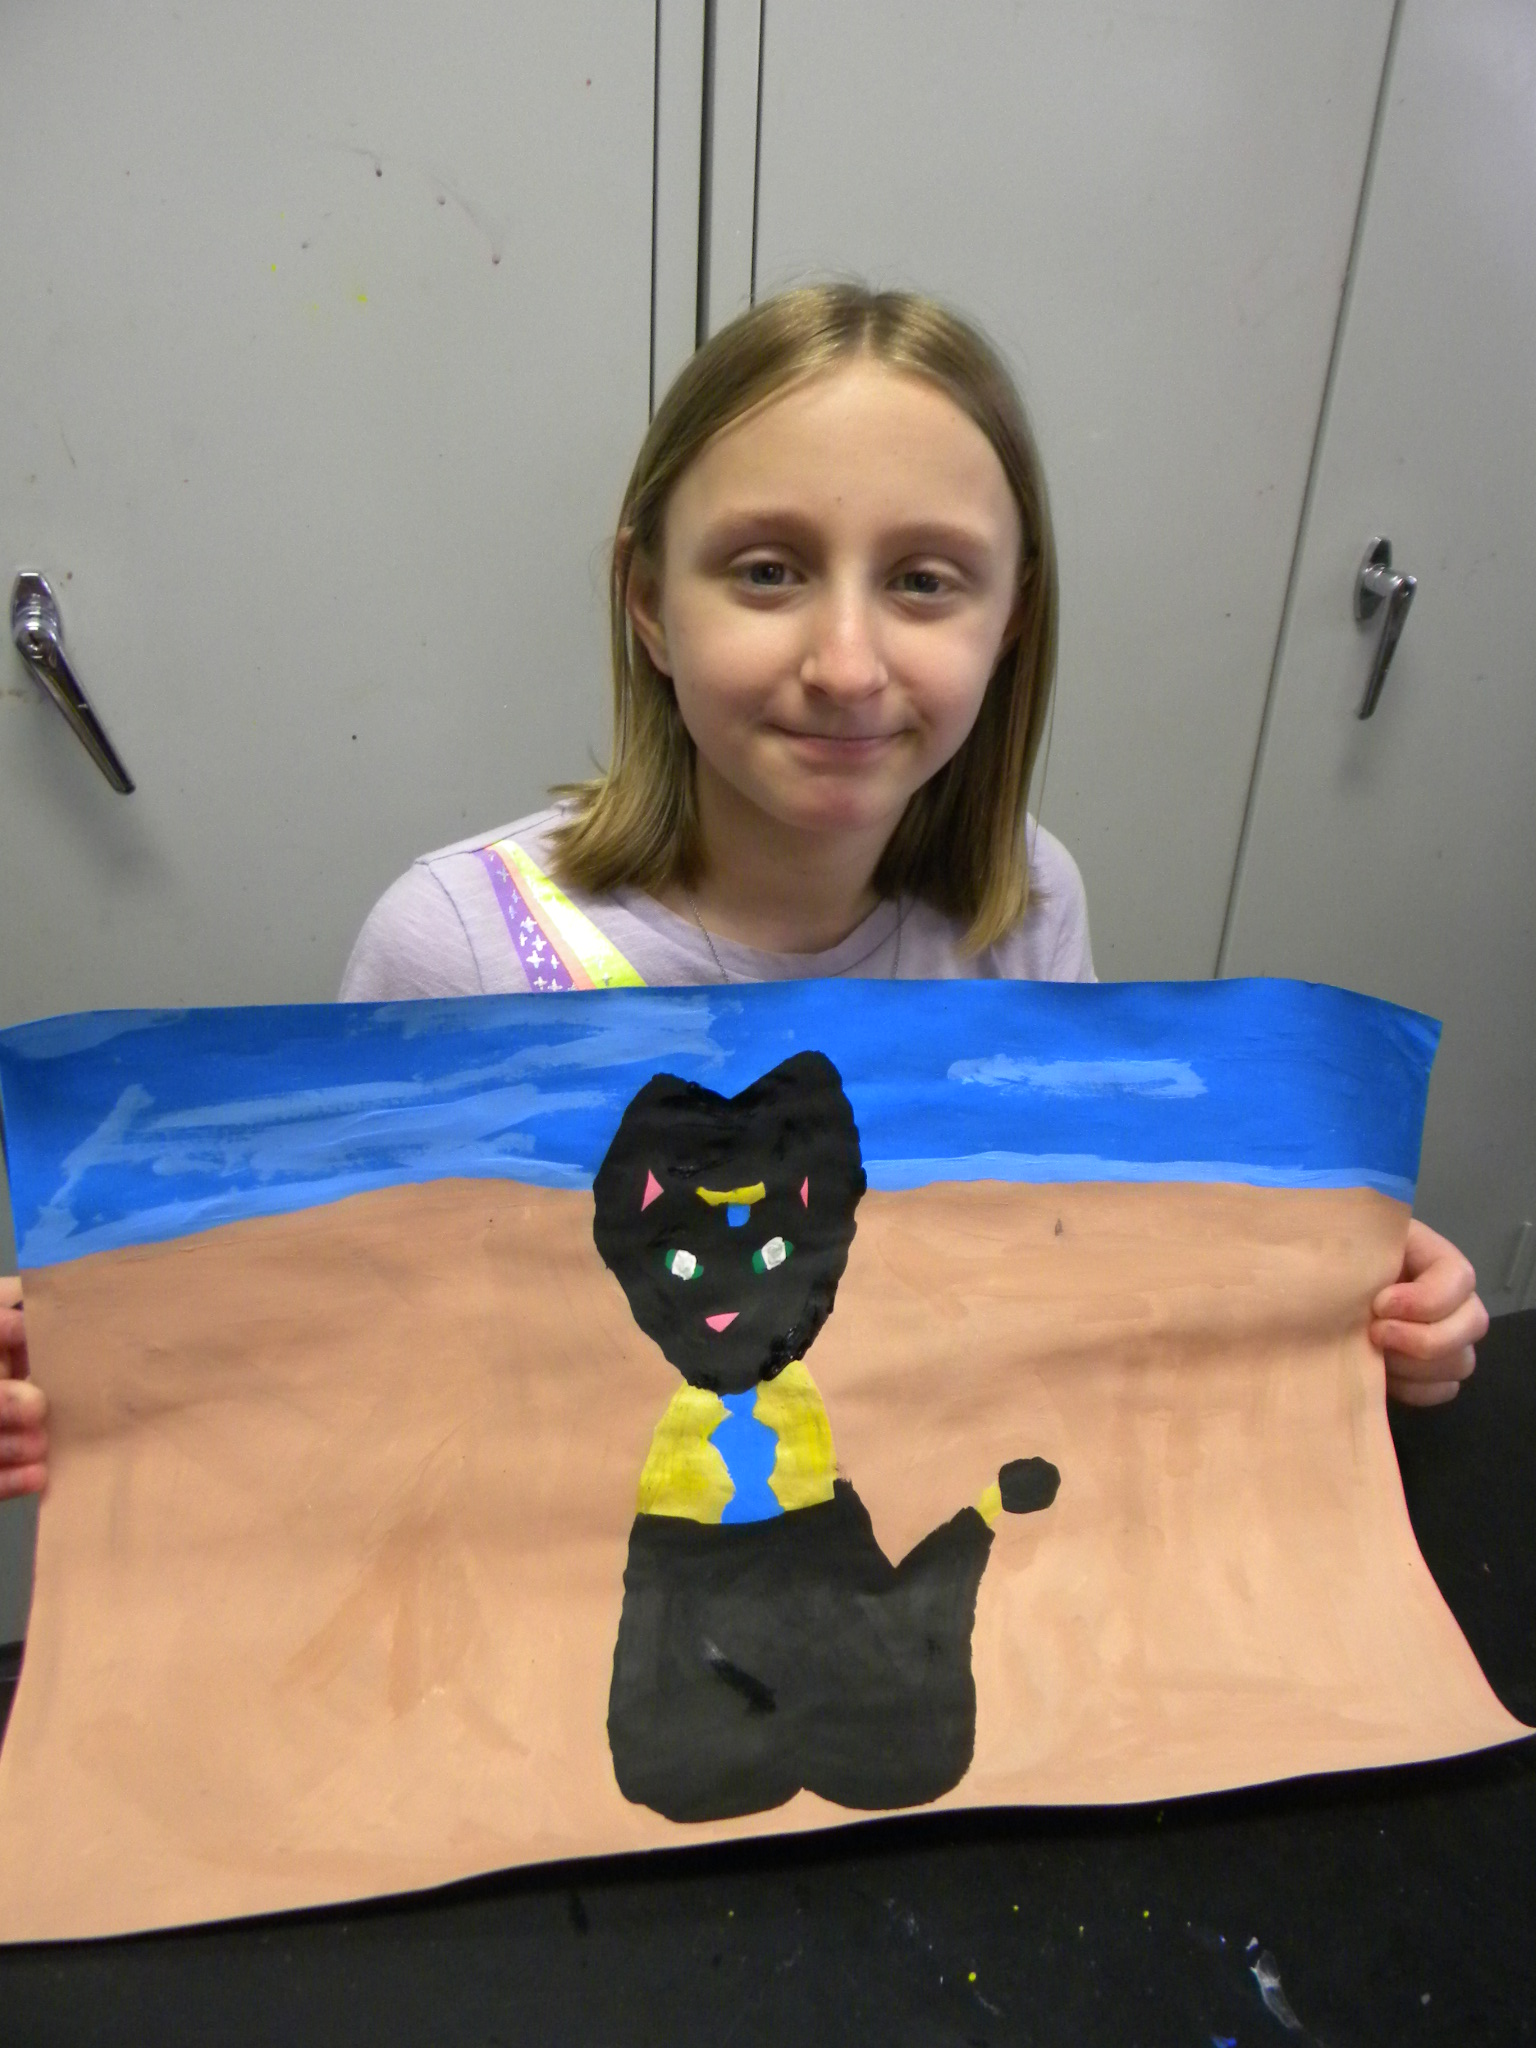
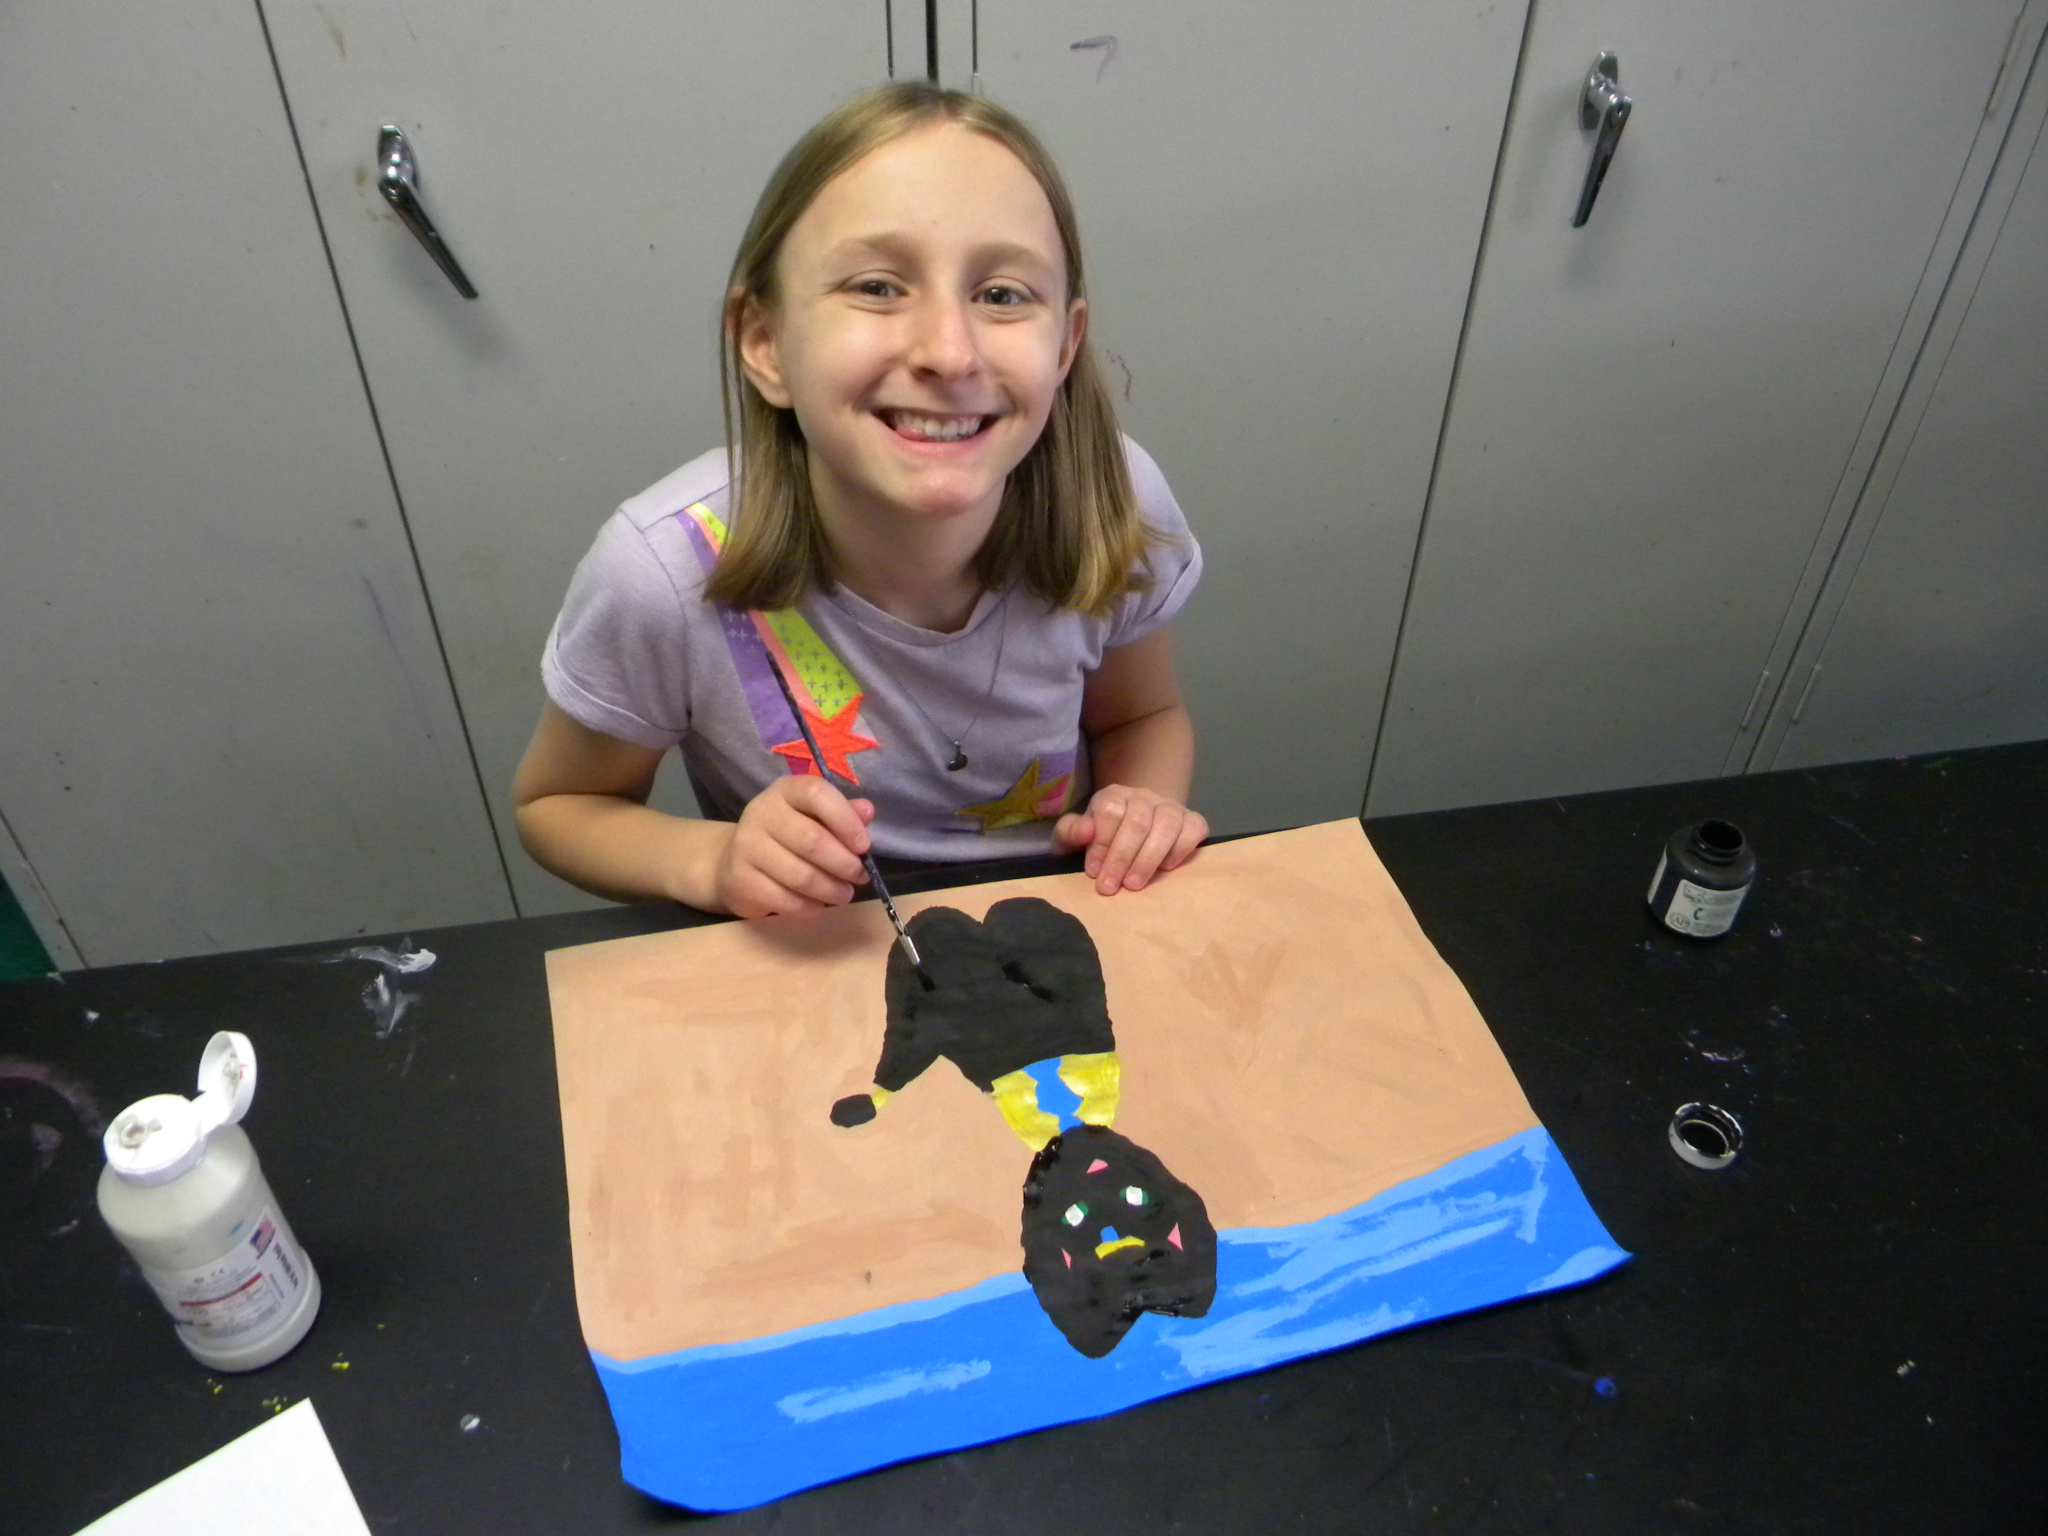
Ms. Olivia S. did a great Egyptian cat above.
Part of the assignment was to do your name in Egyptian hieroglyphics. There are a few websites that enable you to type in your name and get the partially proper hieroglyphics. I like the nice cartouche above.
This one was done both sides, nice bold, Eye of Horus or Uchat.
Nice simple, well made piece
Ms. Sam did a nice original piece here!
Another nicely made simple piece, very elegant line quality.
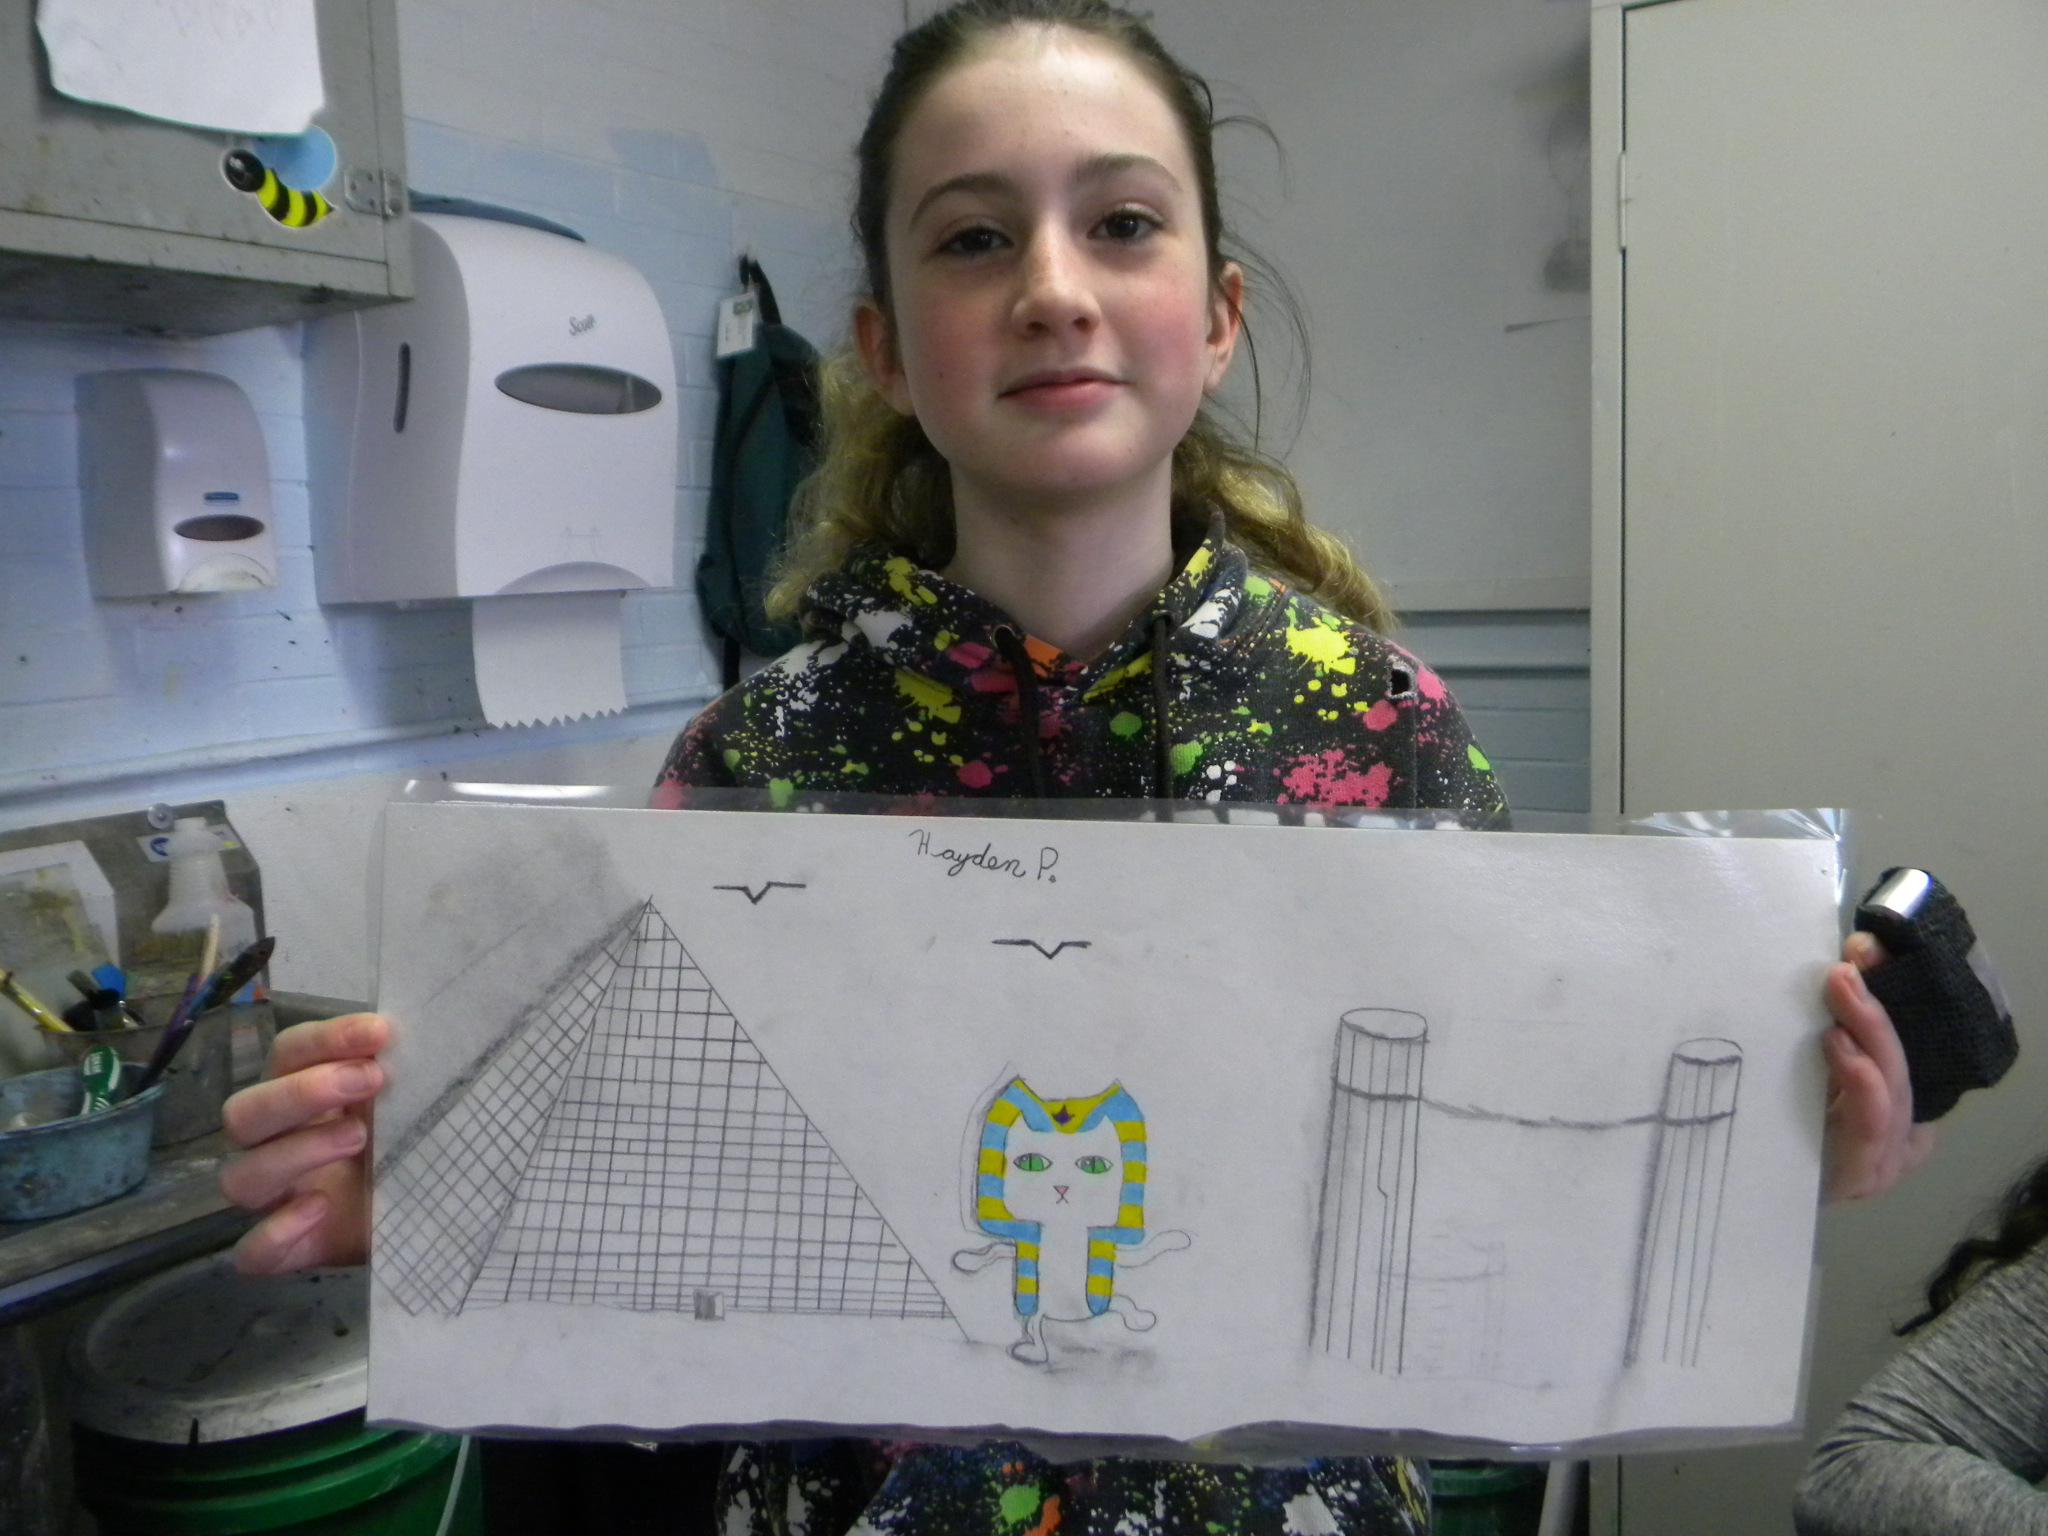
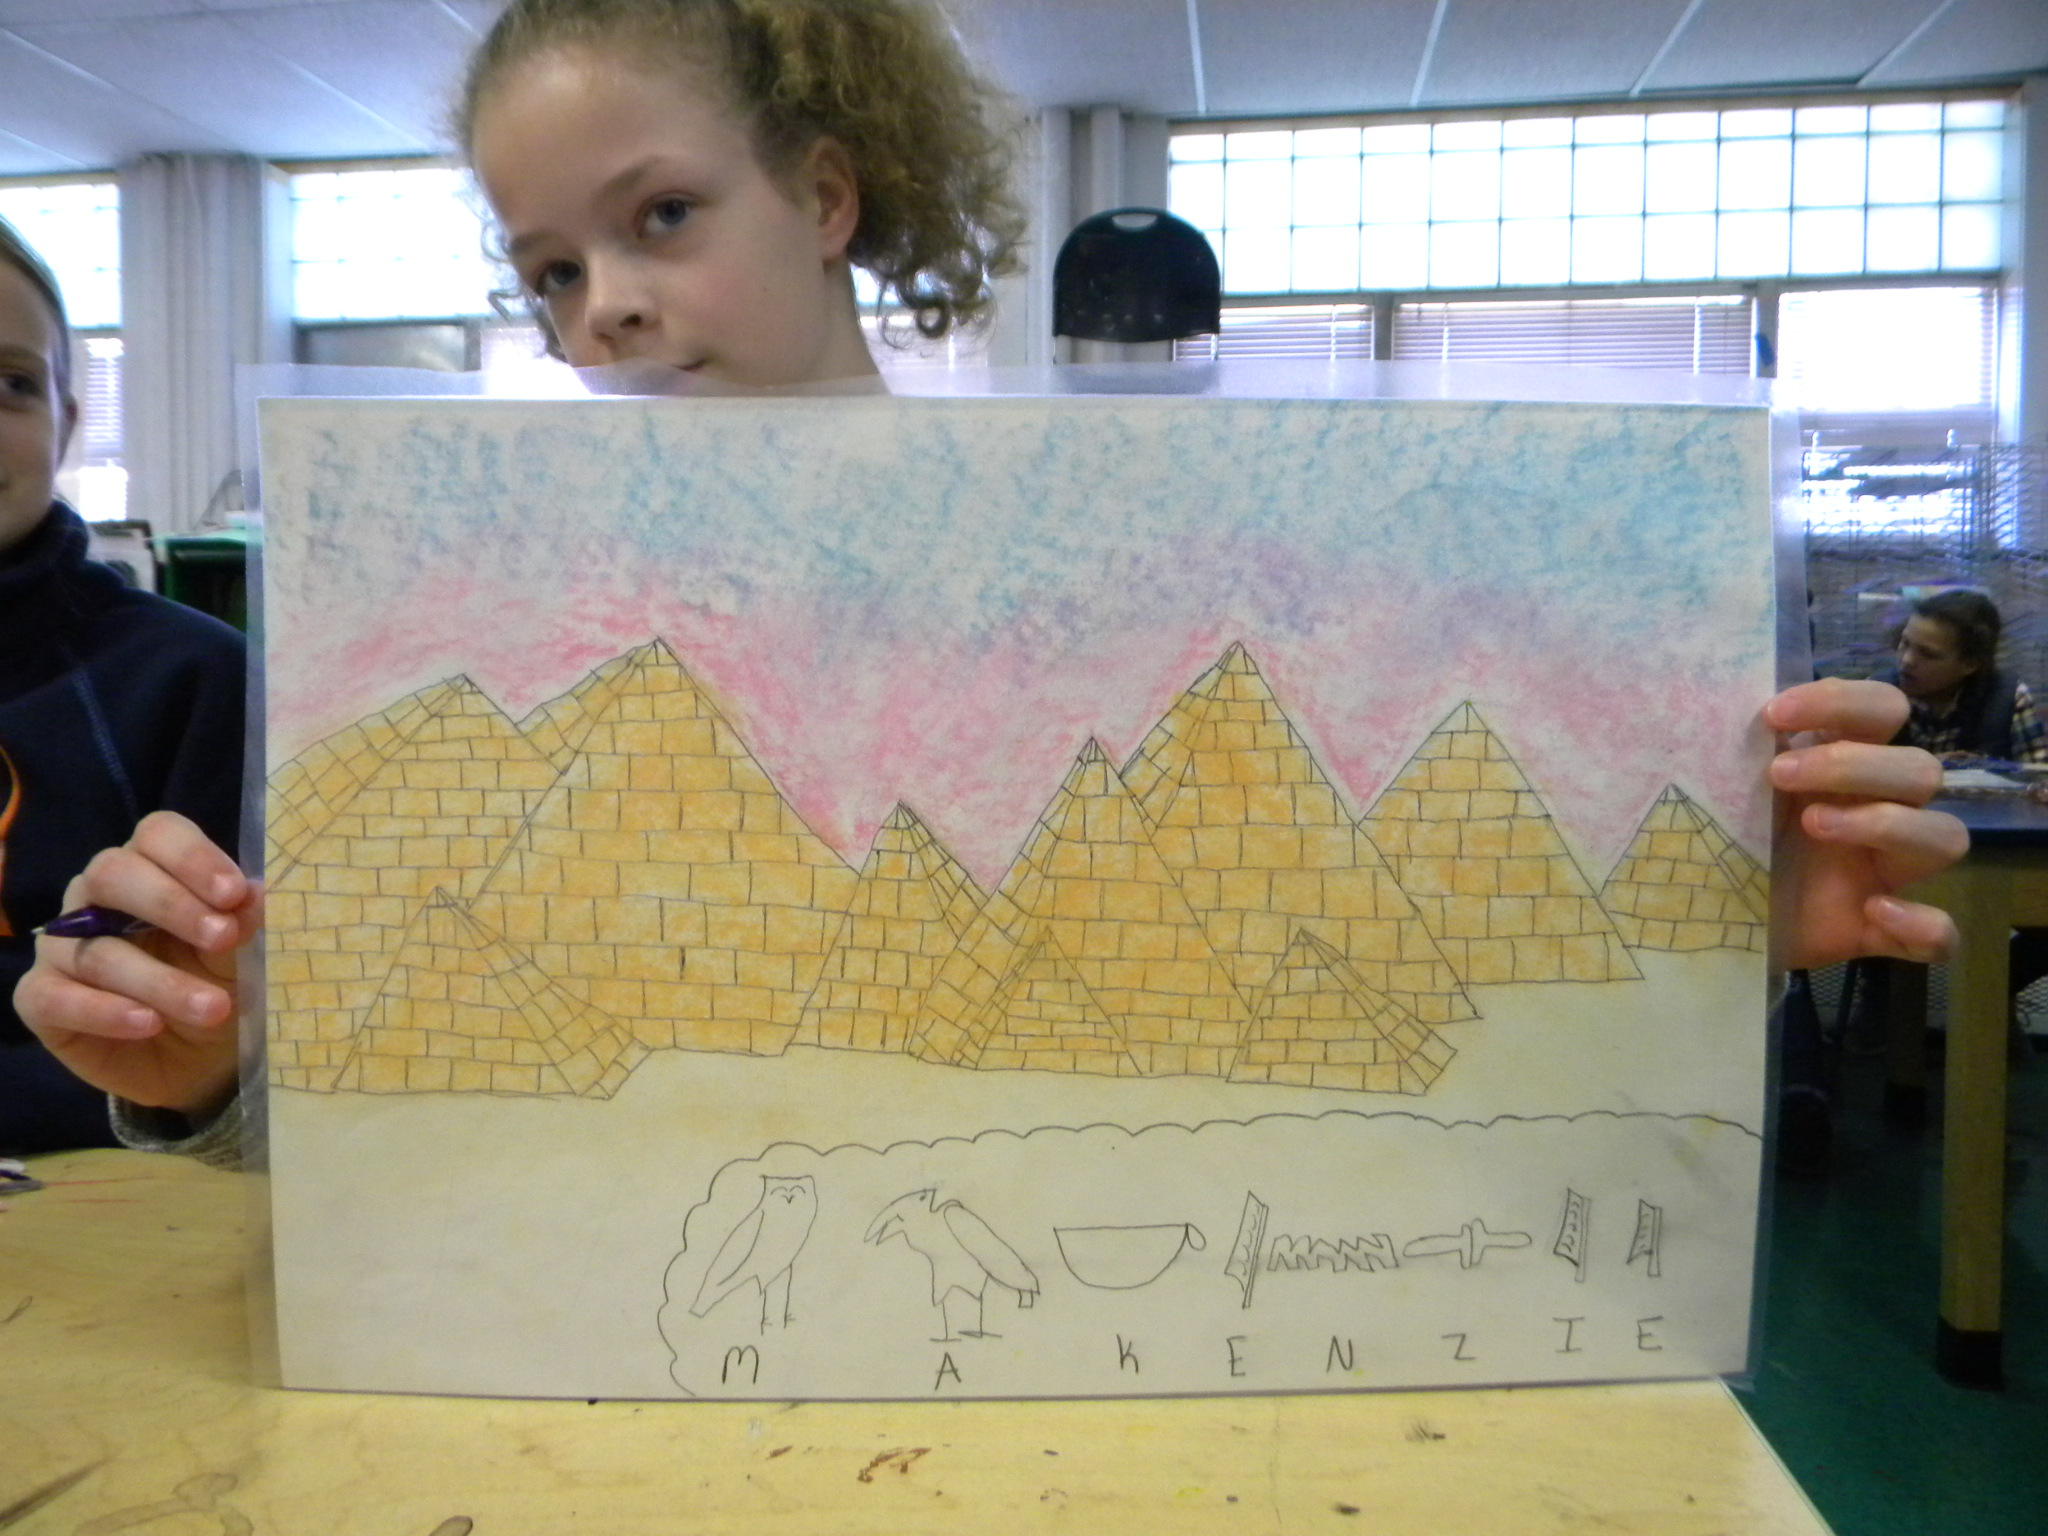
Nice sense of depth with the placement and drawings of the pyramids
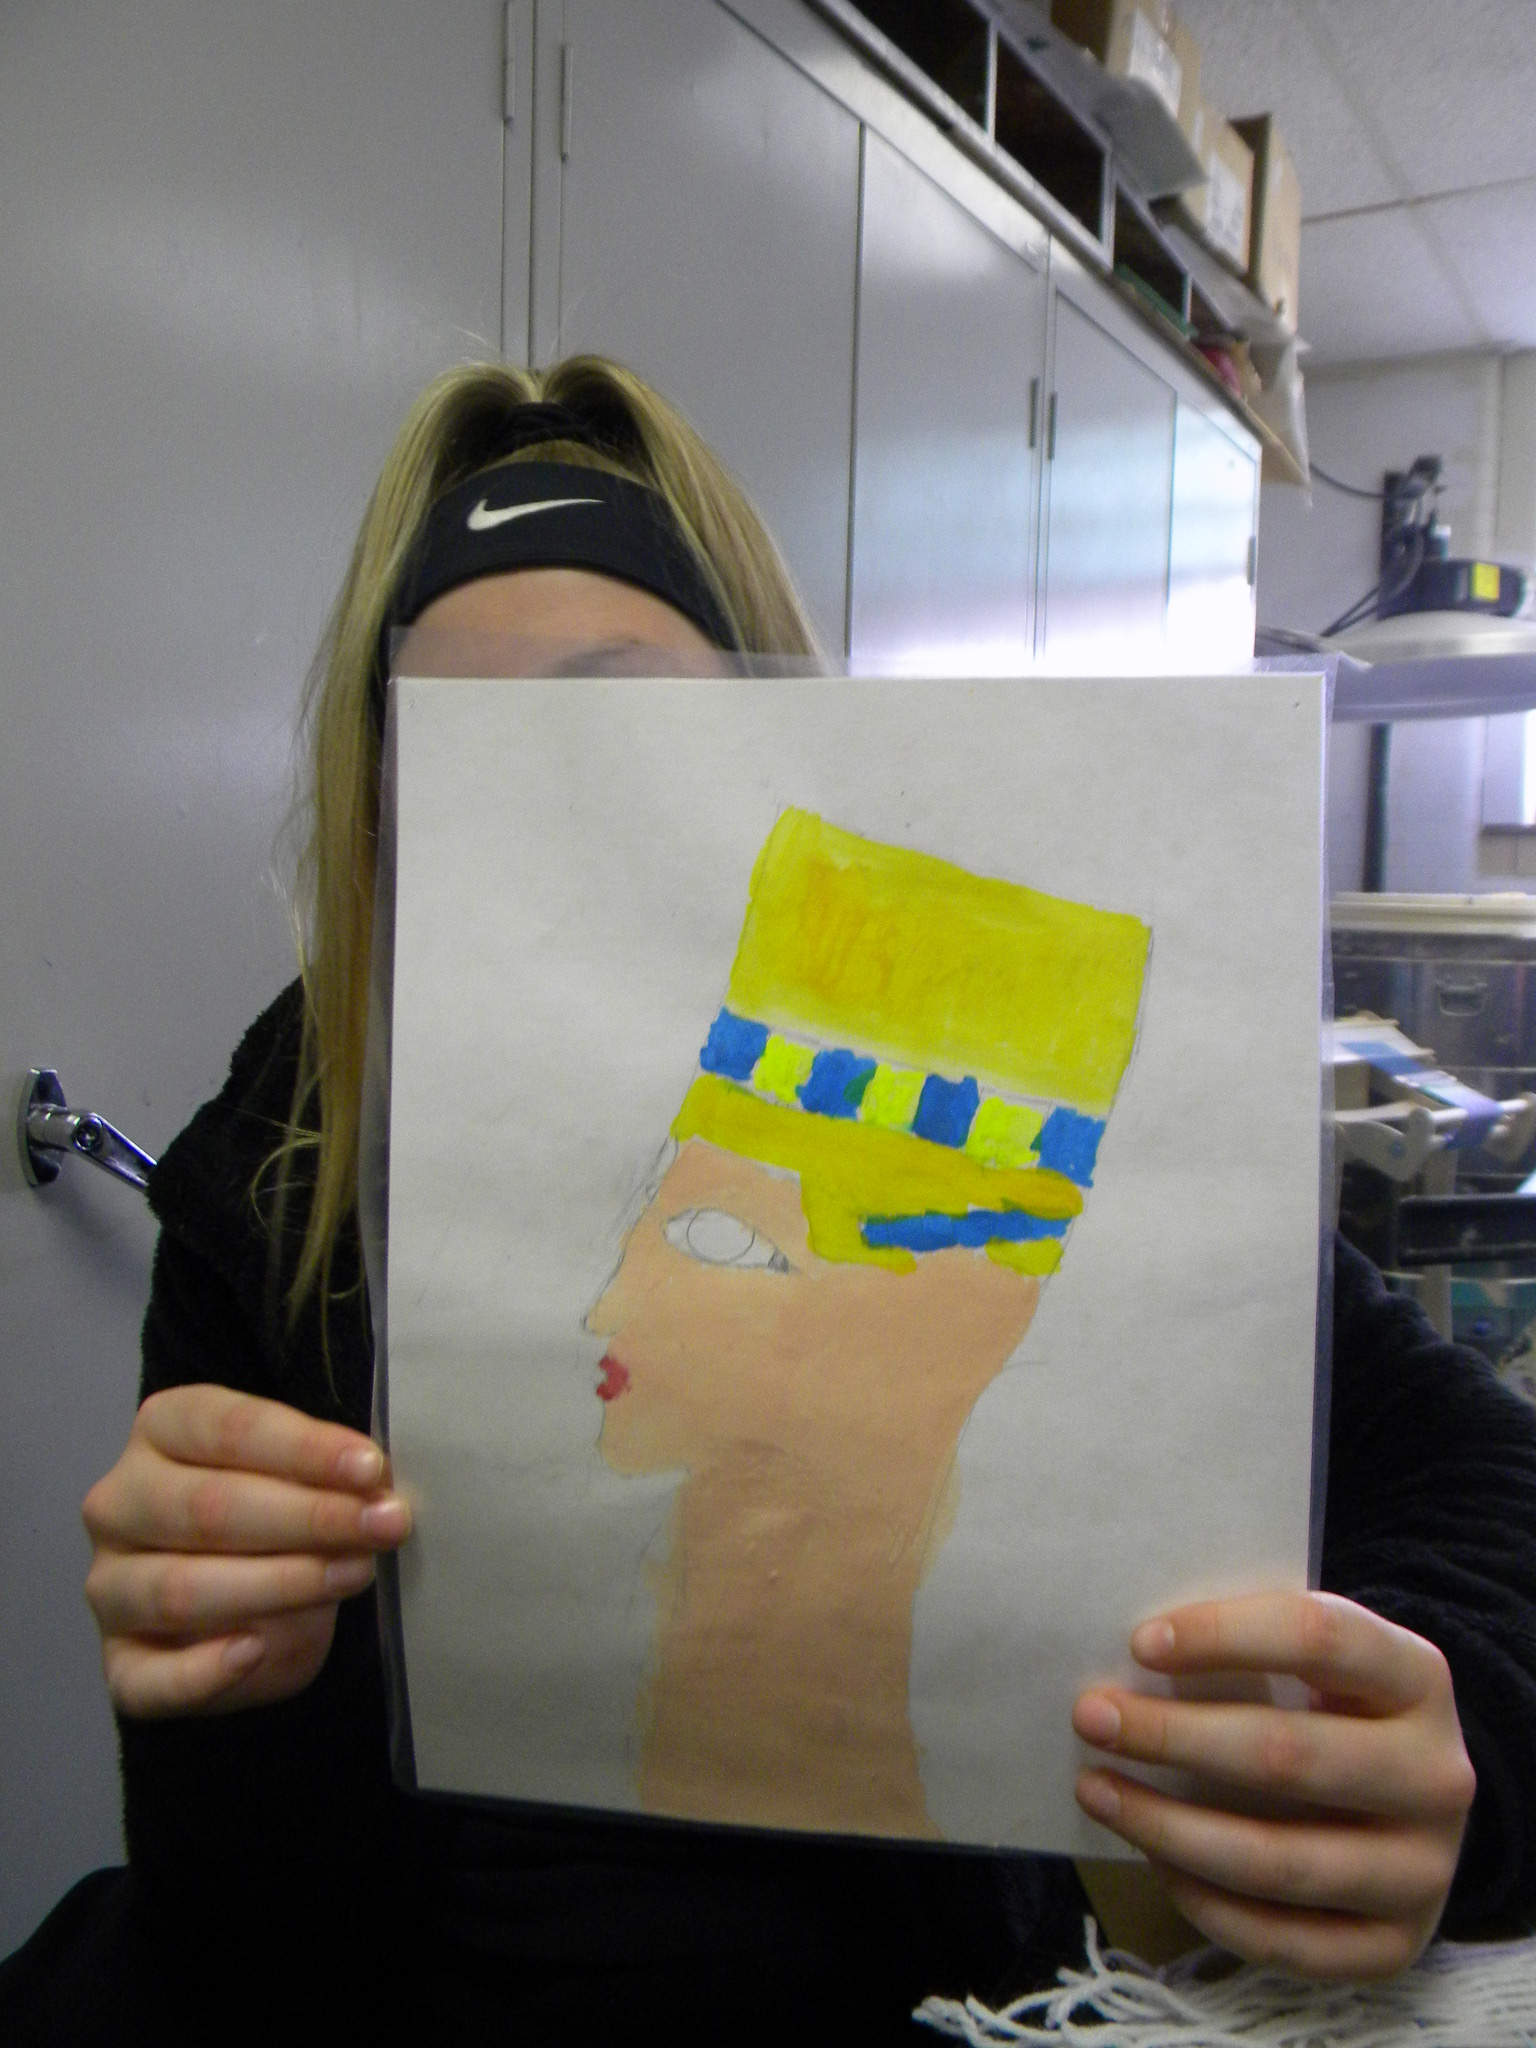
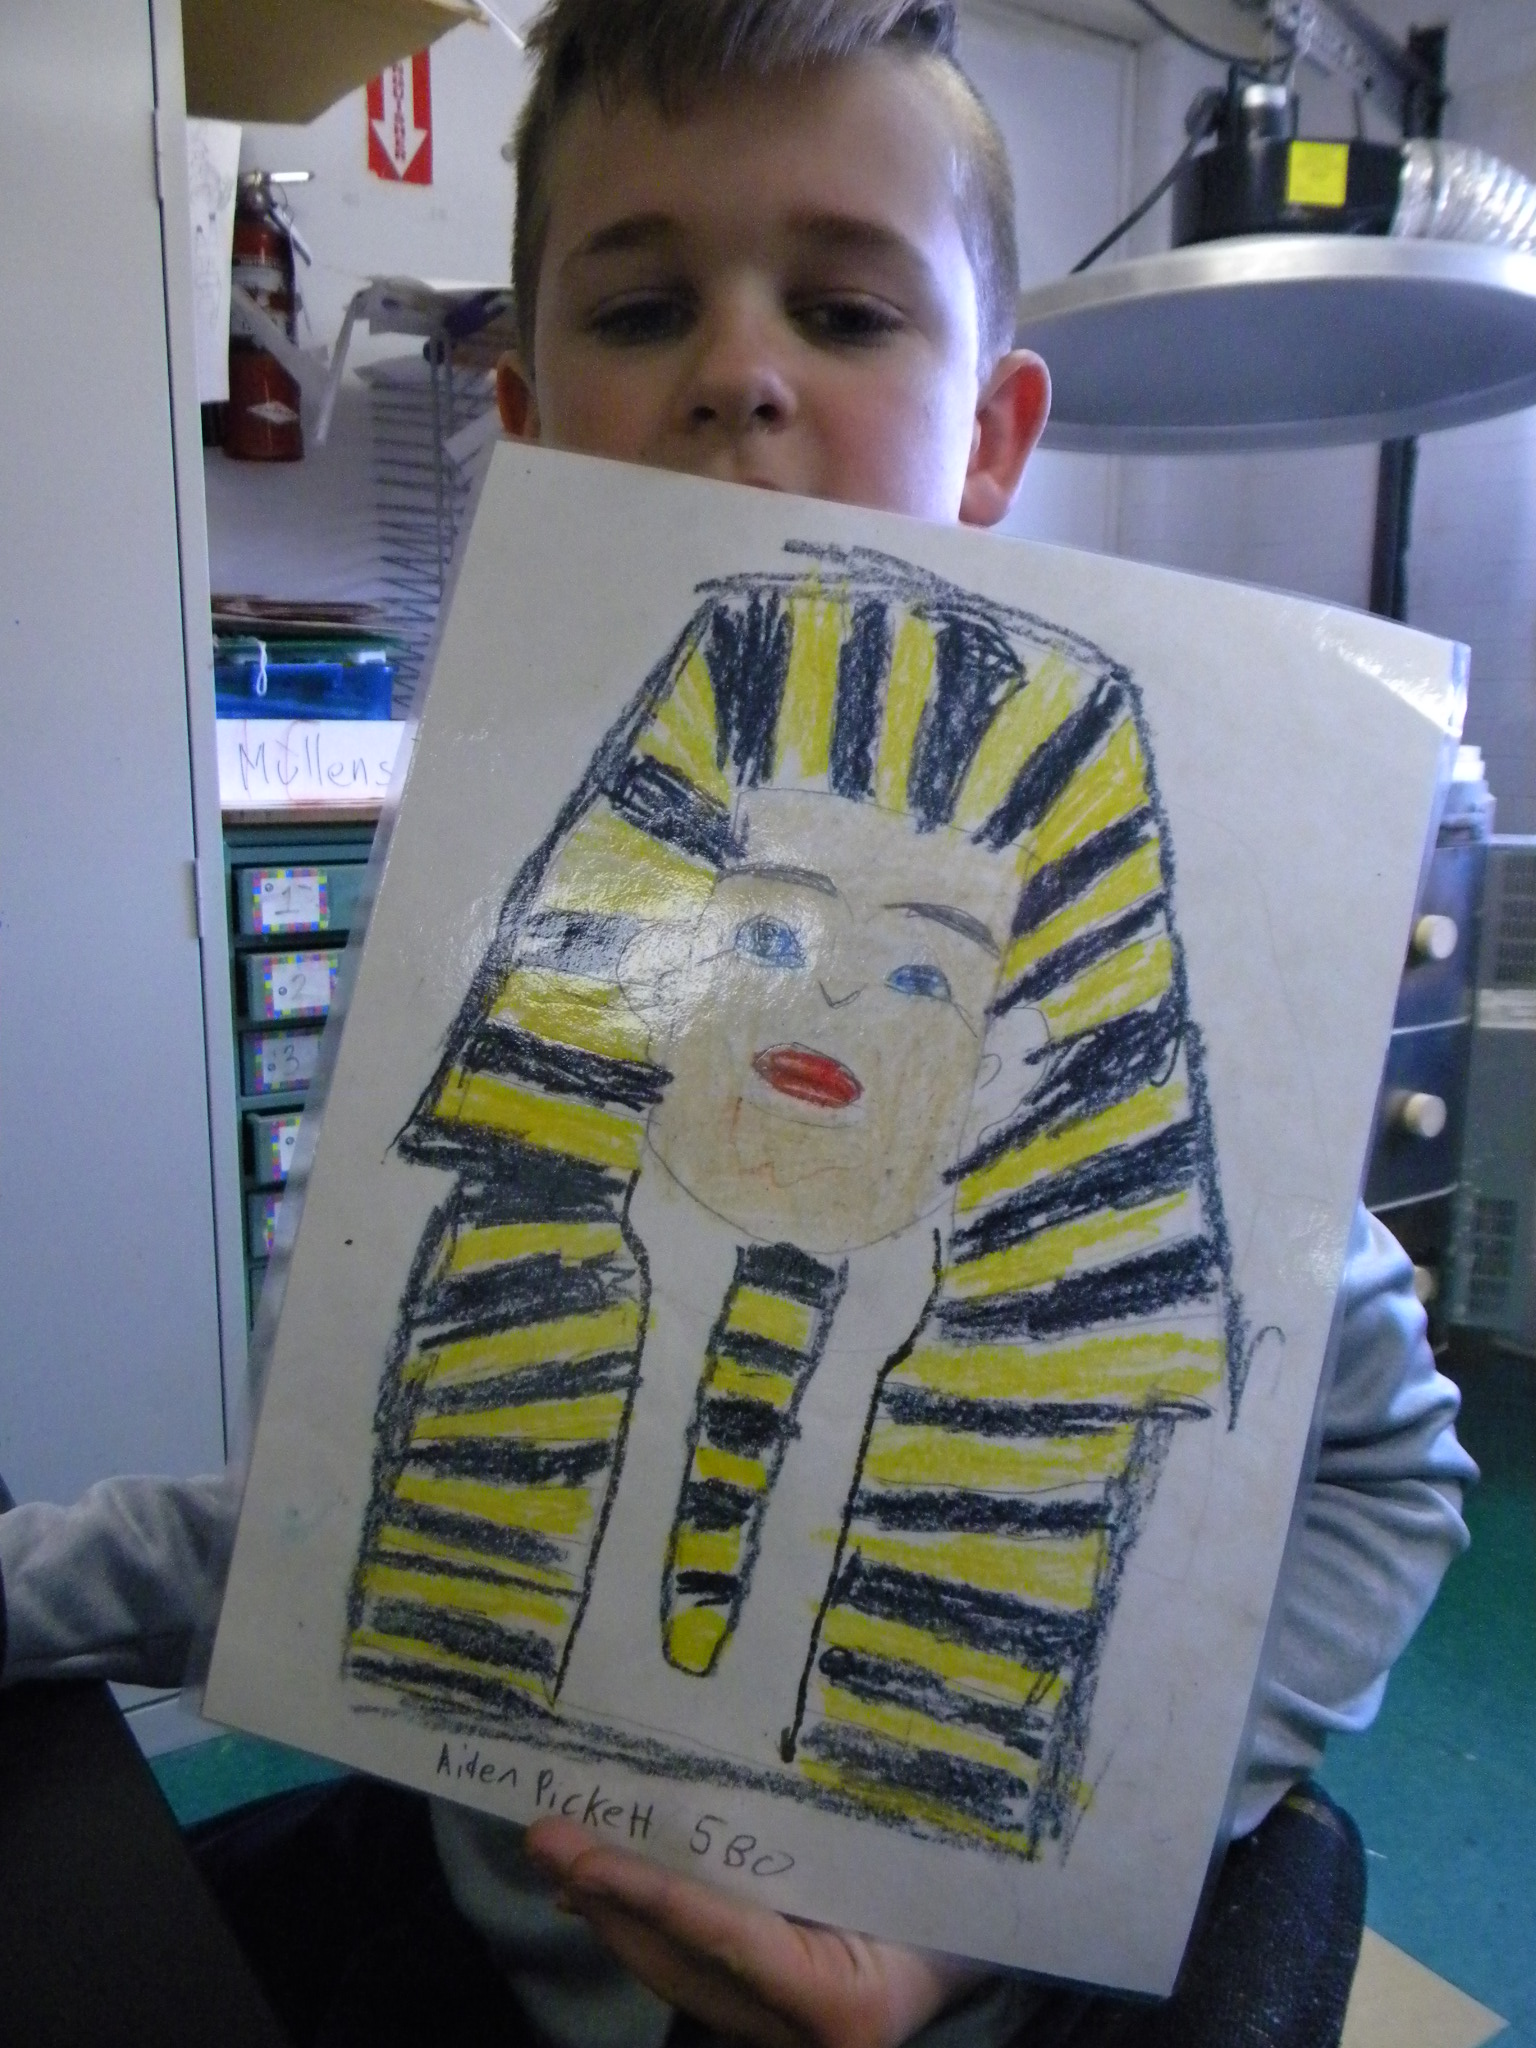
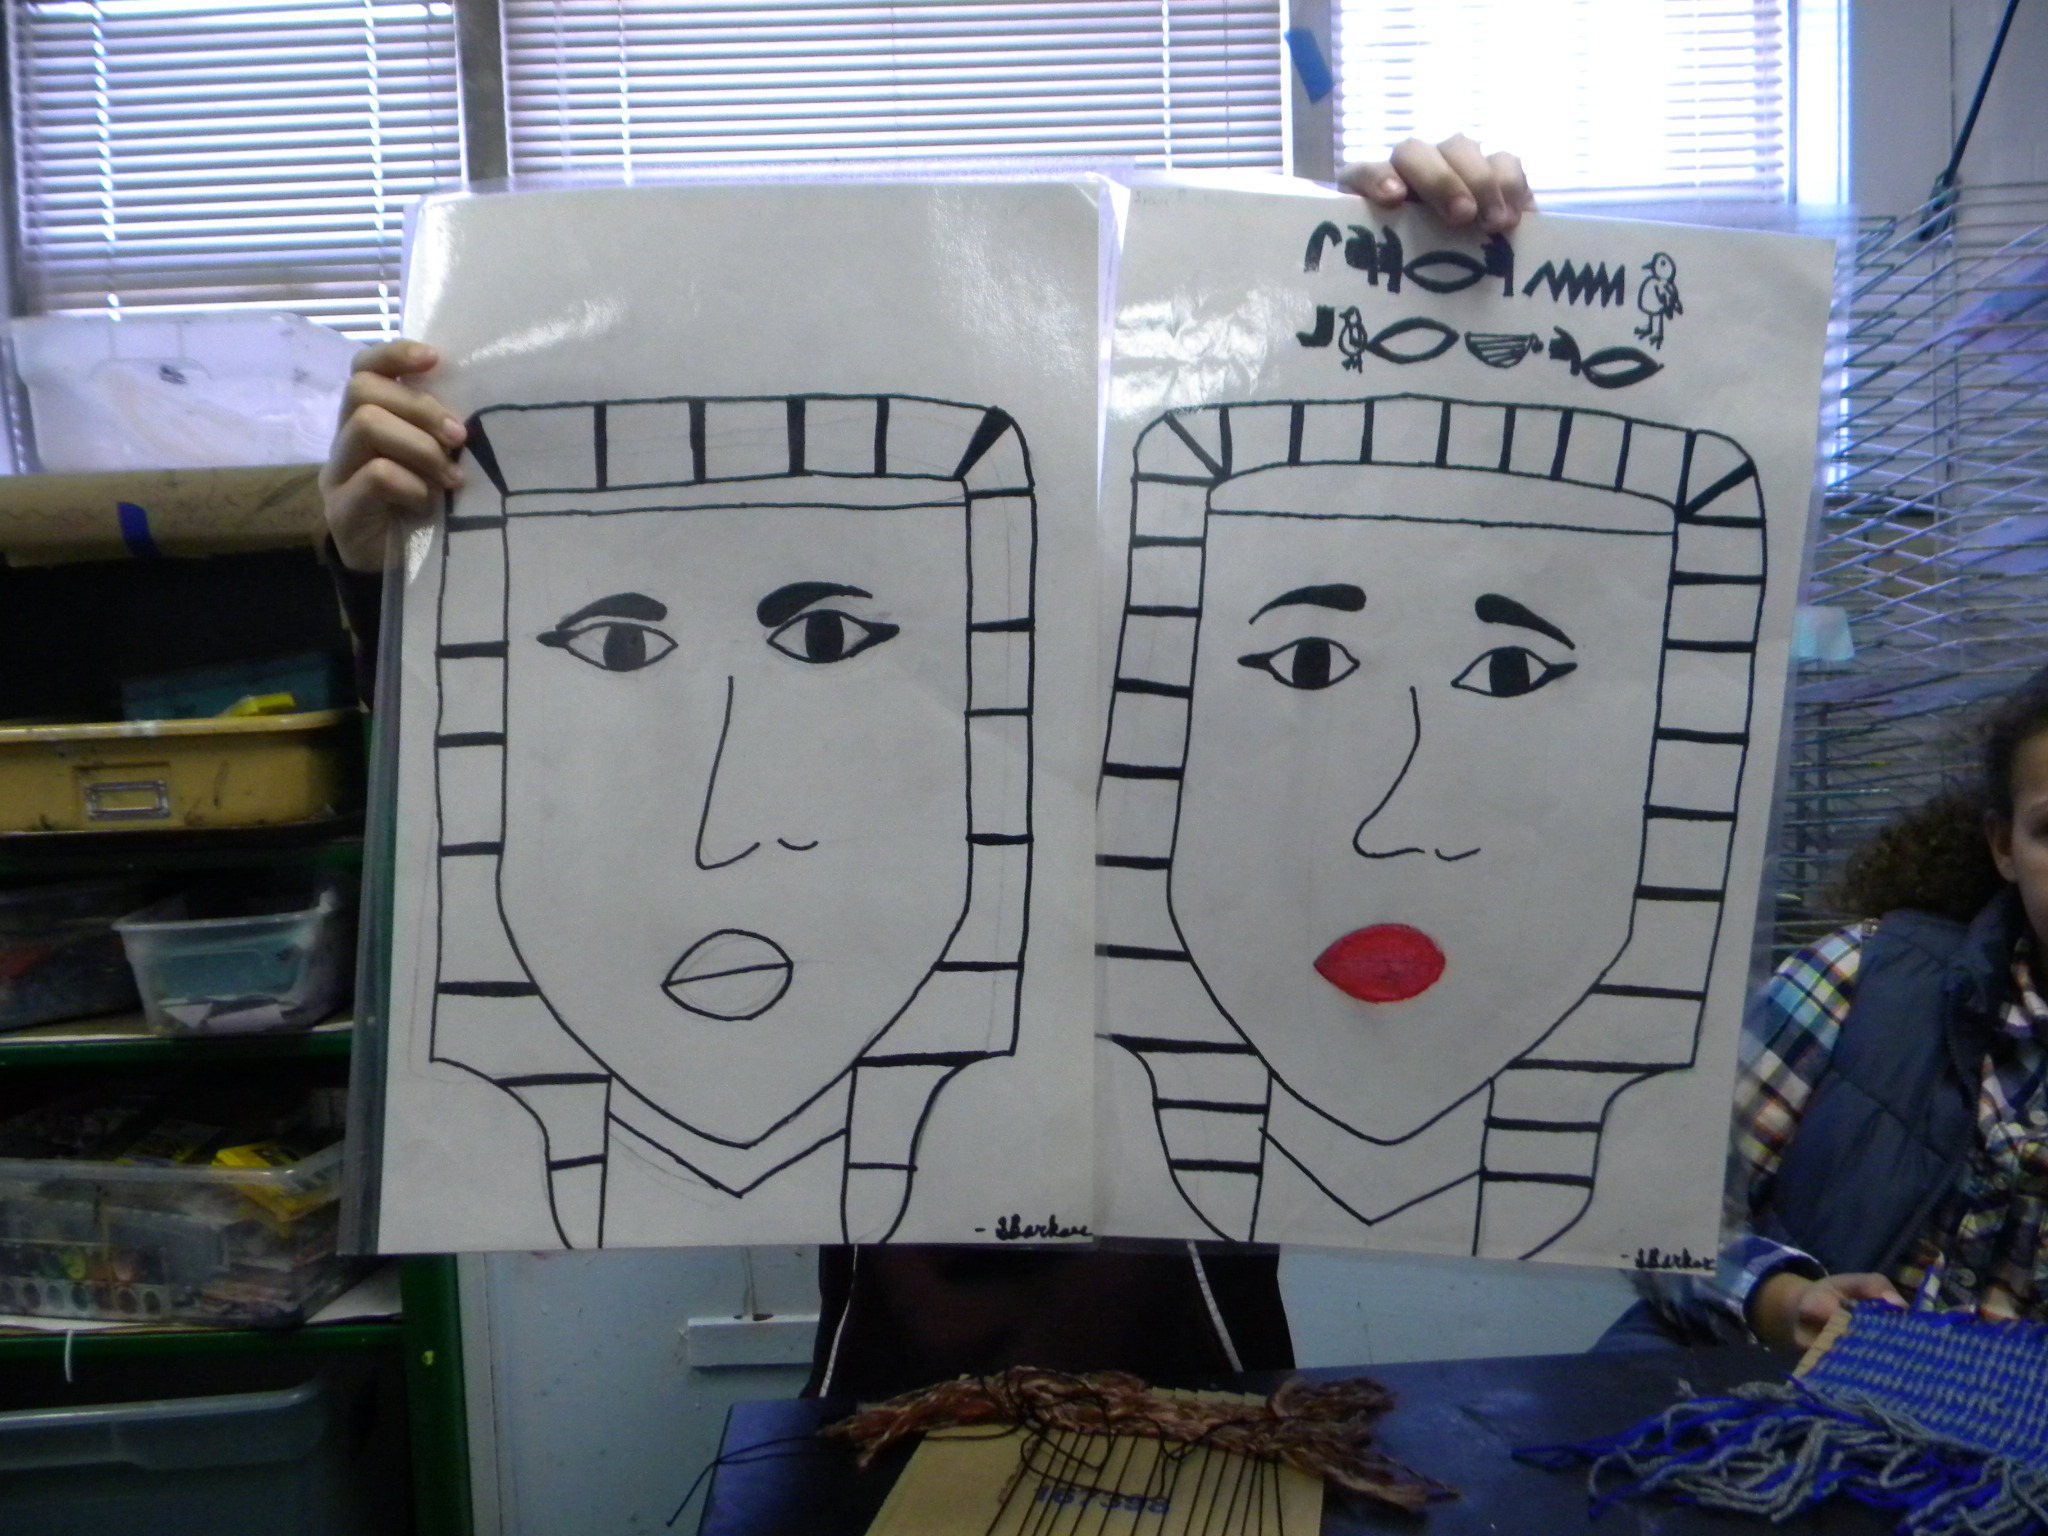
Great Egyptian queen or princess image.
Cat imagery was very popular in class and this one came out very well.
Nice pastel work and color choices with her Egyptian imagery.
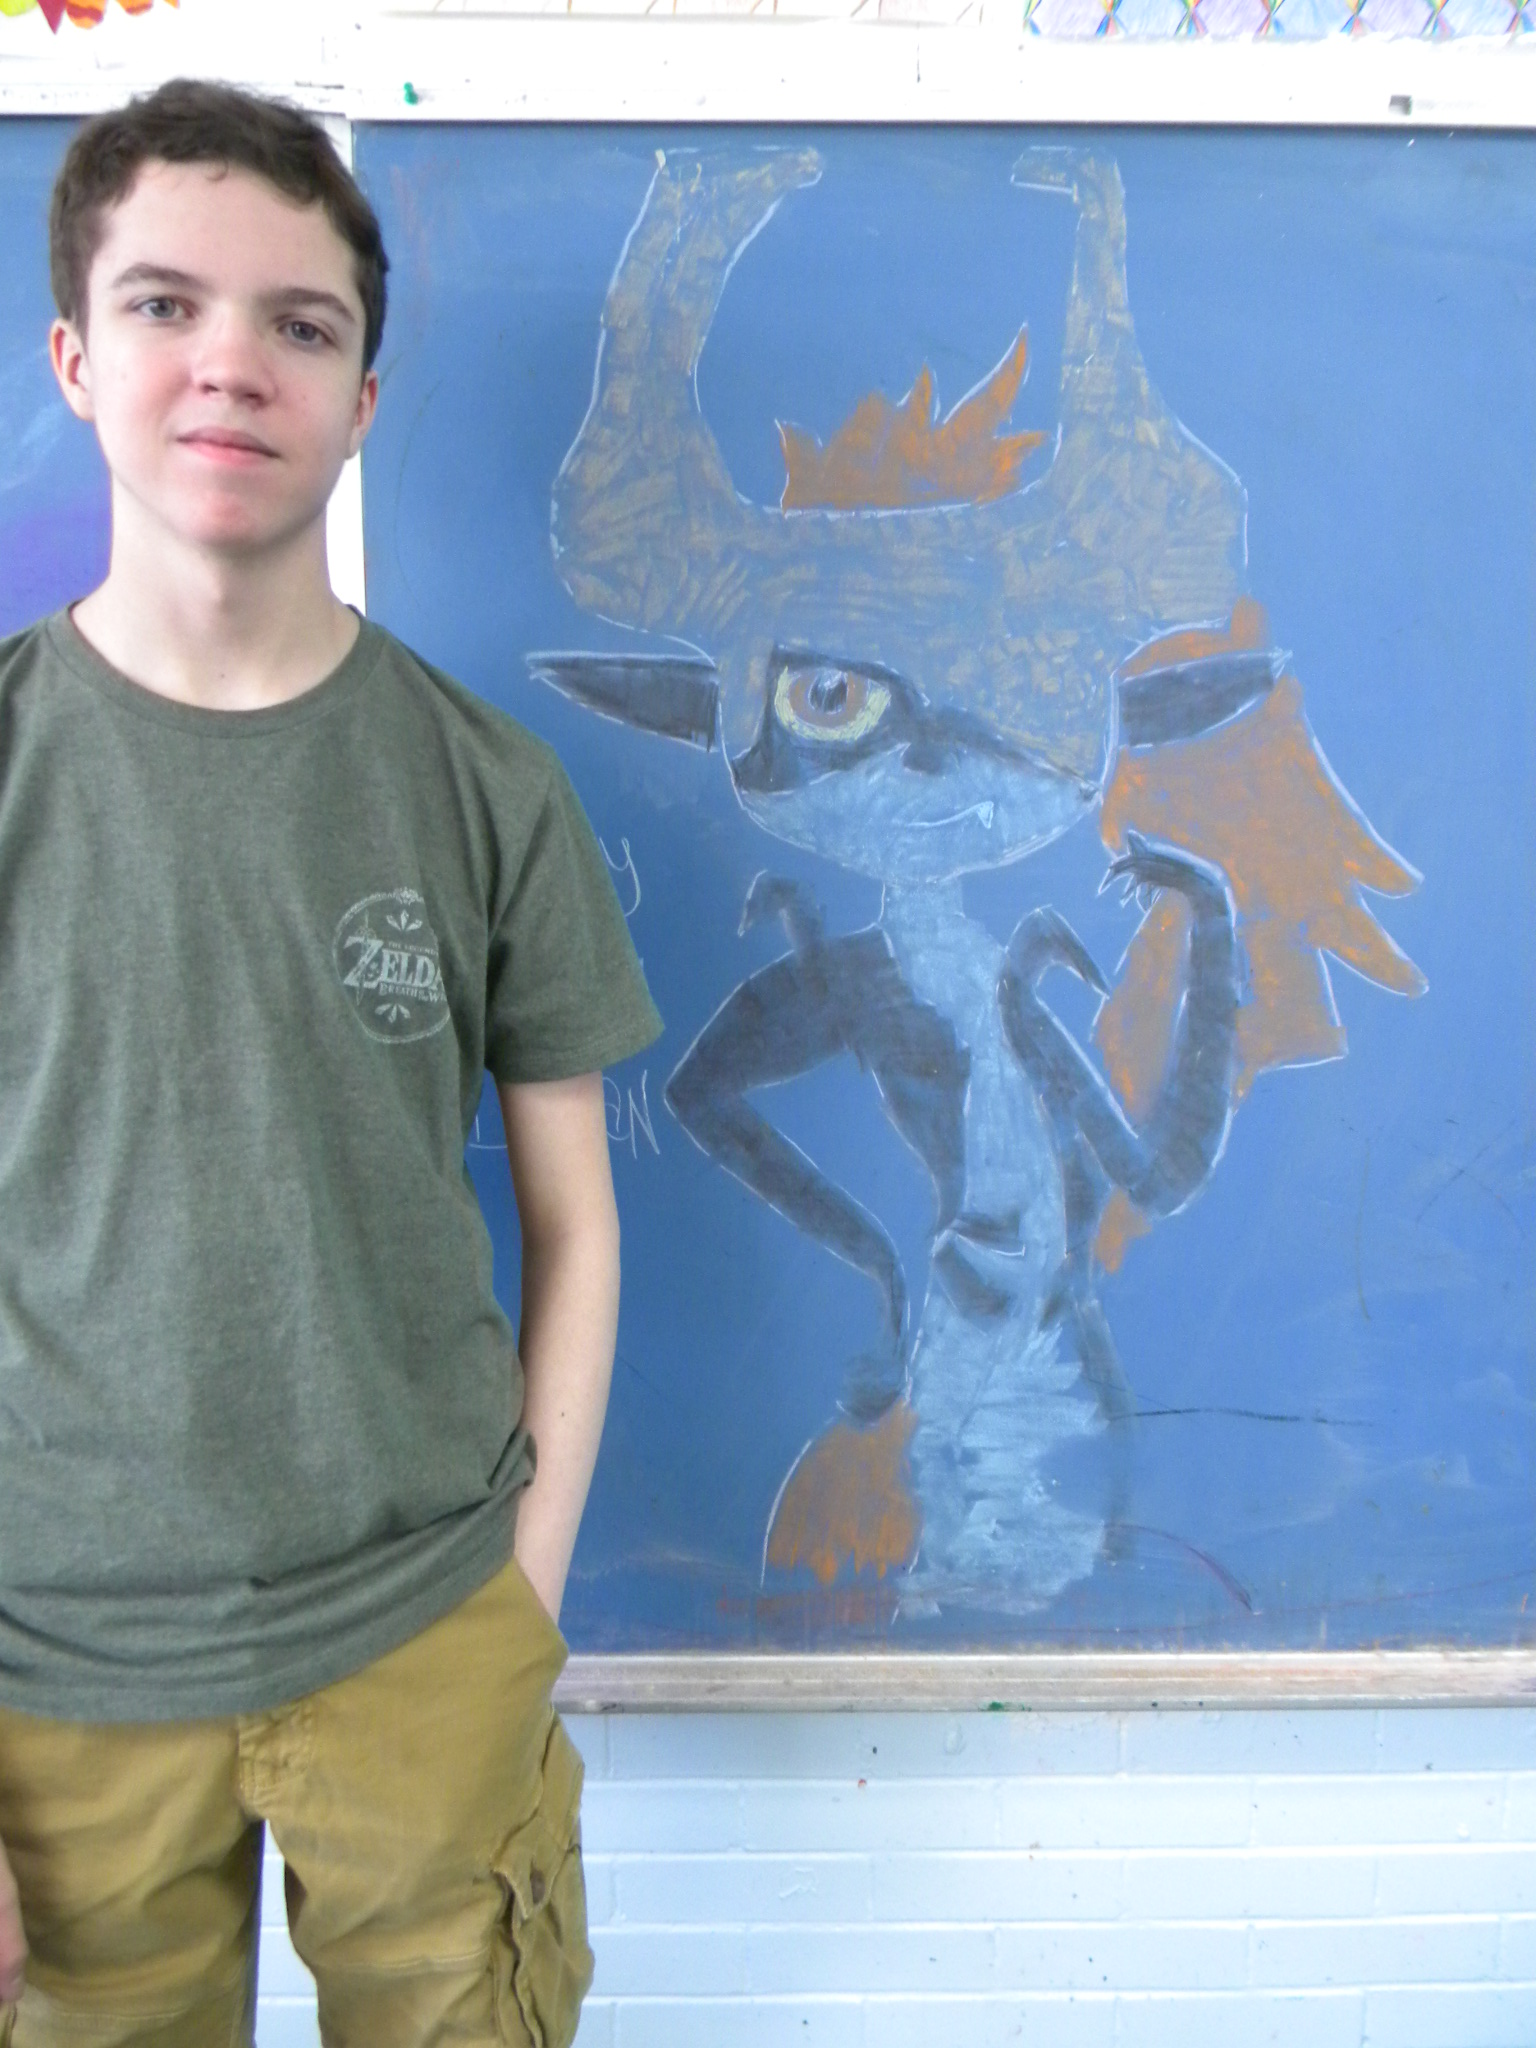
Both of students below like to draw on the board. I’m not sure what the fascination is, but hey, to each his own. Both come in my room on a regular basis and help clean and assist with the young students. I’m always happy to have them in the room!
This is Midna from The Legend of Zelda Twilight Princess.
A Catra inspired piece. Haleigh is completely wired up and ready for the next season of She-Ra!
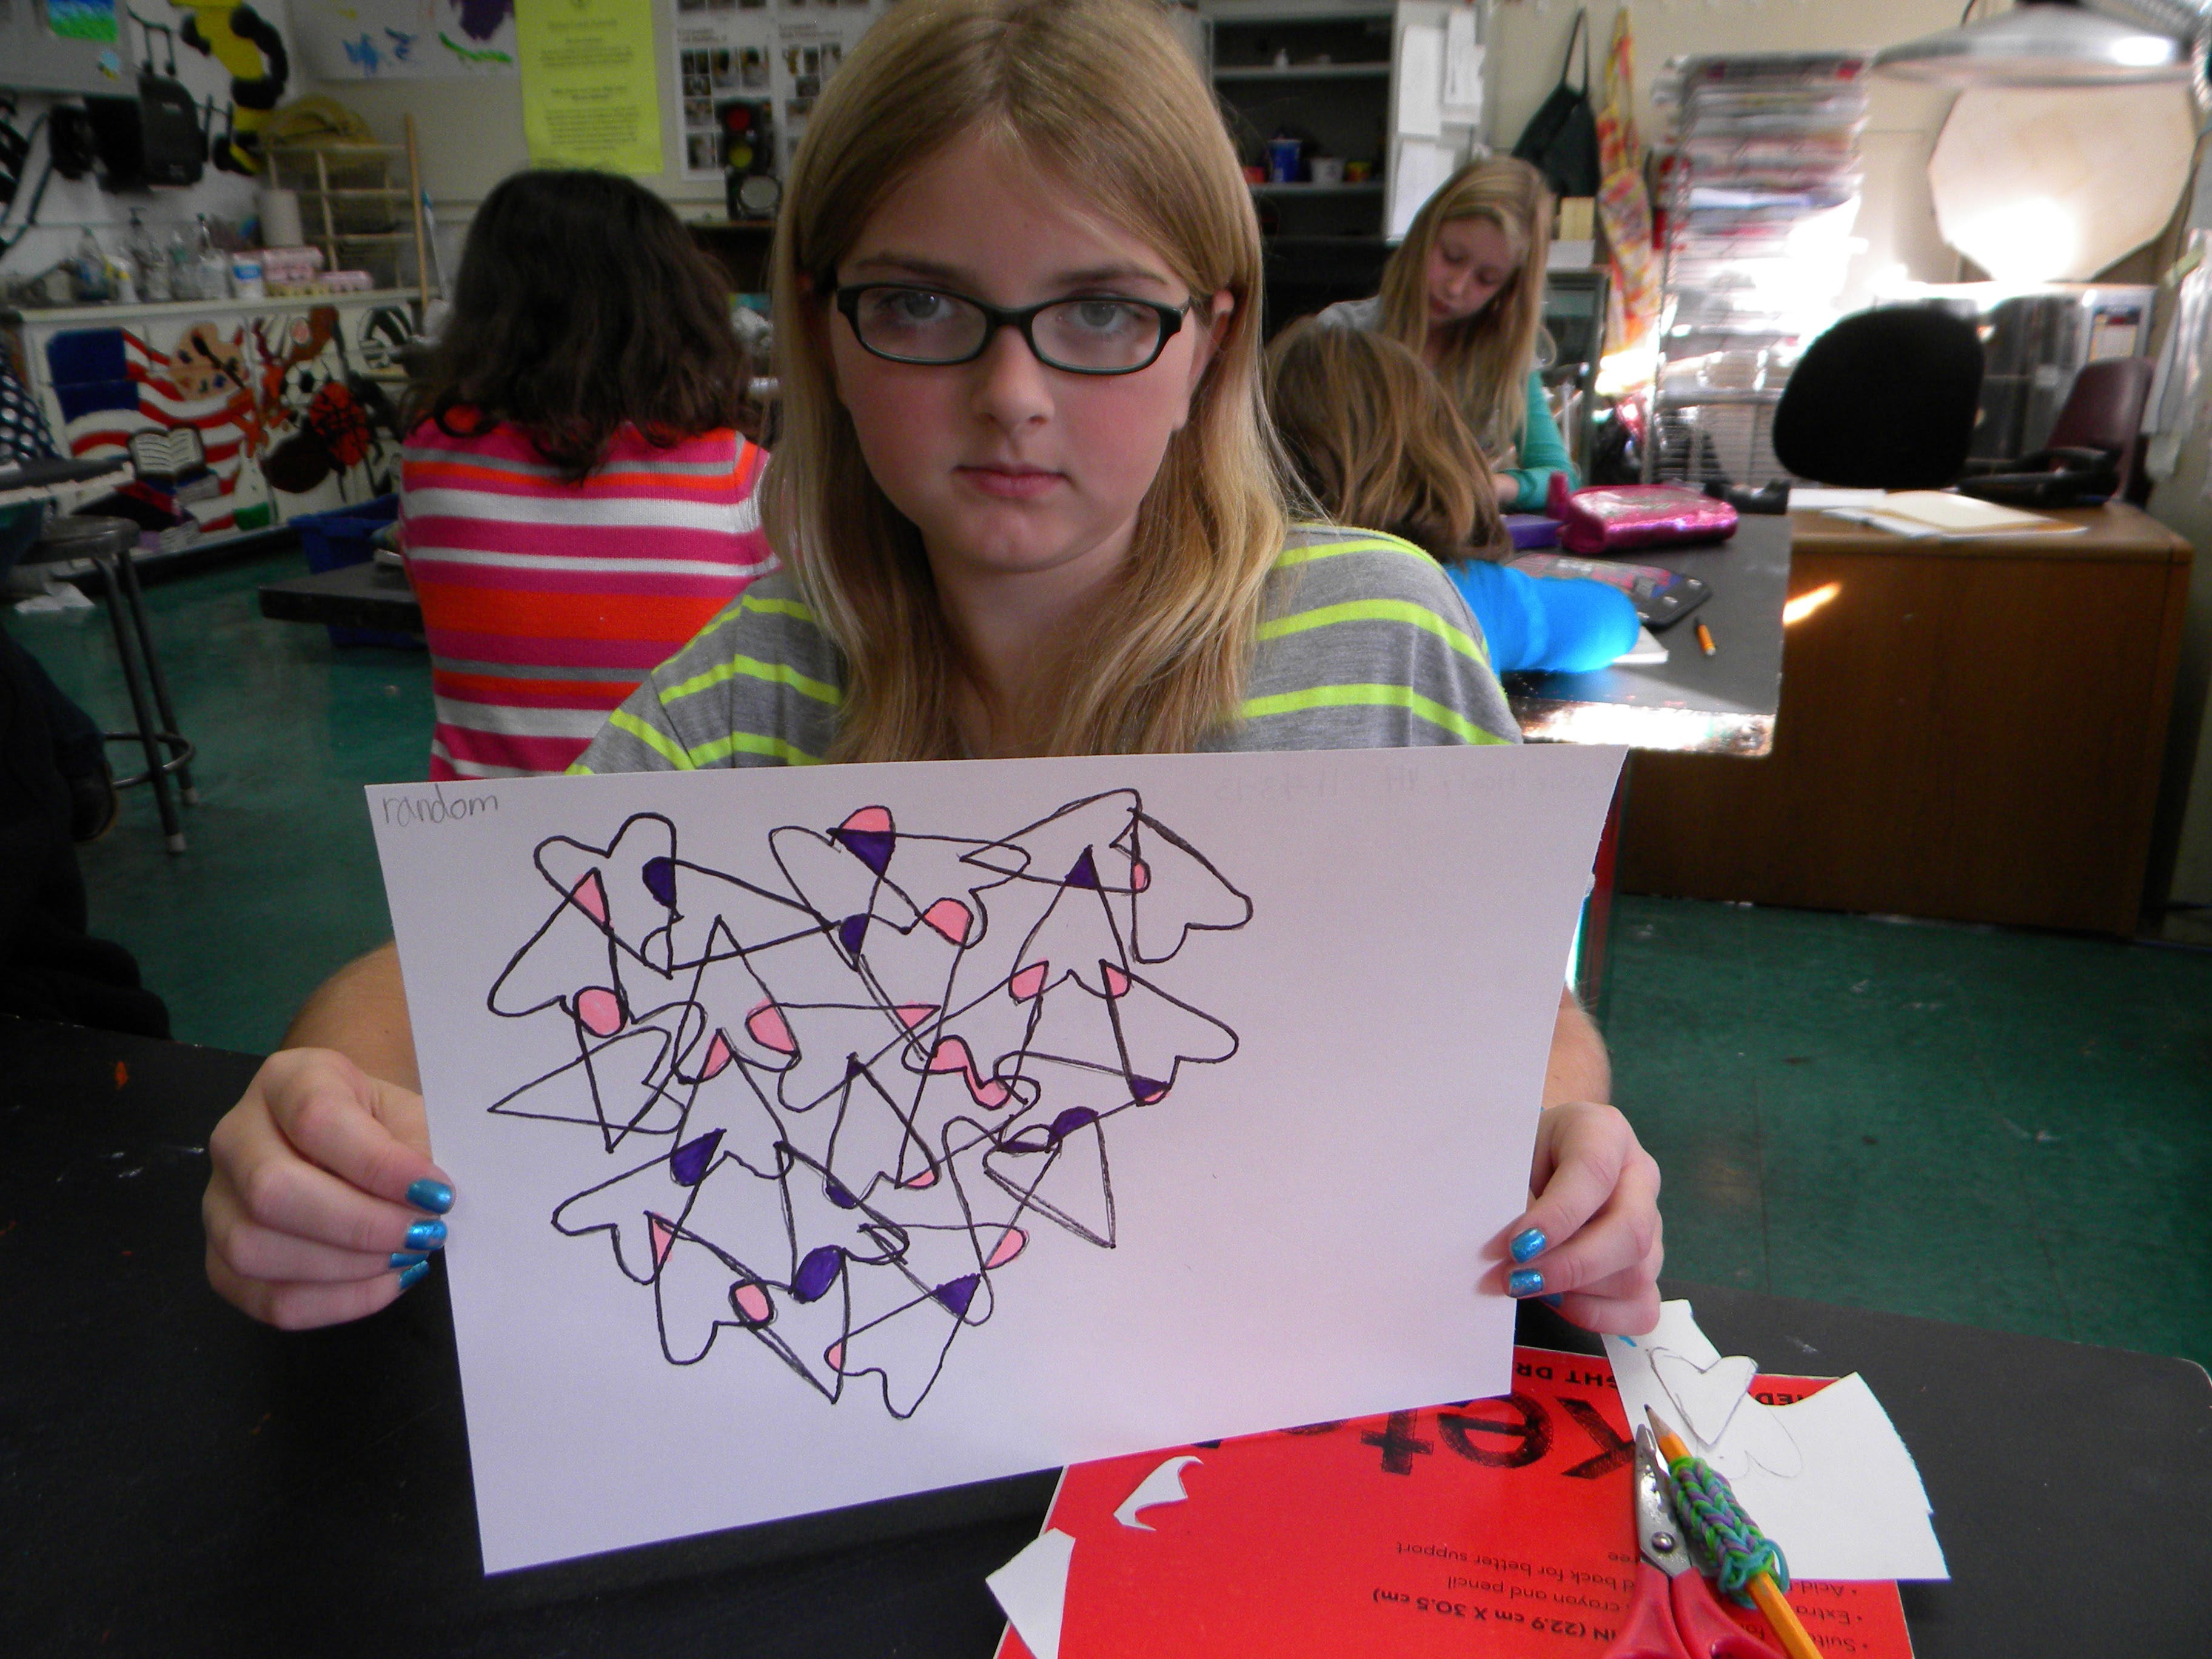
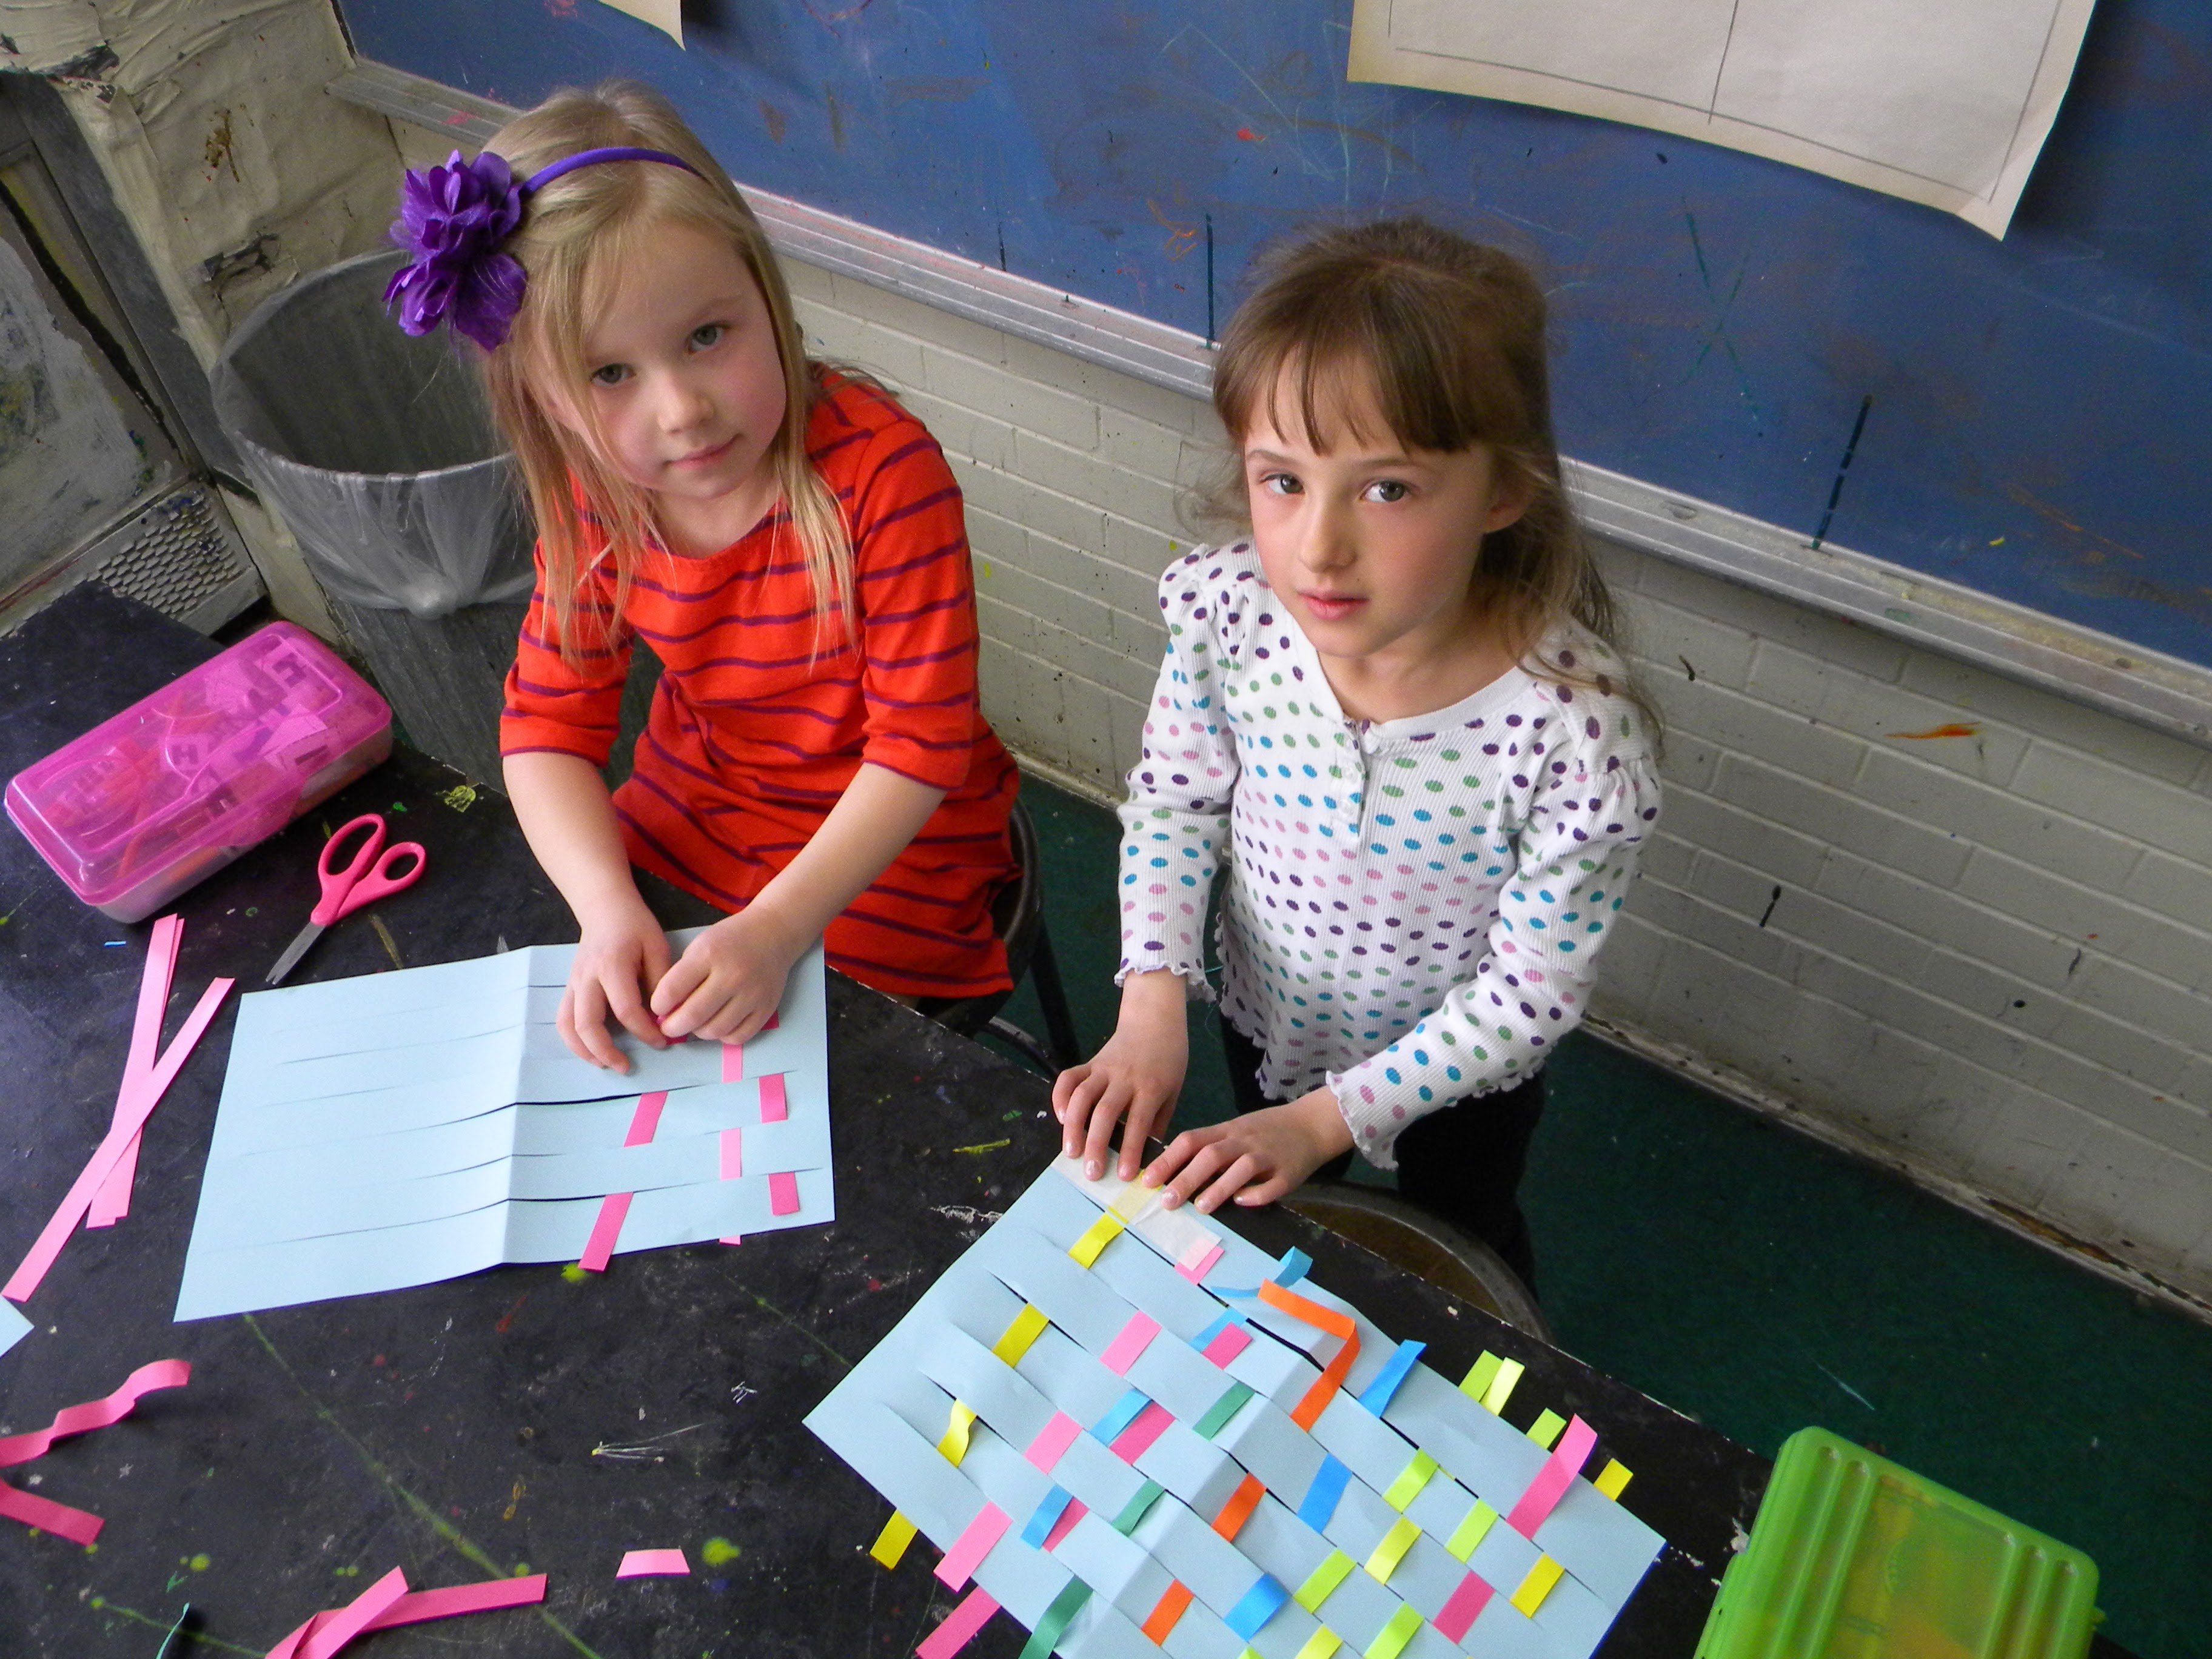
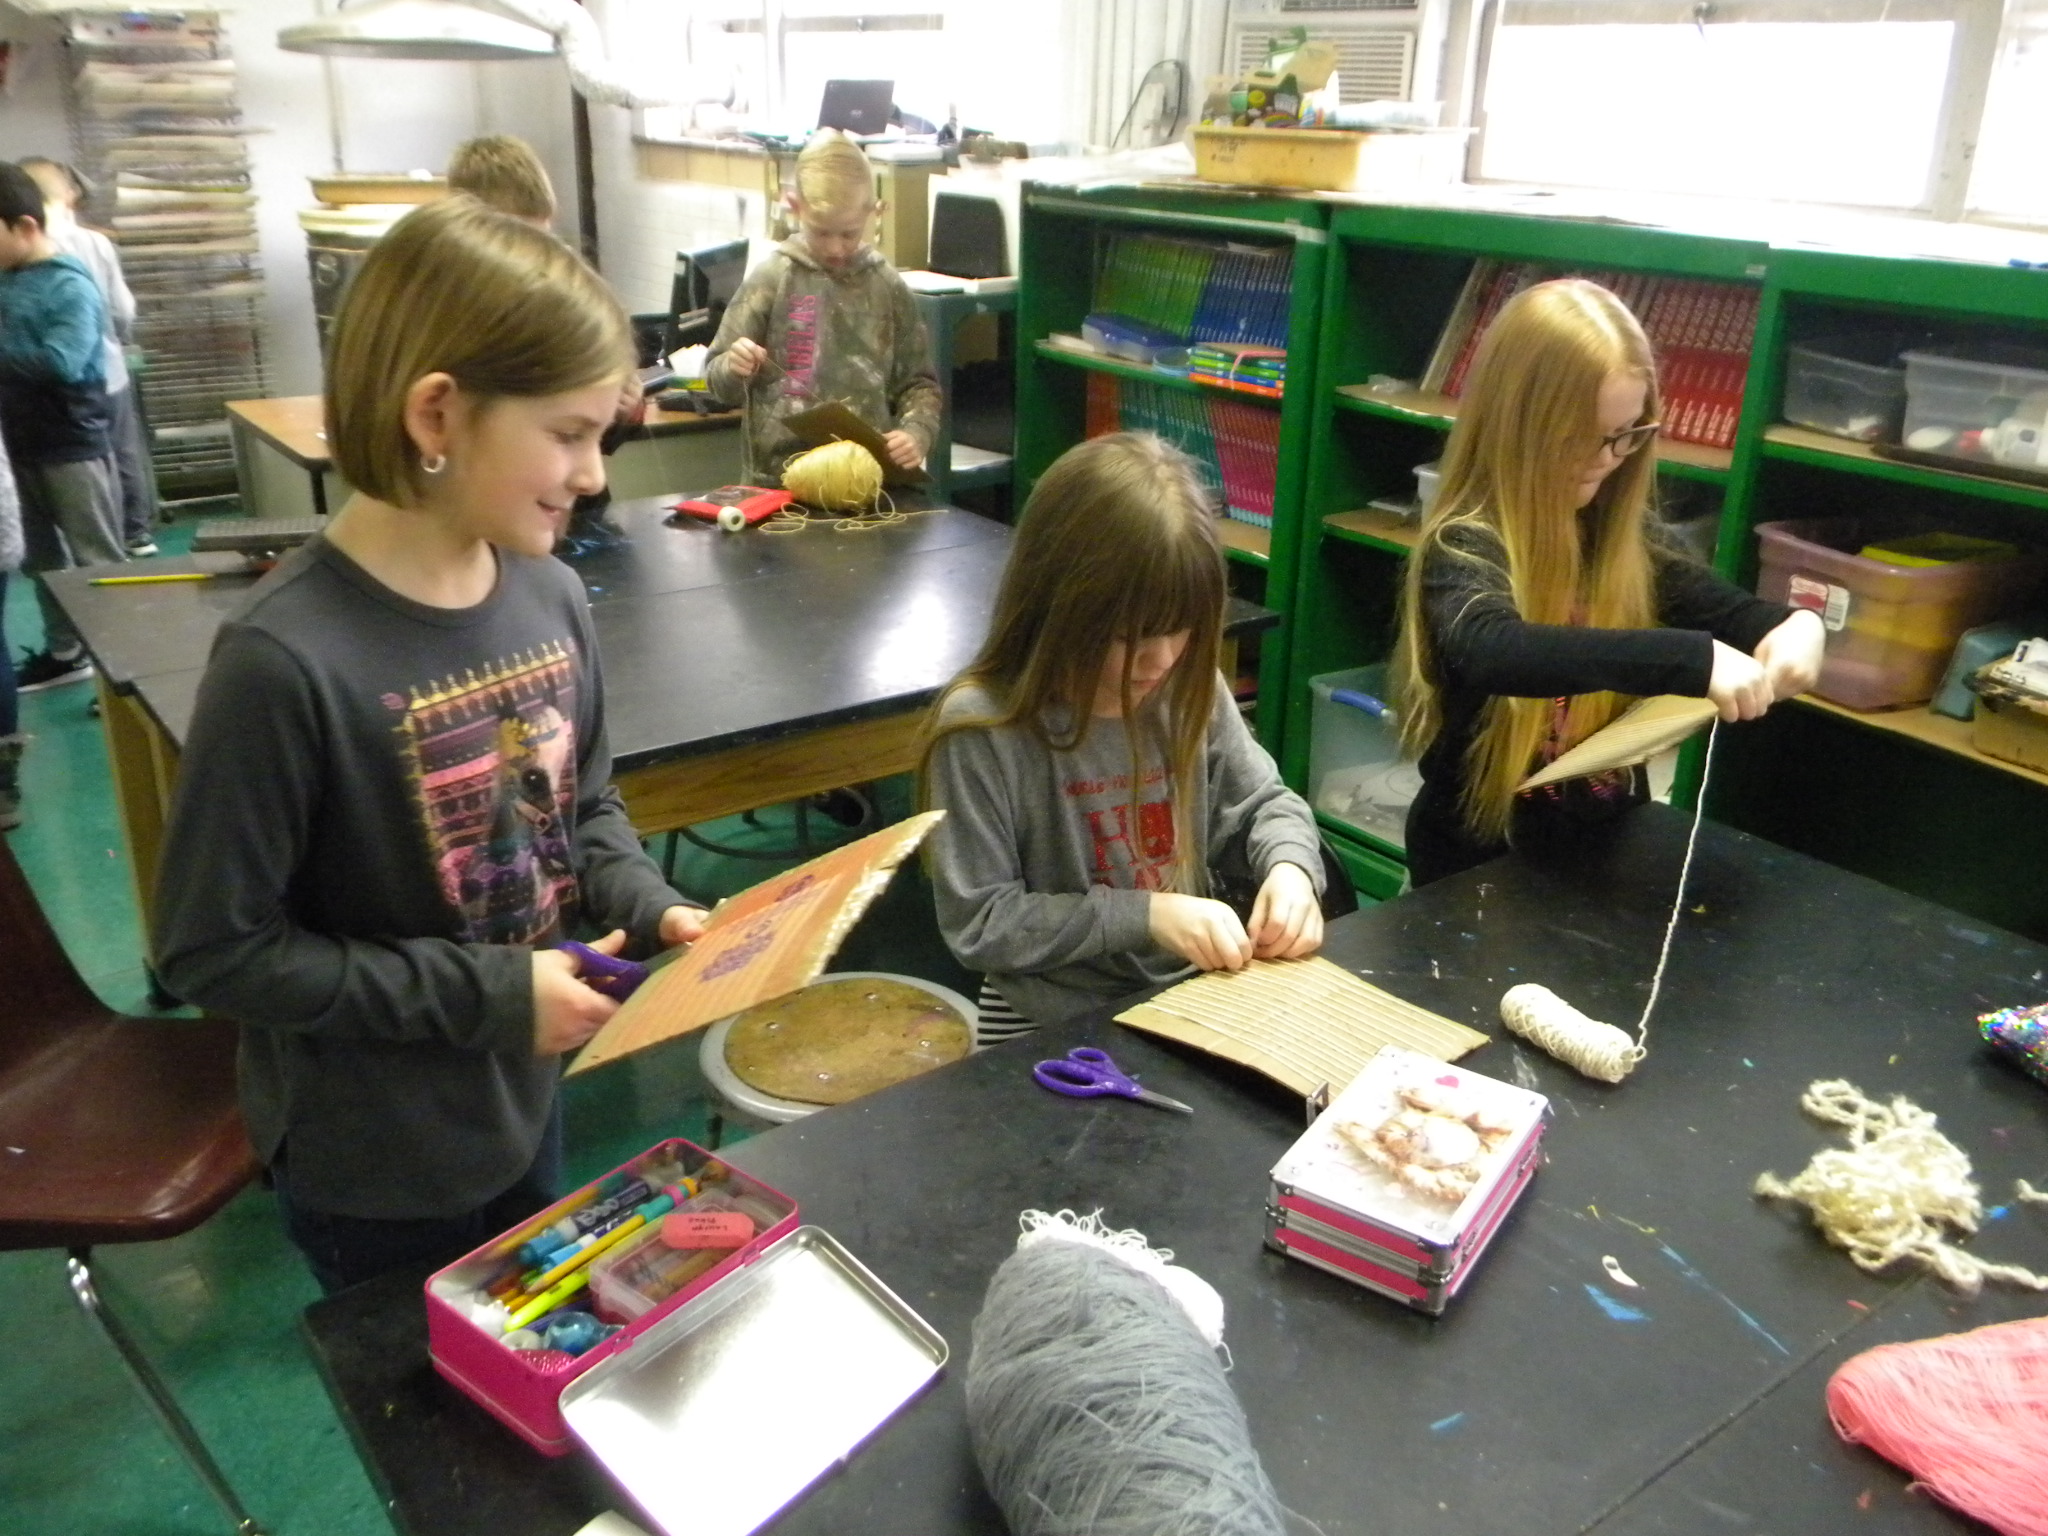
I’ve been doing this lesson on weaving for a few years now. There are lots of ancillary concerns and vocabulary, not just art objectives, that can be addressed through the teaching of weaving. Over, under, through, alternate, opposite, warp, weft, loom, etc., are just some of the words that come up on a regular basis.
I started off with paper weaving with the 2nd grade and then start using string and yarn in the 3rd grades. I liked the really tiny one above! No one has ever done one that small. The above is a new photo tiling/mosaic feature in WordPress, I thought I’d try it. I need to go look at in on a phone, see latency and how it renders, etc.
Ms. Aubrey made very fast work of this!
With the 2nd grade, I’m just trying to get the concept of weaving introduced and started
Not what I was thinking but she was very happy and proud of her idea of making a snake!
Nice, careful, consistent work.
She went on to completely cover this!
Another proud weaver!
Good work on paper weaving.
It’s a very social activity, here’s a student talking with out even looking at the work.
Every October, after doing printmaking, I tend to do origami and paper constructions. Many of the kids like it, but Brayden was one of the few that went over the top and made multiple objects with paper. A lot of students like this project, so it’s pretty popular and it’s always great to see what they come up with. Here’s another post about a student project constructed with paper.Above is a table and chairs Brayden made.
I had some aluminum flashing, so I brought some pop rivets and the appropriate tools. About the only thing I showed him was how to cut and bent the metal, because the actual construction was very much like the paper construction. I thought he’d cut himself a a few times, due to bending and cutting sheet metal, but he never did!
Here you can see Brayden using the hand drill to make a hole to insert the pop rivet.
A good shot of the various tools required to make the project.
Looks like the table or chair under construction.
A shot of how to use the pop rivet to secure the part together.
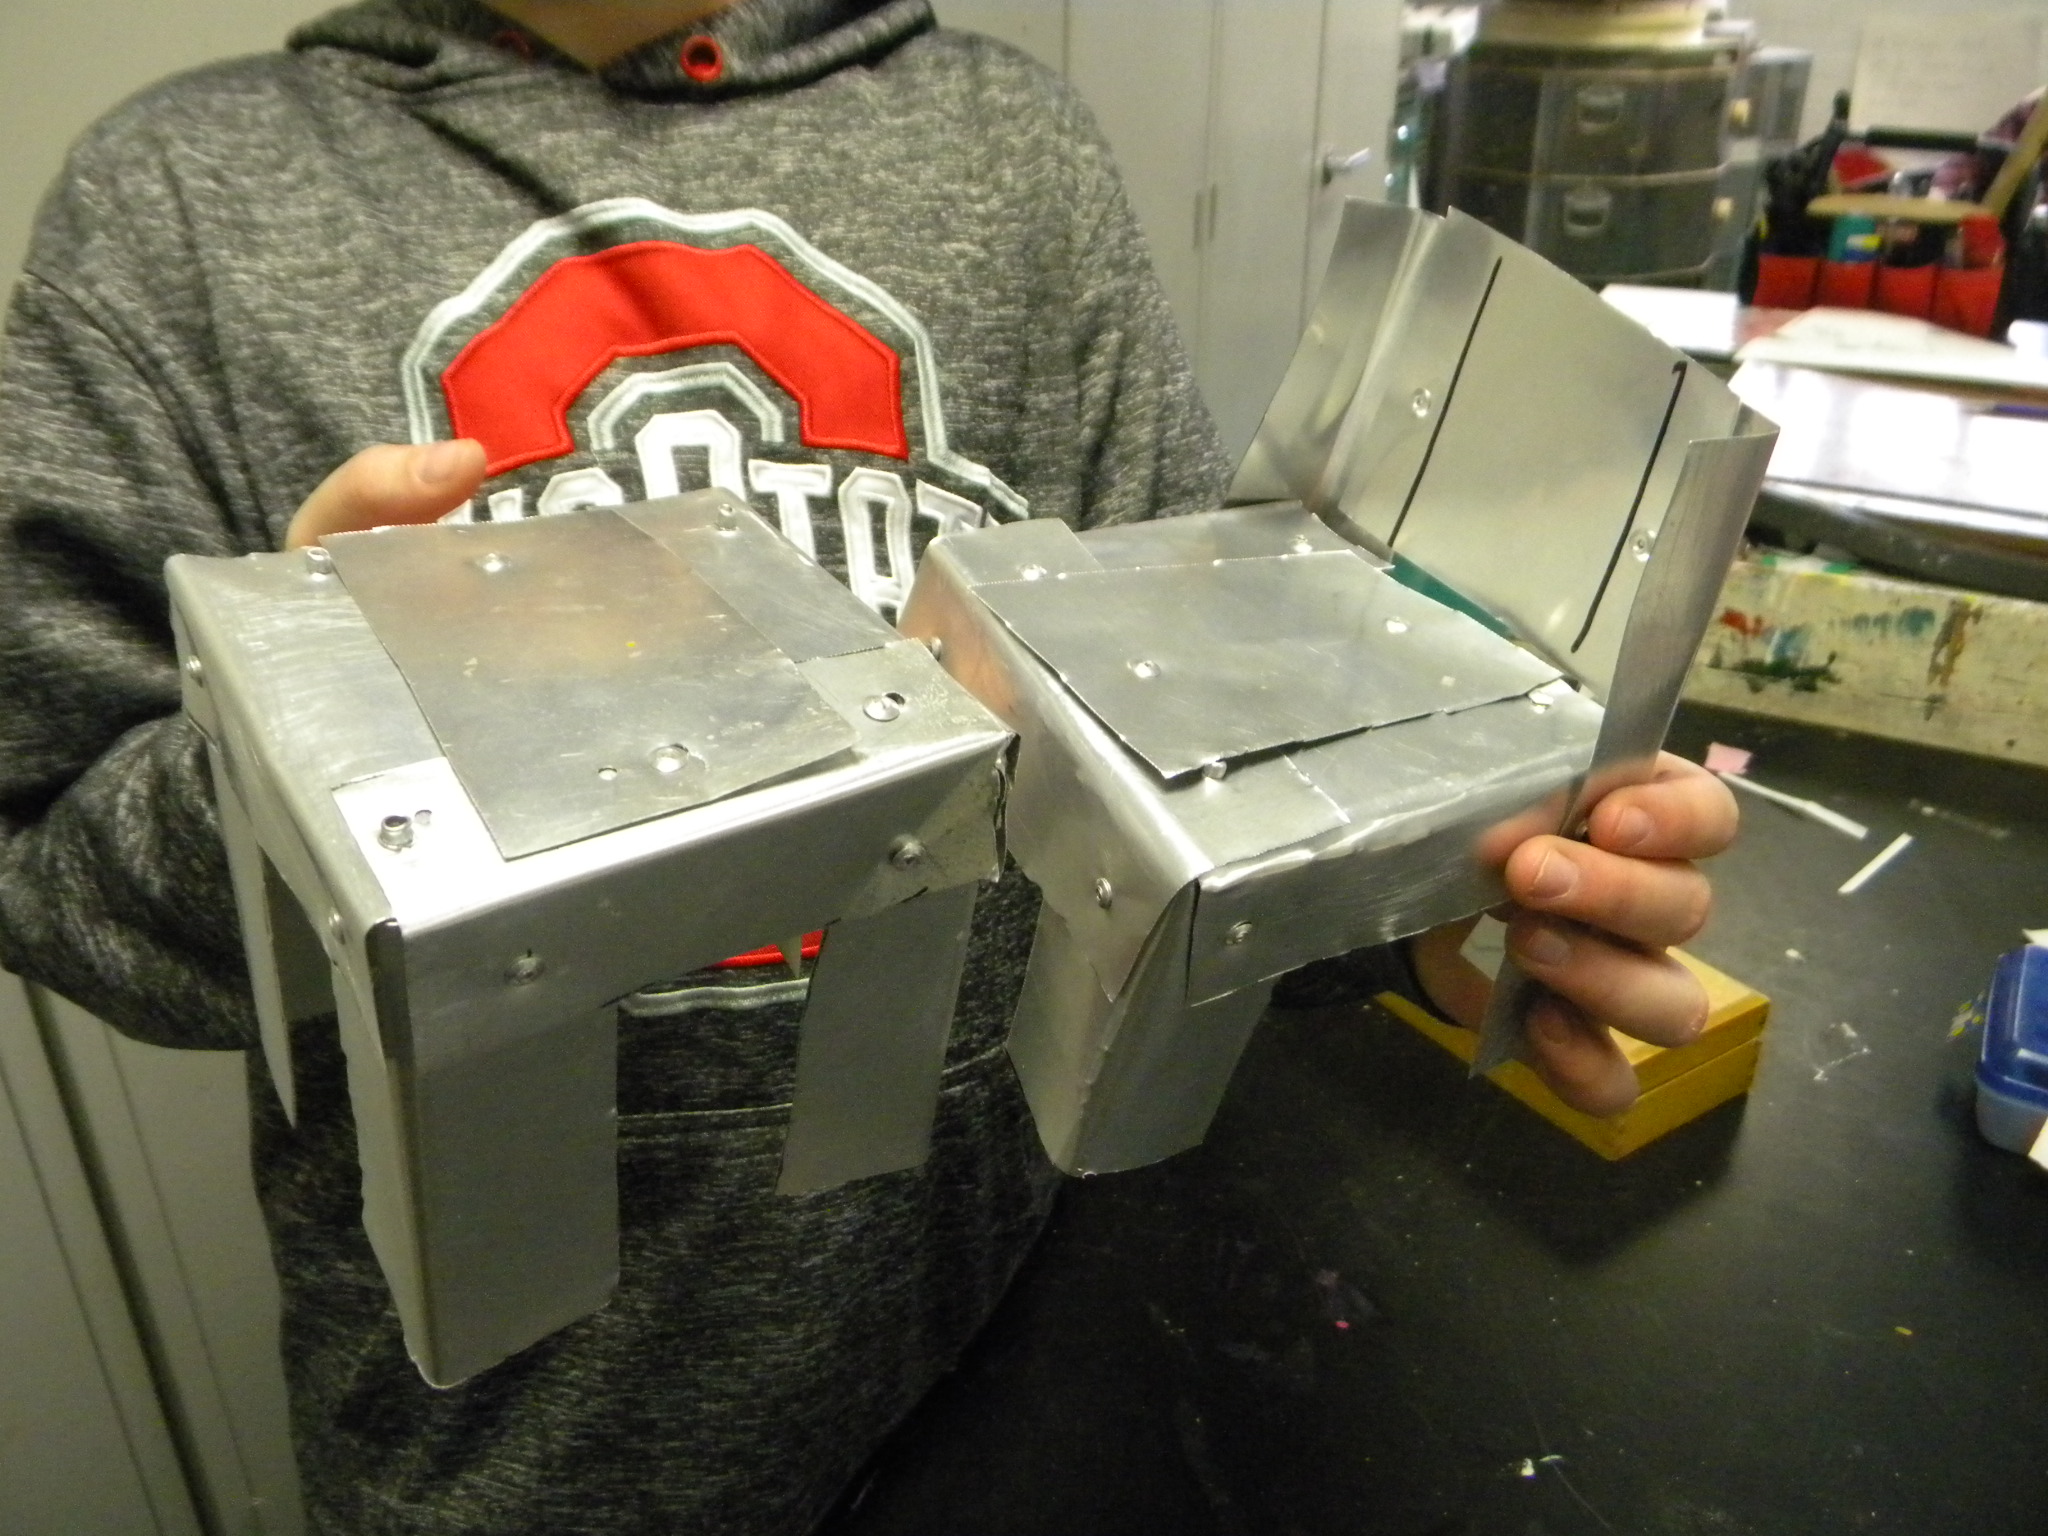
A chair, almost done.
A couple of shots of the finished chair and table.
The table and chair done! Brayden did a great job on measuring, learning how to use new tools and following through on an idea!
From time to time Google sends you an auto generated e-mail of pics you’ve taken years ago. I thought these were fun. I have lots more, these were just in a folder and easy to upload. I’d like to attach some names so, if you want a name with a particular picture, let me know!
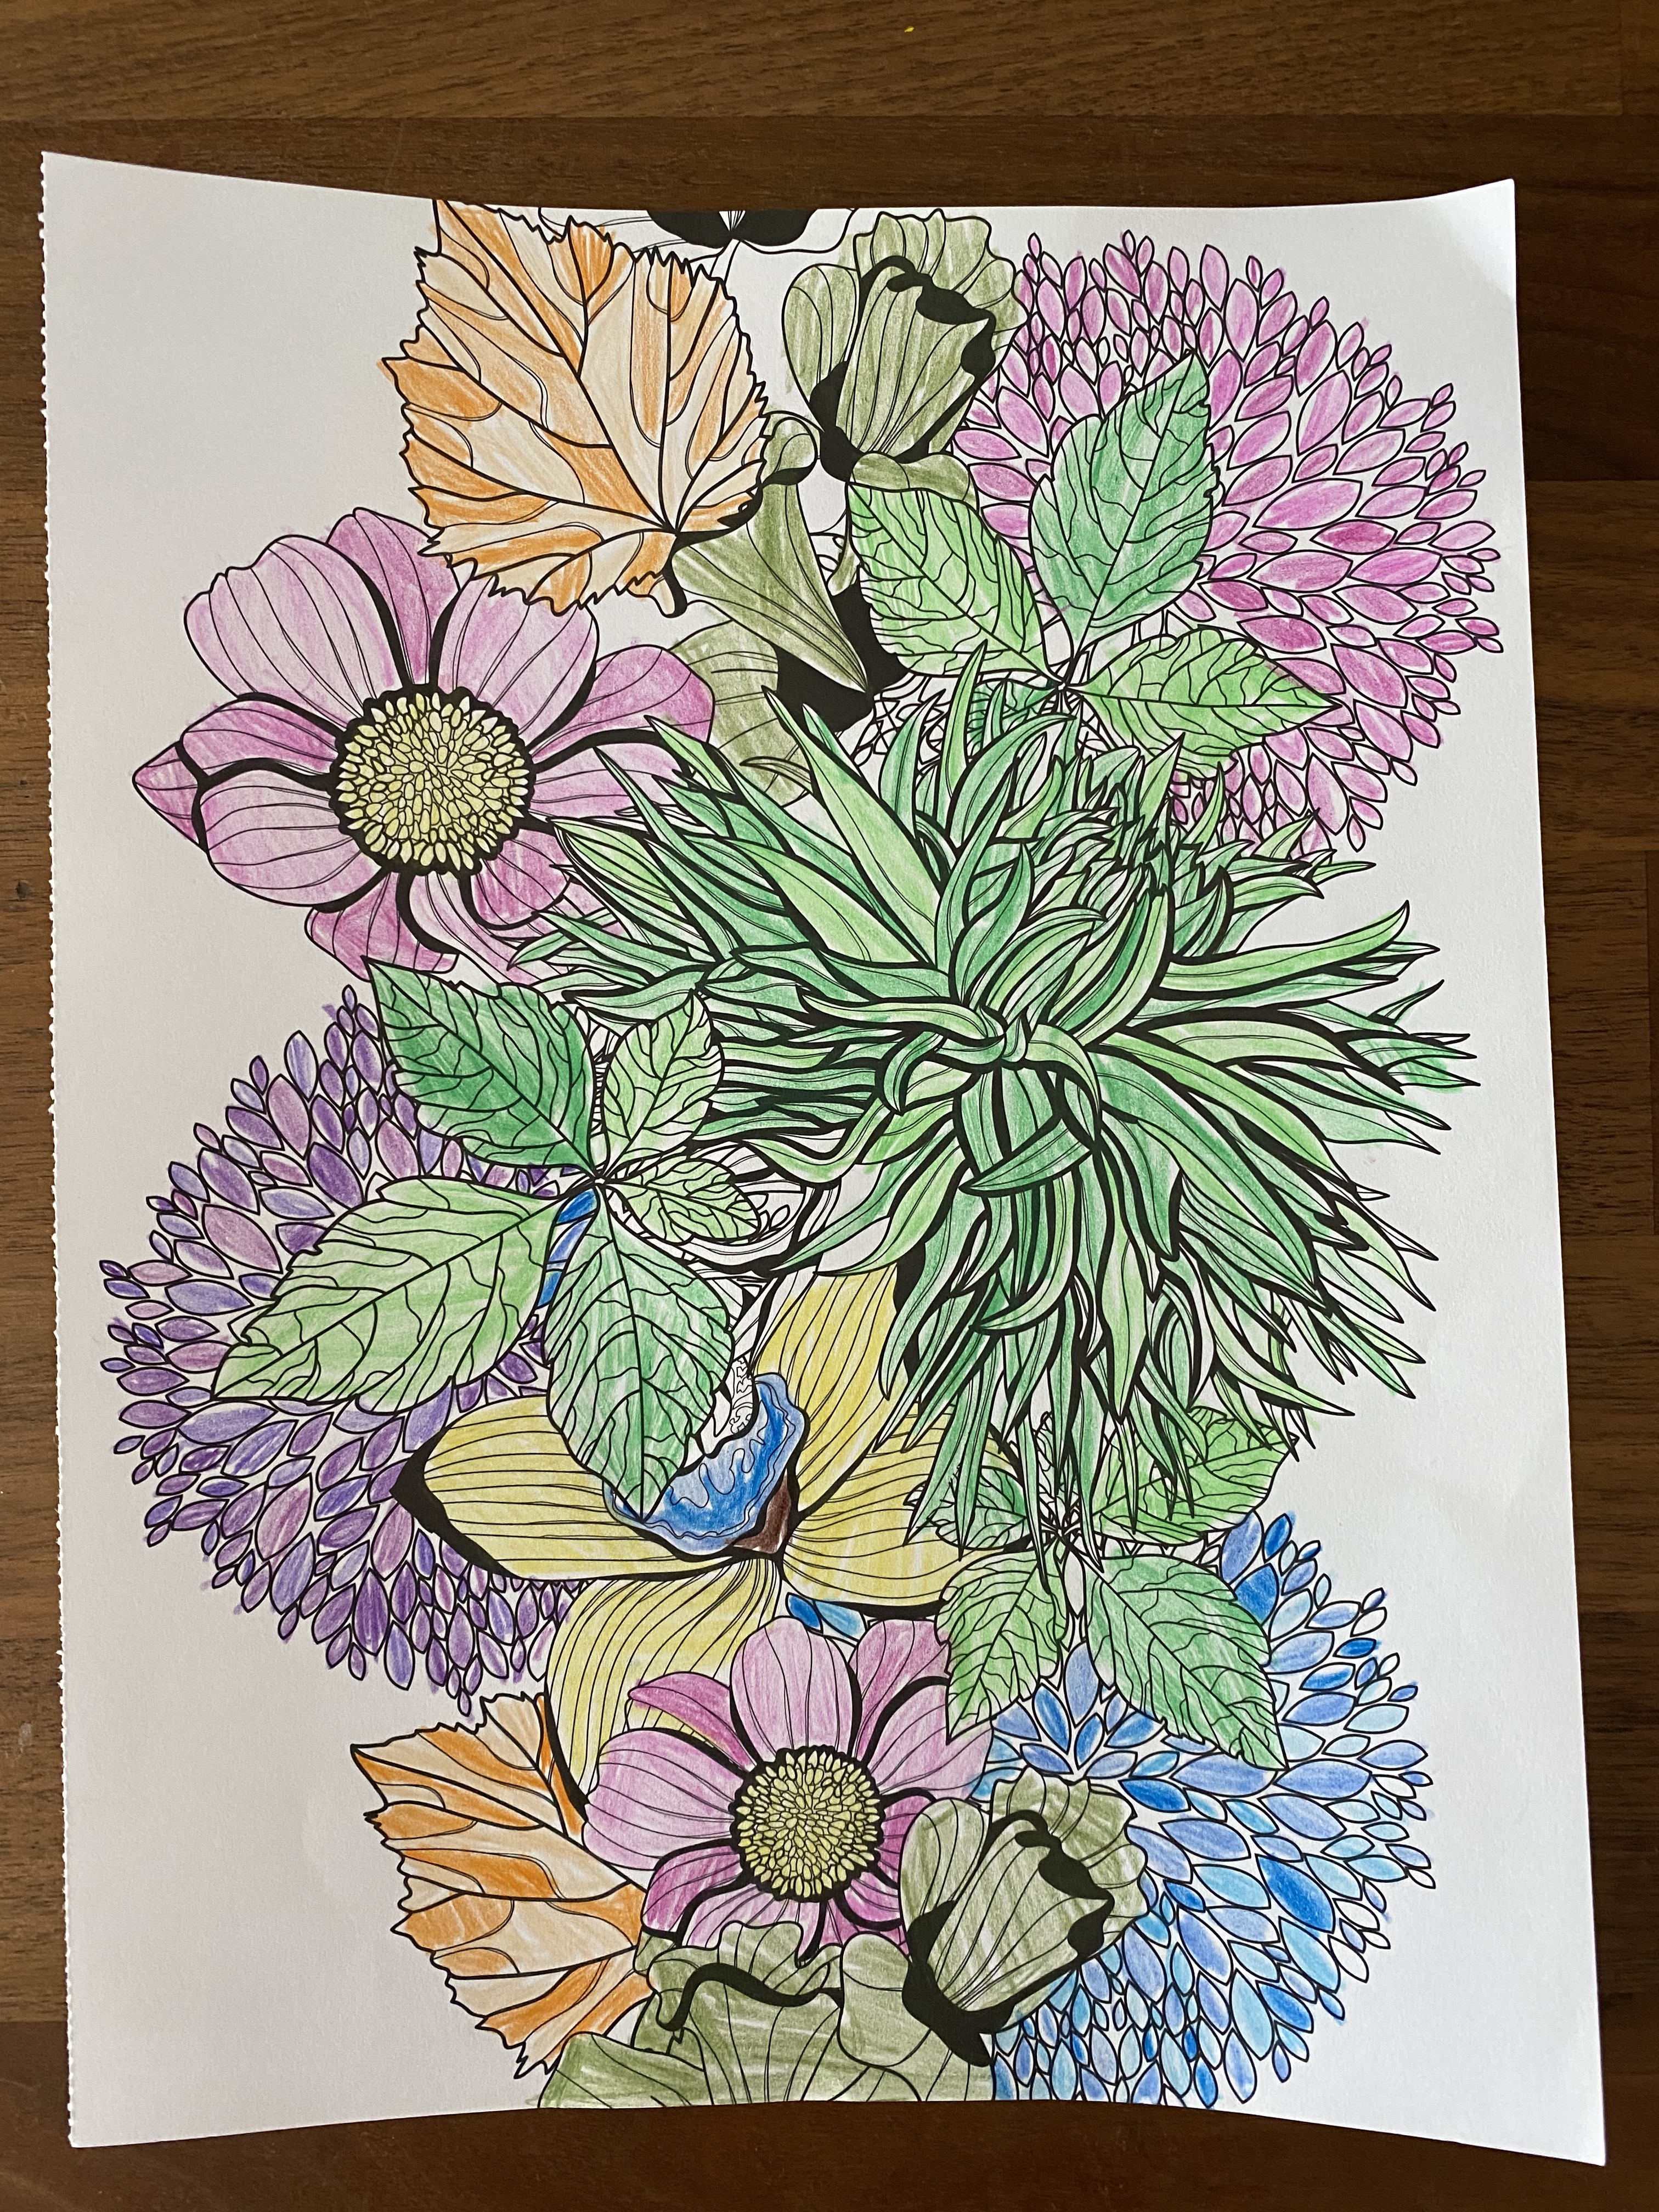
An artist from amoung us at Bethel entered and won a prize in an art contest sponsored by theTipp City Area Arts Council.
Below is the wonderful picture of a butterfly she did. Thanks to her parents for the encouragement and driving the piece in. Can’t wait to see what she comes up with next!
I’ve started out every year with printmaking for the past few years now. It involves paint/ink, making a mess and the potential to learn a new method of working and some new vocabulary. We talk about mono printing, relief printing, and intaglio printing along with learning such words as, carve, brayer, plate, Plexiglas, ink, etc.
We start with mono printing
Here the students is applying the ink/paint.
Next is using the brayer to roll the ink out evenly
Here the student is just making a quick scribble because I’m taking pictures to show the various steps the student has to go through for the making of a mono print
In this step the paper is being laid gently down on plate with the design.
Then the pulling of the print.
Here’s the final piece. It goes pretty quick and the students have to take turns going around the table.
________________
This is a short vid of a a young student making a mono-print.


")


")

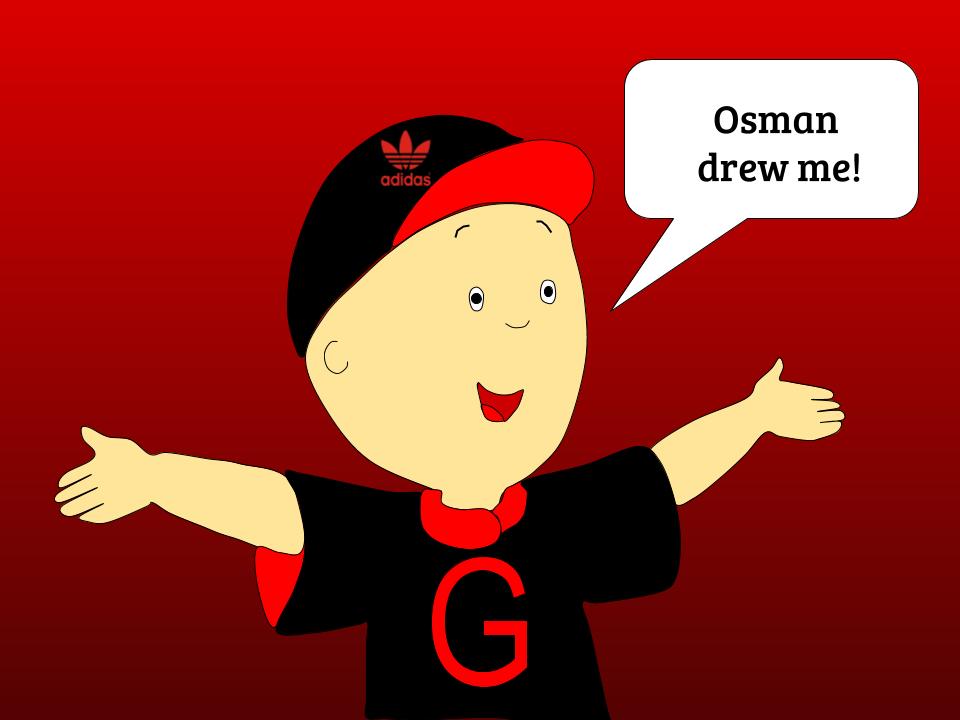 Guess who drew the above? Since the draw file was sent to me, I opened it in draw and added some stuff, and then downloaded it as a jpeg.
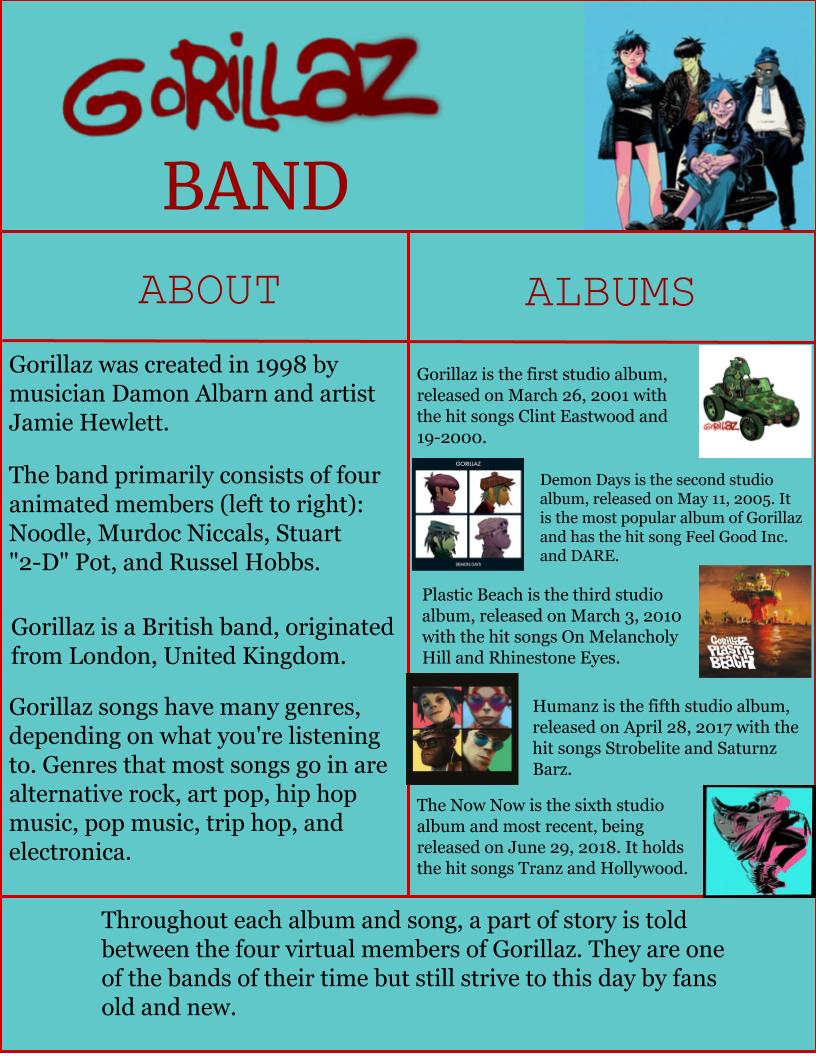

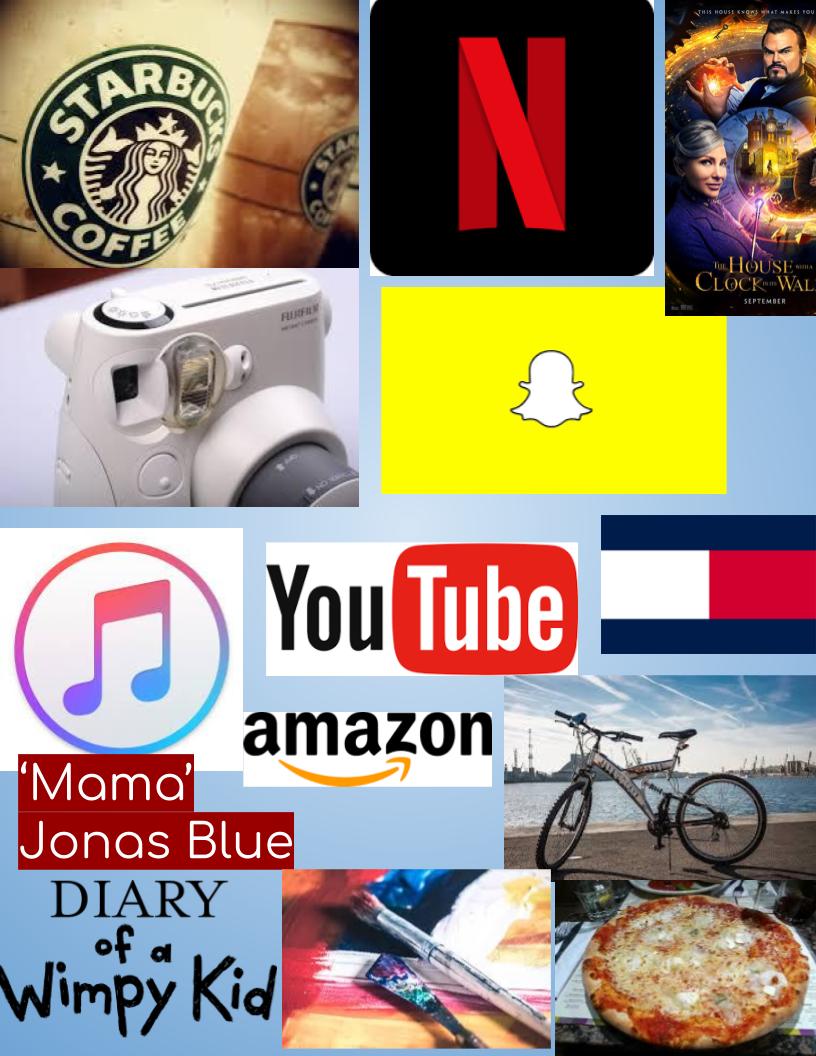

 I believe Ian R, did the one above, the pizza pic looks weird.
 Christian B did this one above. Interesting mix of images.


 I believe the good castle build above was done by the famous Caden H.
 The amazing Brandon M did the castle gif above! He better get those clouds moving if he wants an “A”!


 Ms. Olivia S. did a great Egyptian cat above.
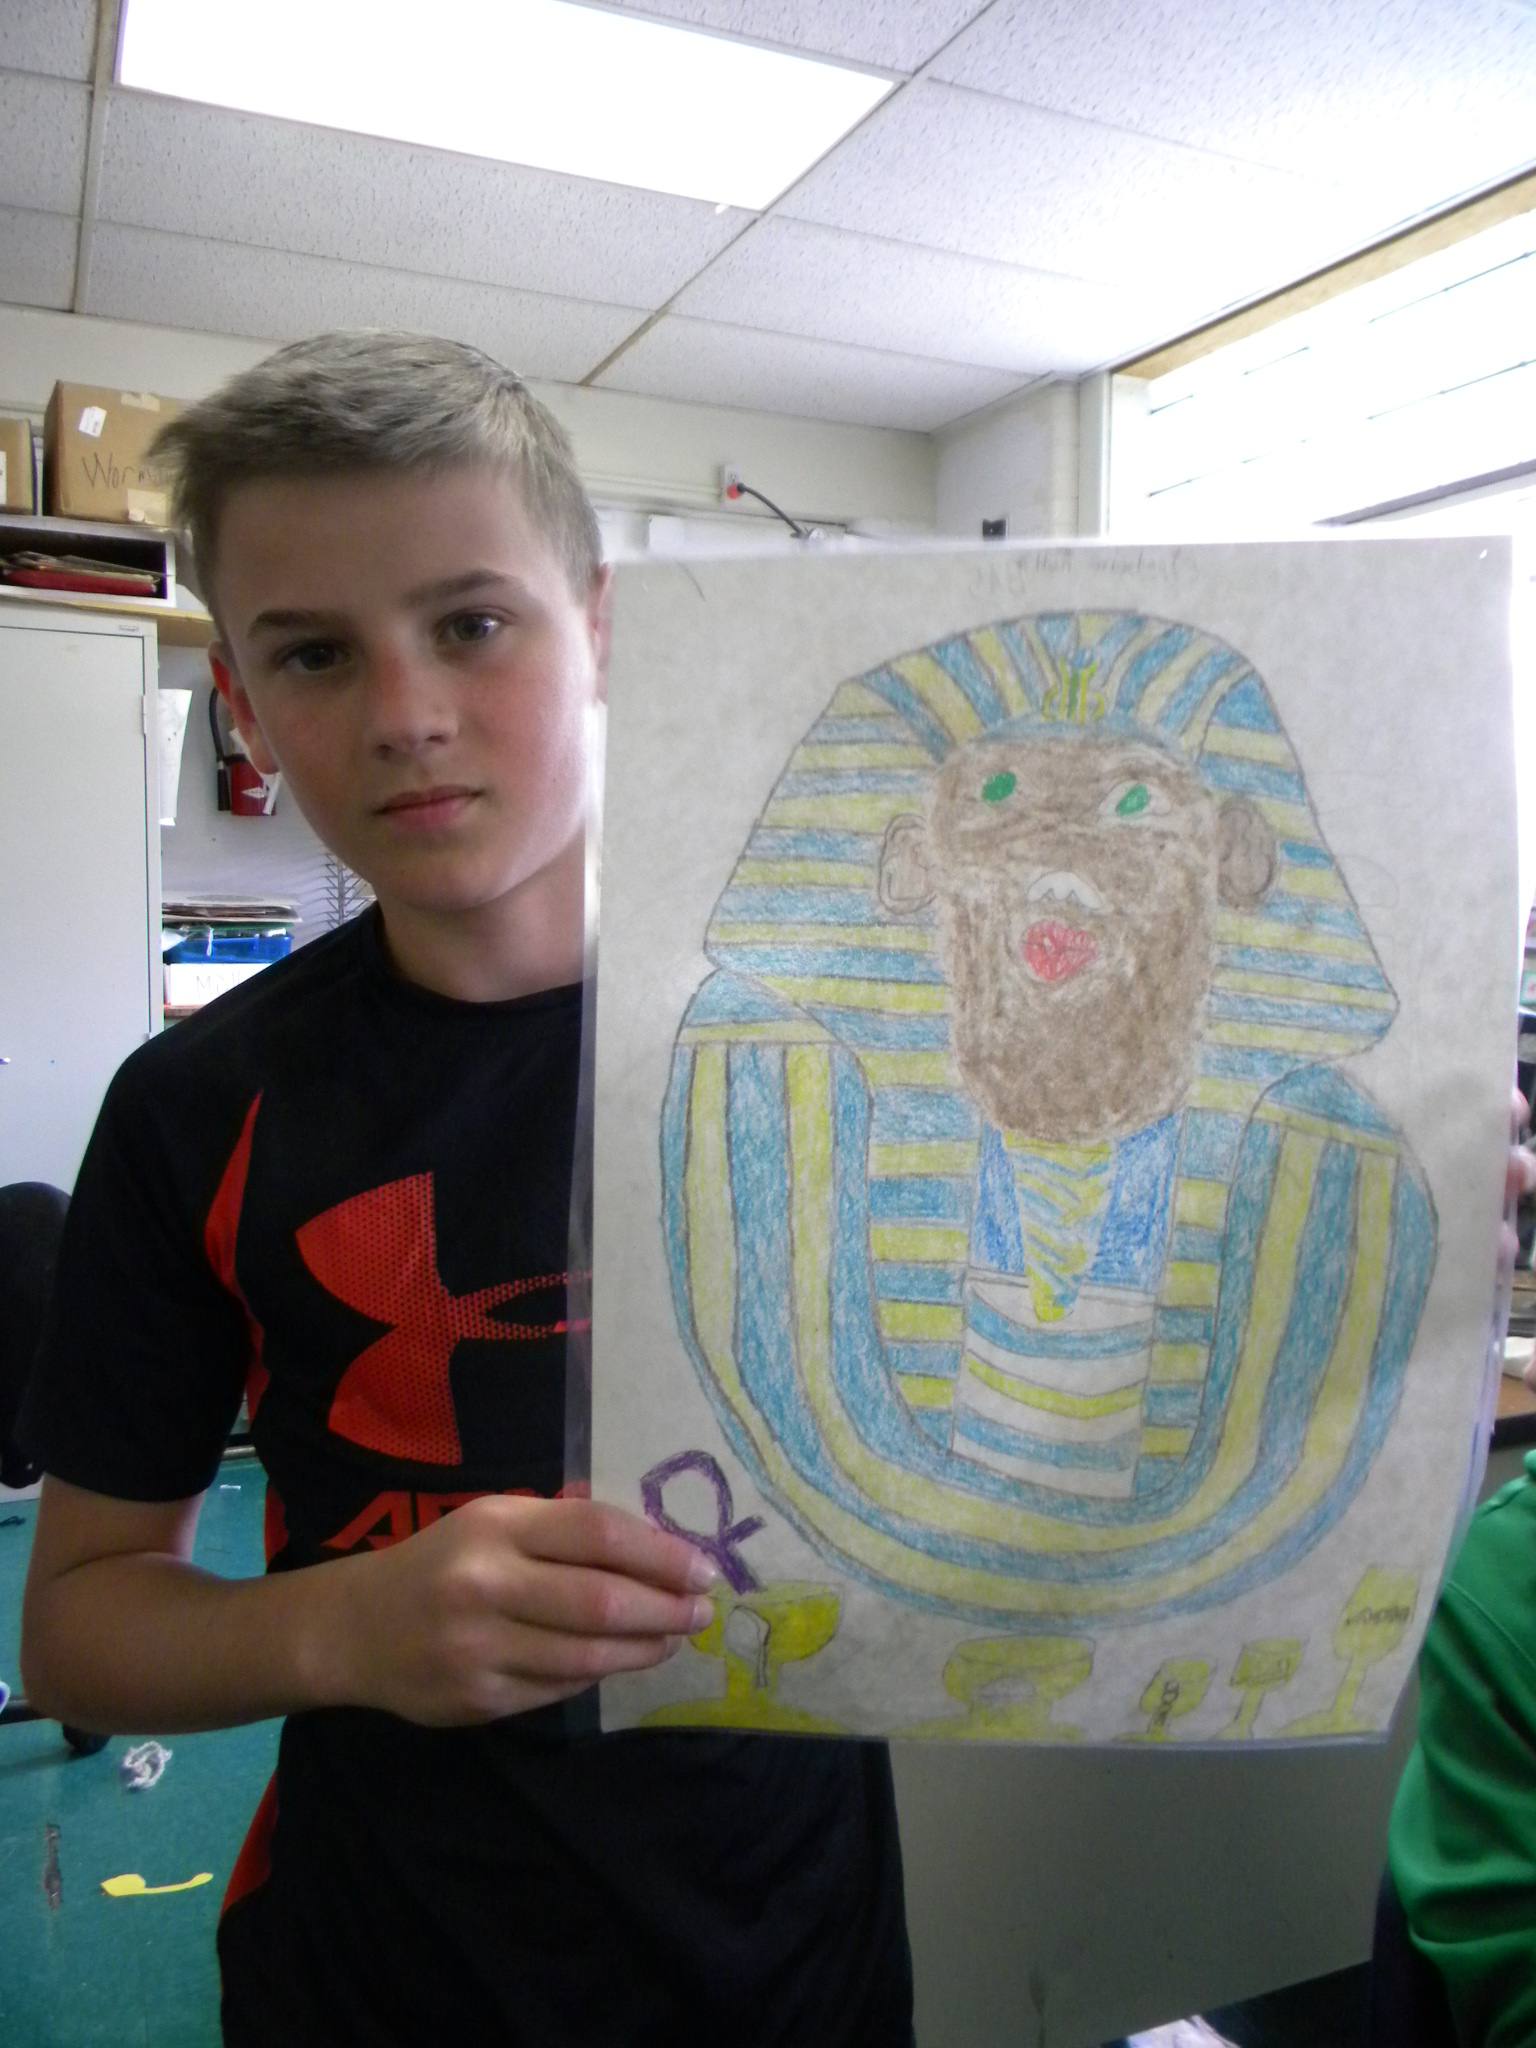
 Part of the assignment was to do your name in Egyptian hieroglyphics. There are a few websites that enable you to type in your name and get the partially proper hieroglyphics. I like the nice cartouche above.
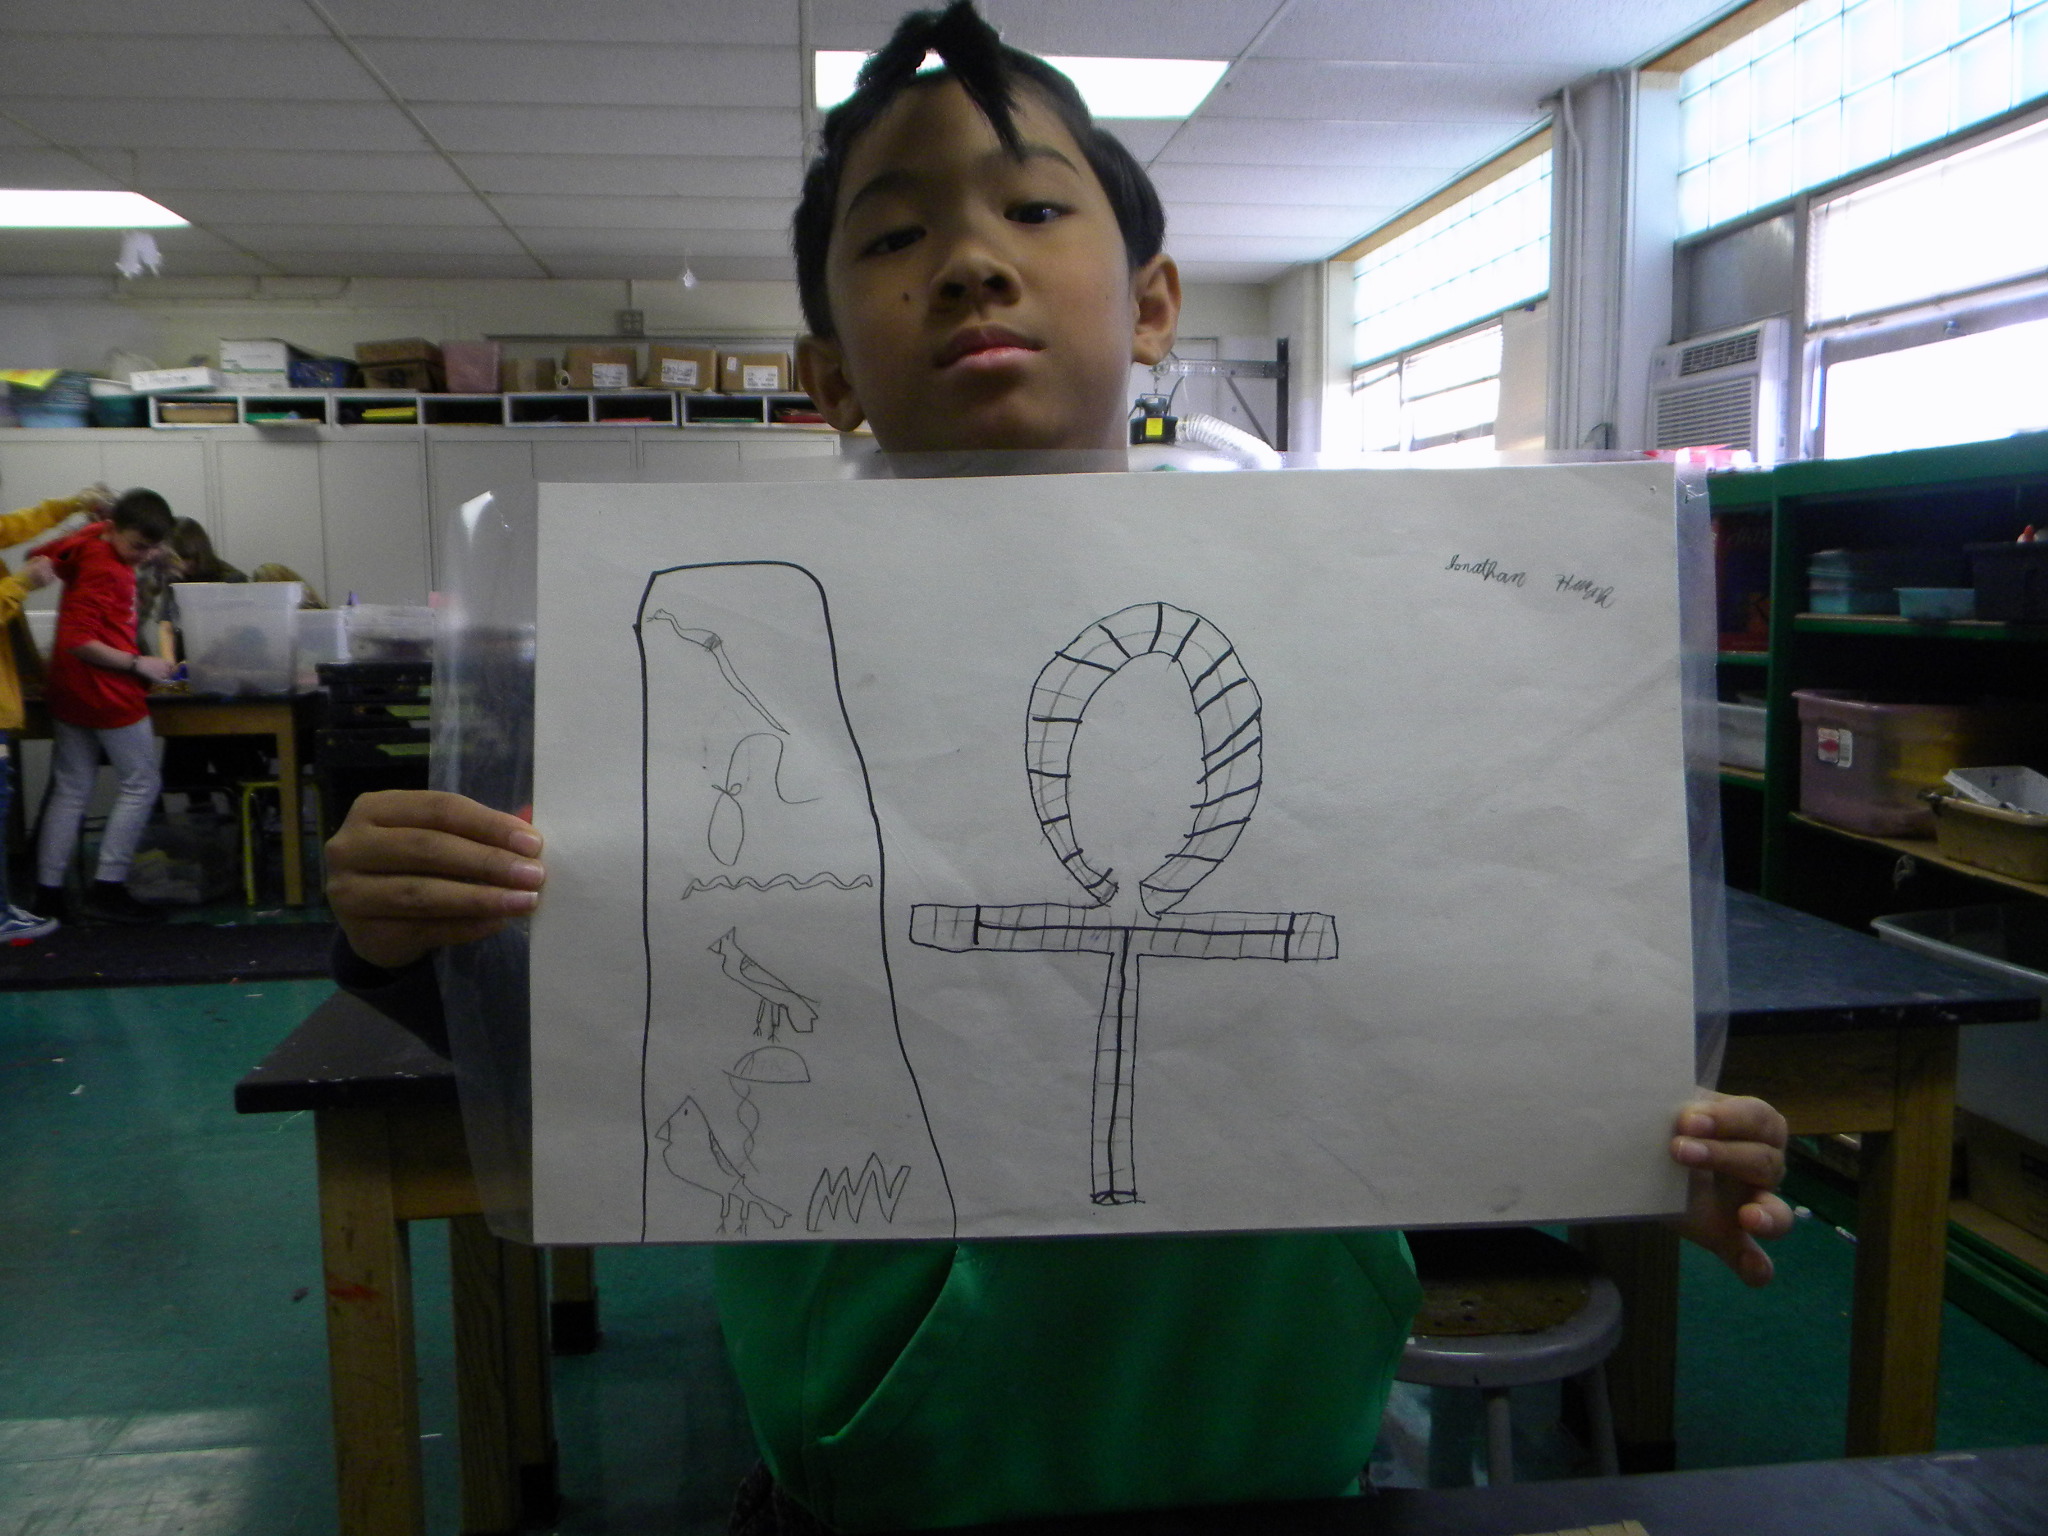
 This one was done both sides, nice bold, Eye of Horus or Uchat.
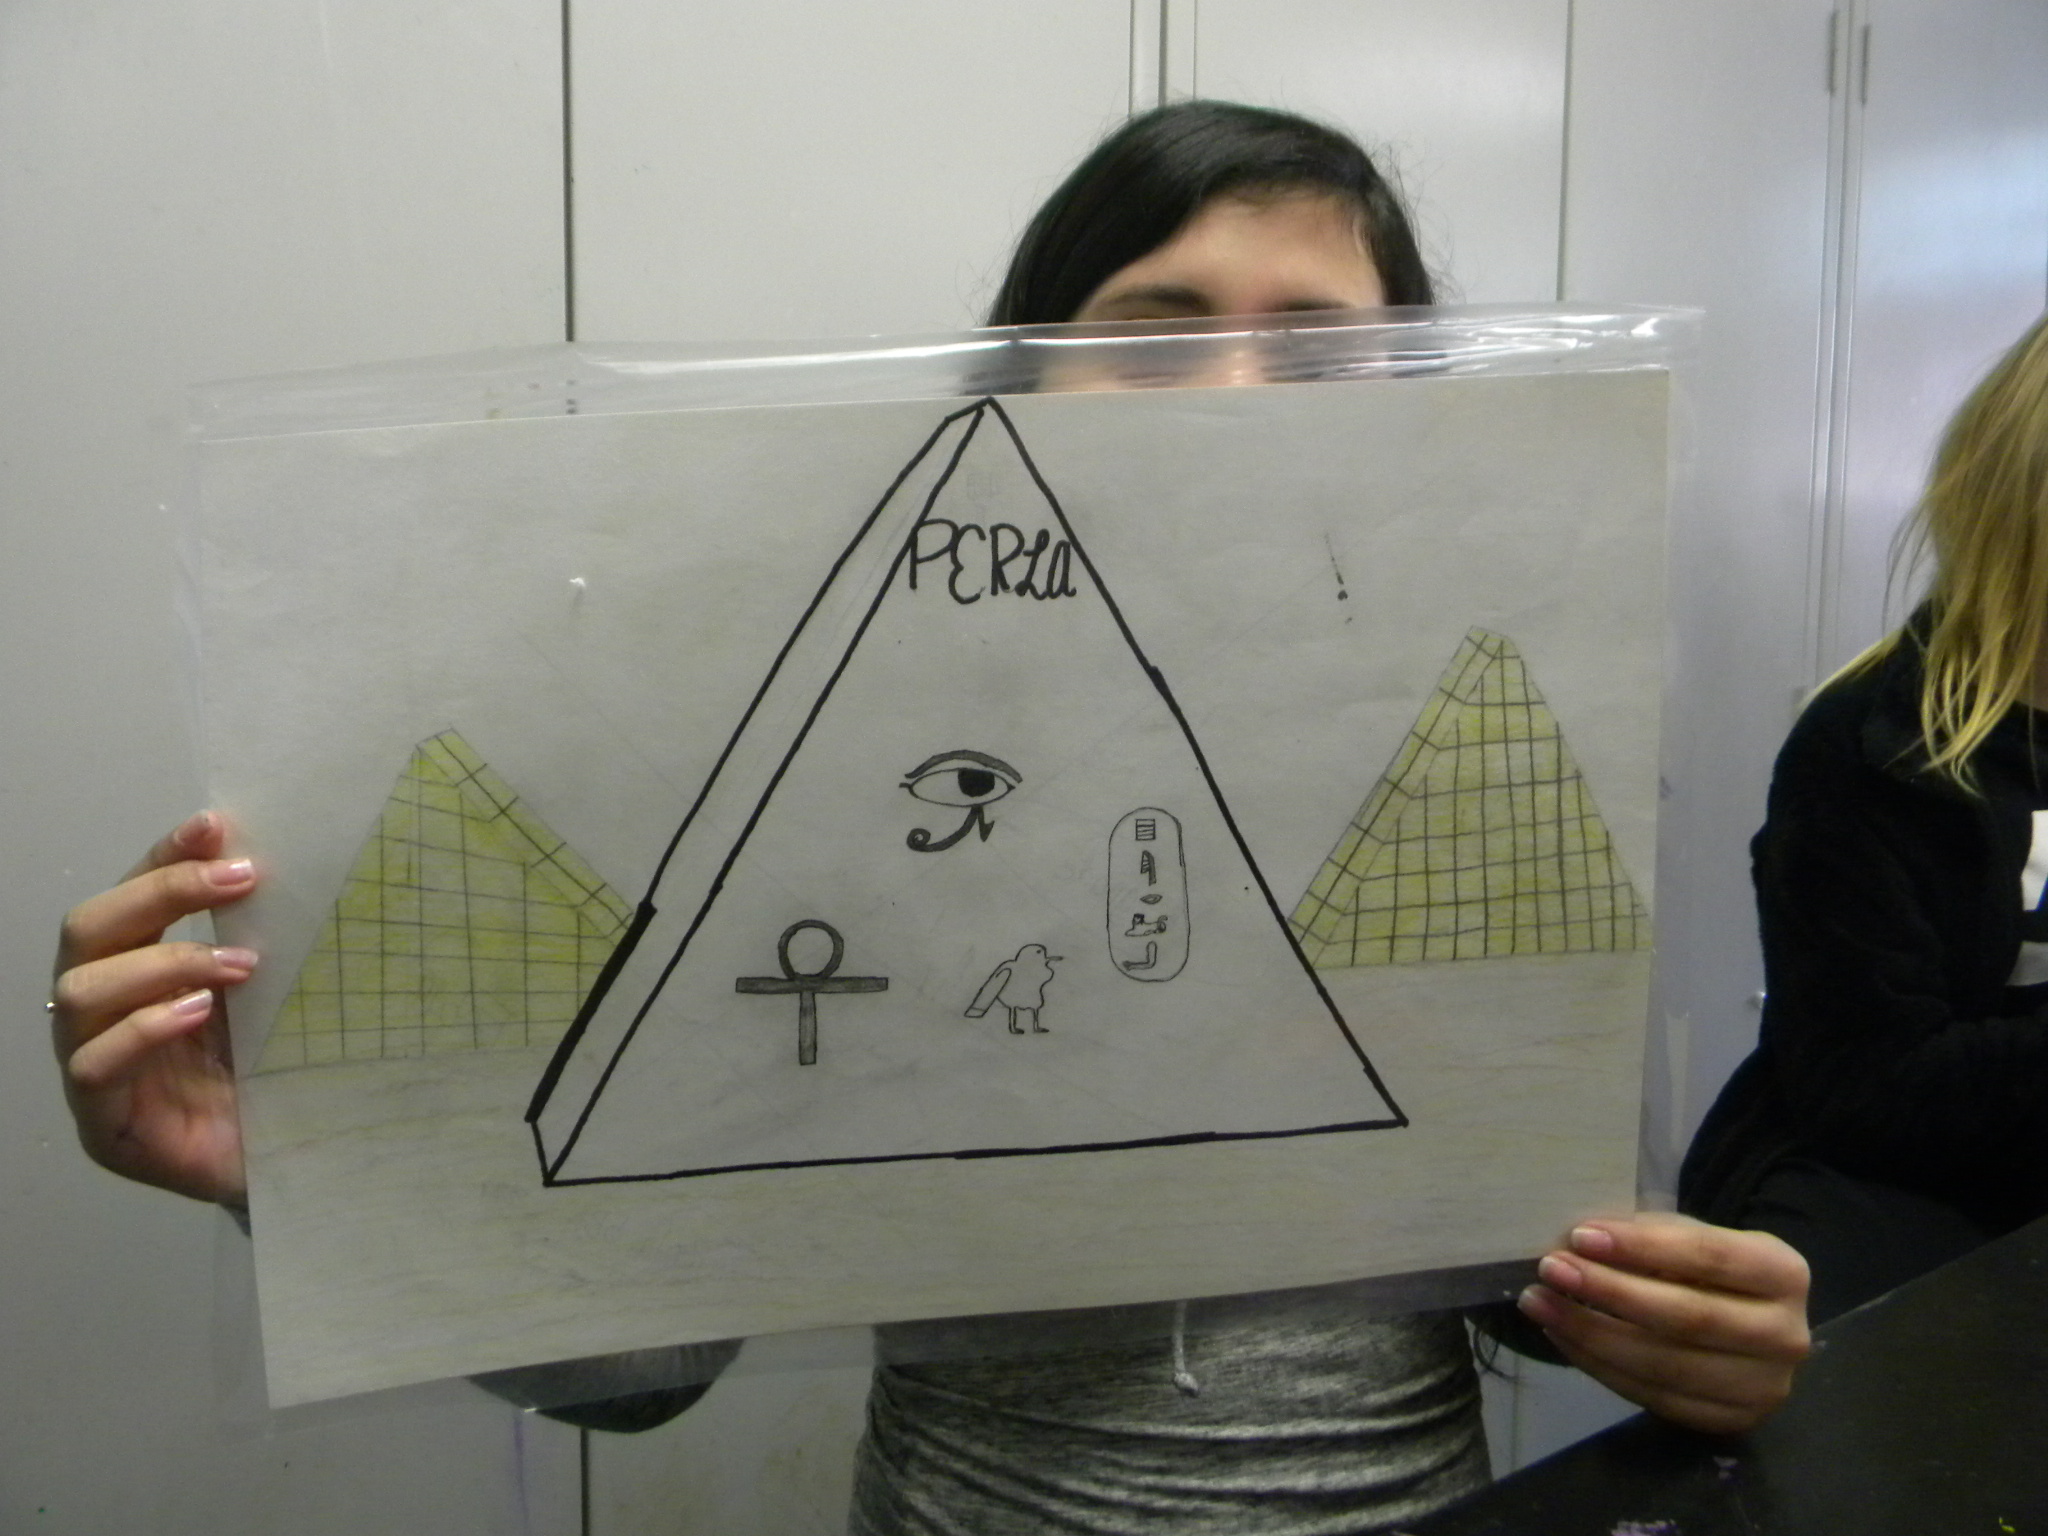
 Nice simple, well made piece
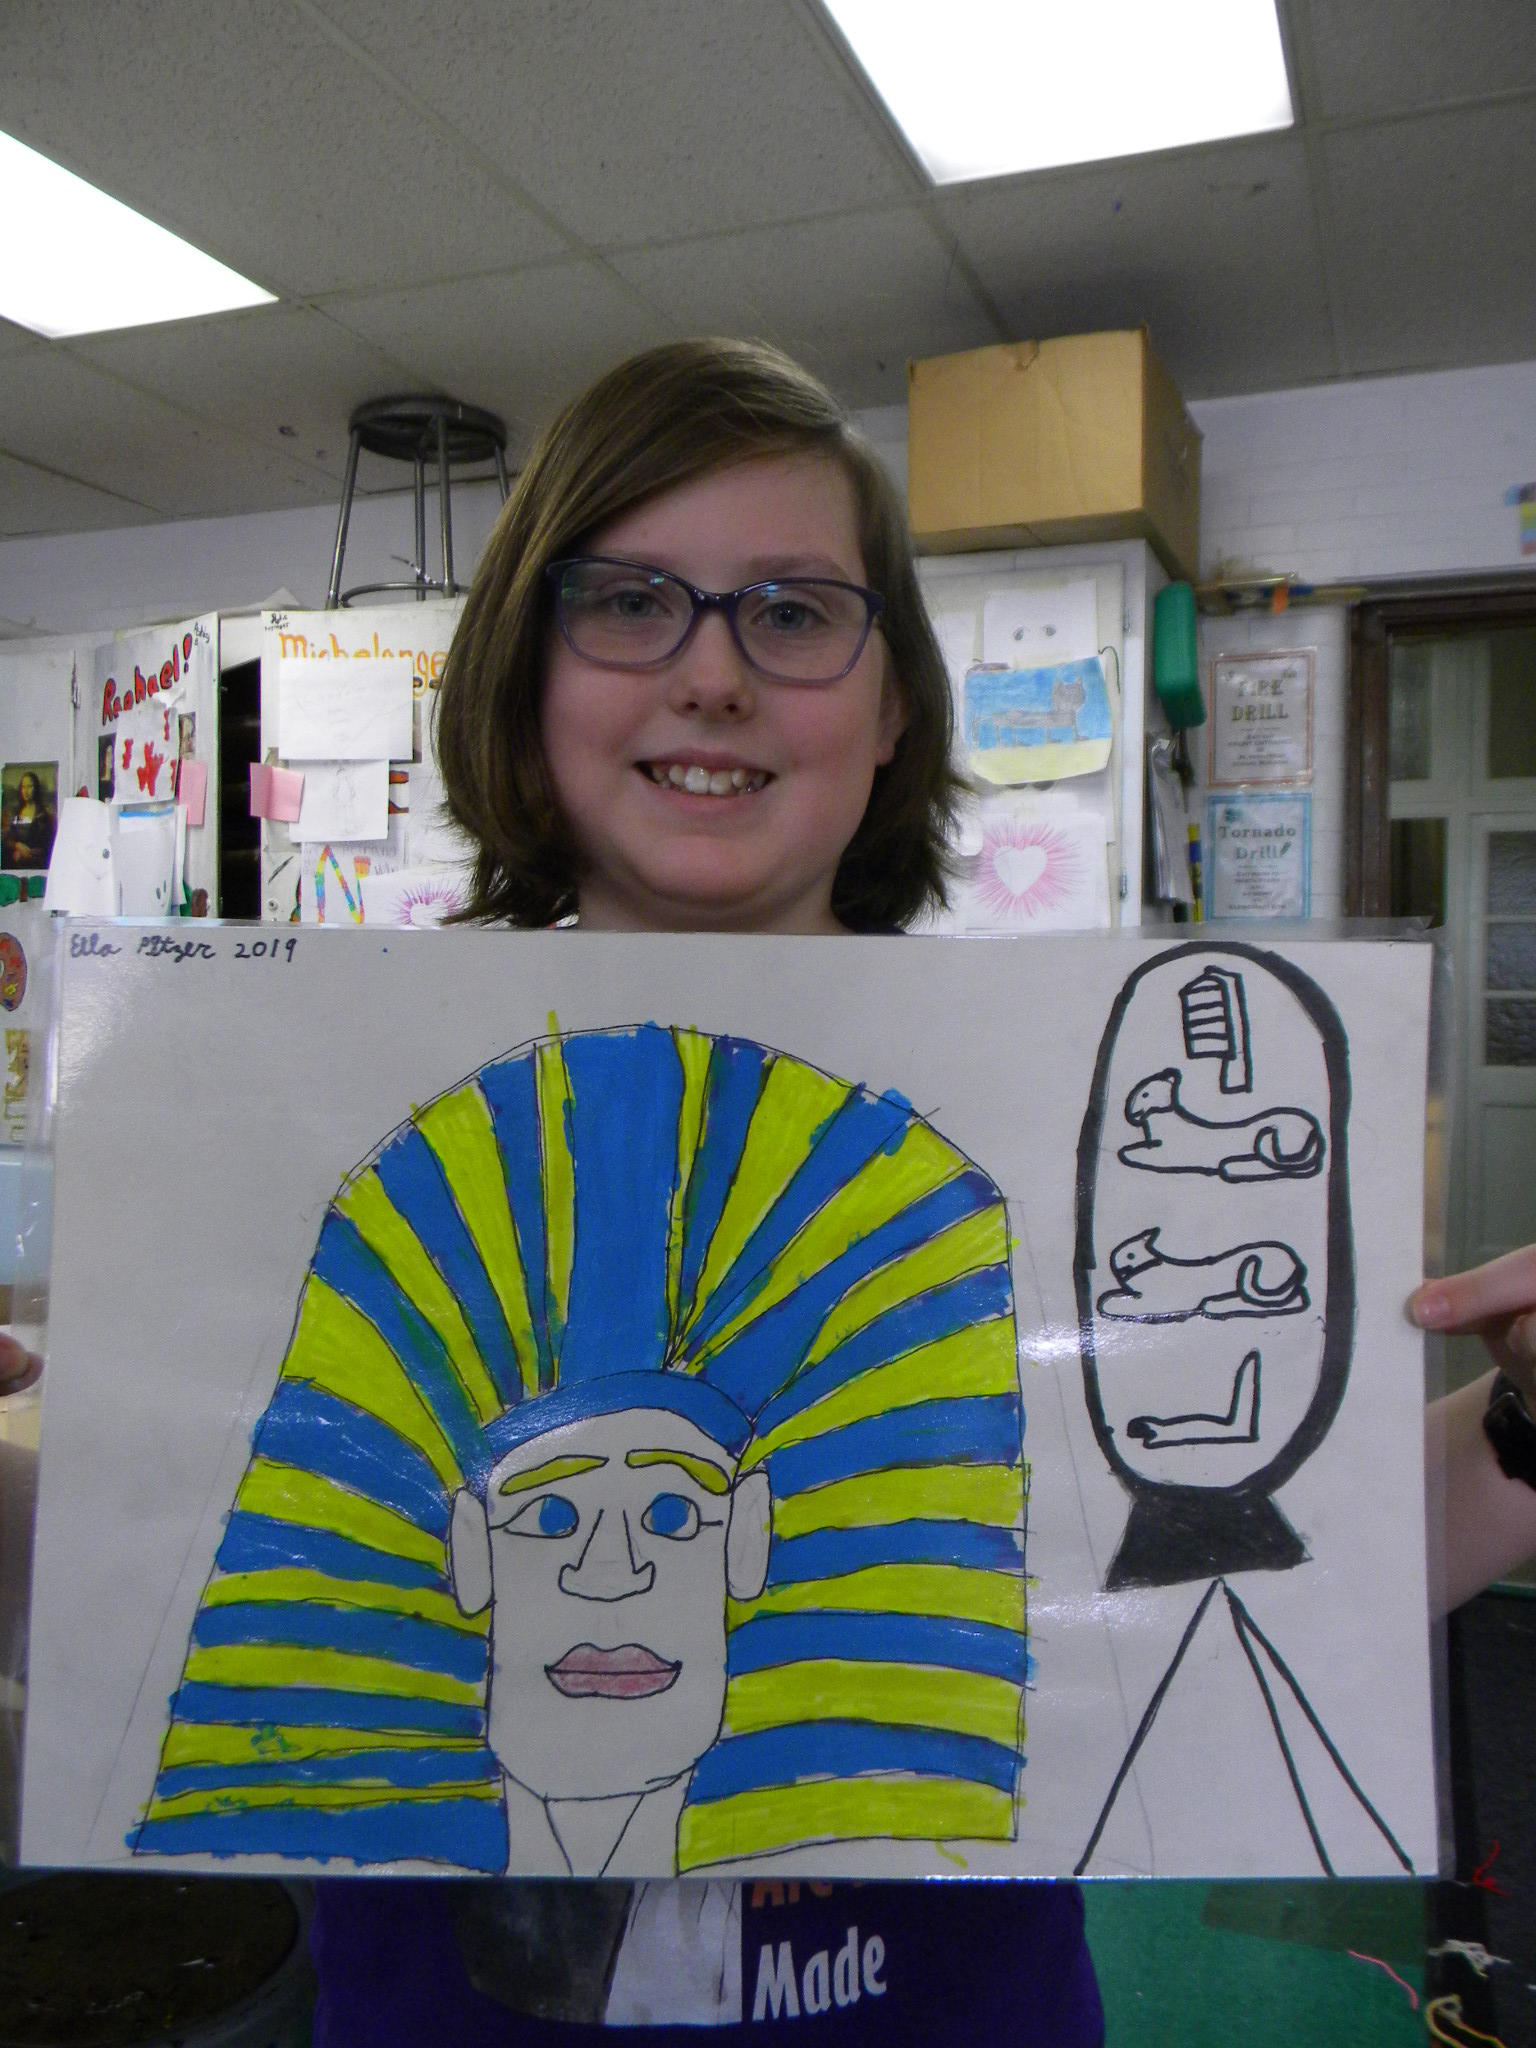

 Ms. Sam did a nice original piece here!
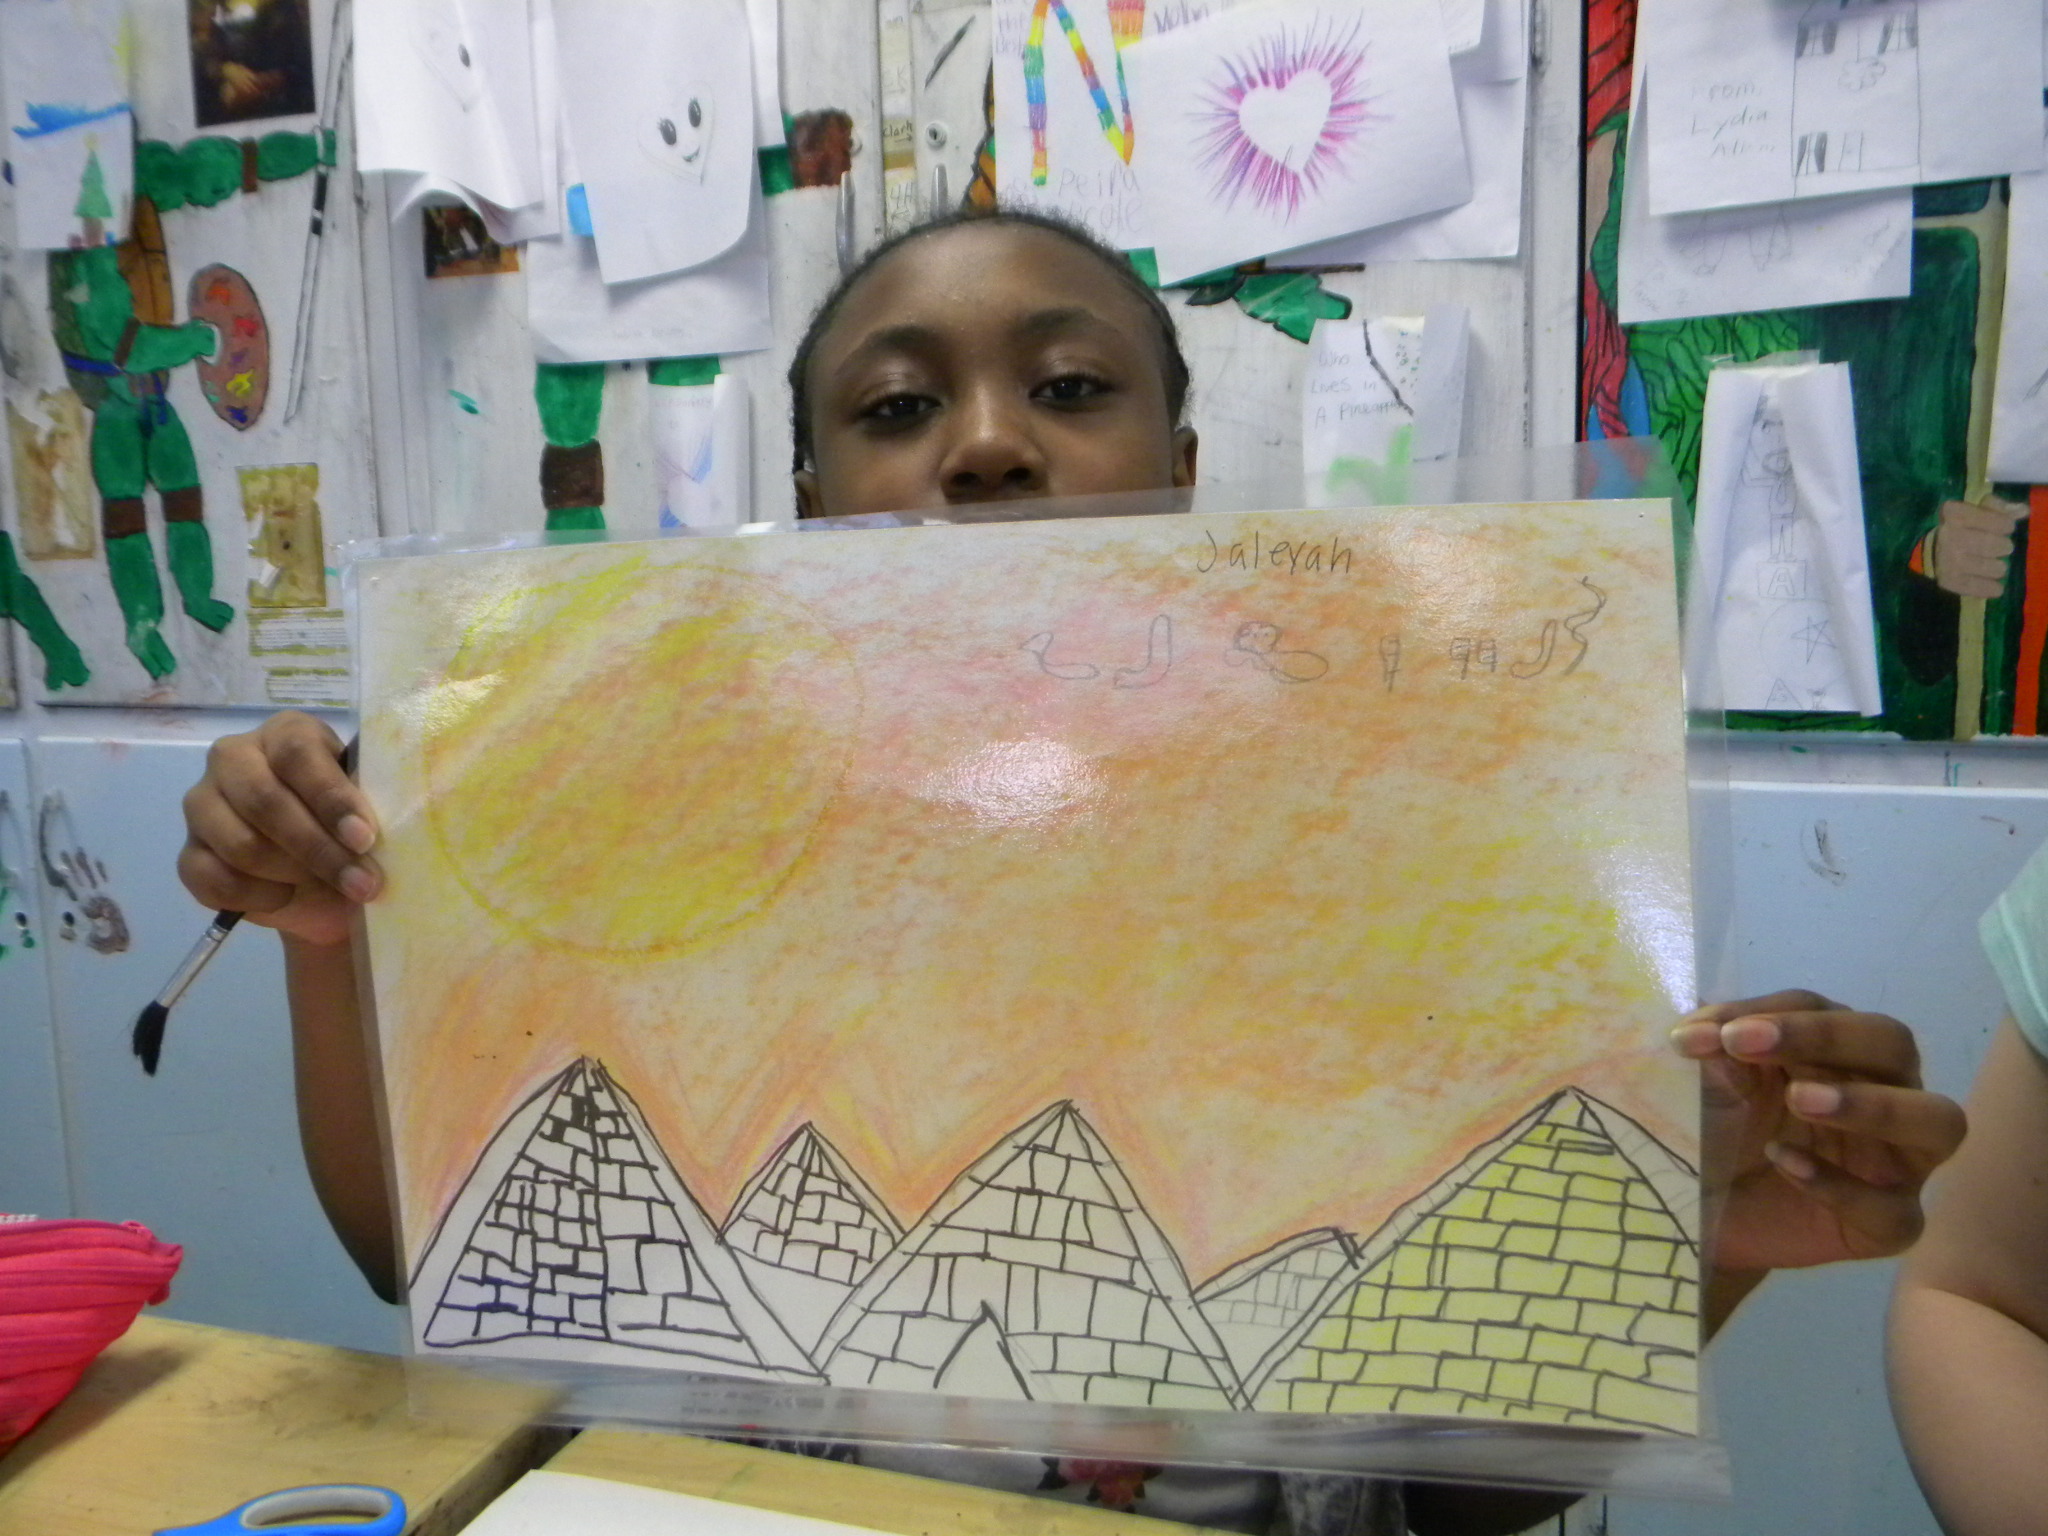
 Another nicely made simple piece, very elegant line quality.
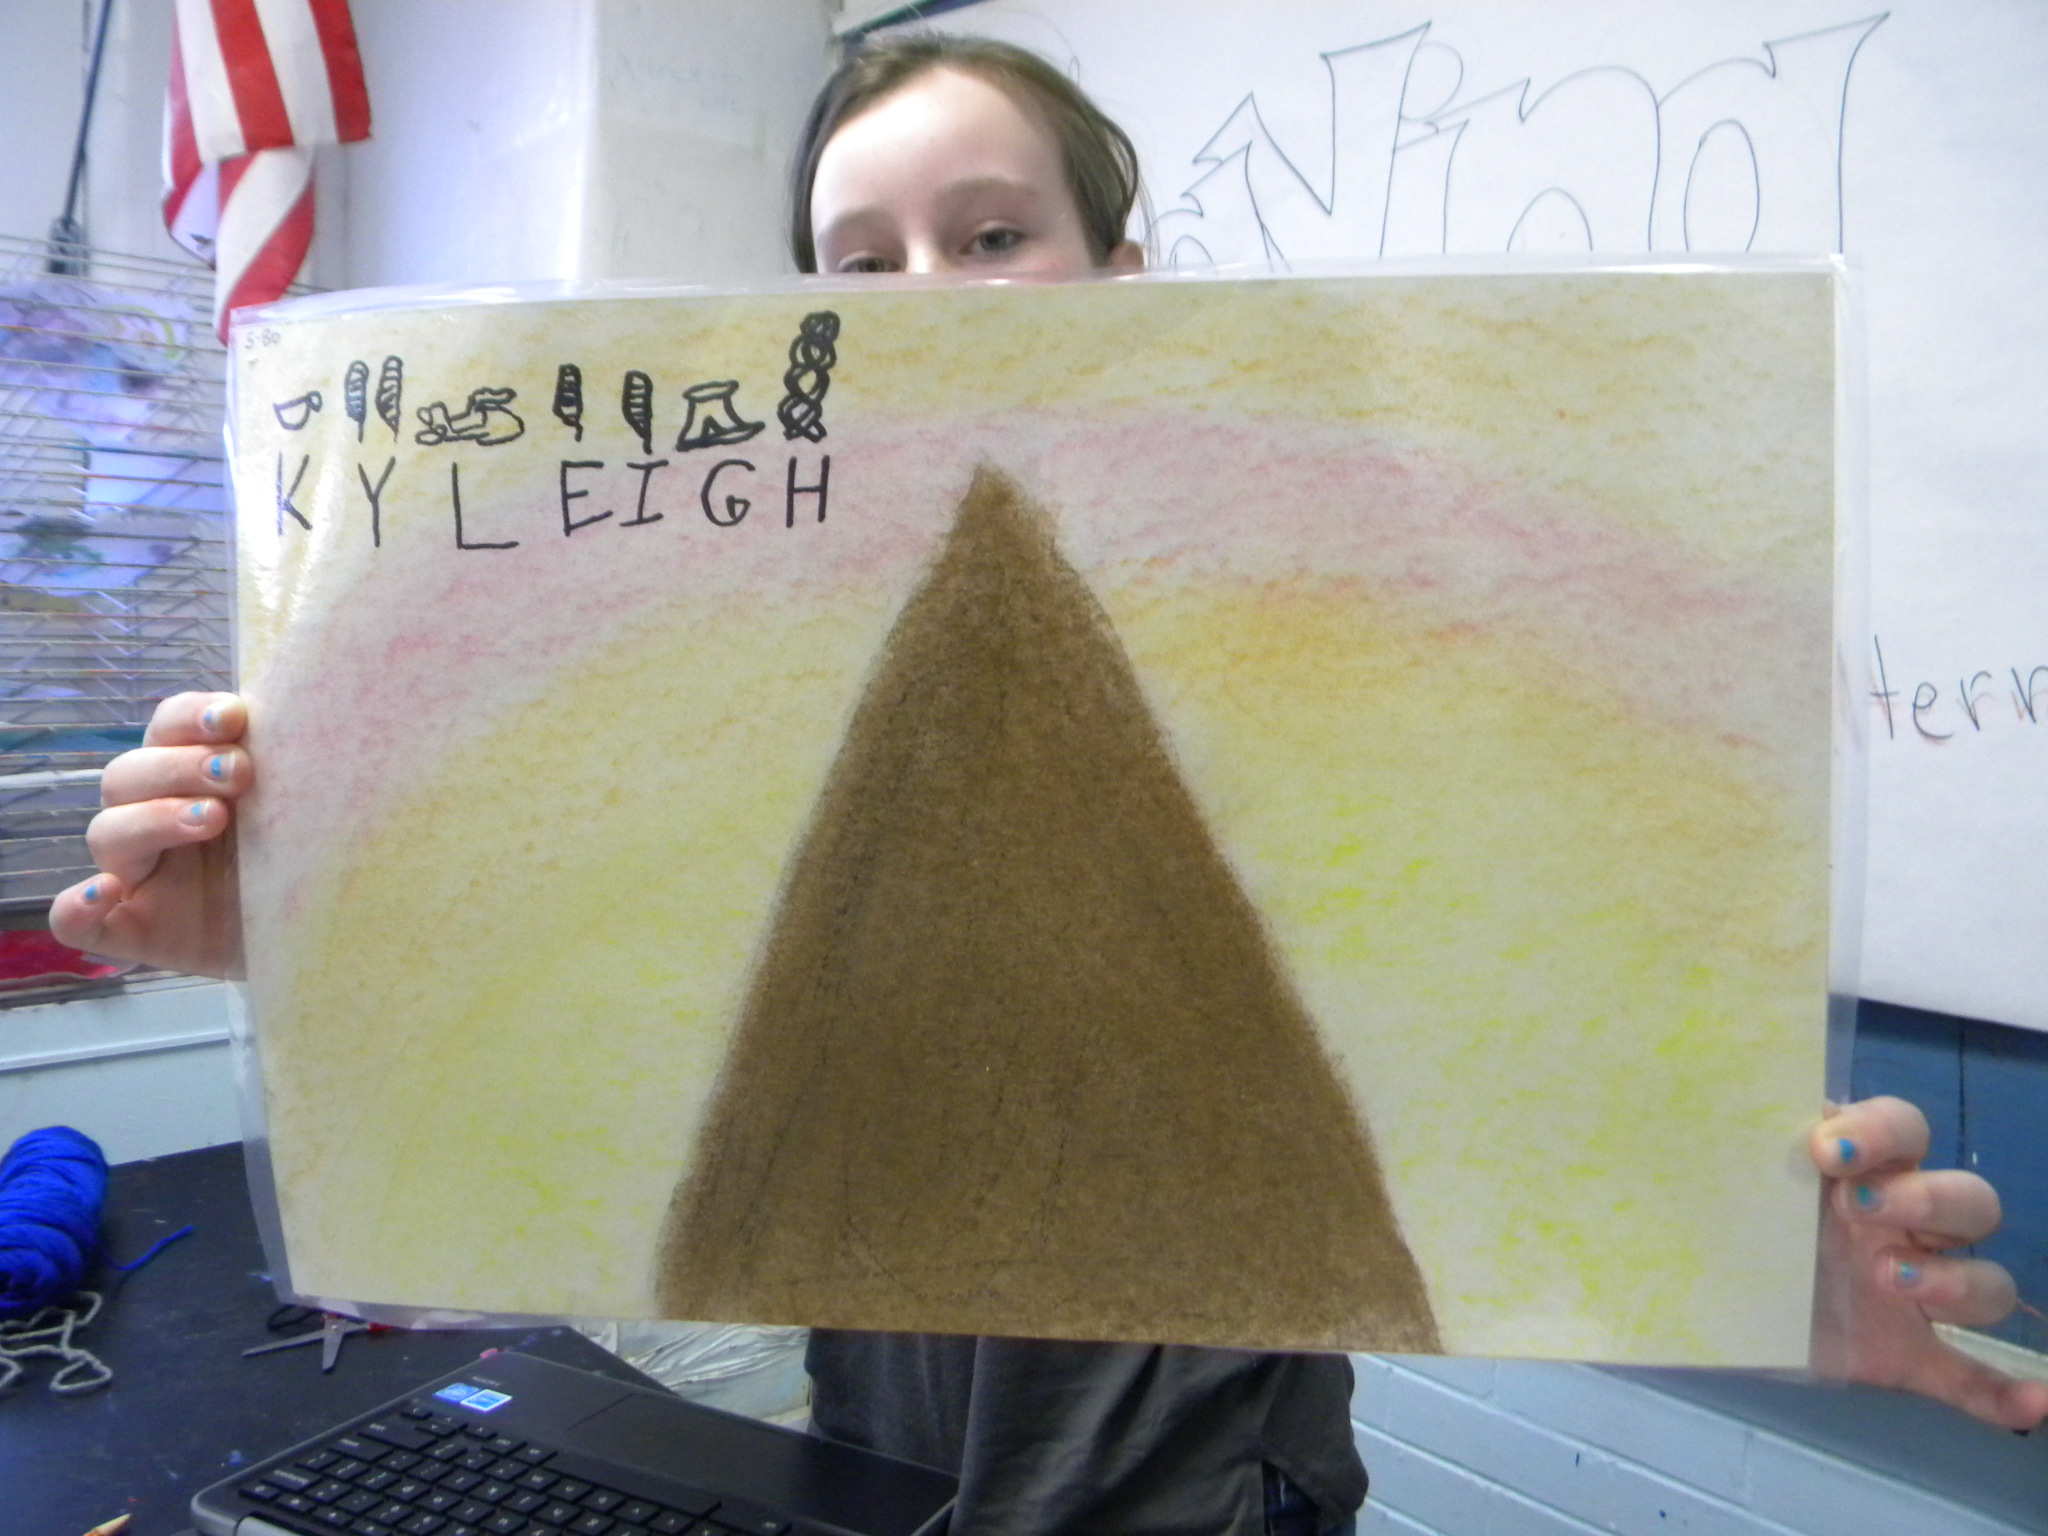
 Nice sense of depth with the placement and drawings of the pyramids
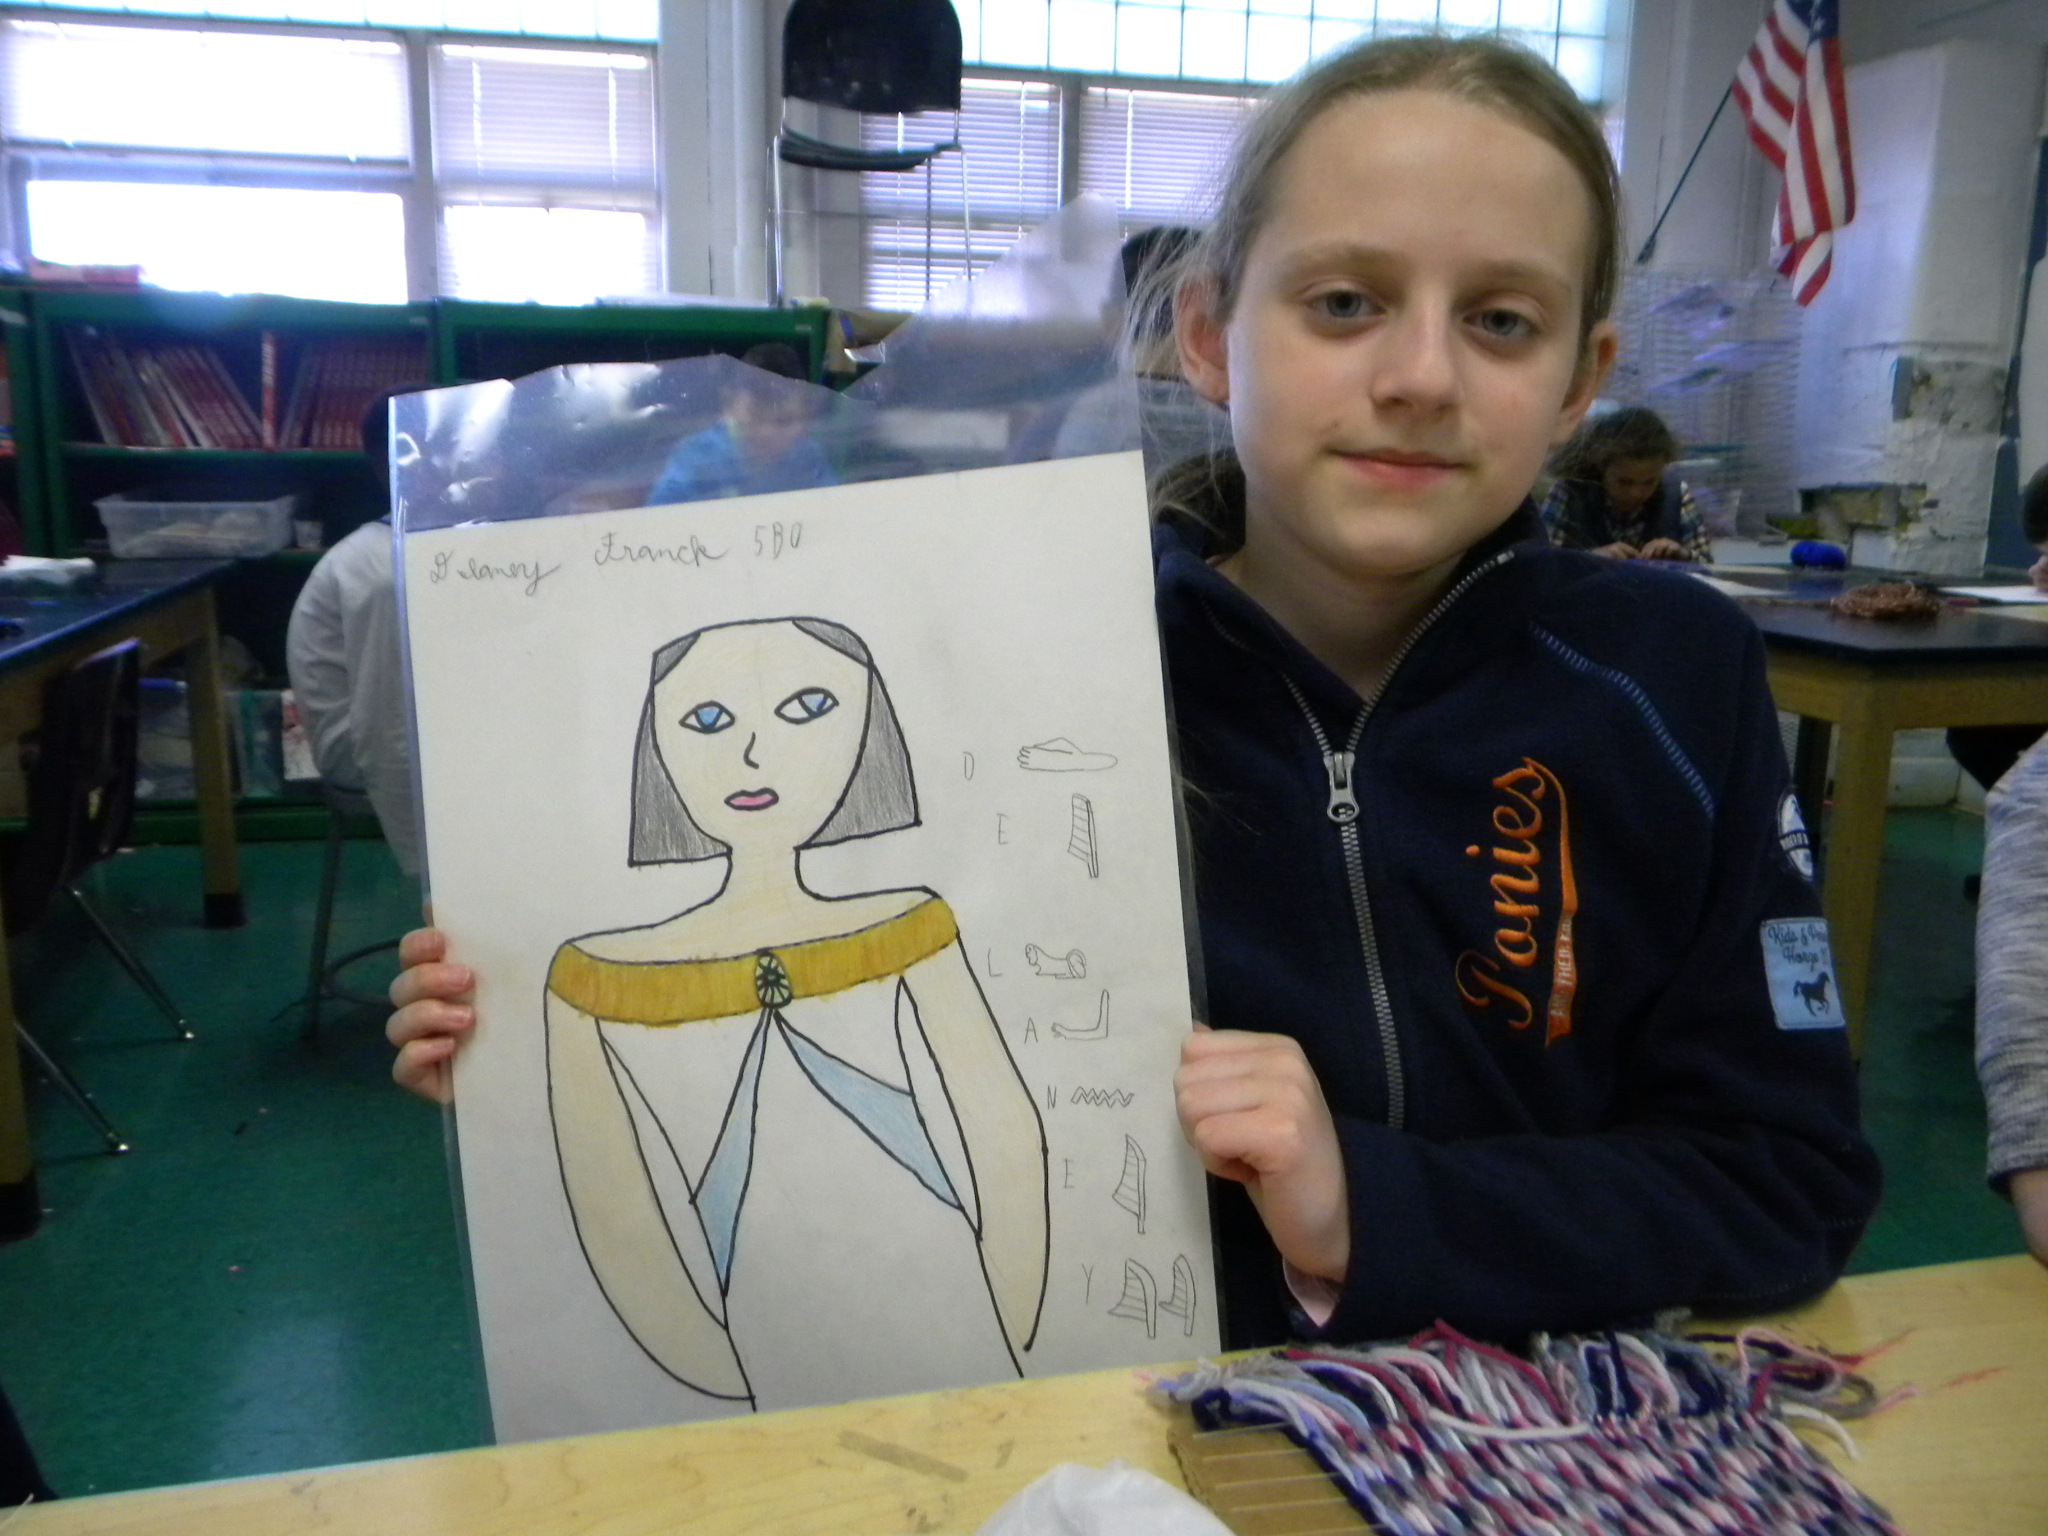 Great Egyptian queen or princess image.
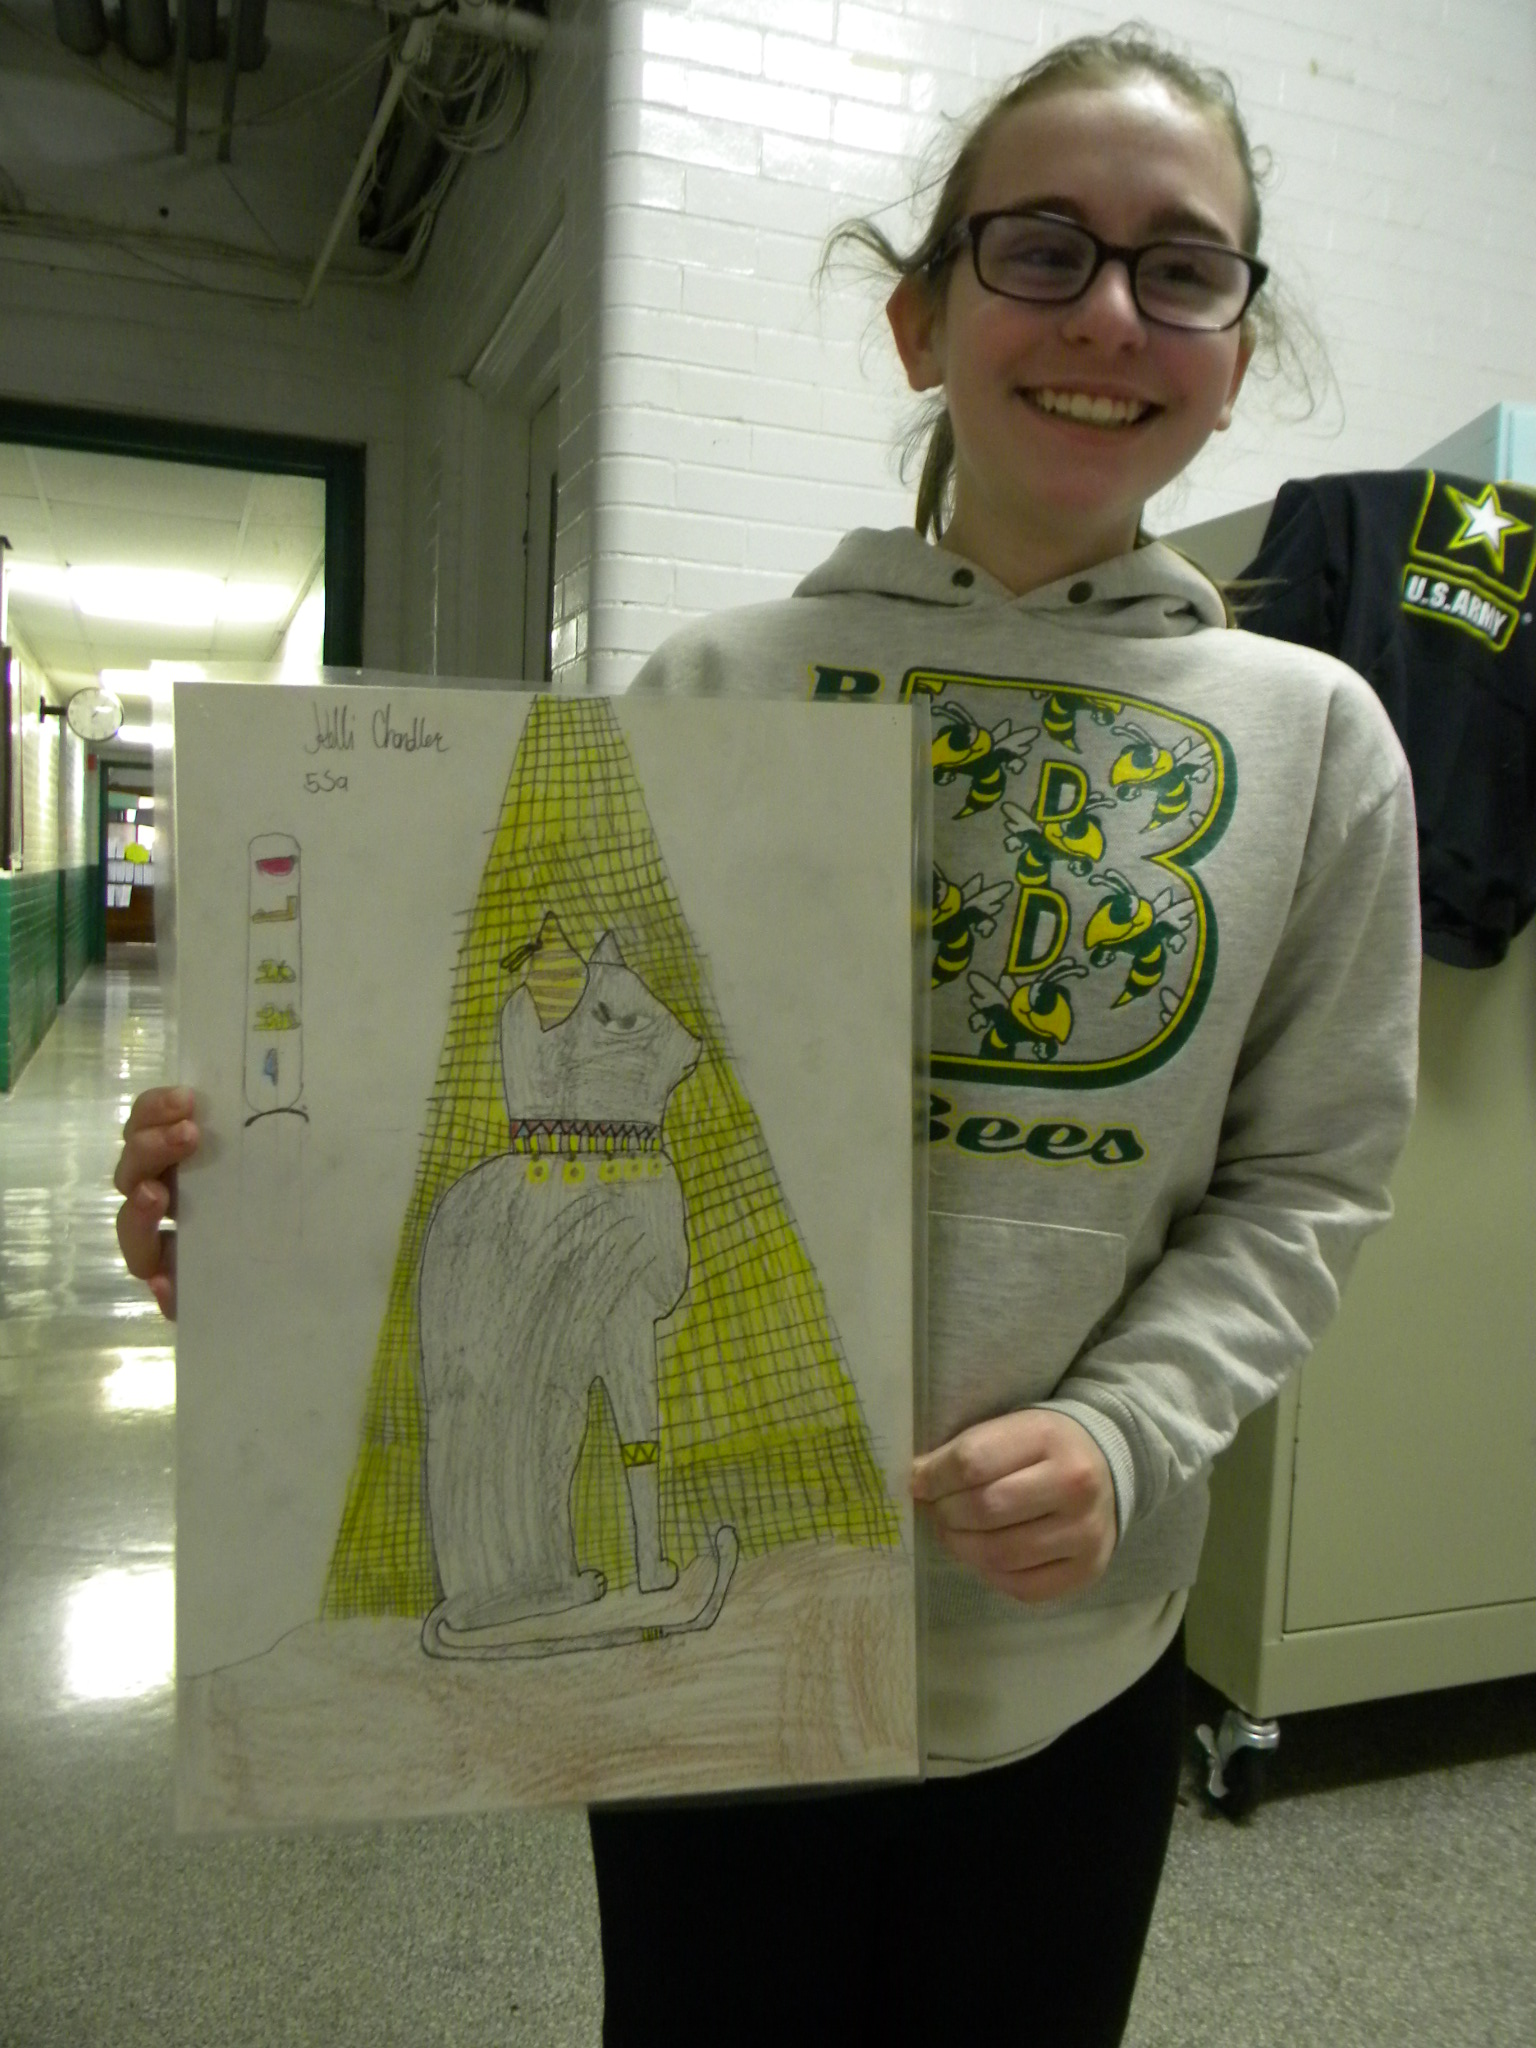 Cat imagery was very popular in class and this one came out very well.
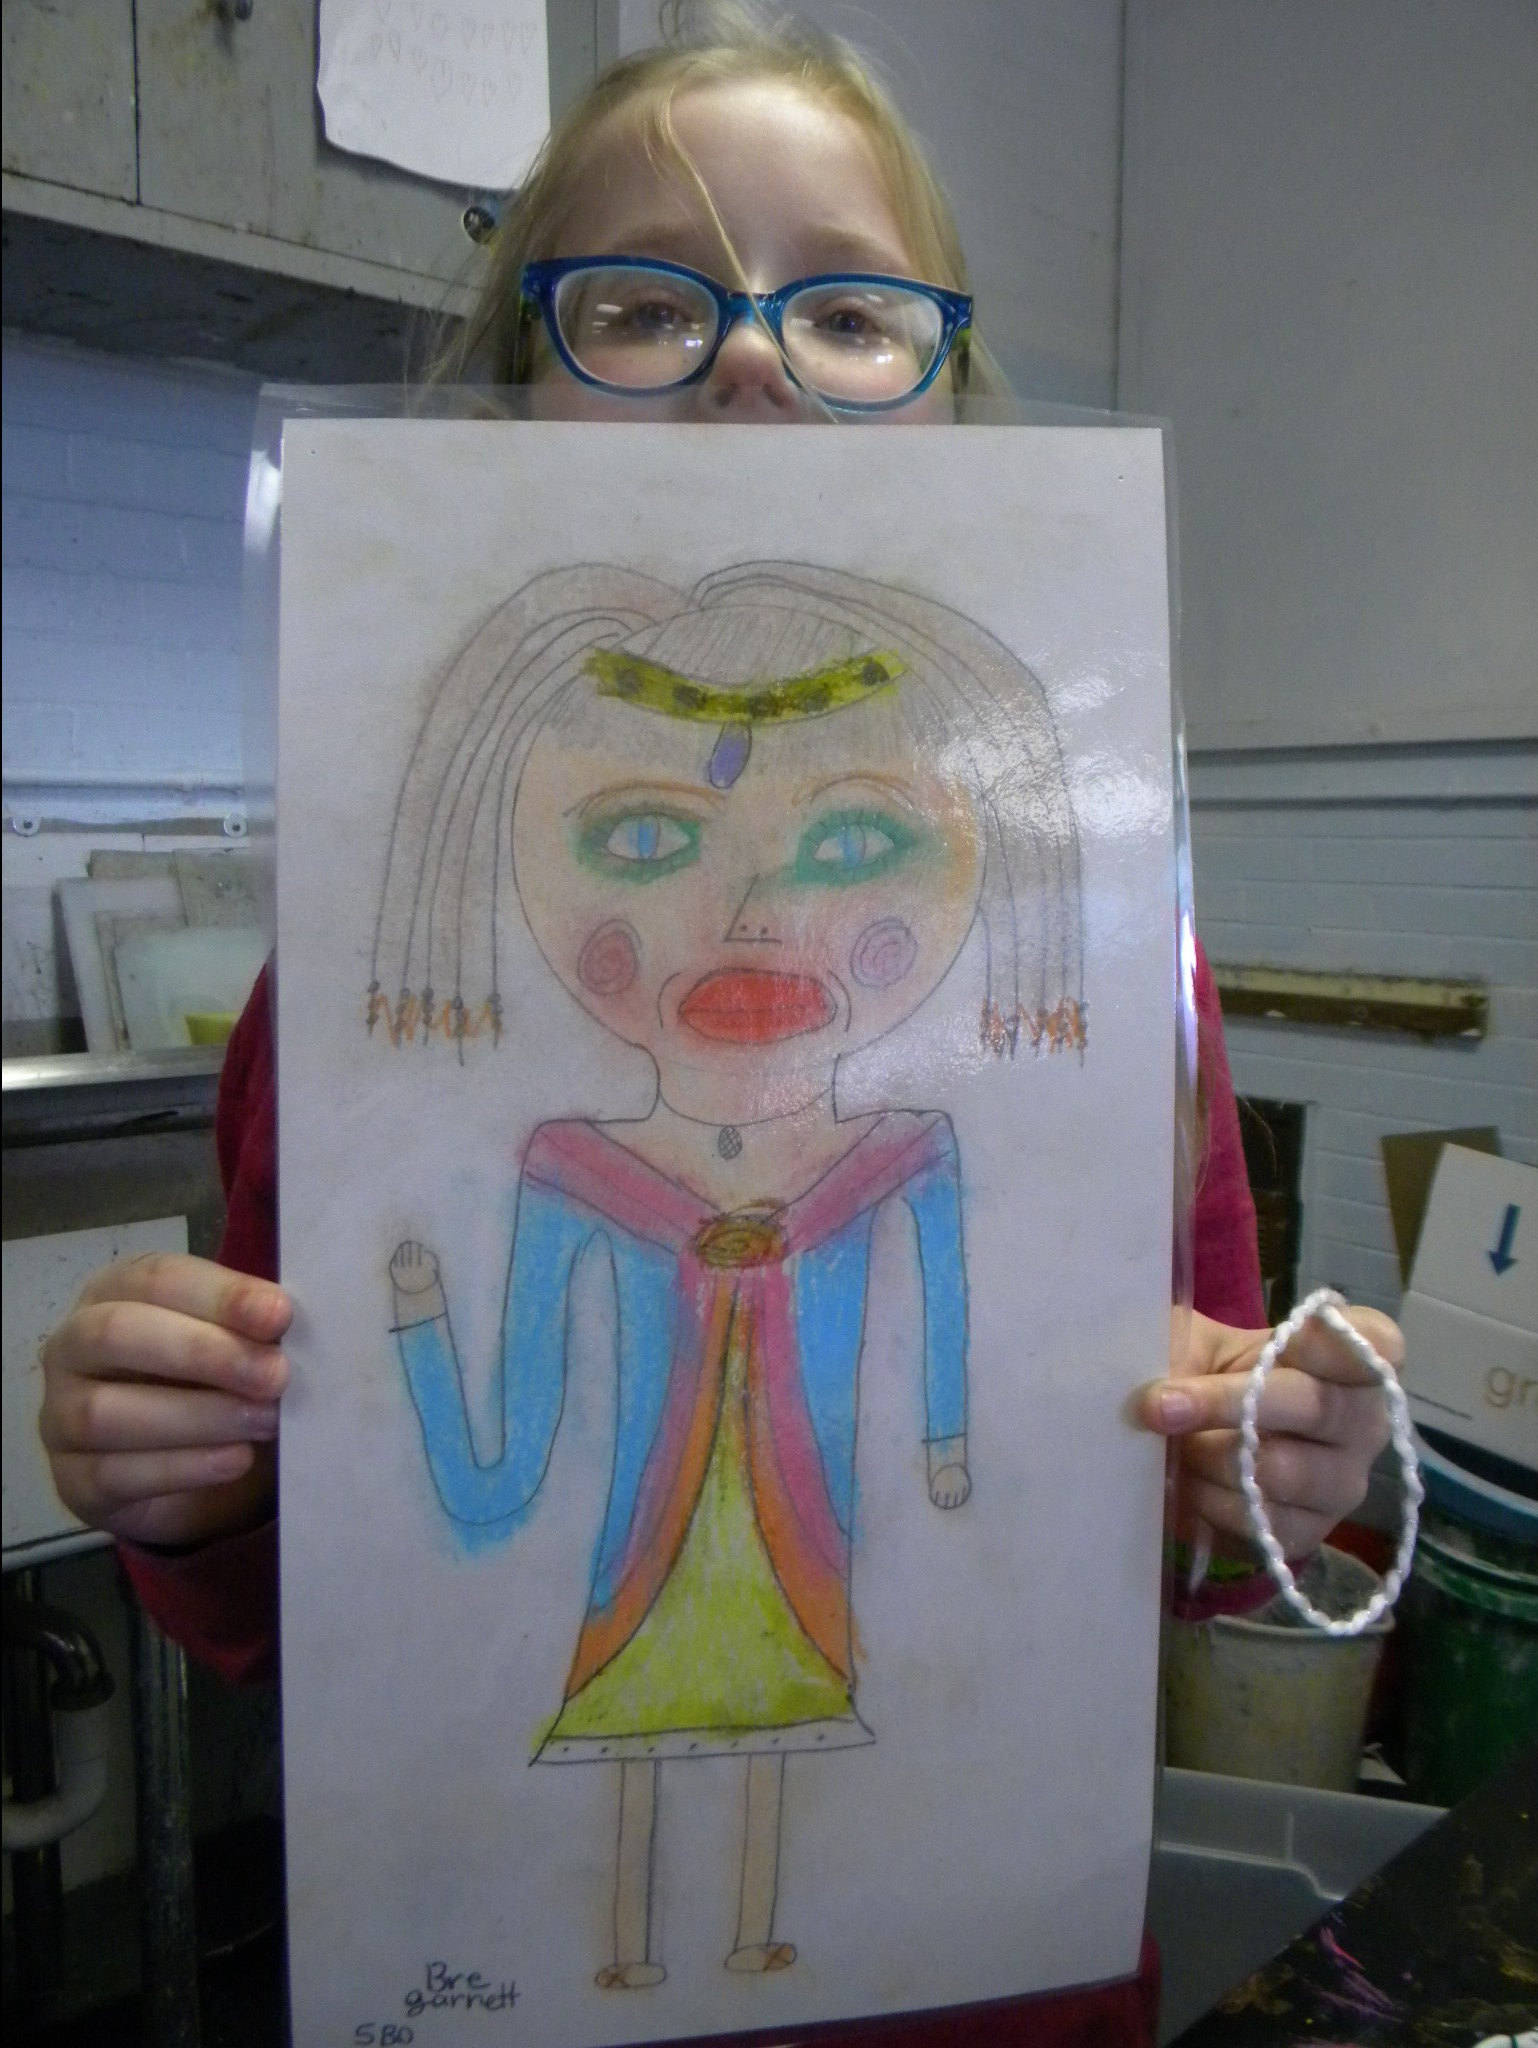
 This is Midna from The Legend of Zelda Twilight Princess.
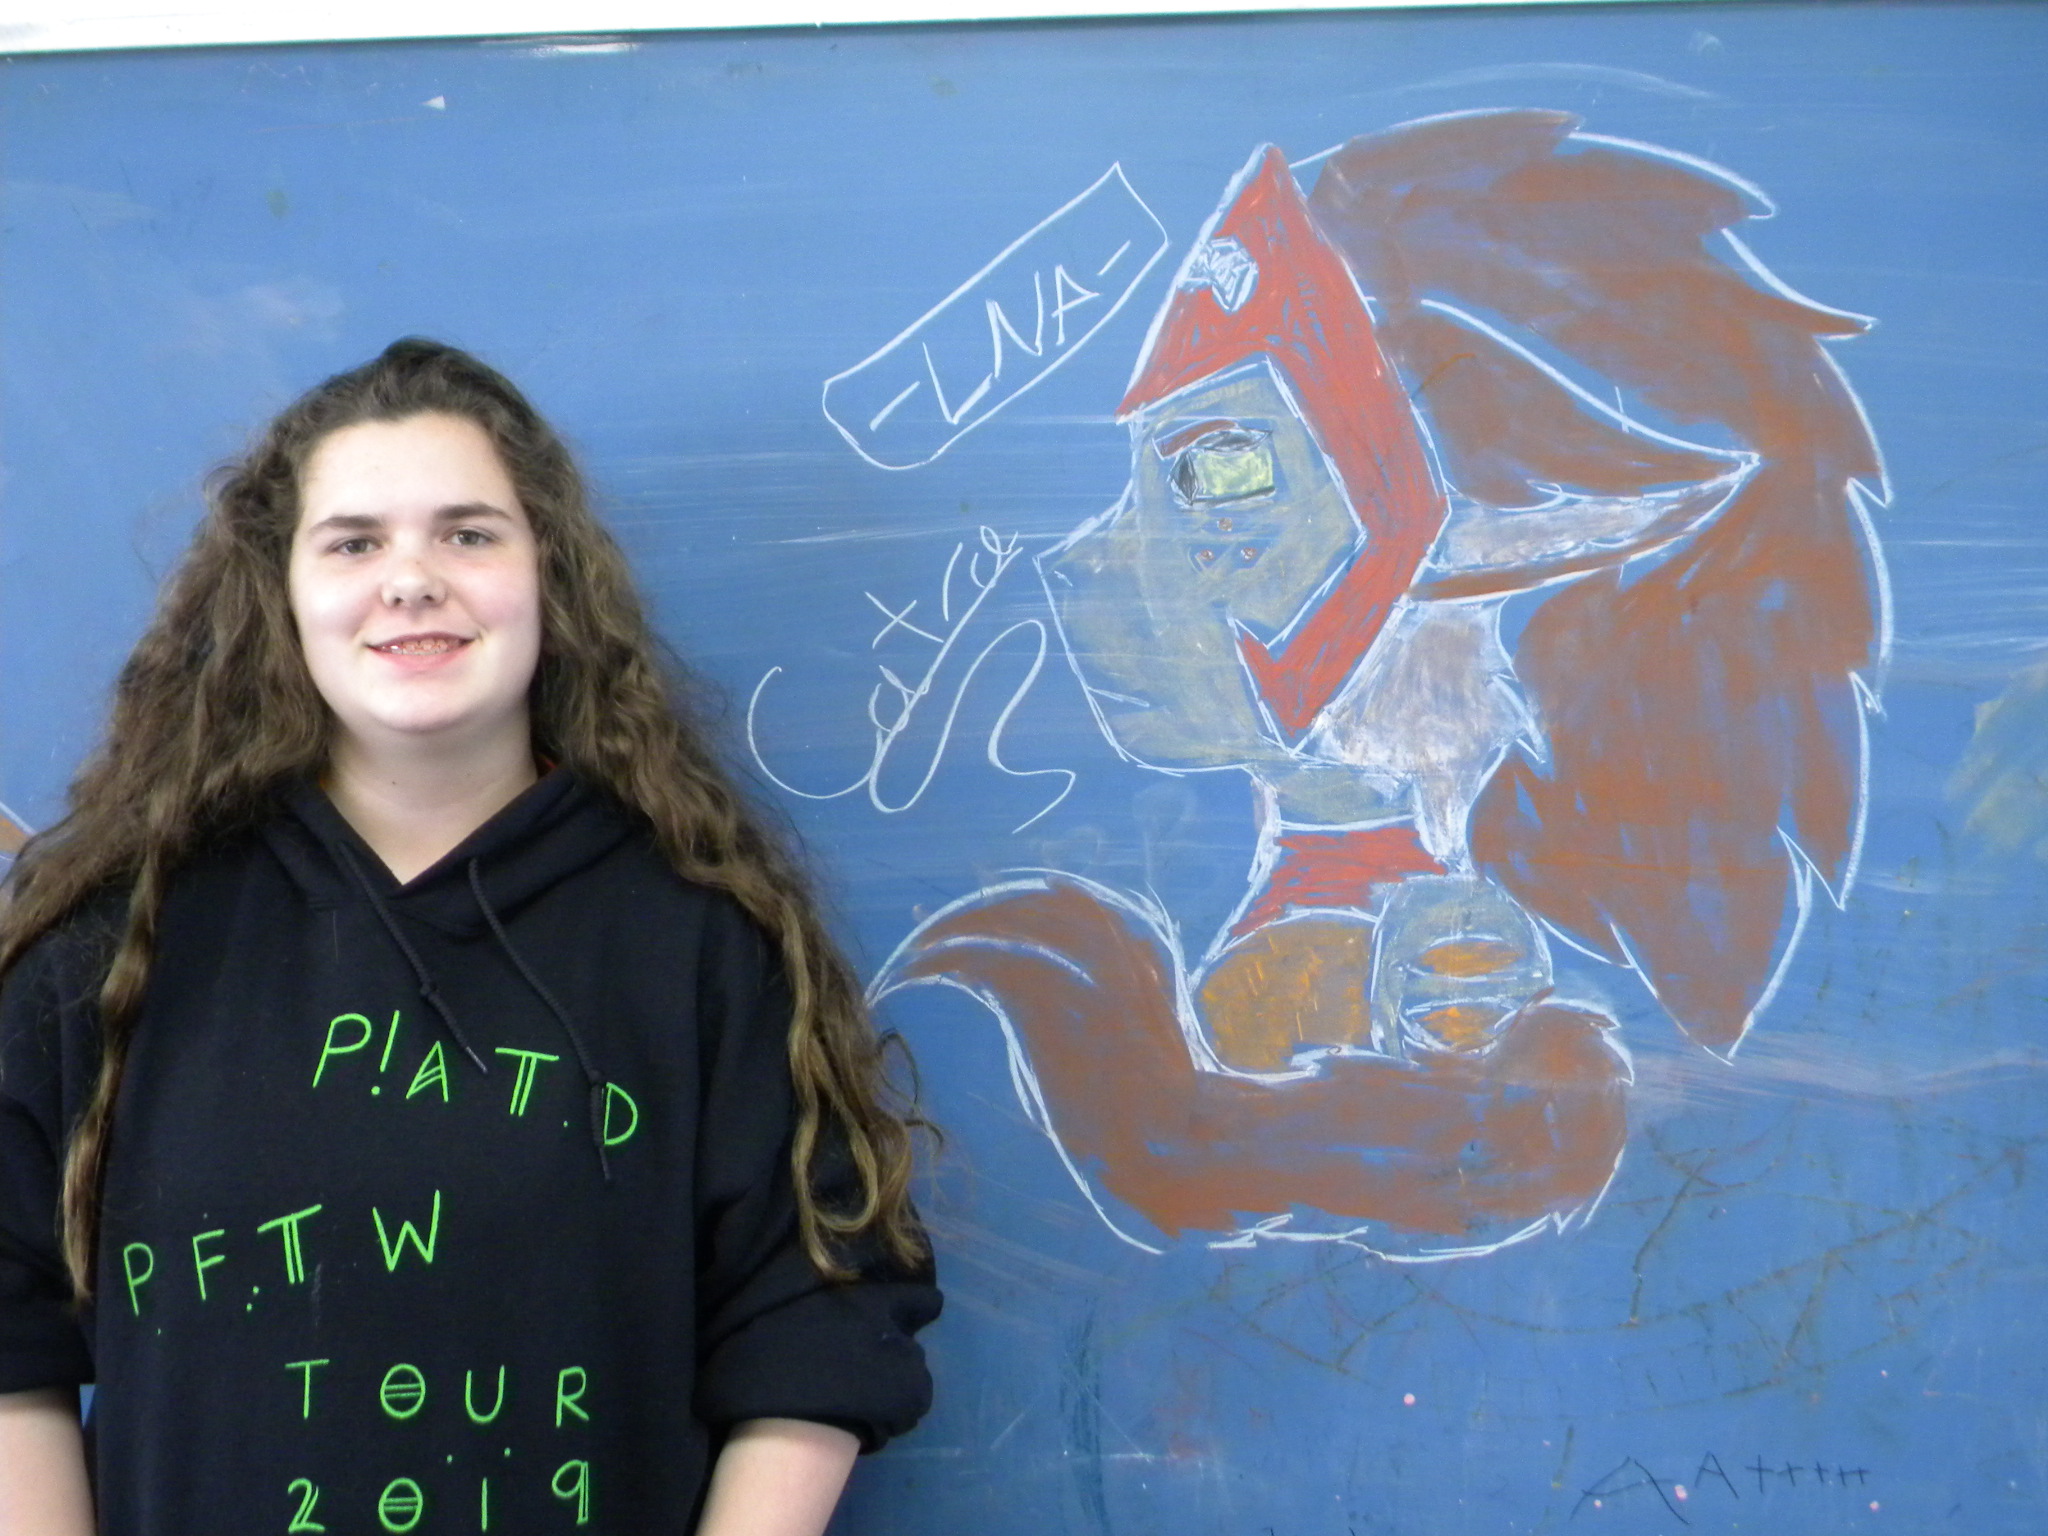 A Catra inspired piece. Haleigh is completely wired up and ready for the next season of She-Ra!


 Ms. Aubrey made very fast work of this!
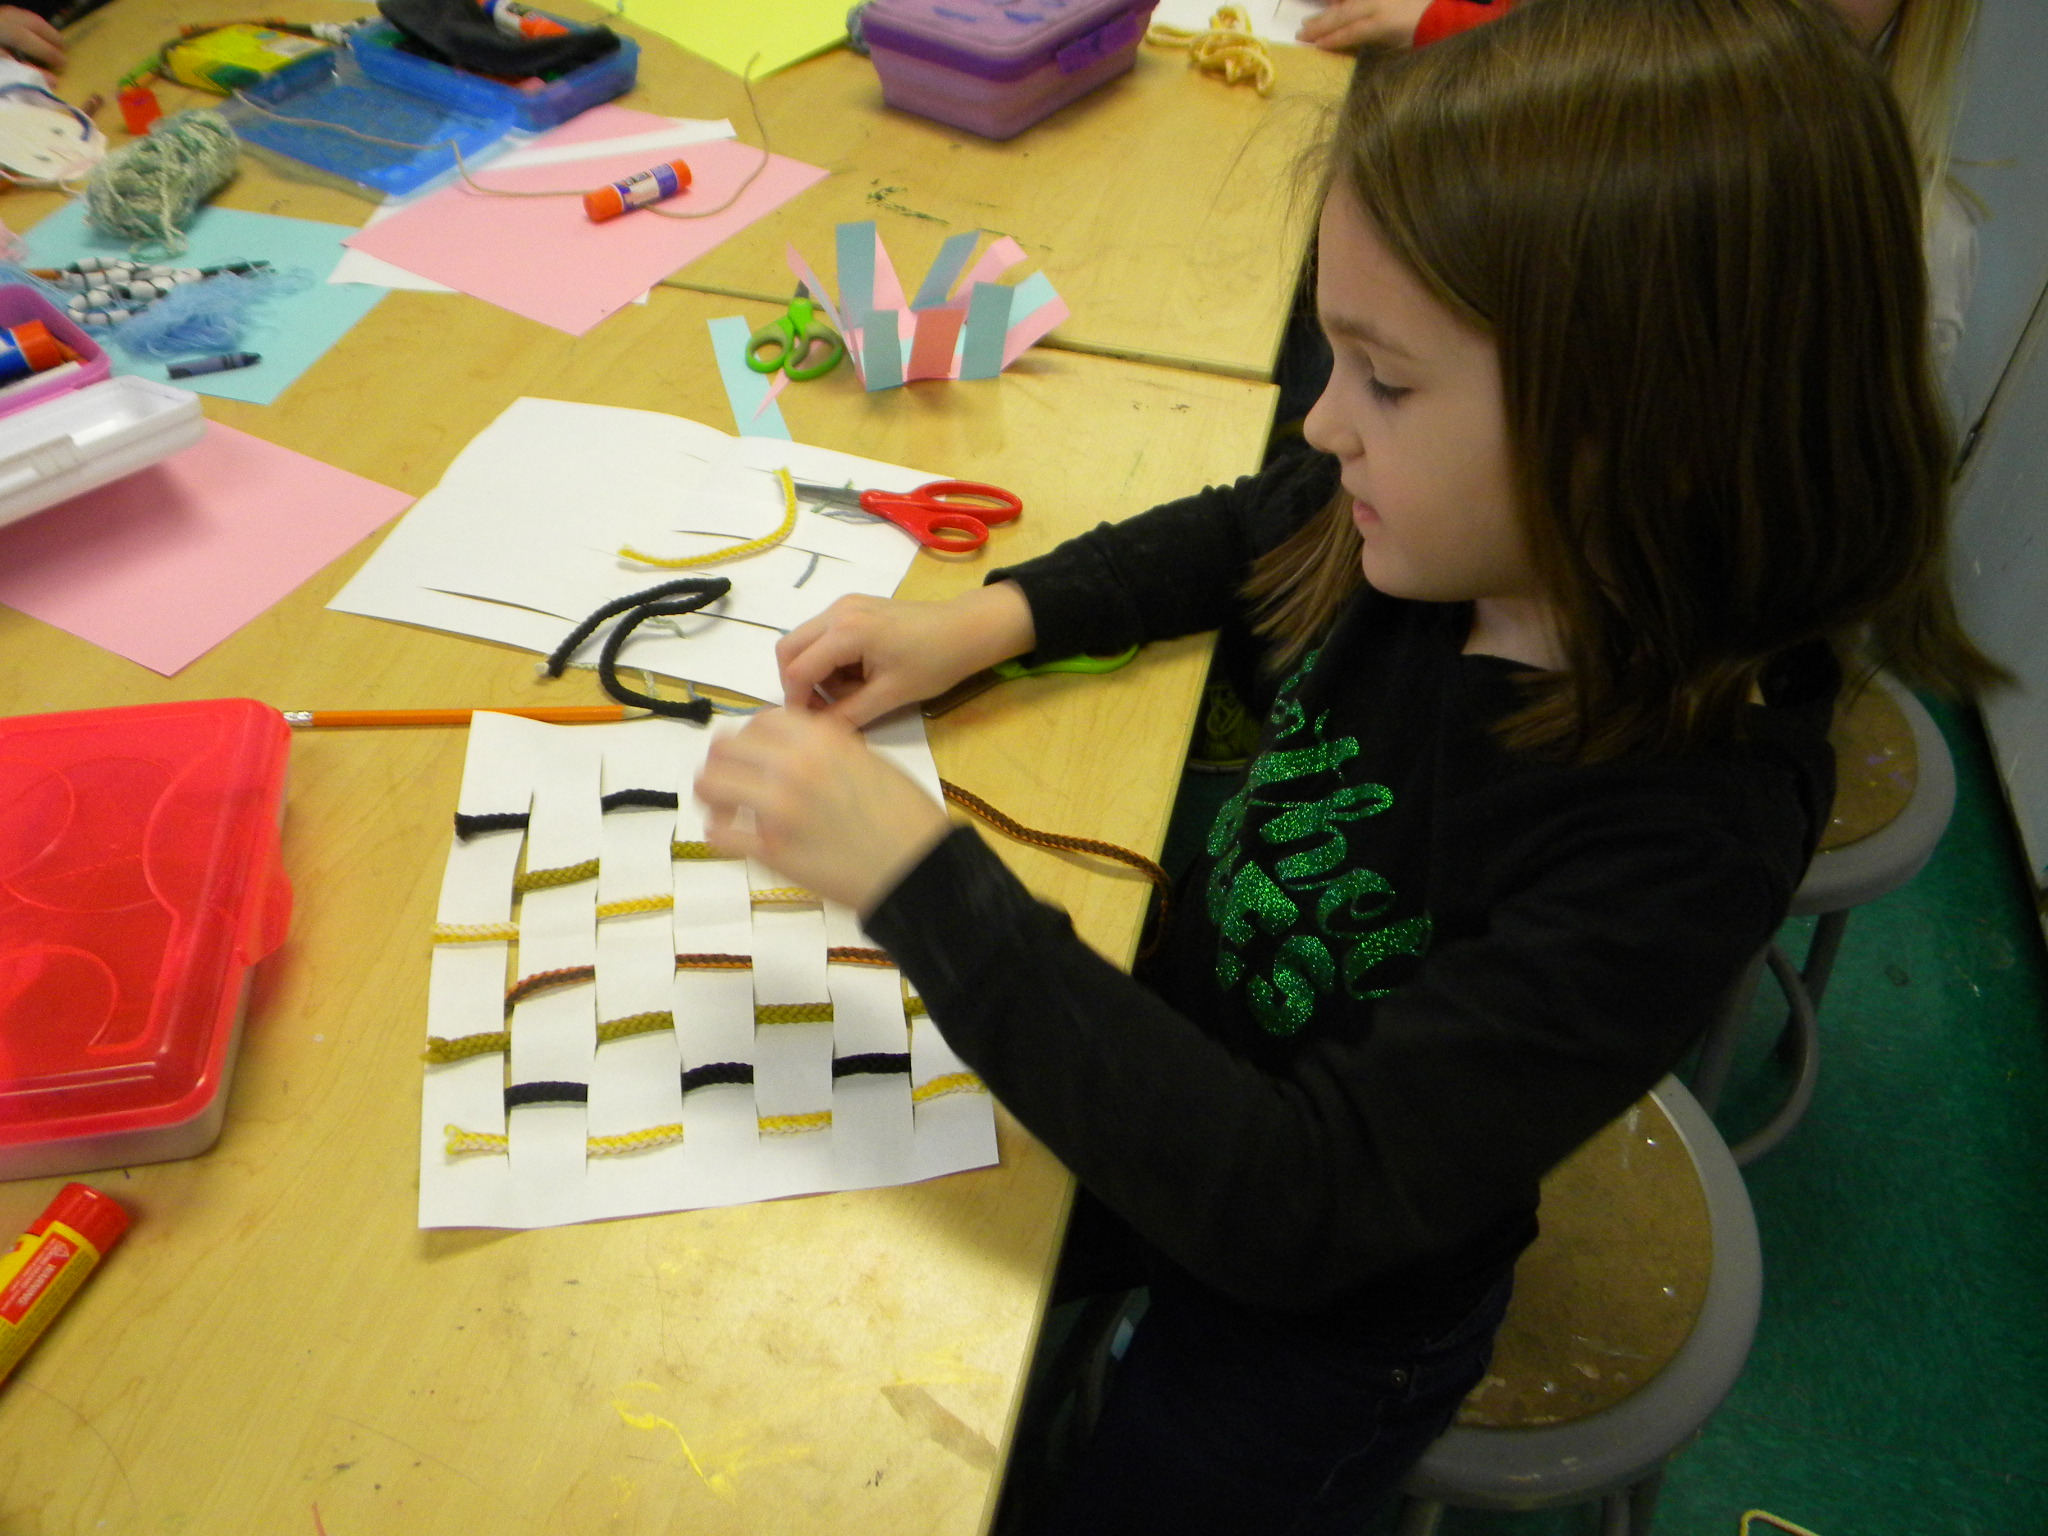 With the 2nd grade, I’m just trying to get the concept of weaving introduced and started
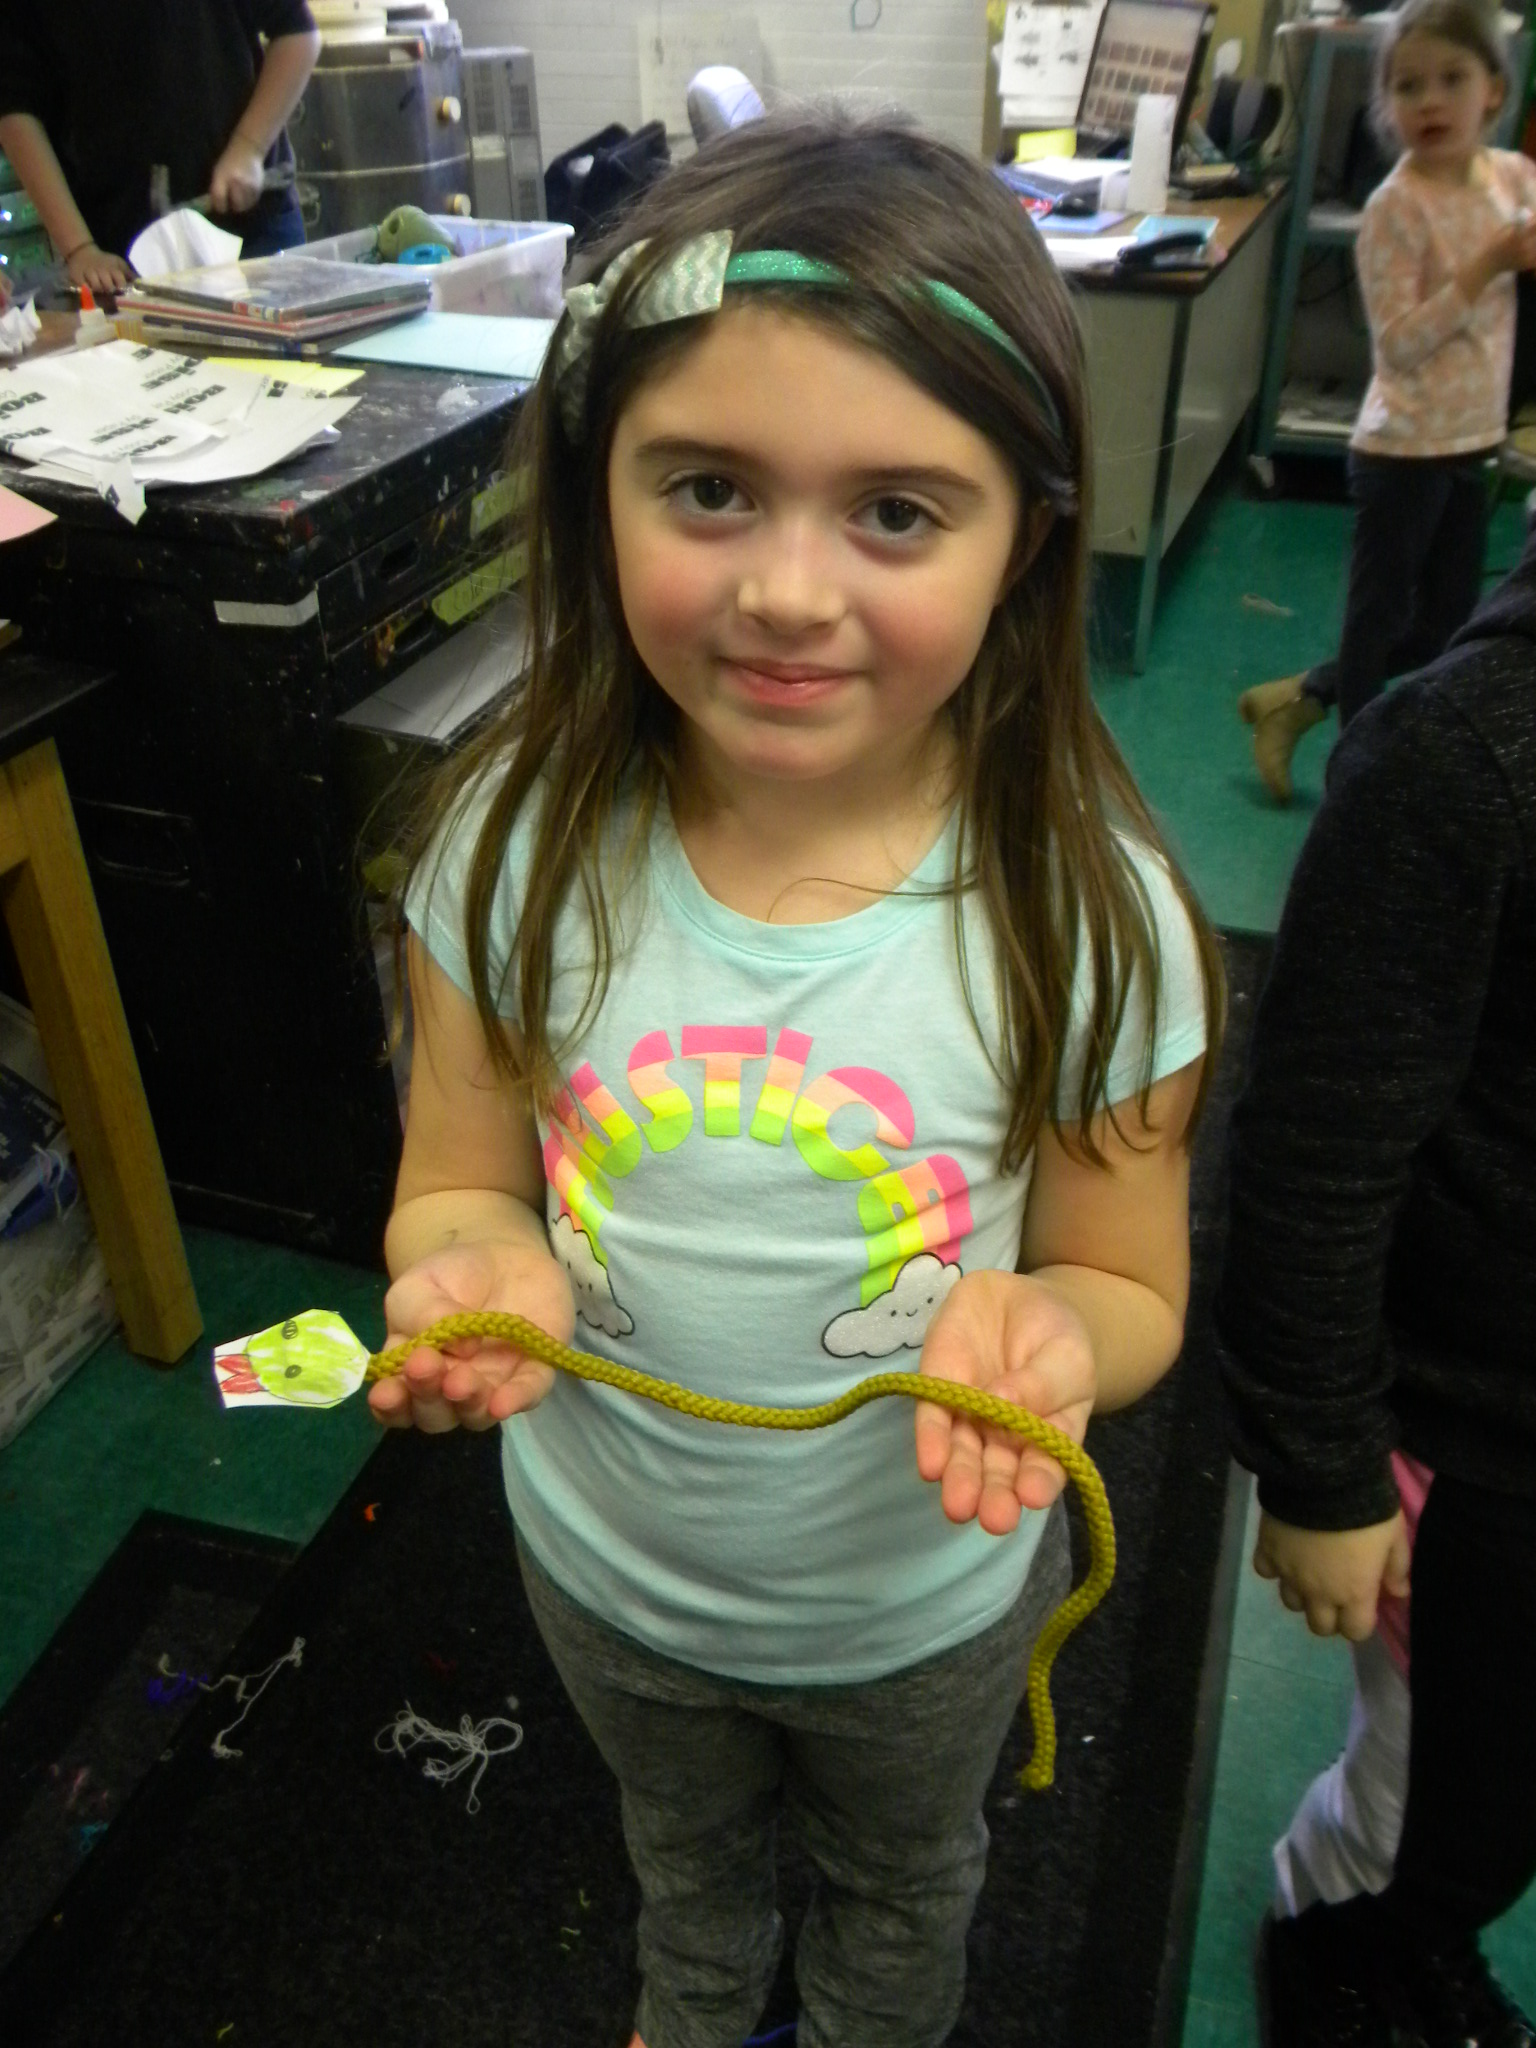 Not what I was thinking but she was very happy and proud of her idea of making a snake!
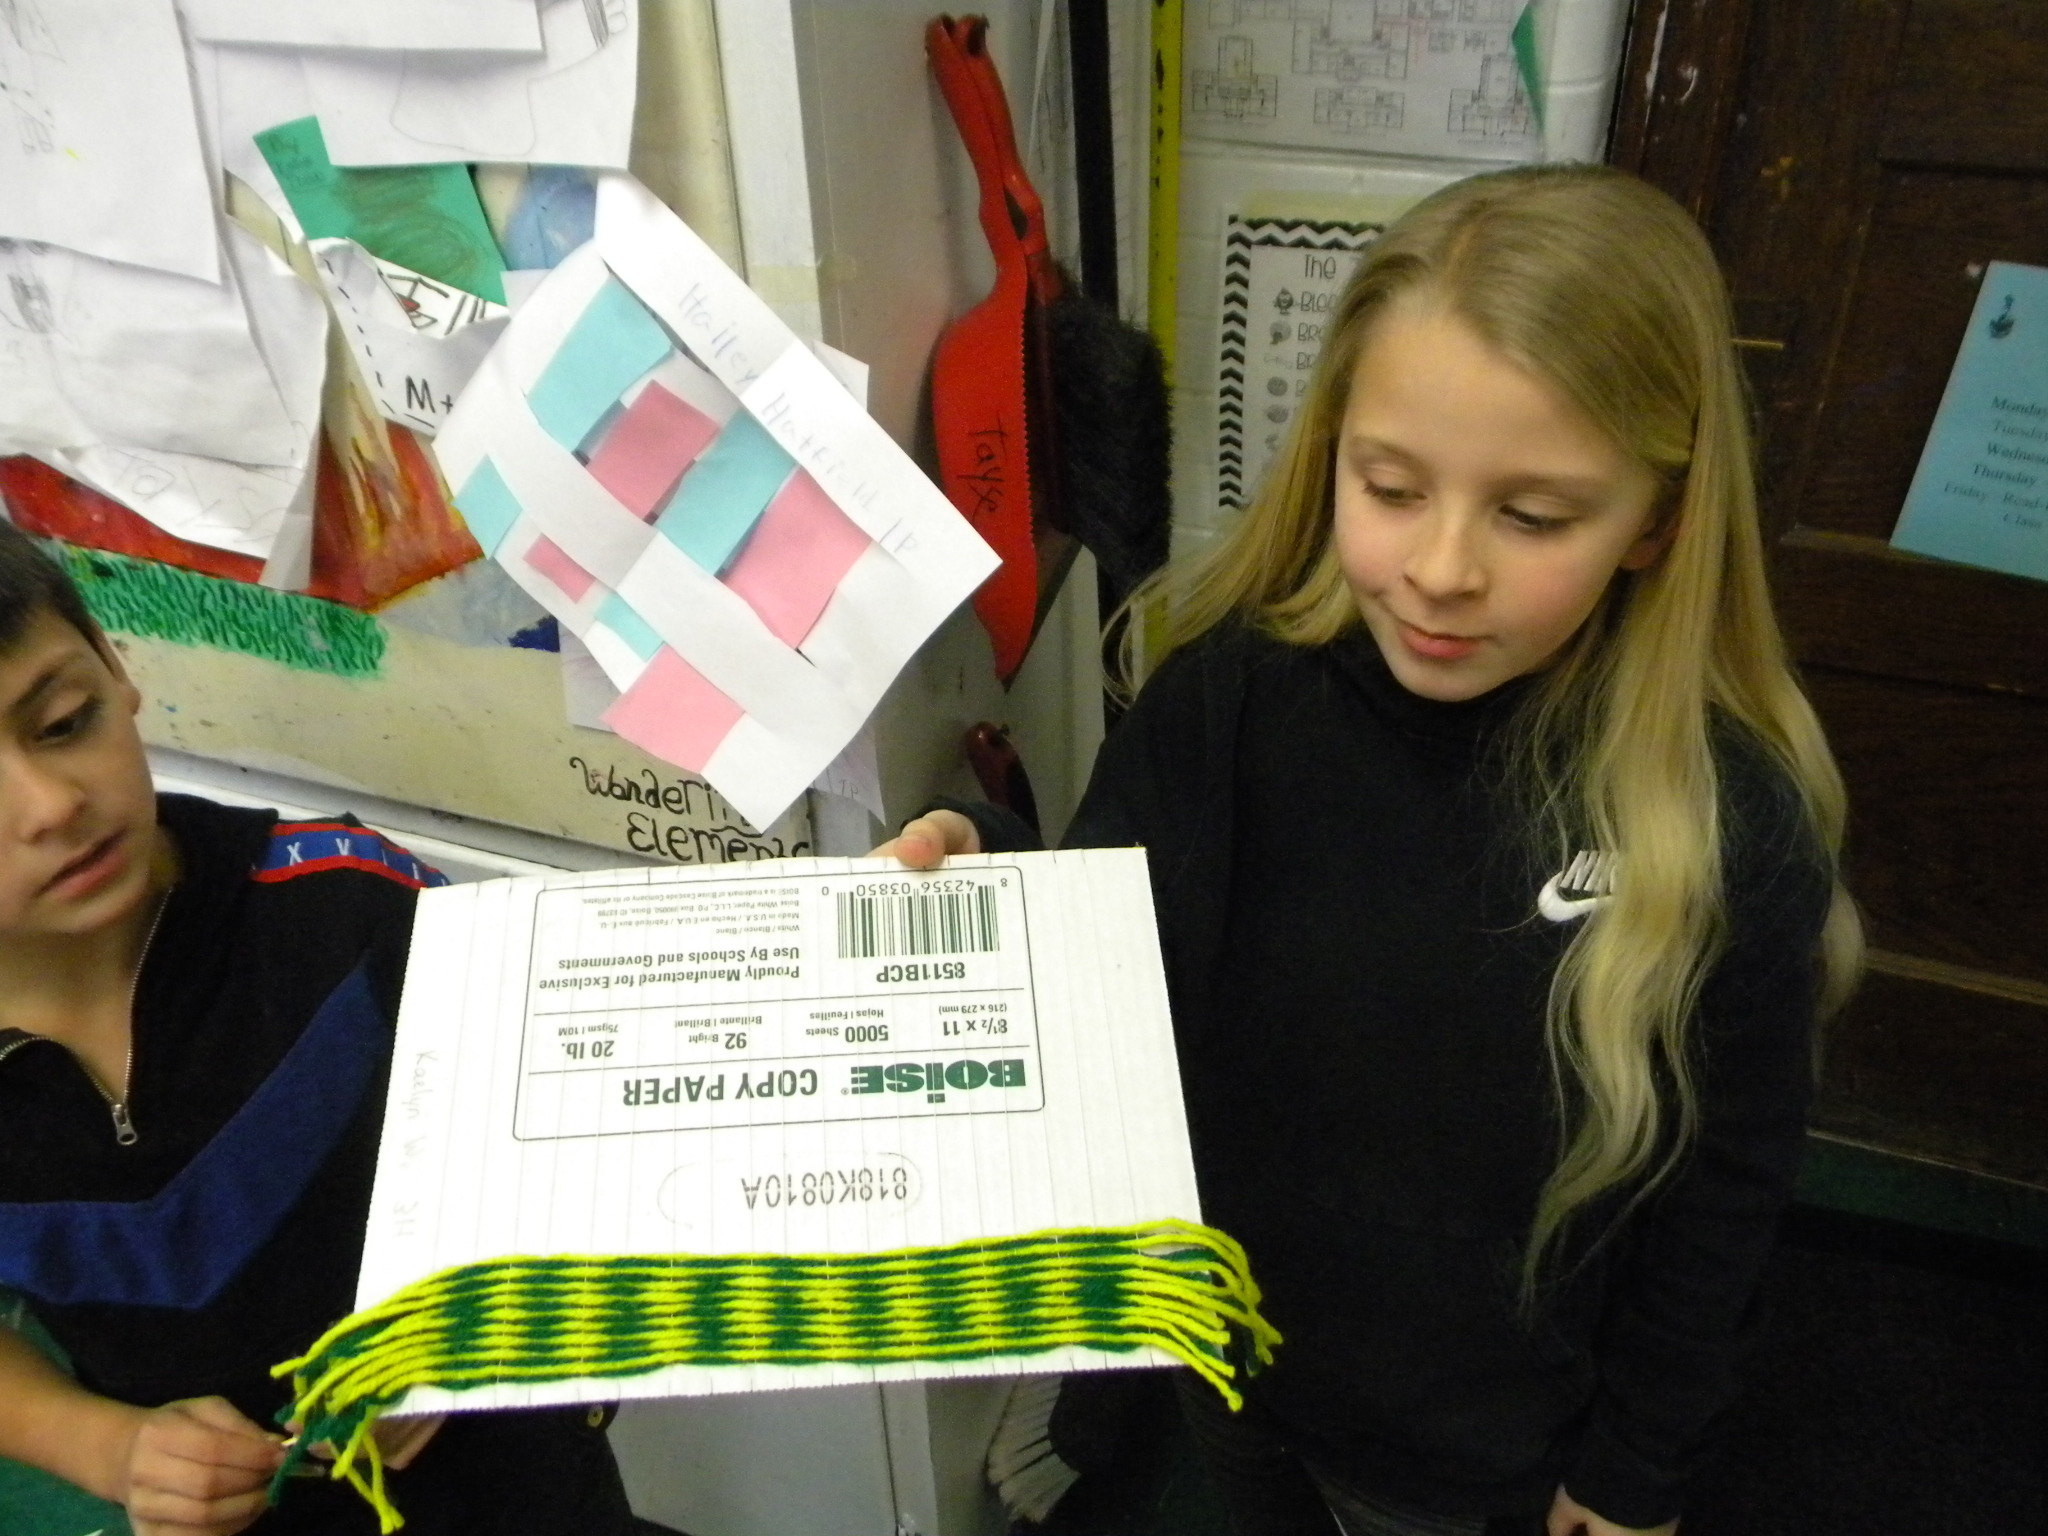 Nice, careful, consistent work.
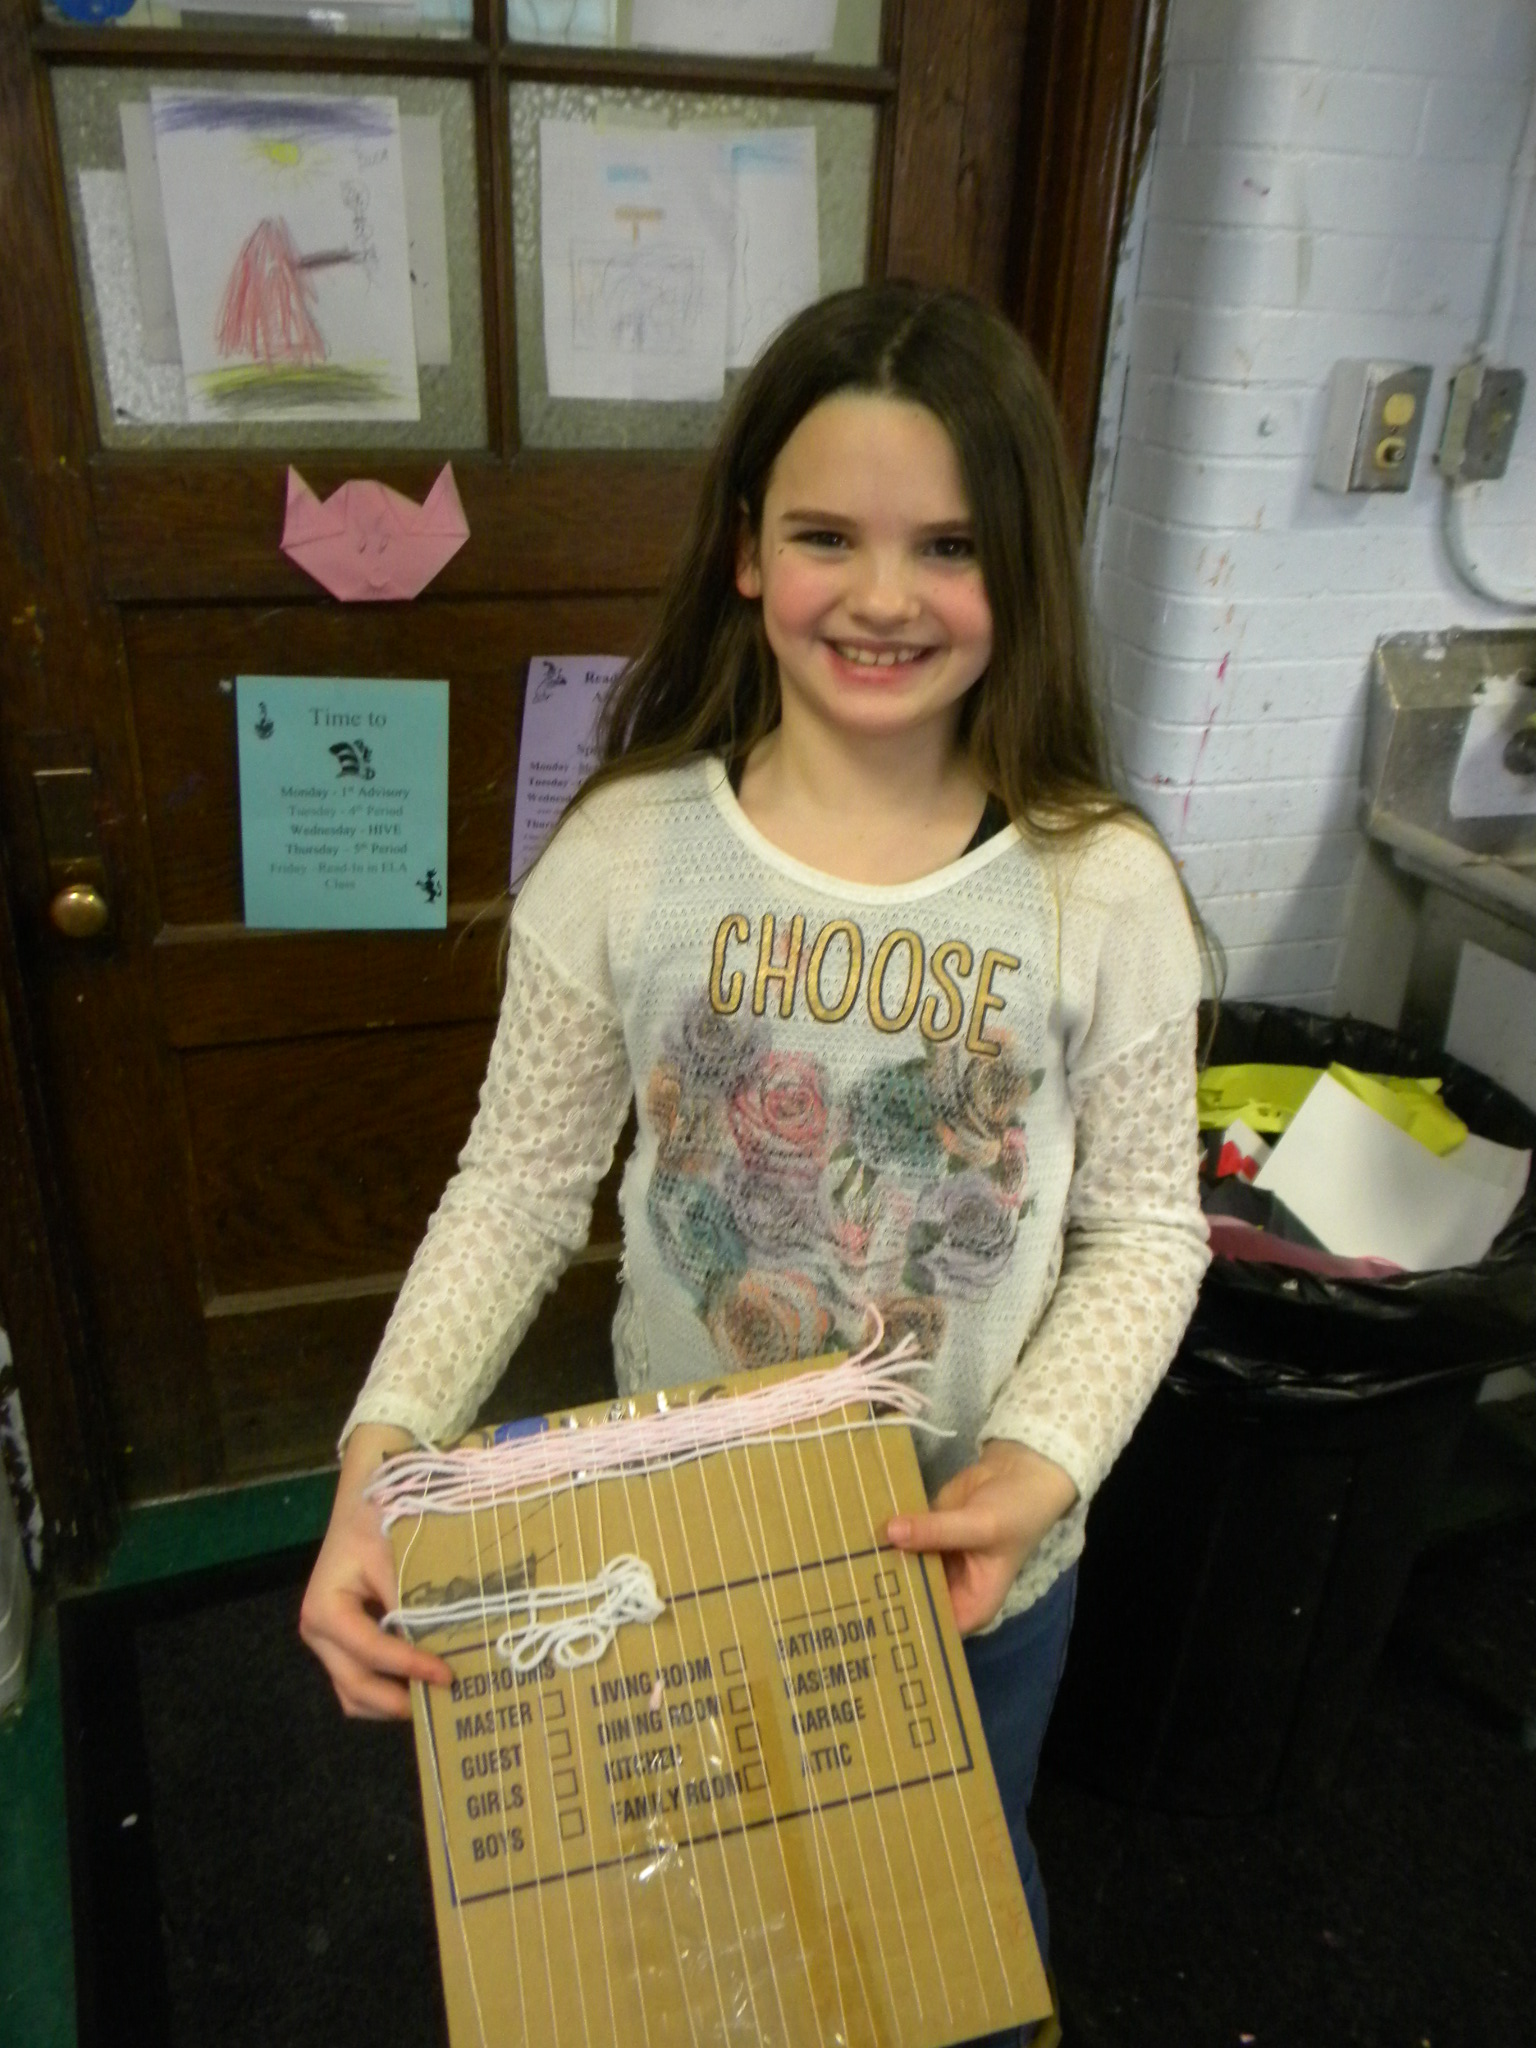 She went on to completely cover this!
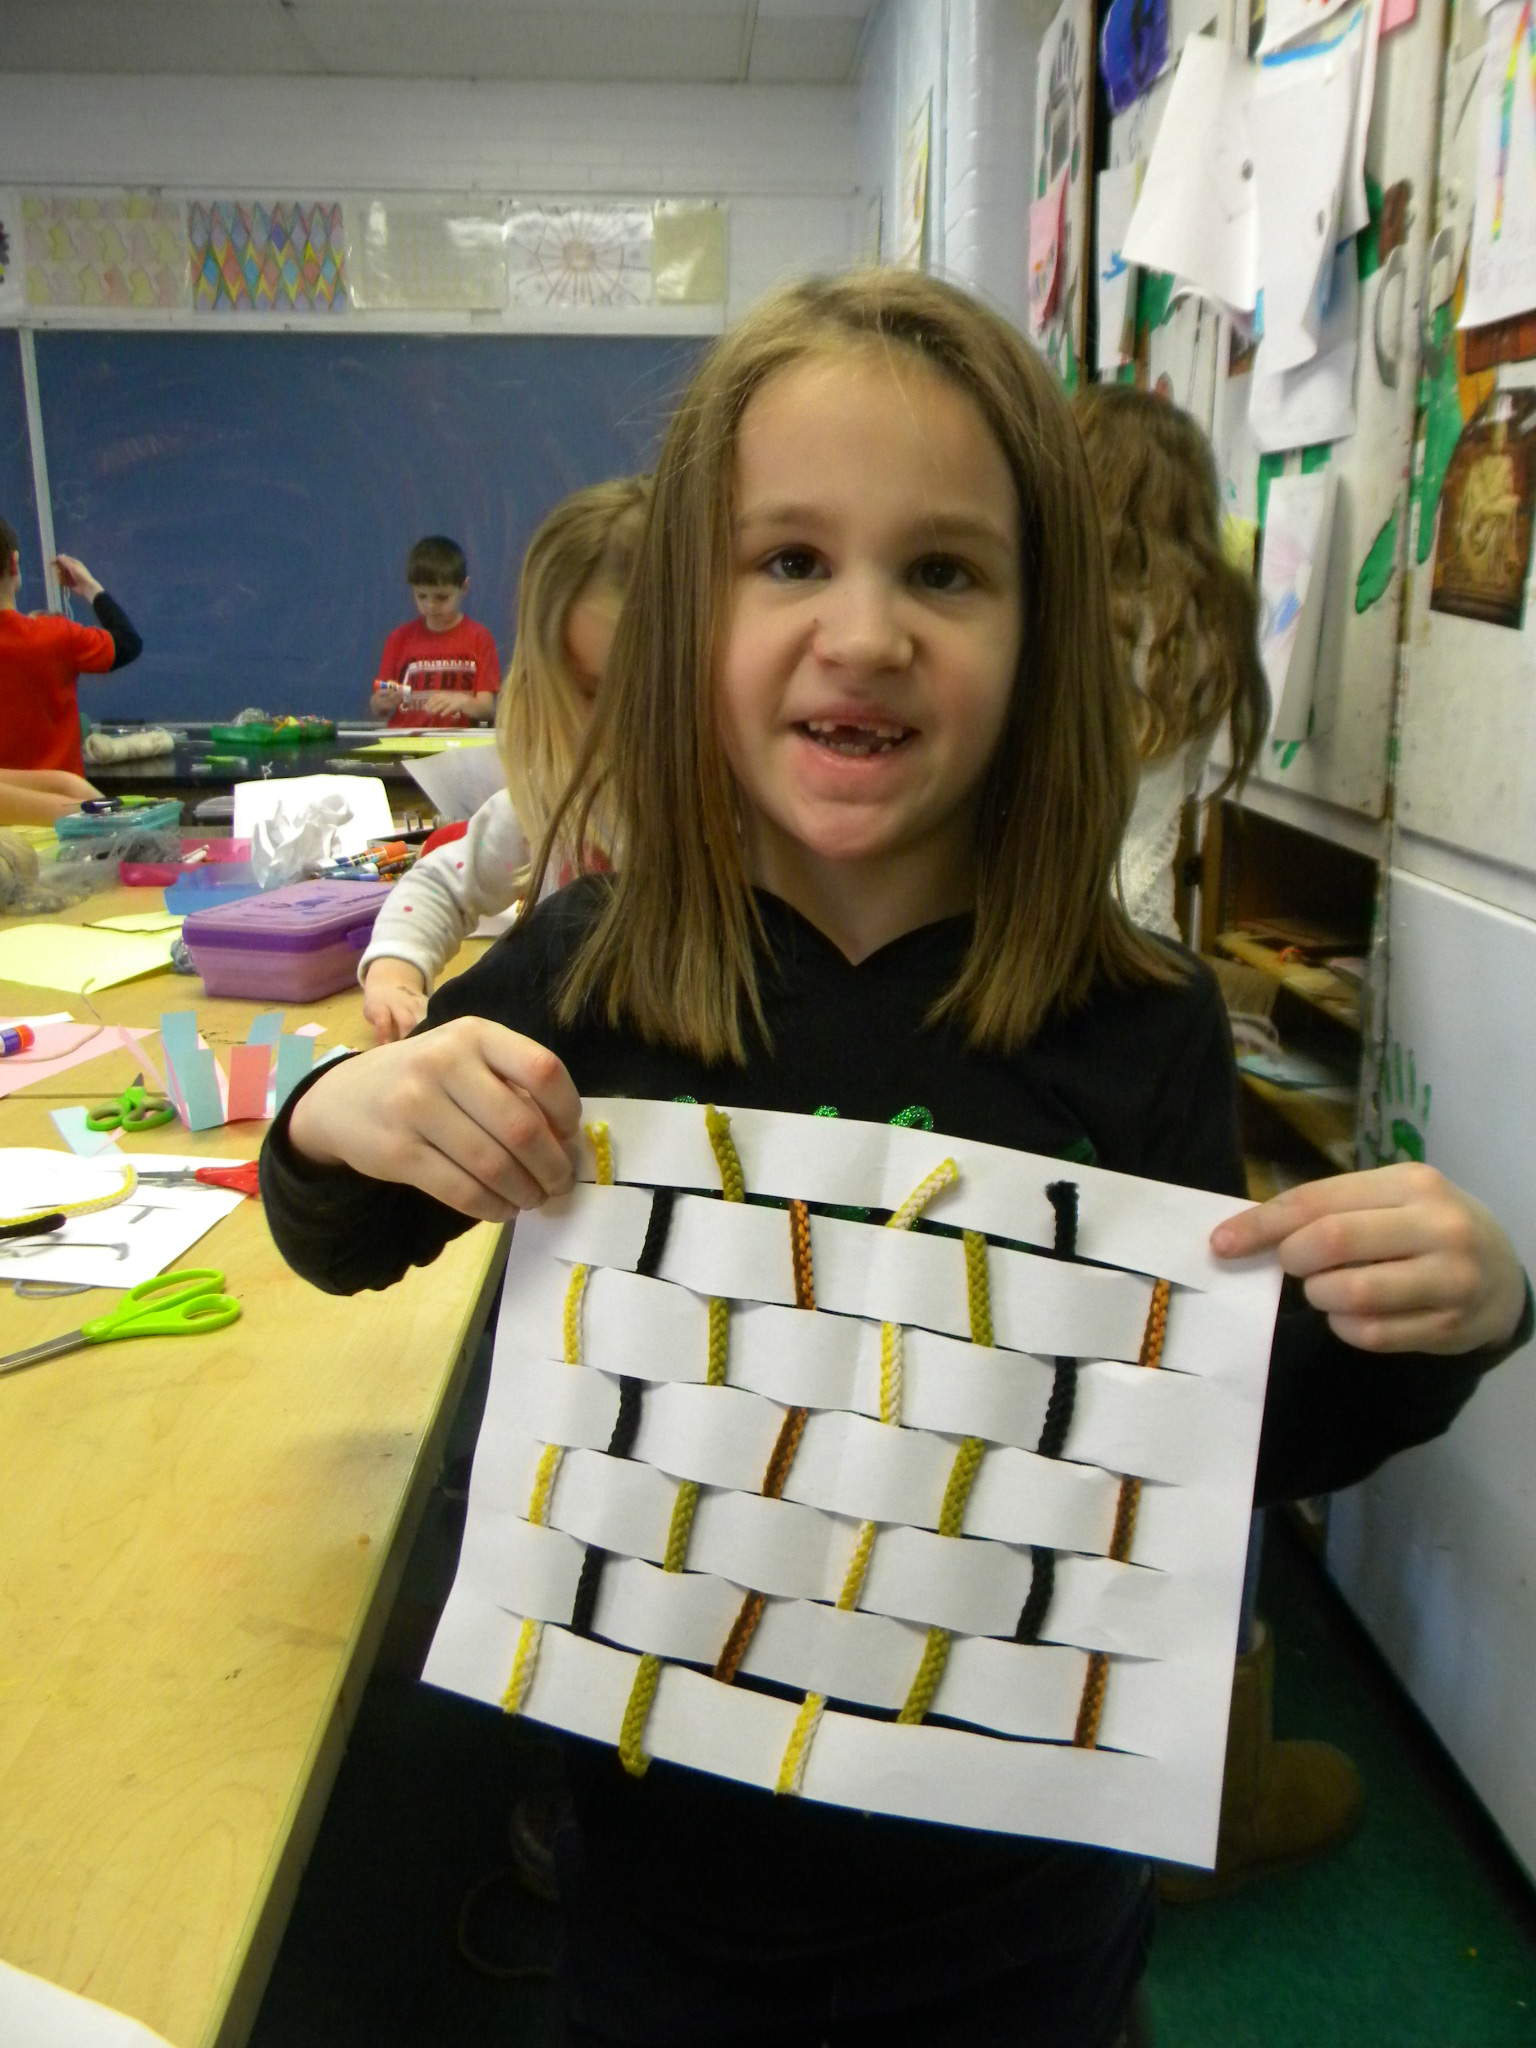 Another proud weaver!
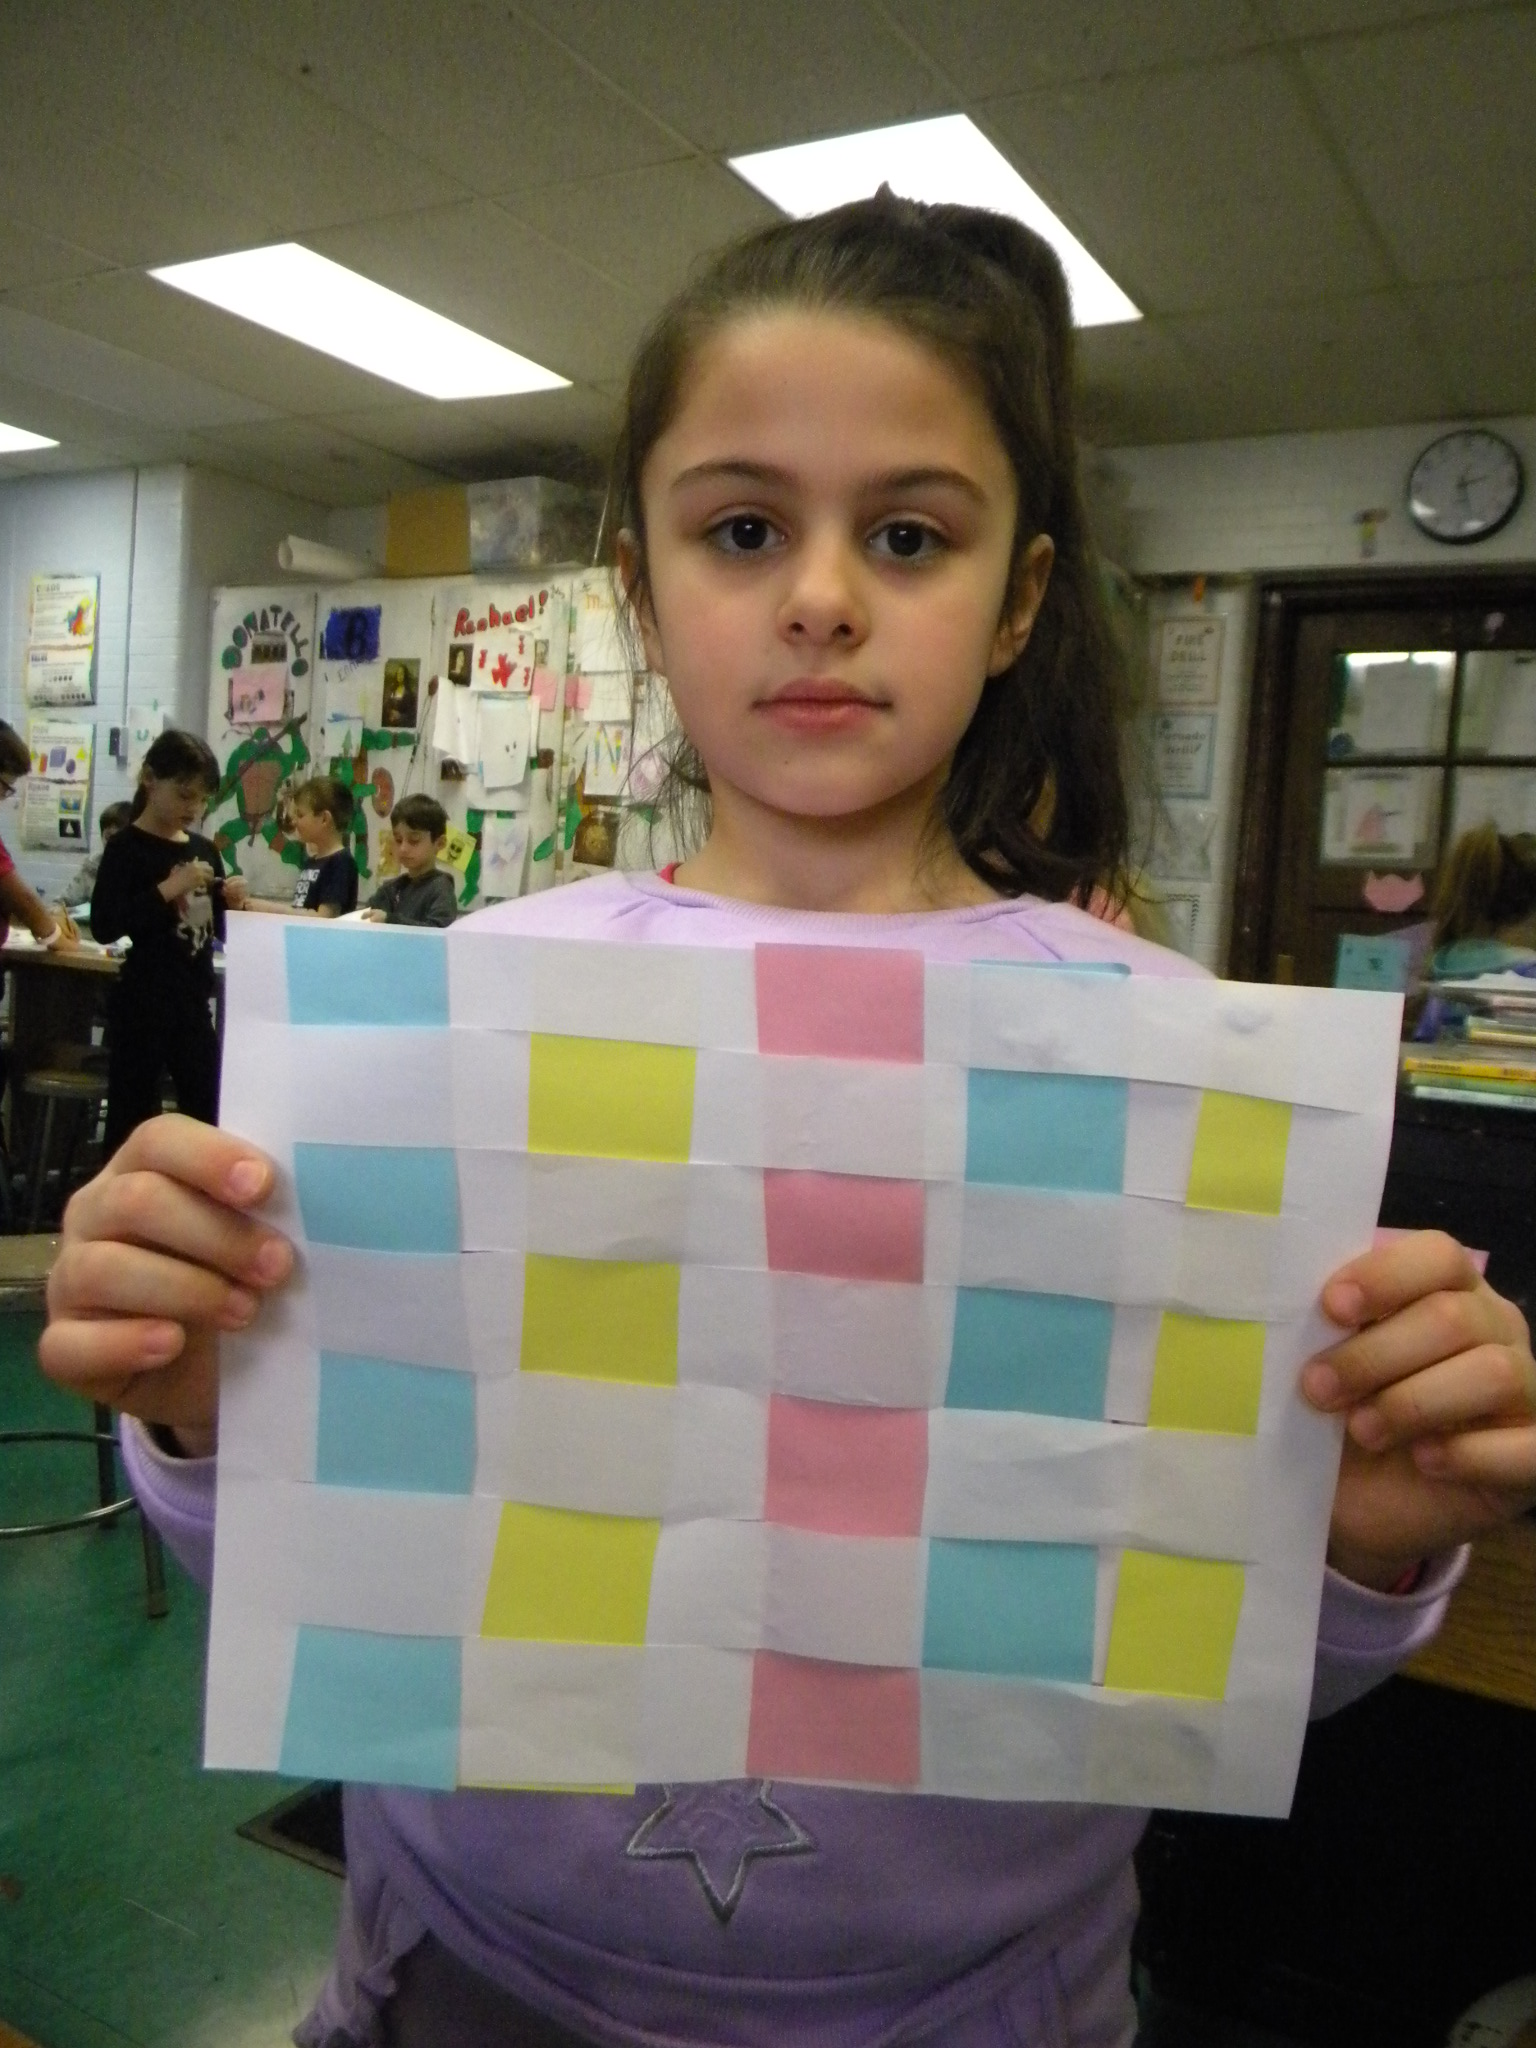 Good work on paper weaving.
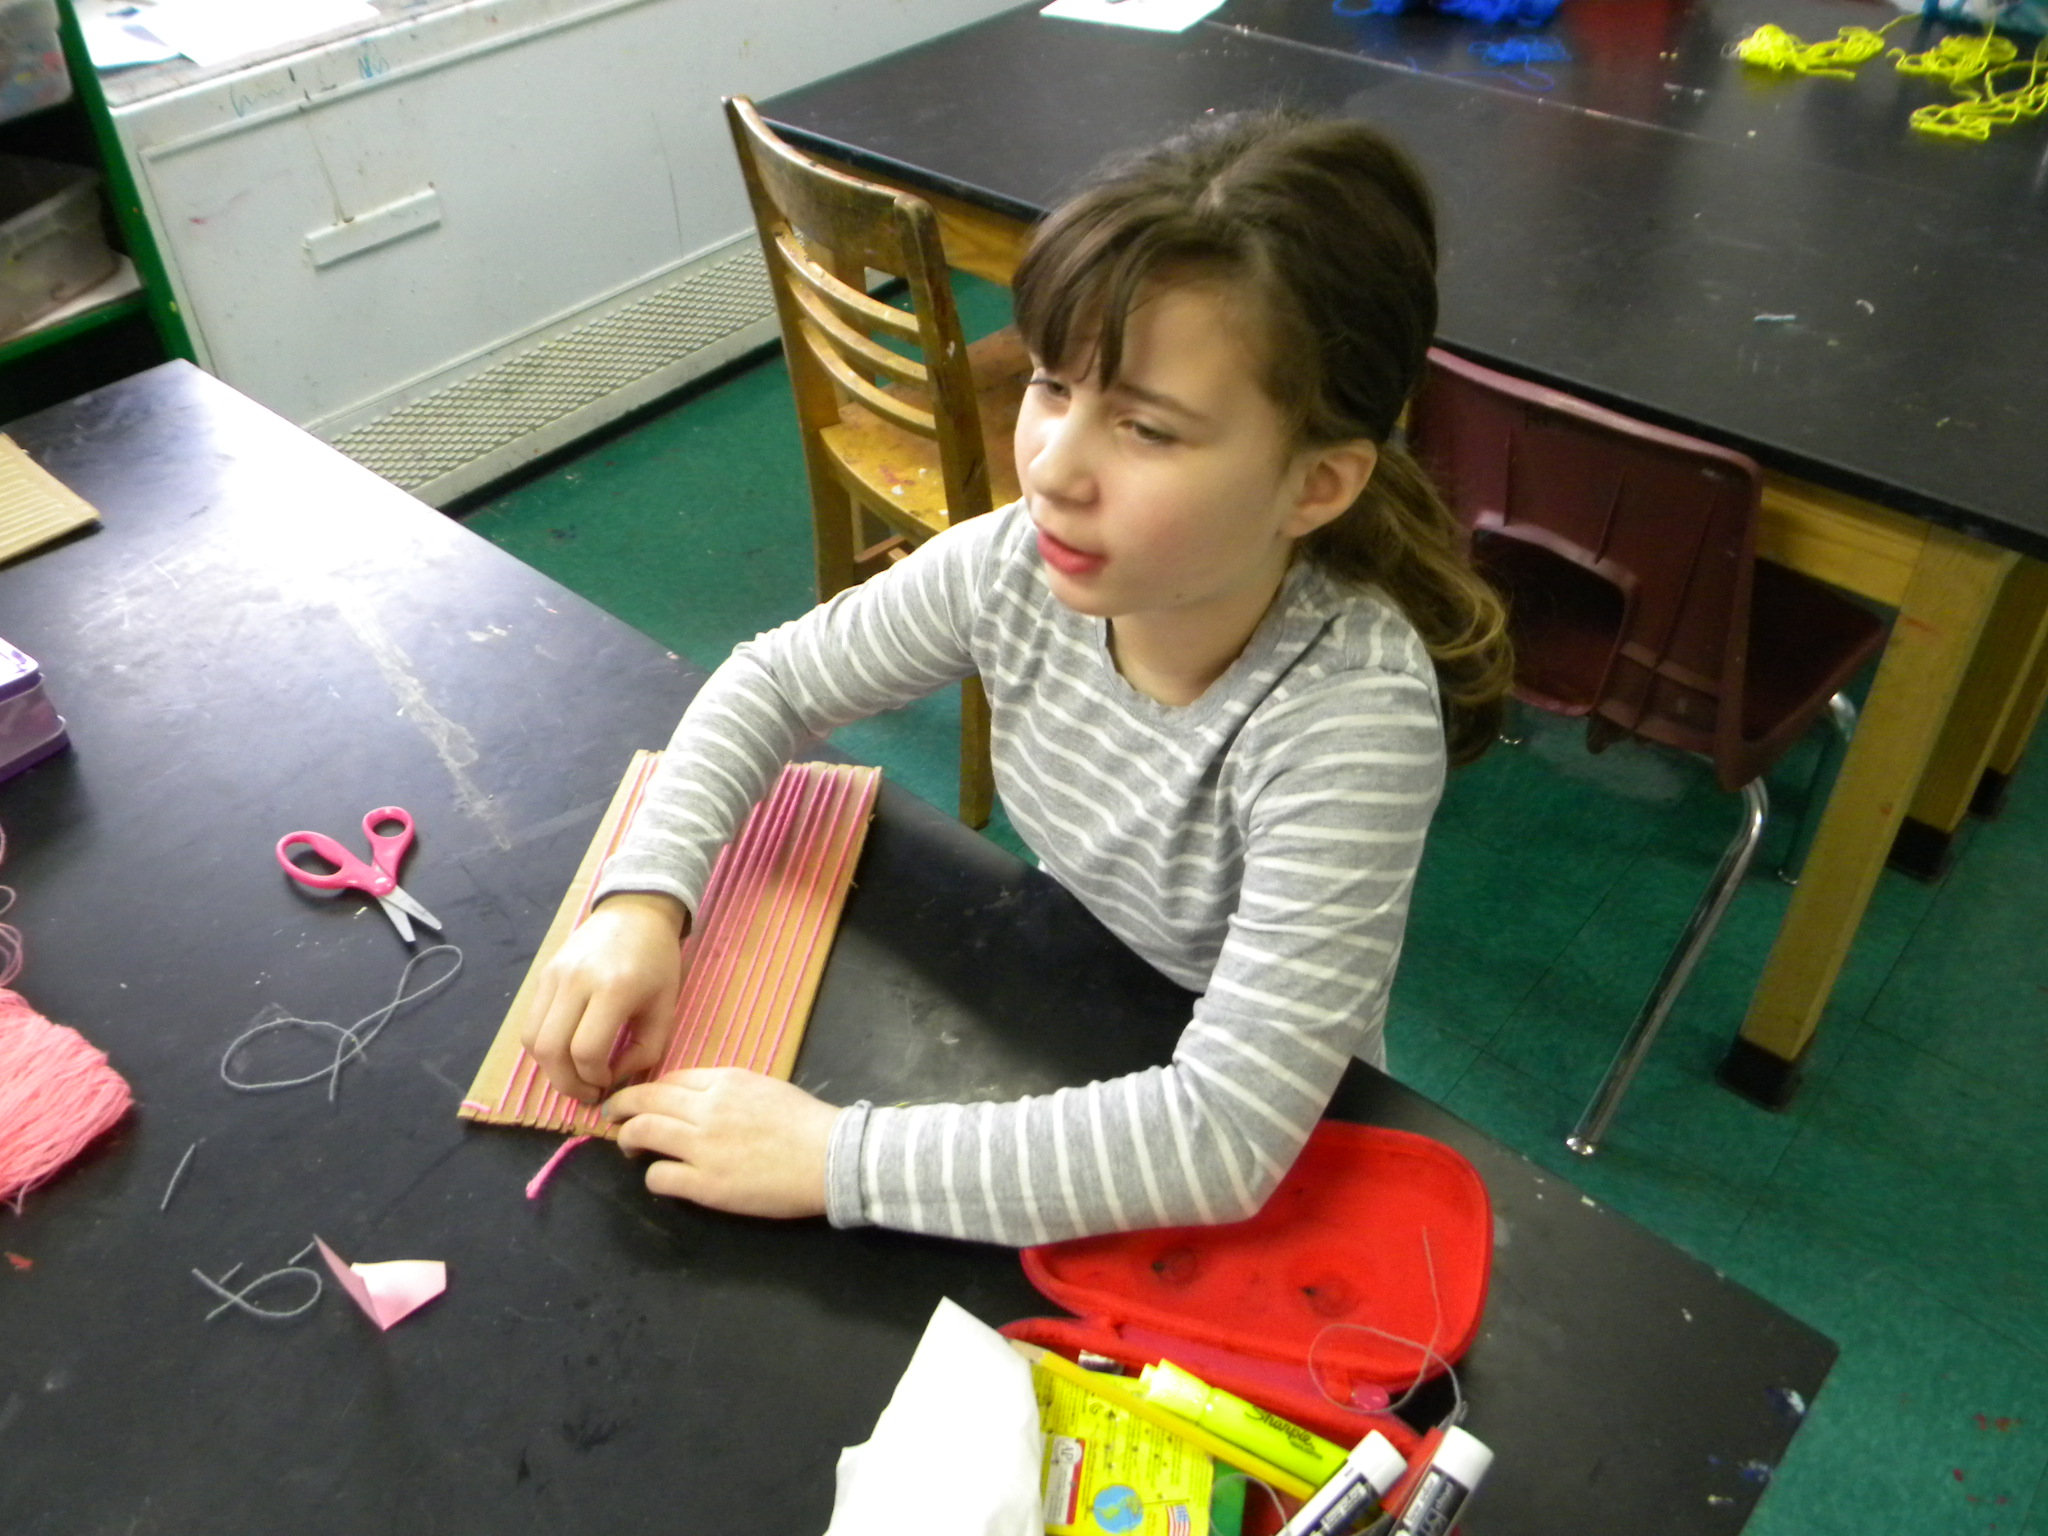
 String and yarn everywhere.
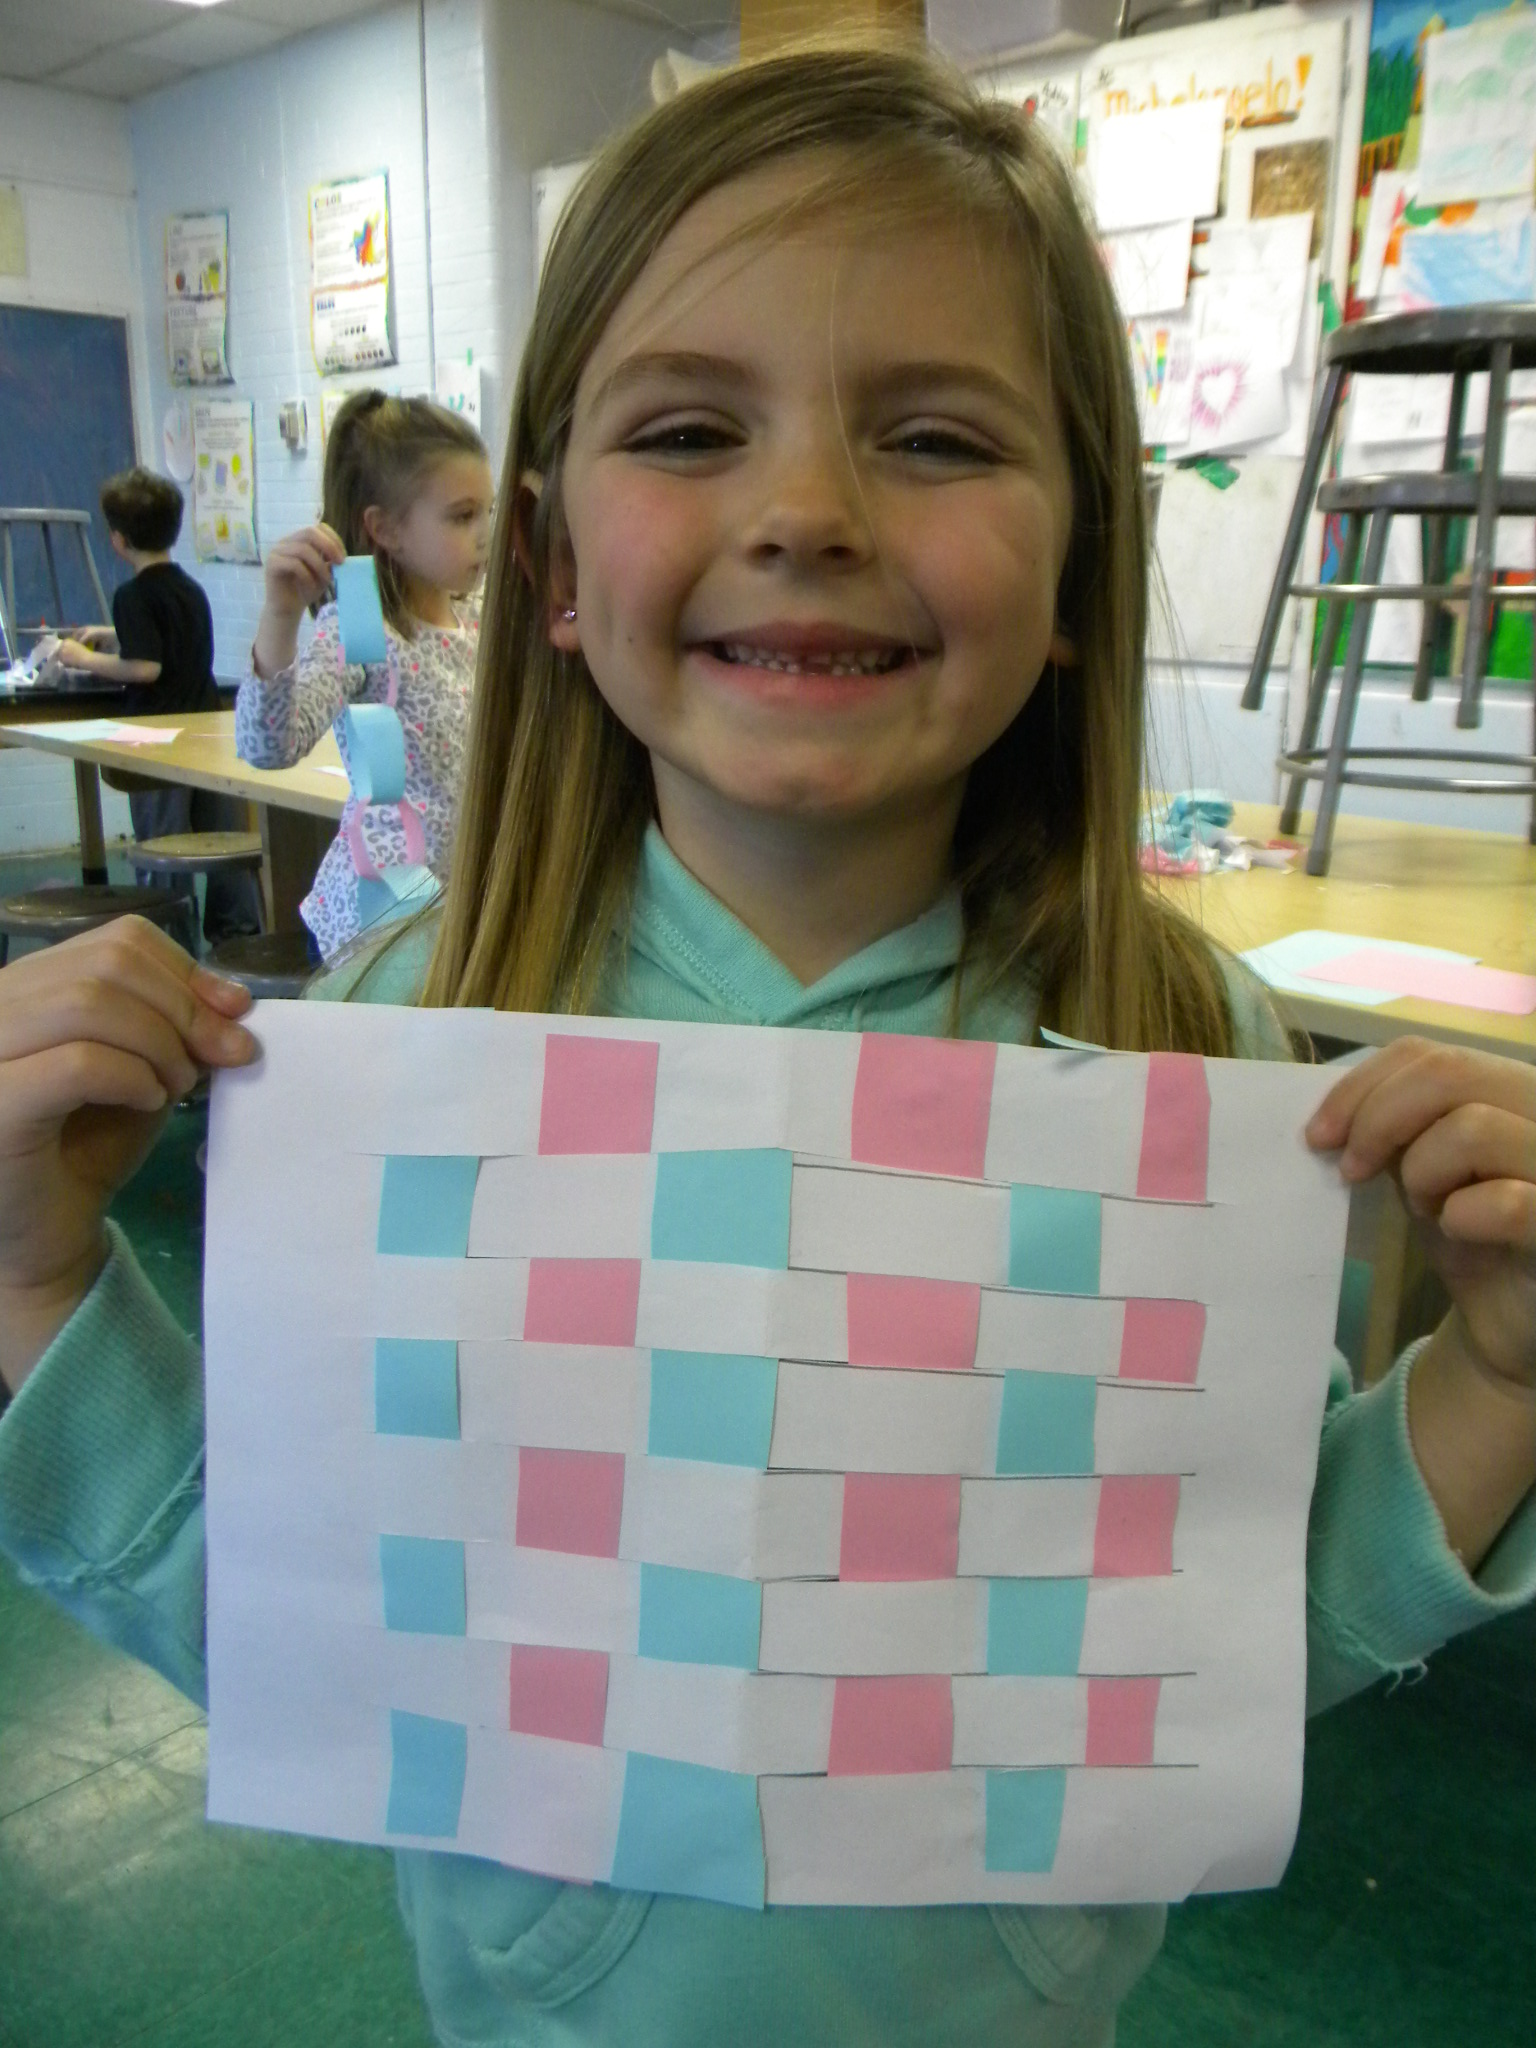 What a smile!
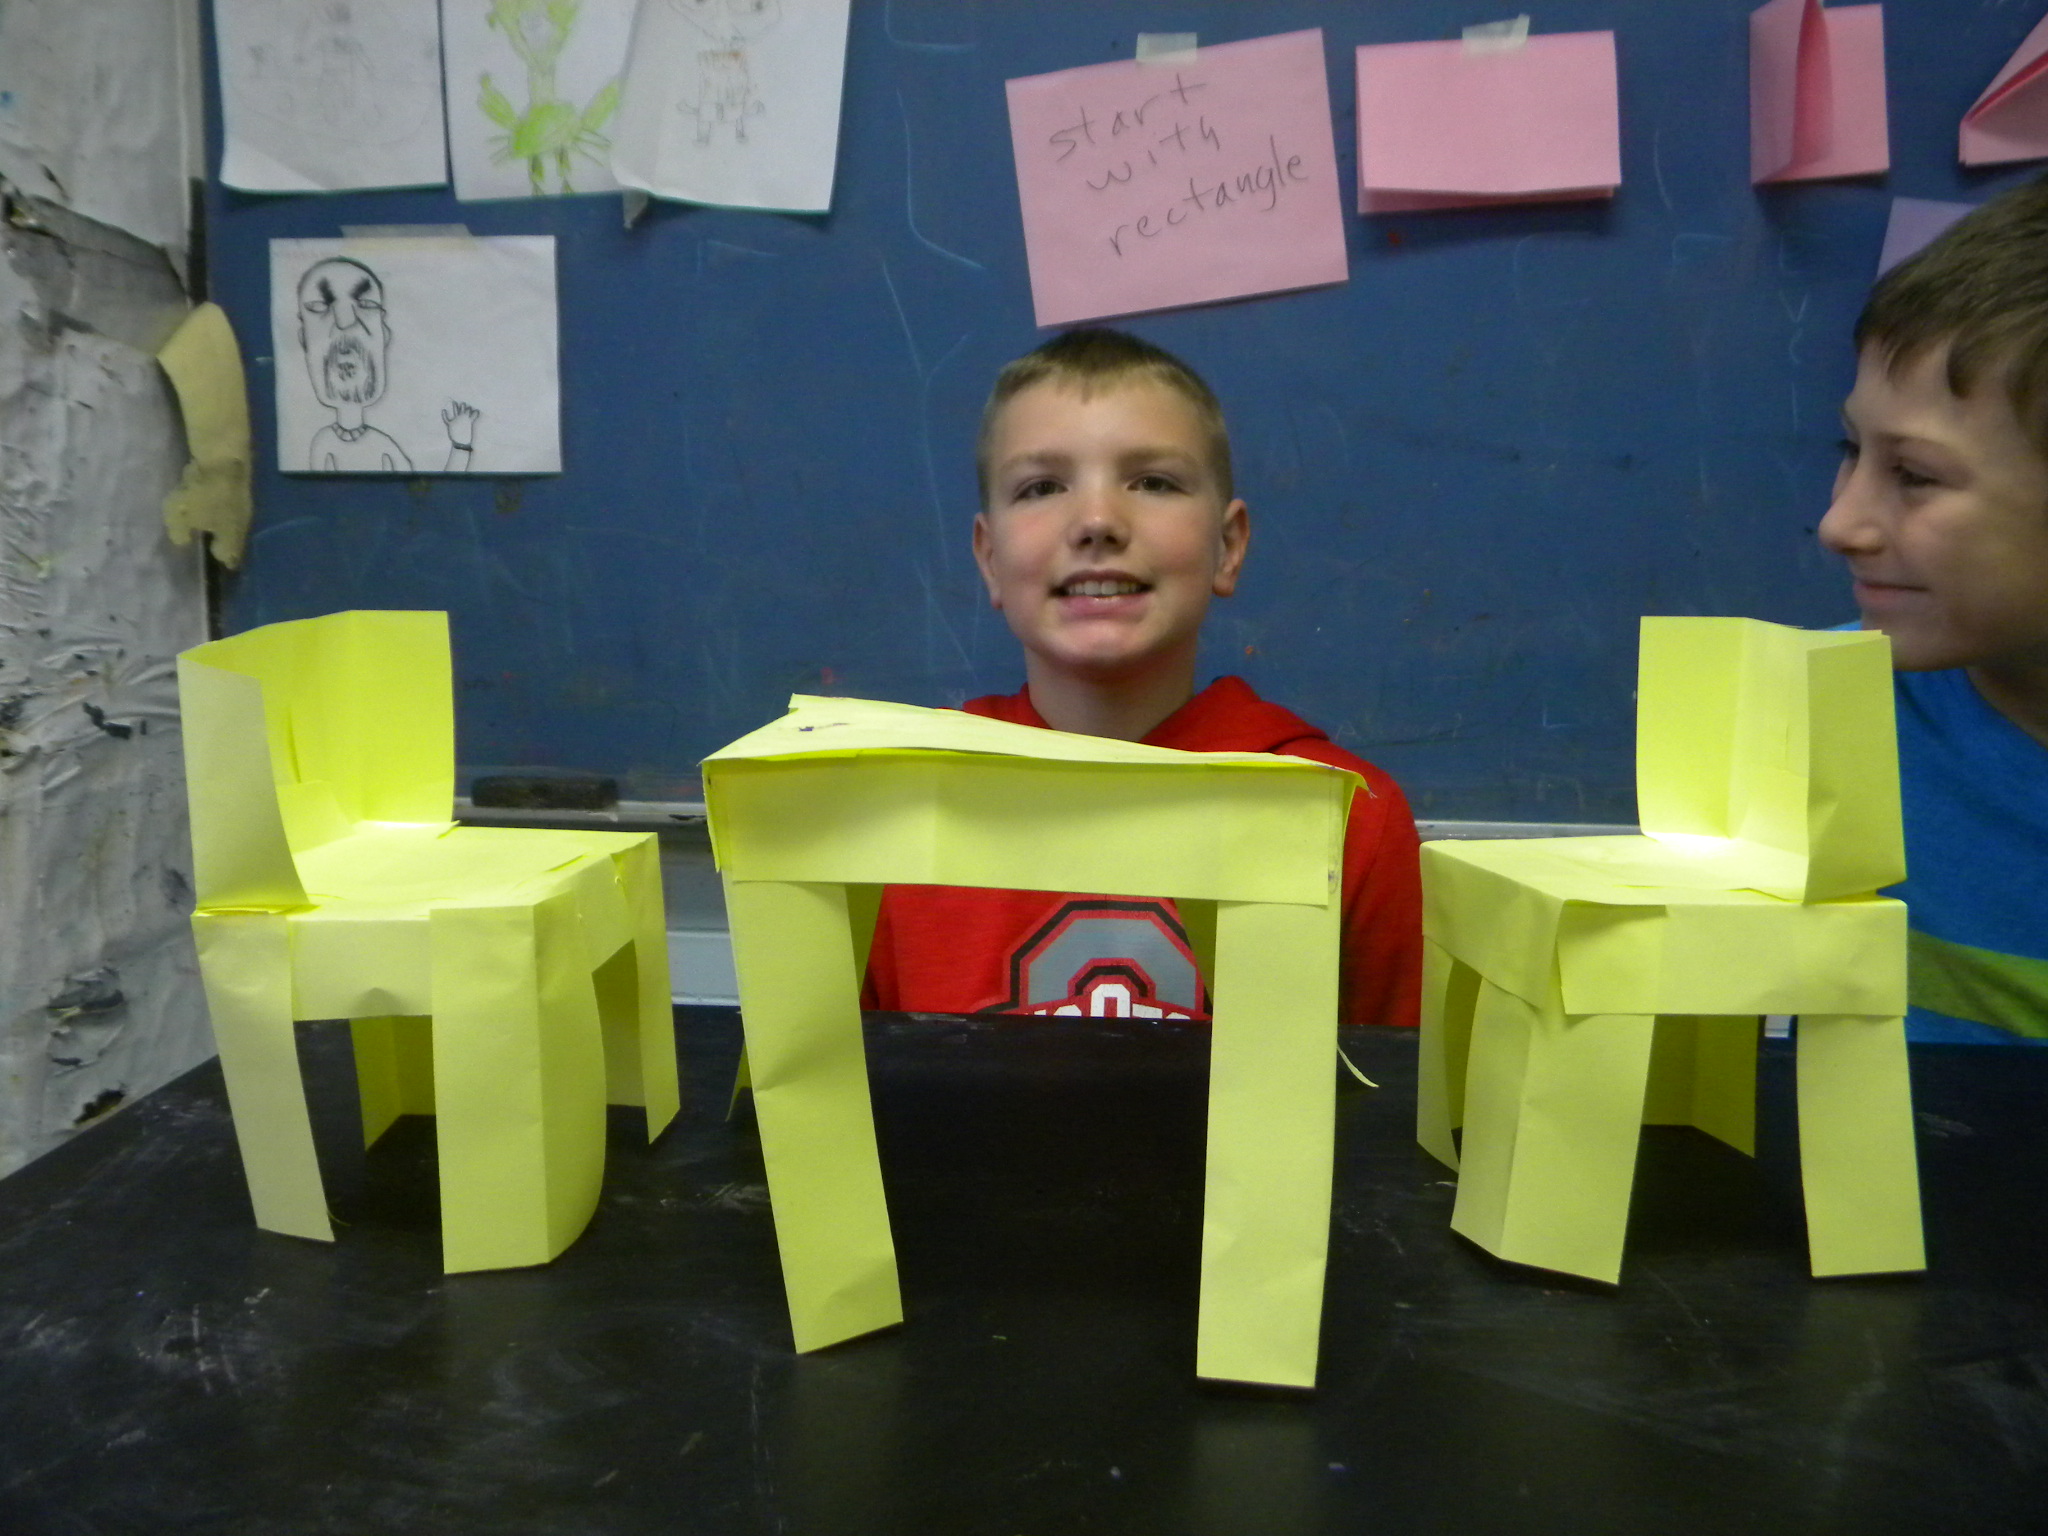 Above is a table and chairs Brayden made.
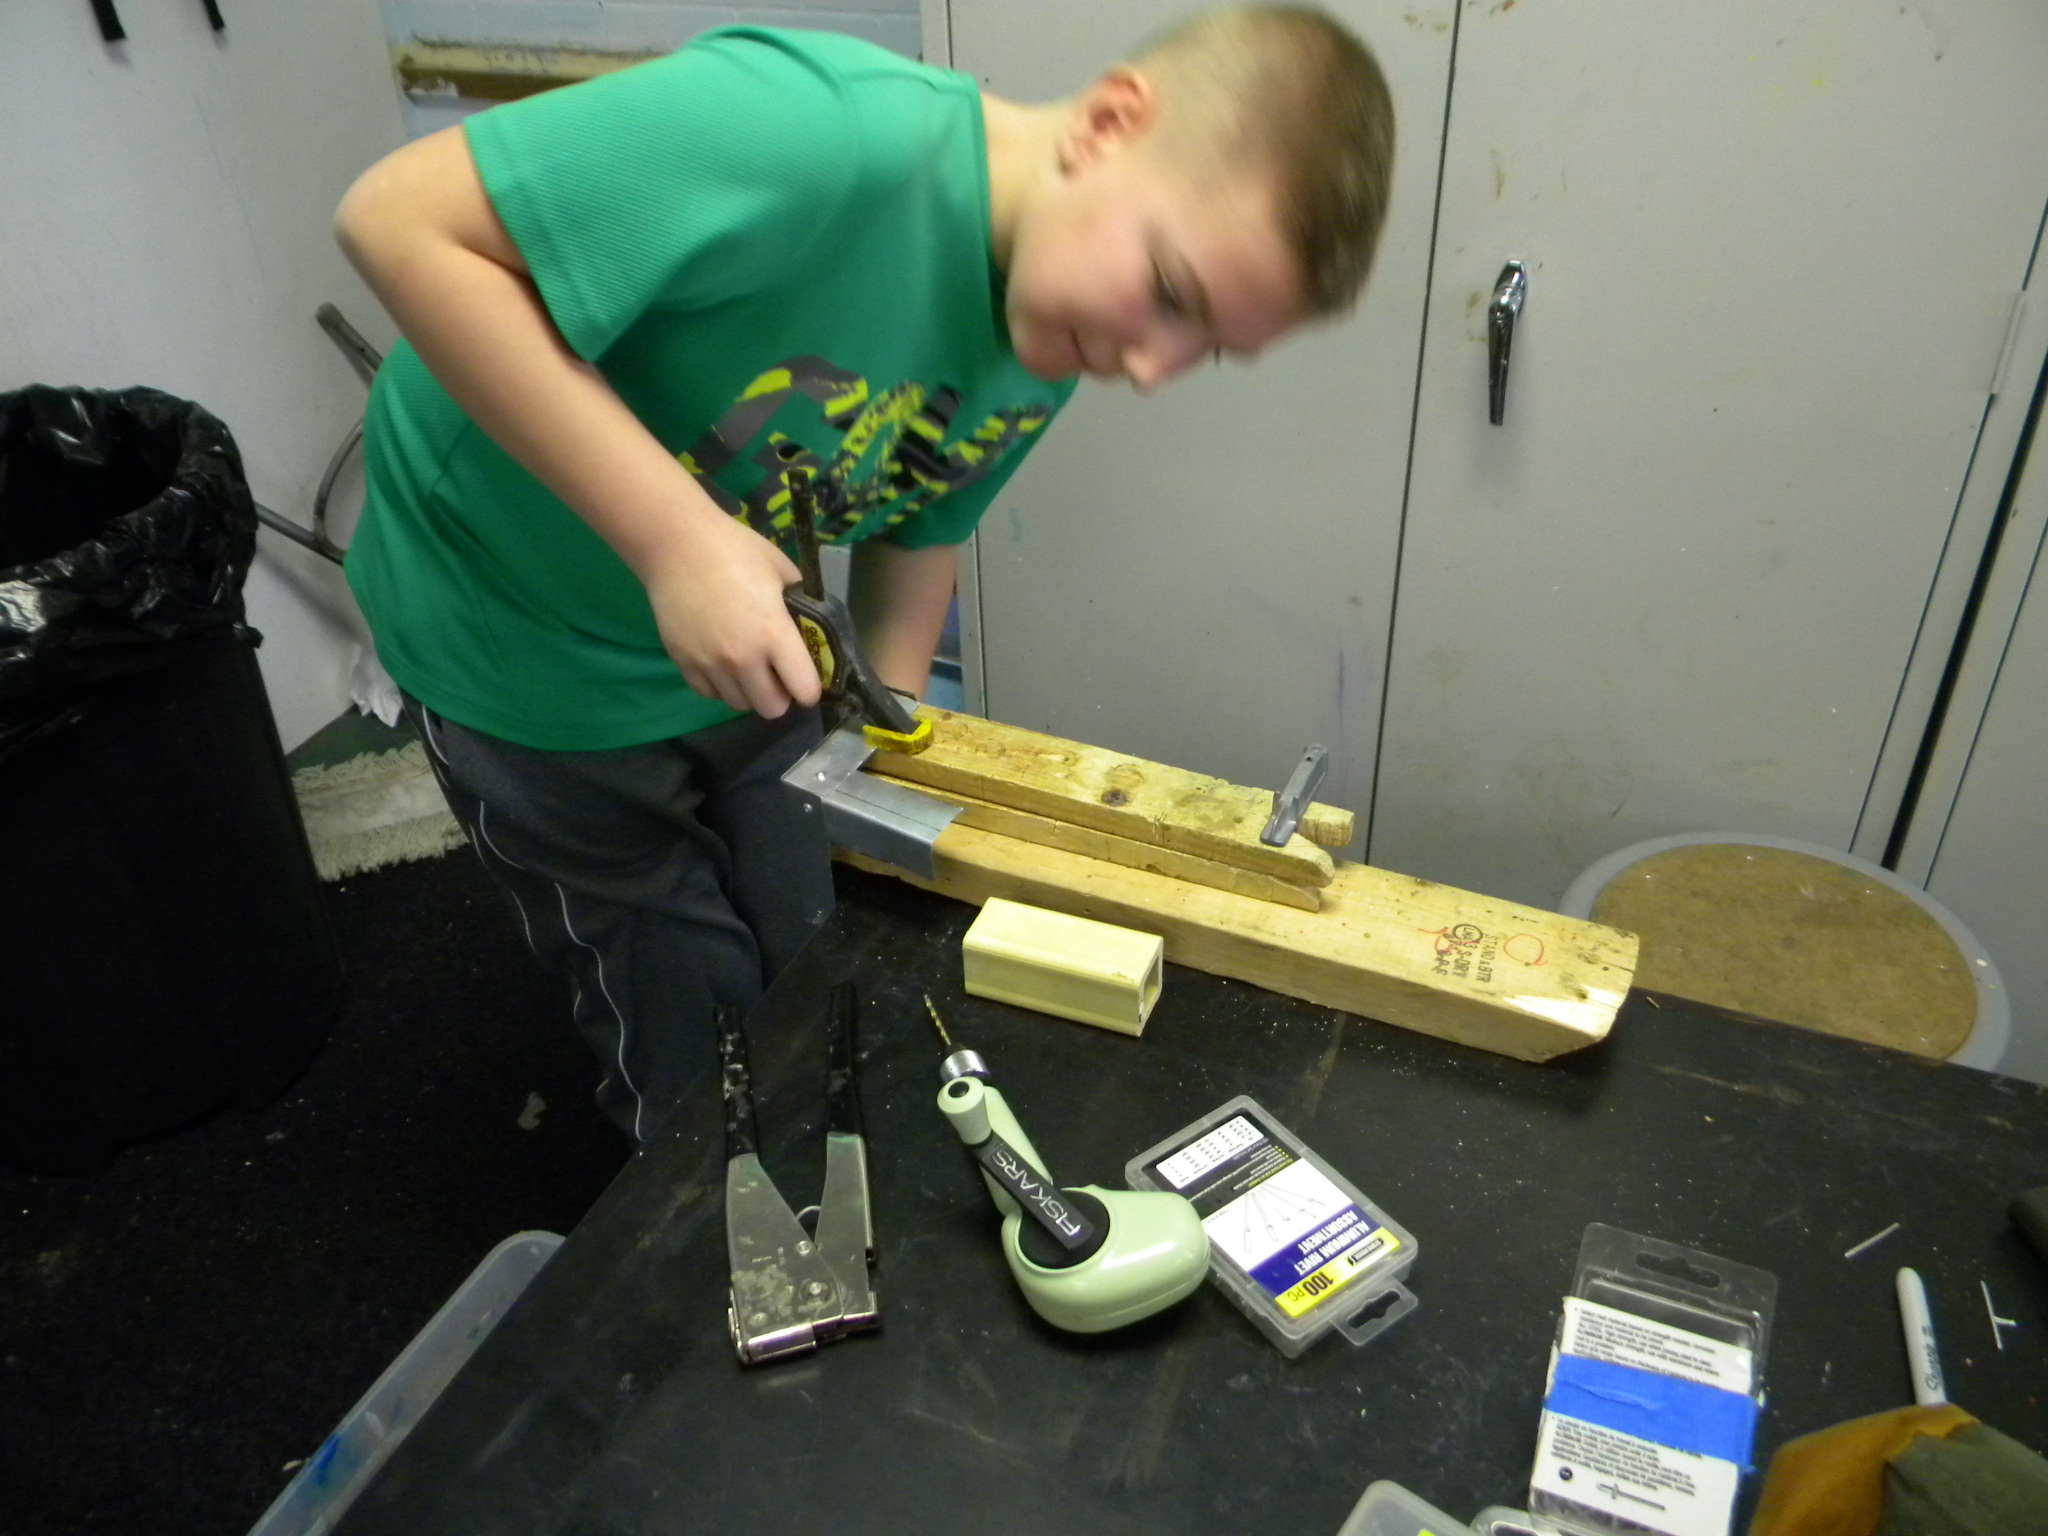 I had some aluminum flashing, so I brought some pop rivets and the appropriate tools. About the only thing I showed him was how to cut and bent the metal, because the actual construction was very much like the paper construction. I thought he’d cut himself a a few times, due to bending and cutting sheet metal, but he never did!
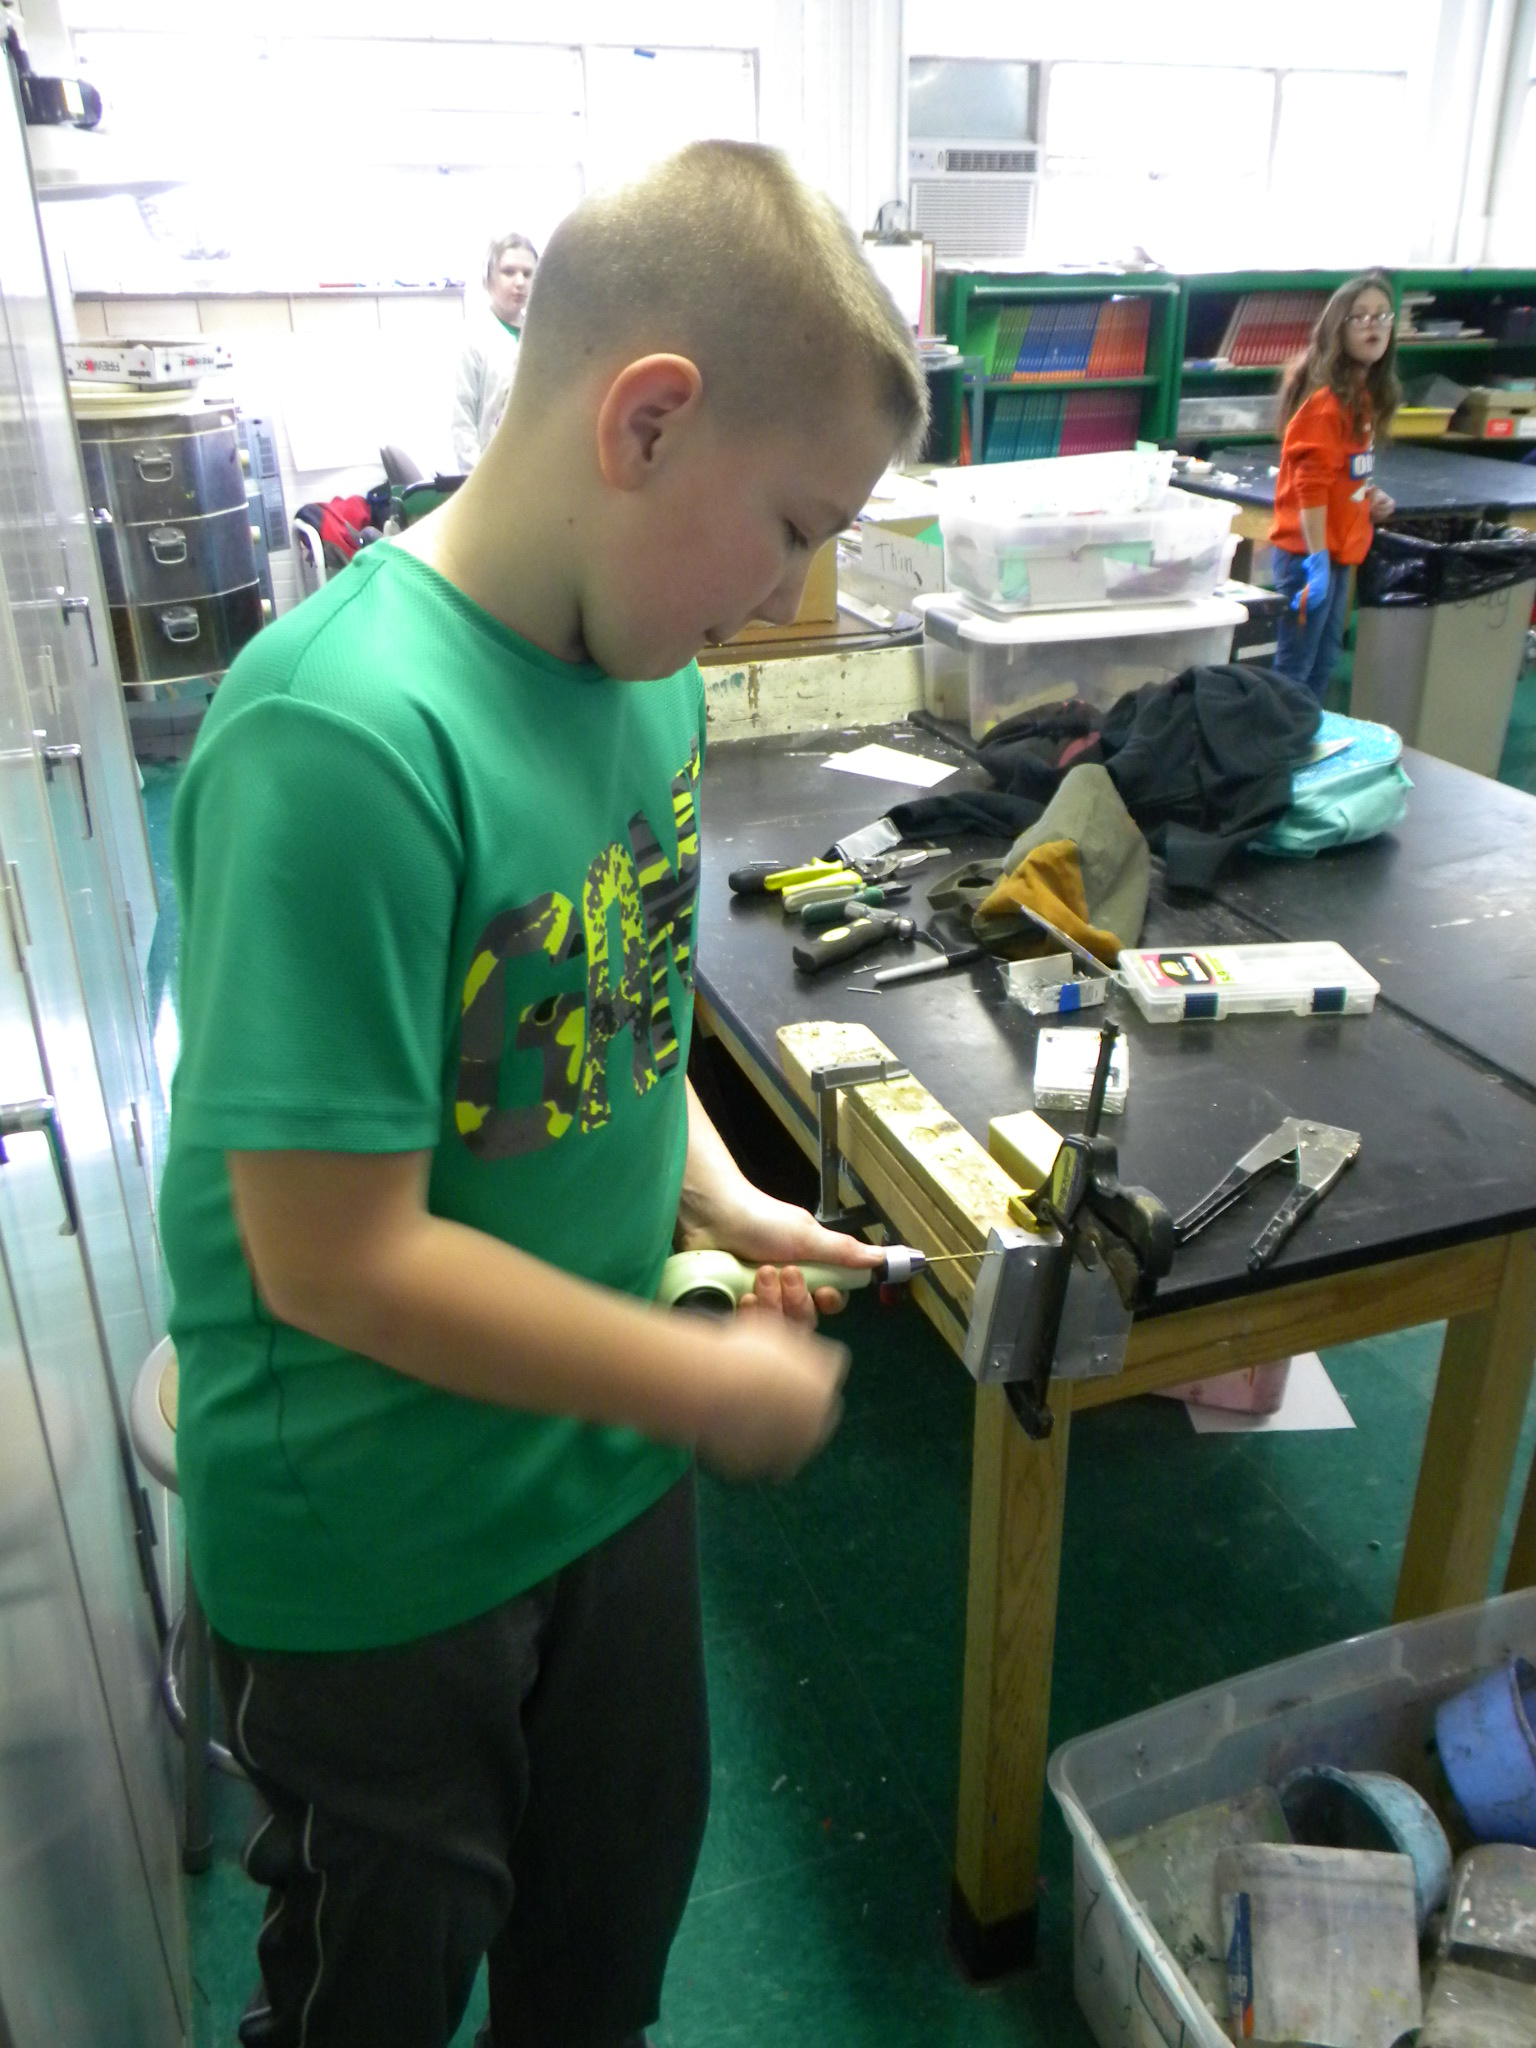 Here you can see Brayden using the hand drill to make a hole to insert the pop rivet.
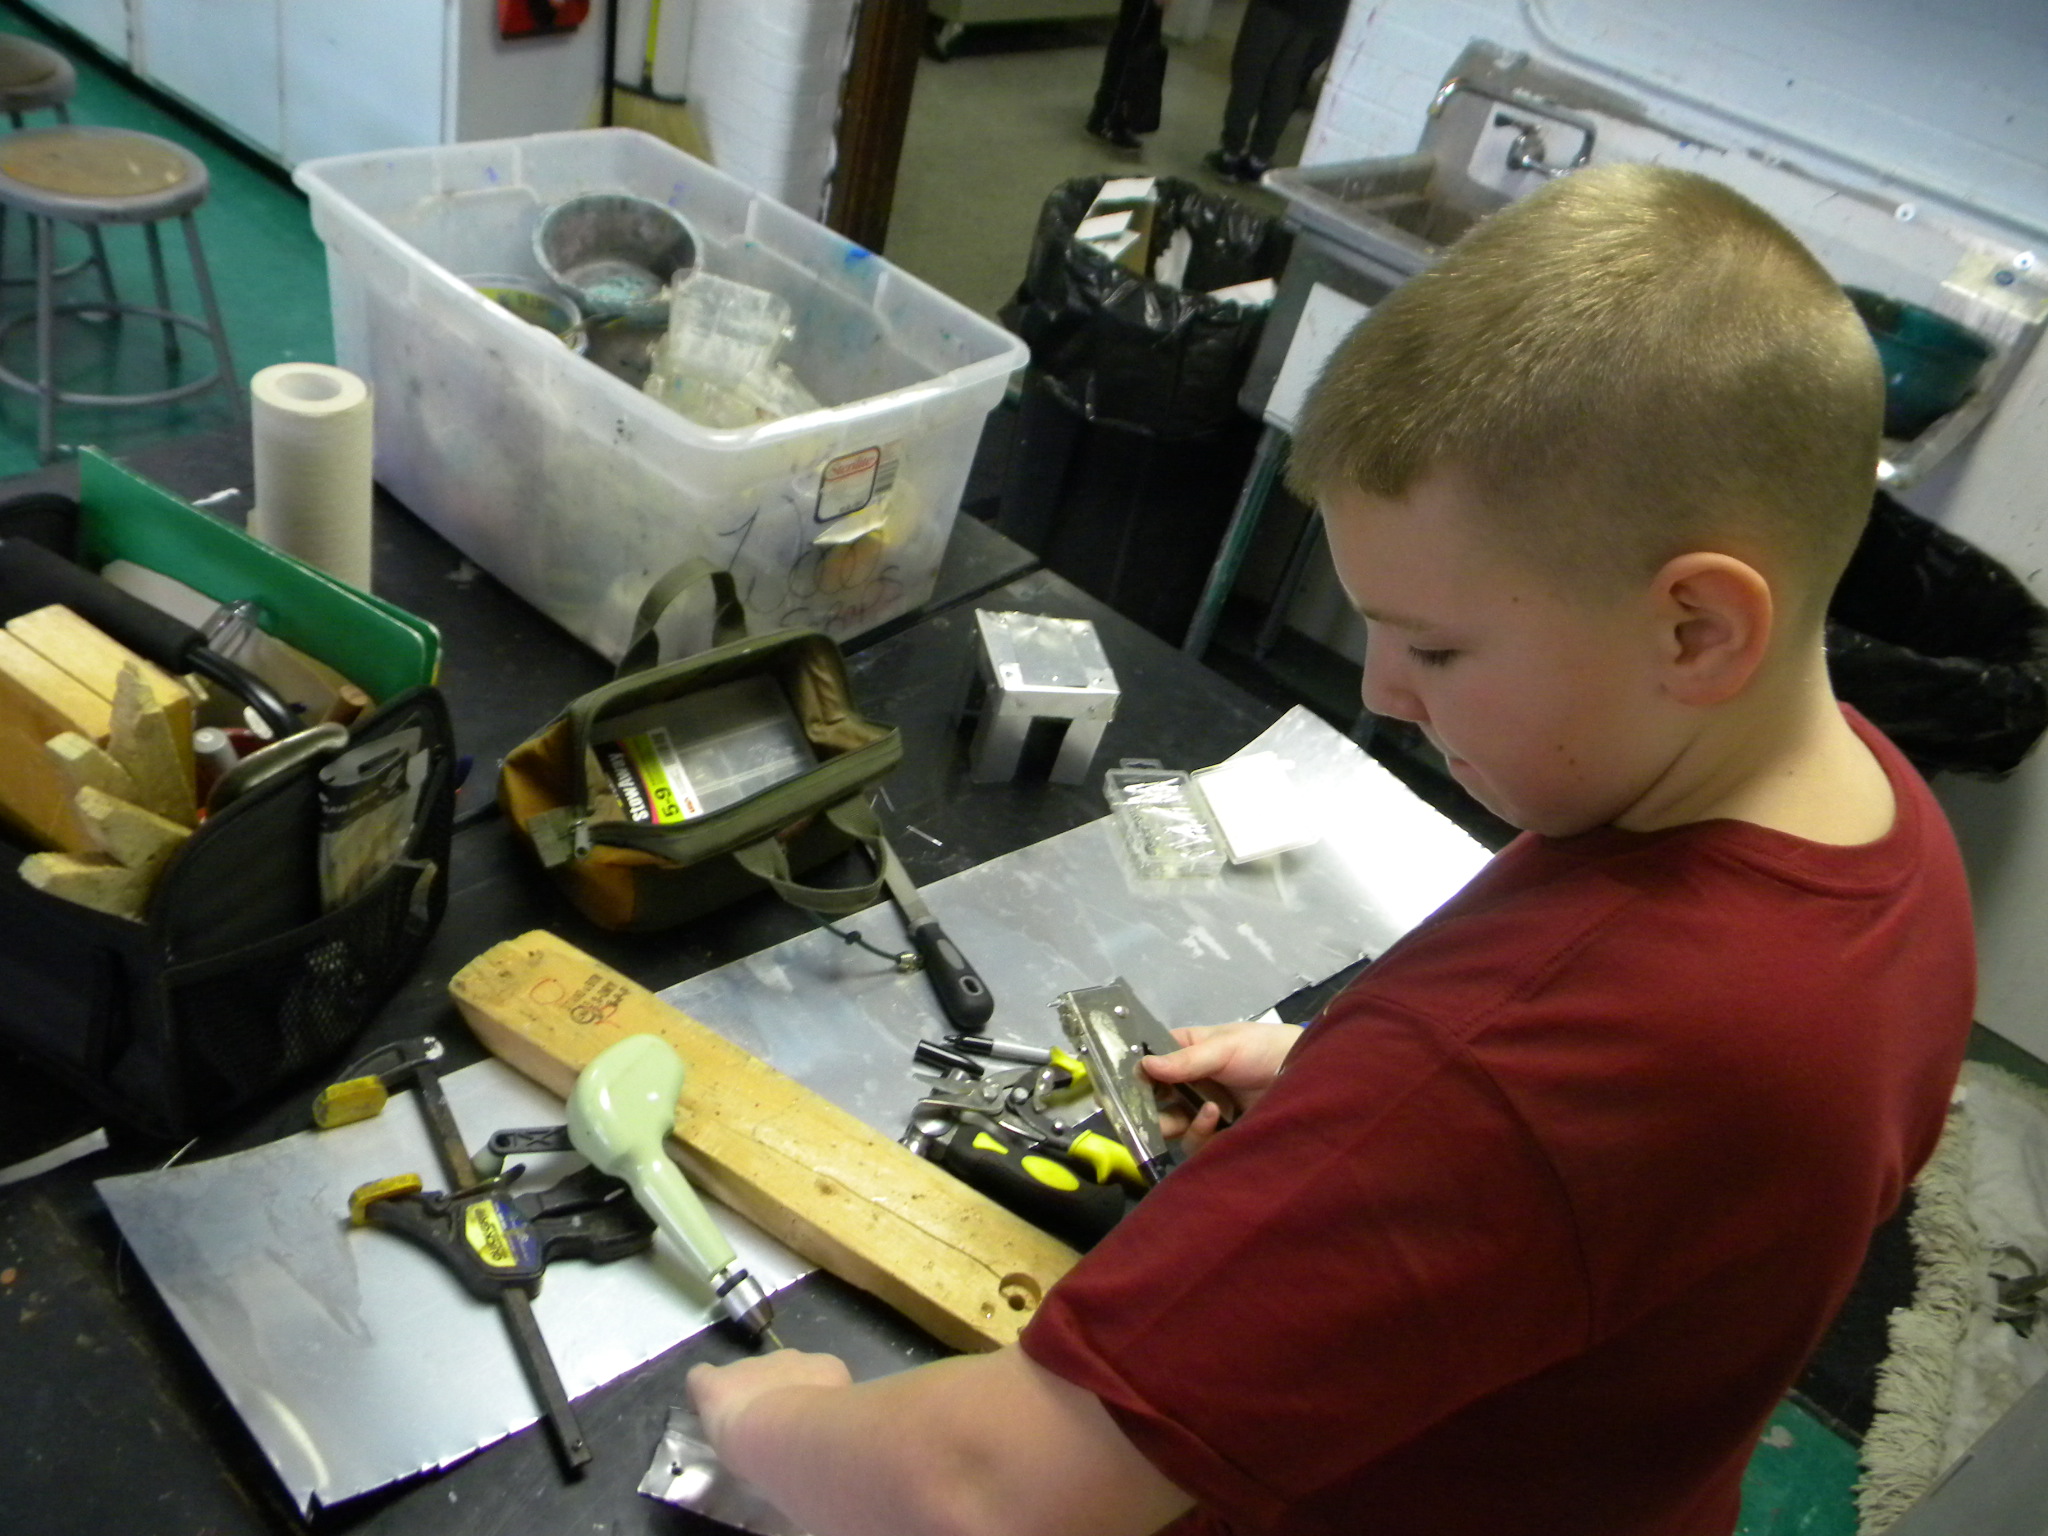 A good shot of the various tools required to make the project.
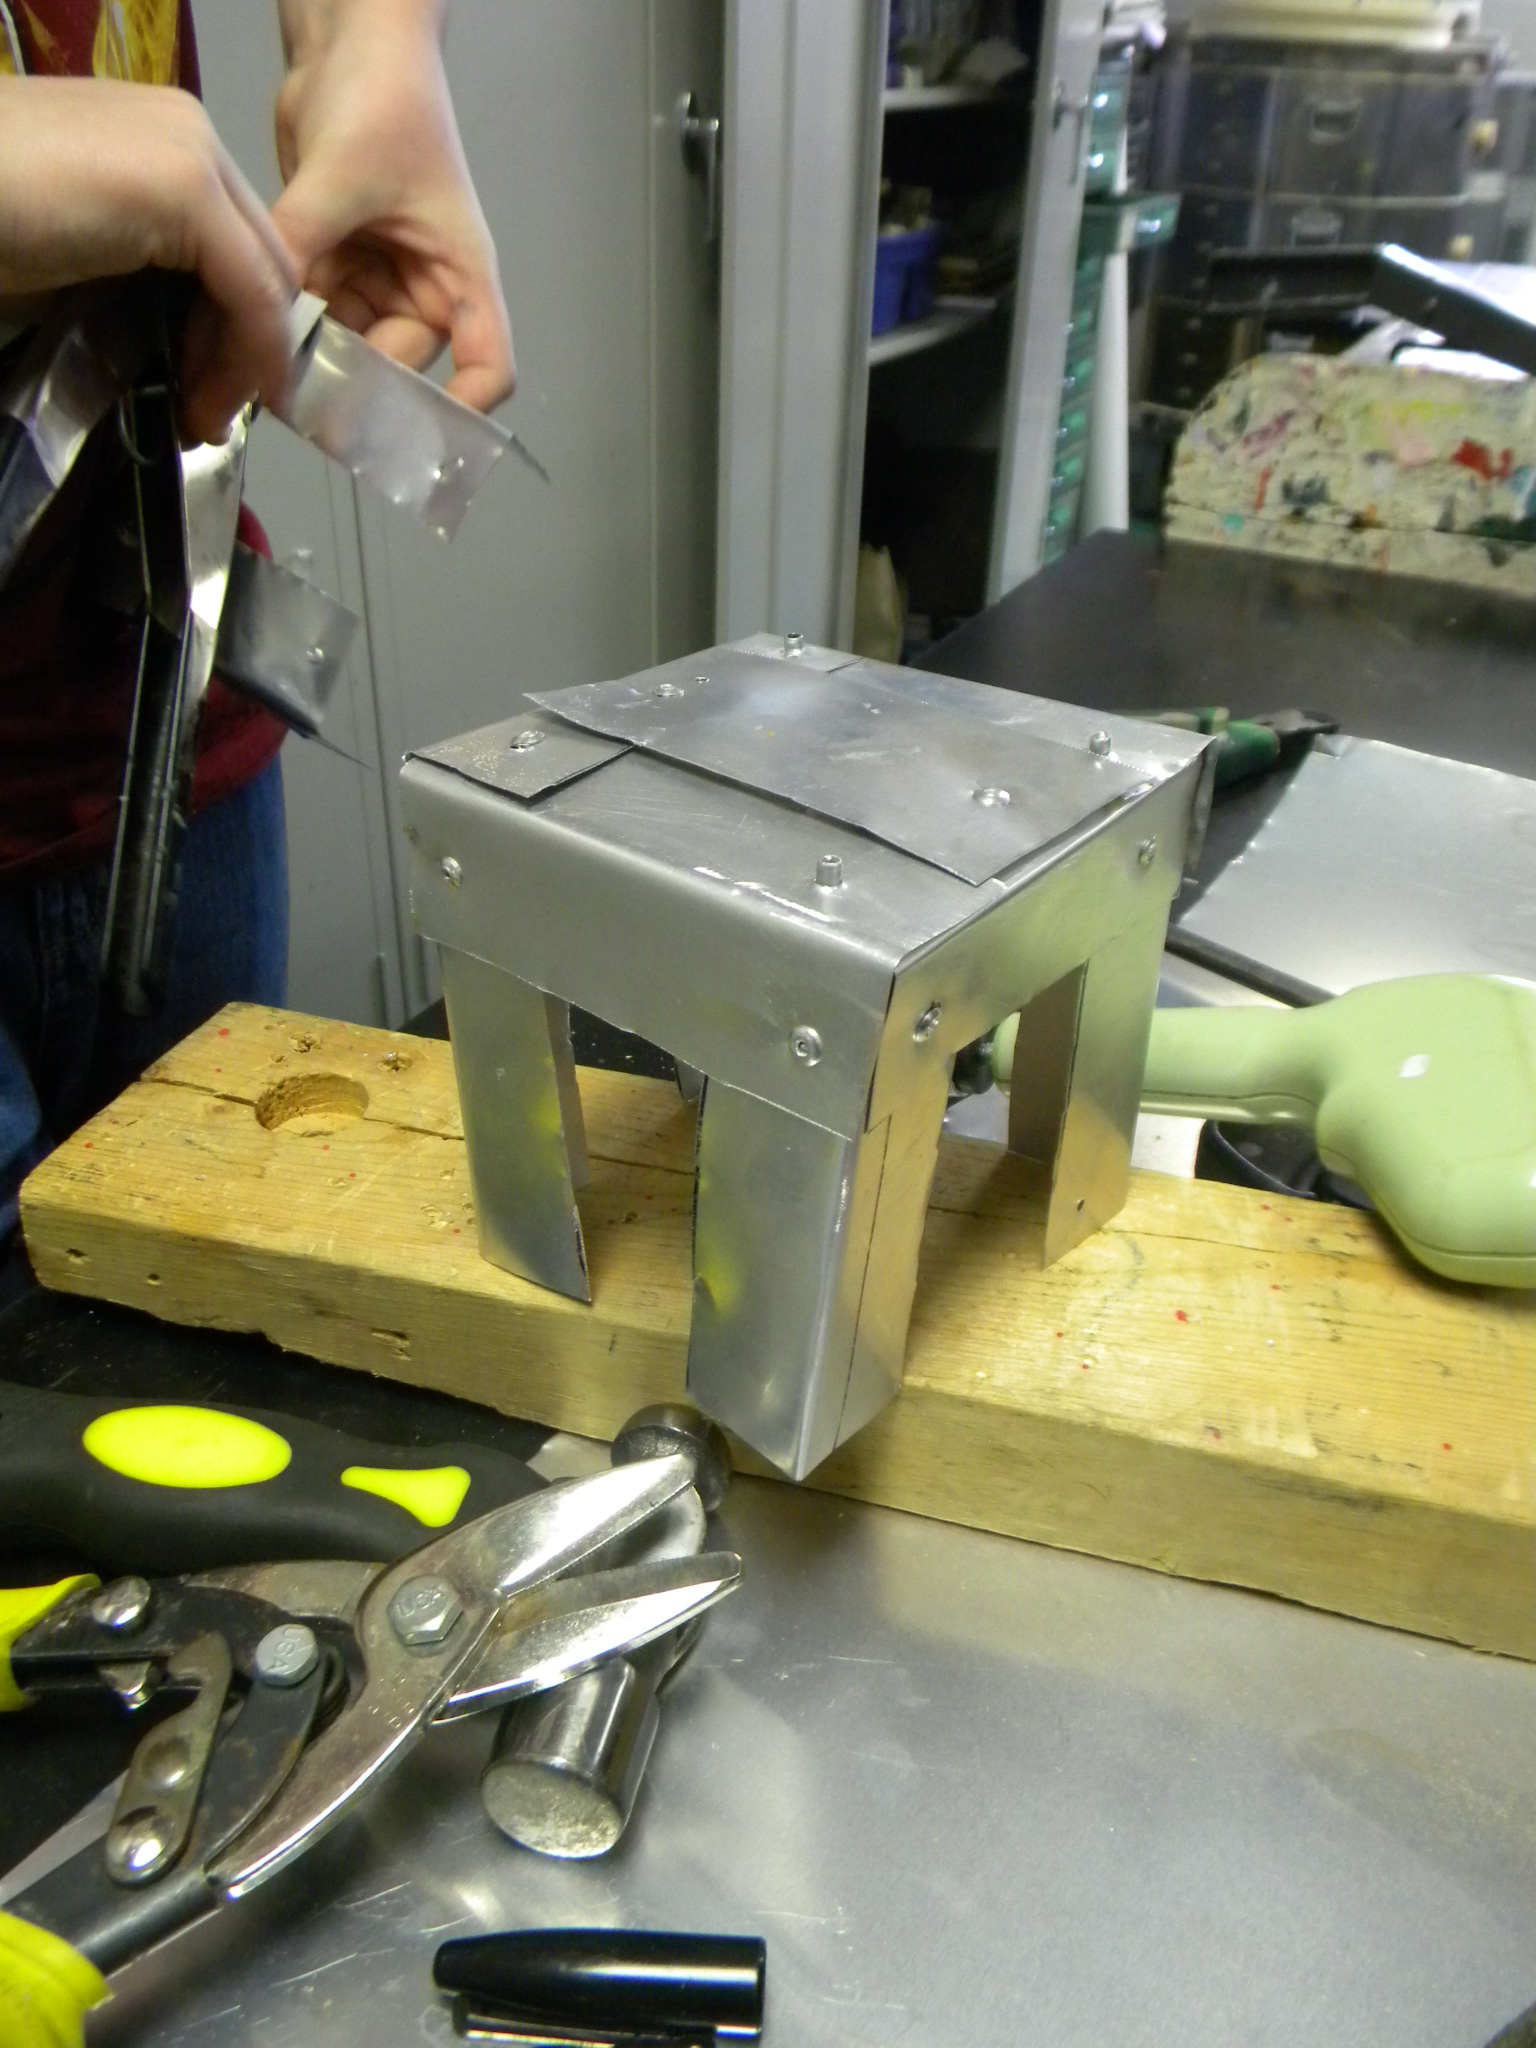 Looks like the table or chair under construction.
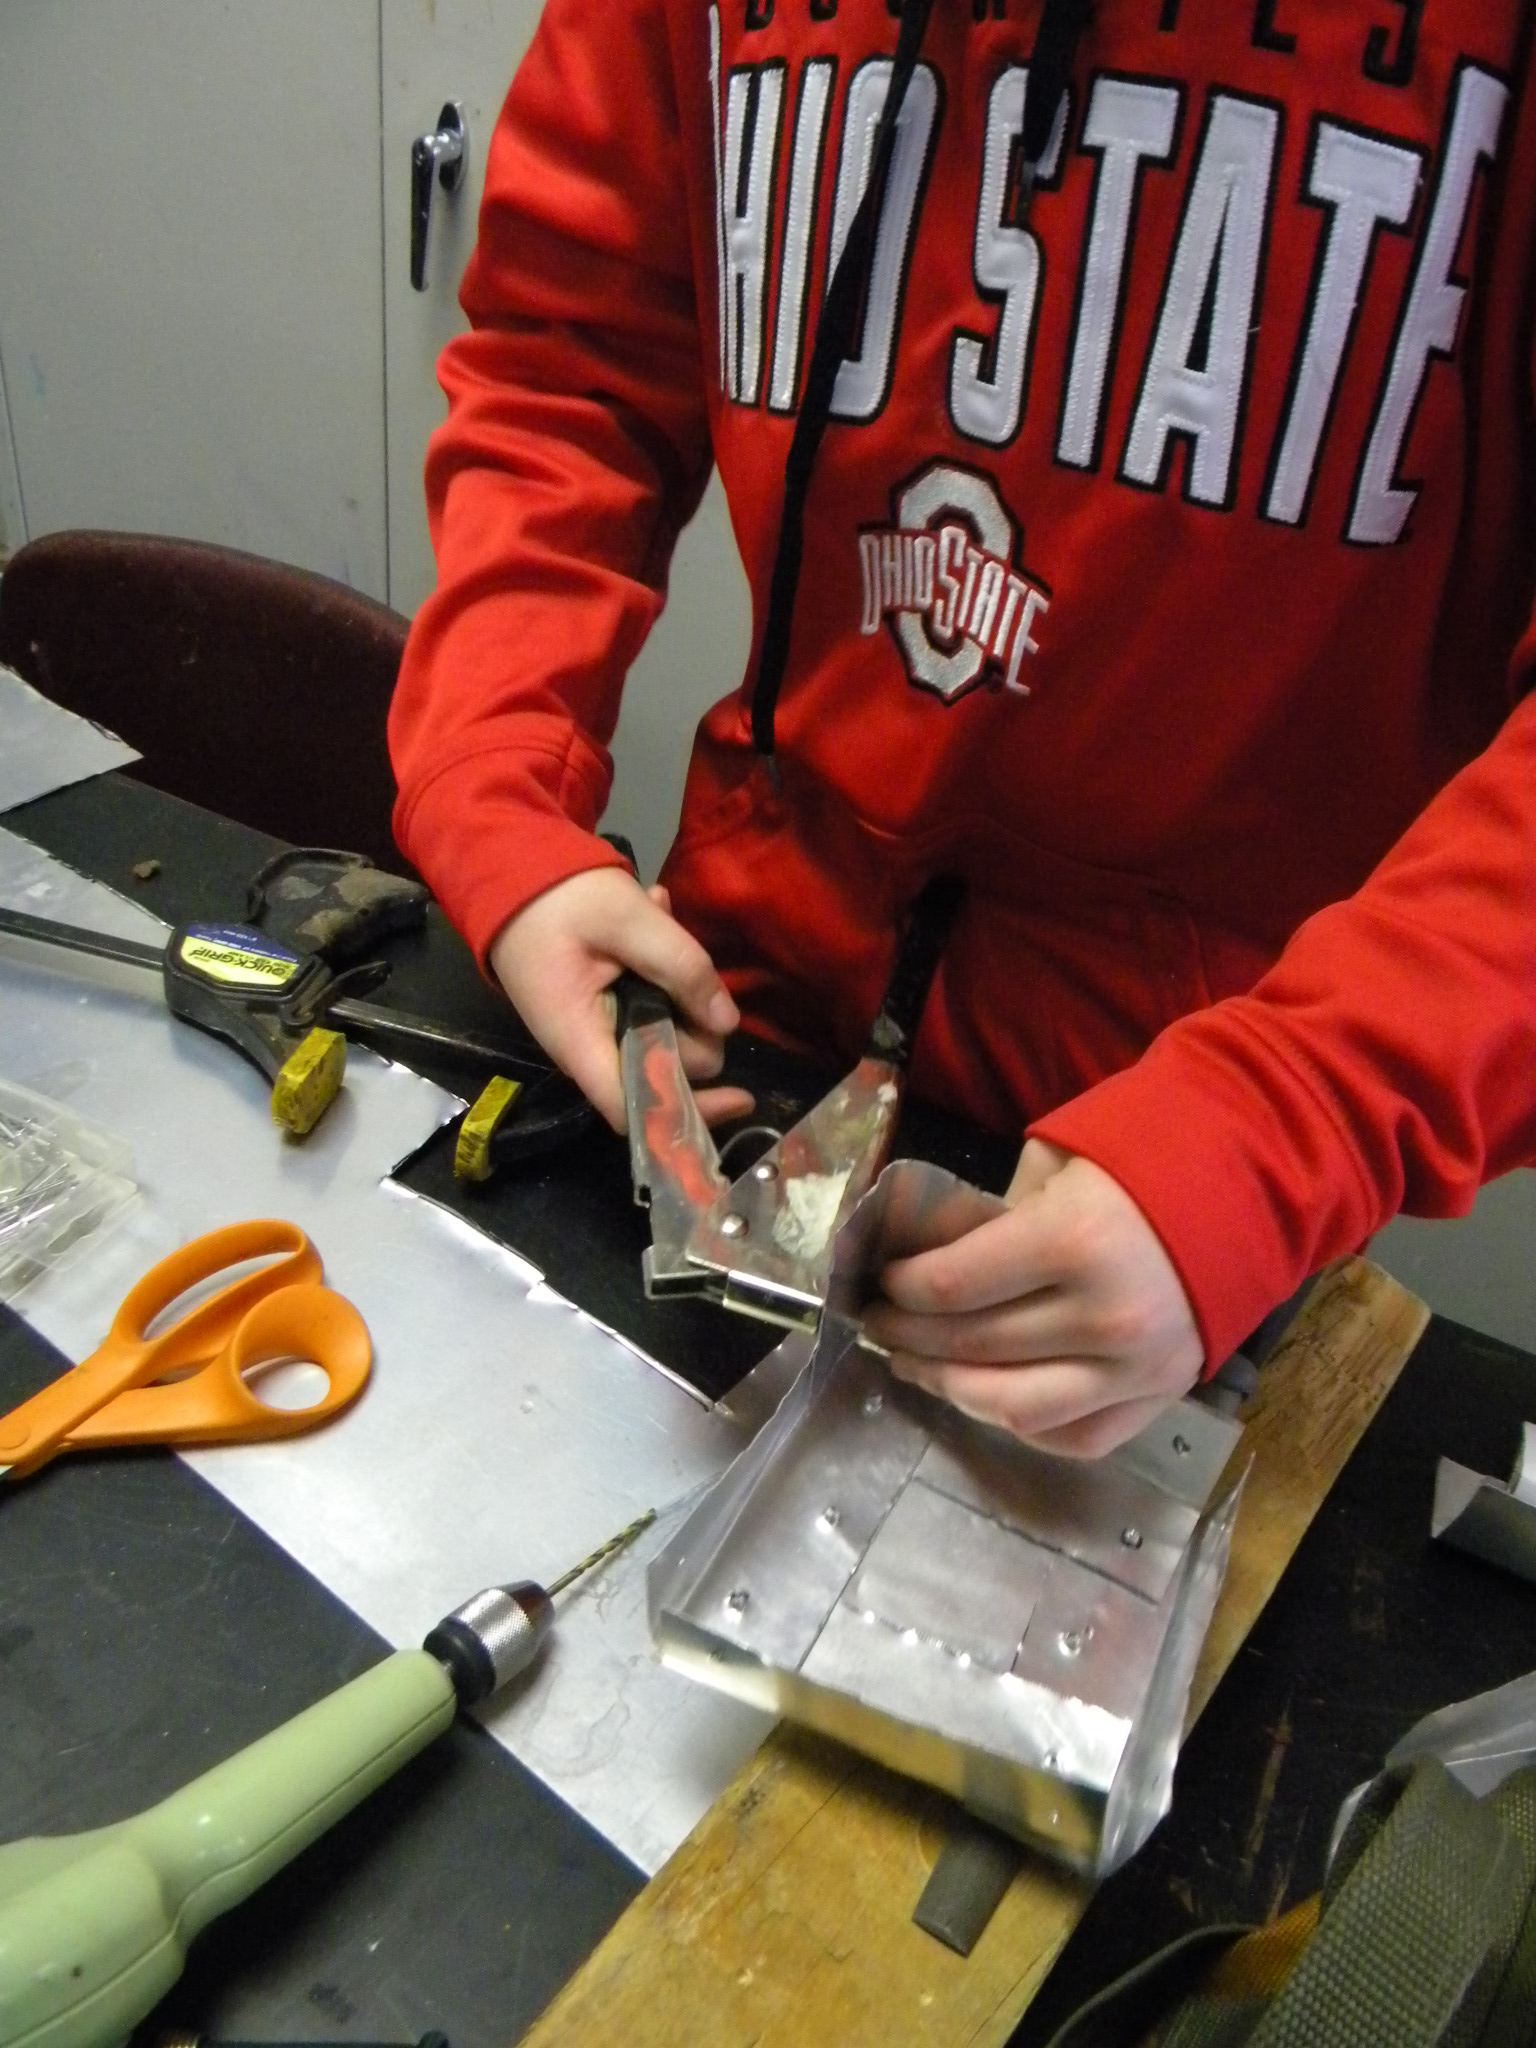 A shot of how to use the pop rivet to secure the part together.
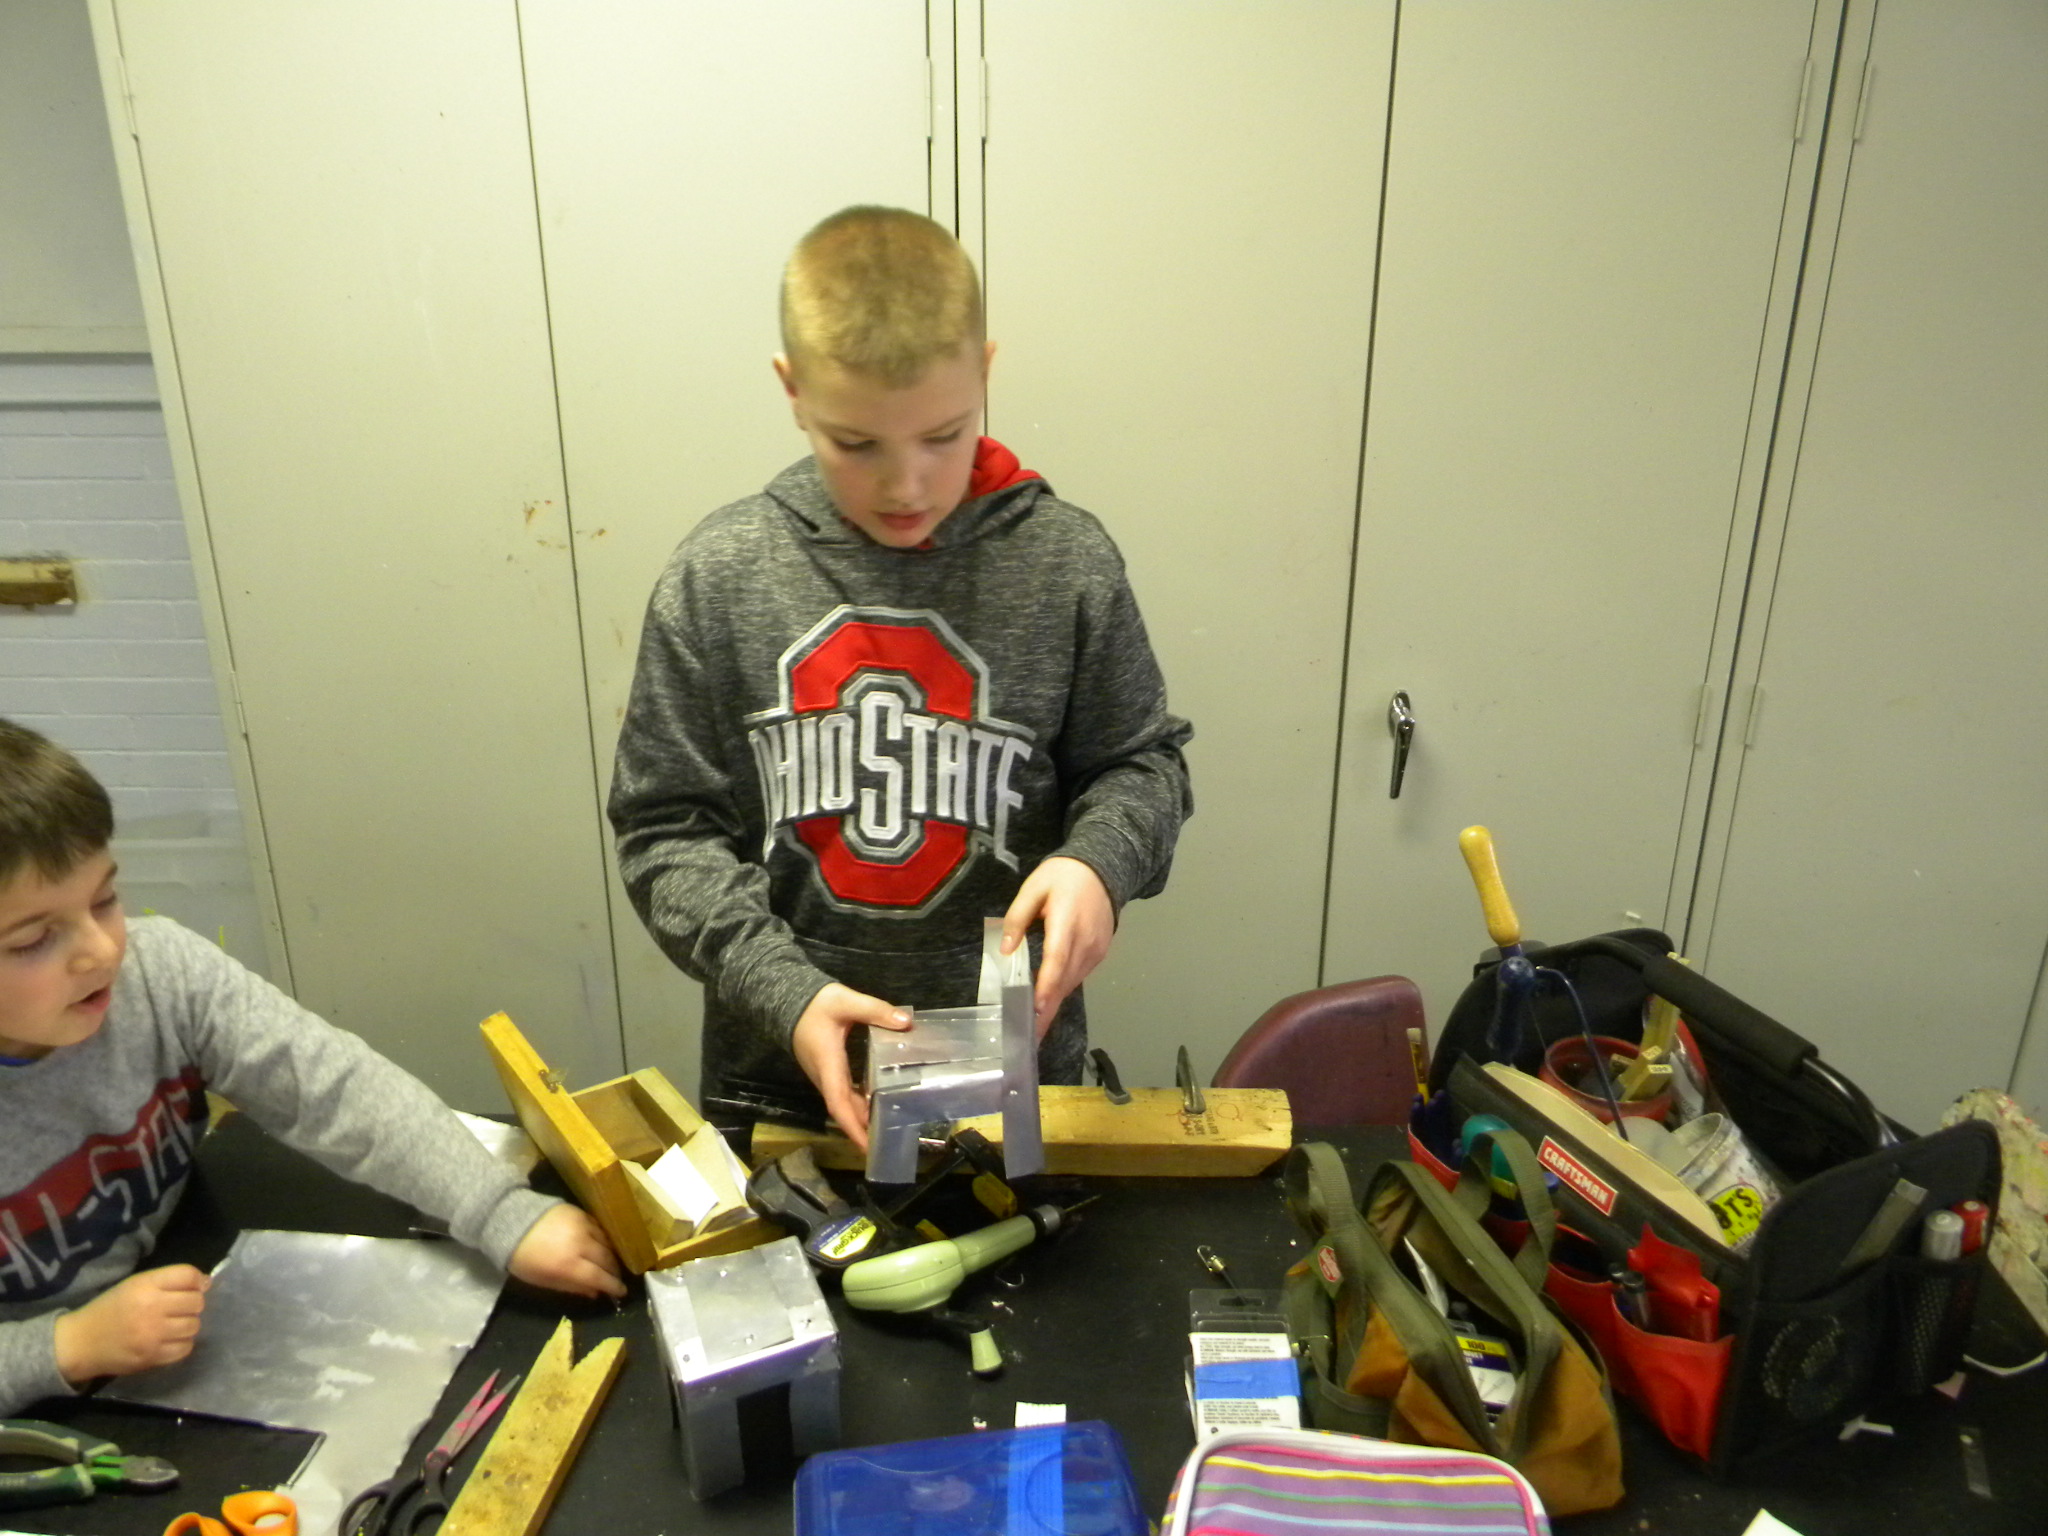 A chair, almost done.
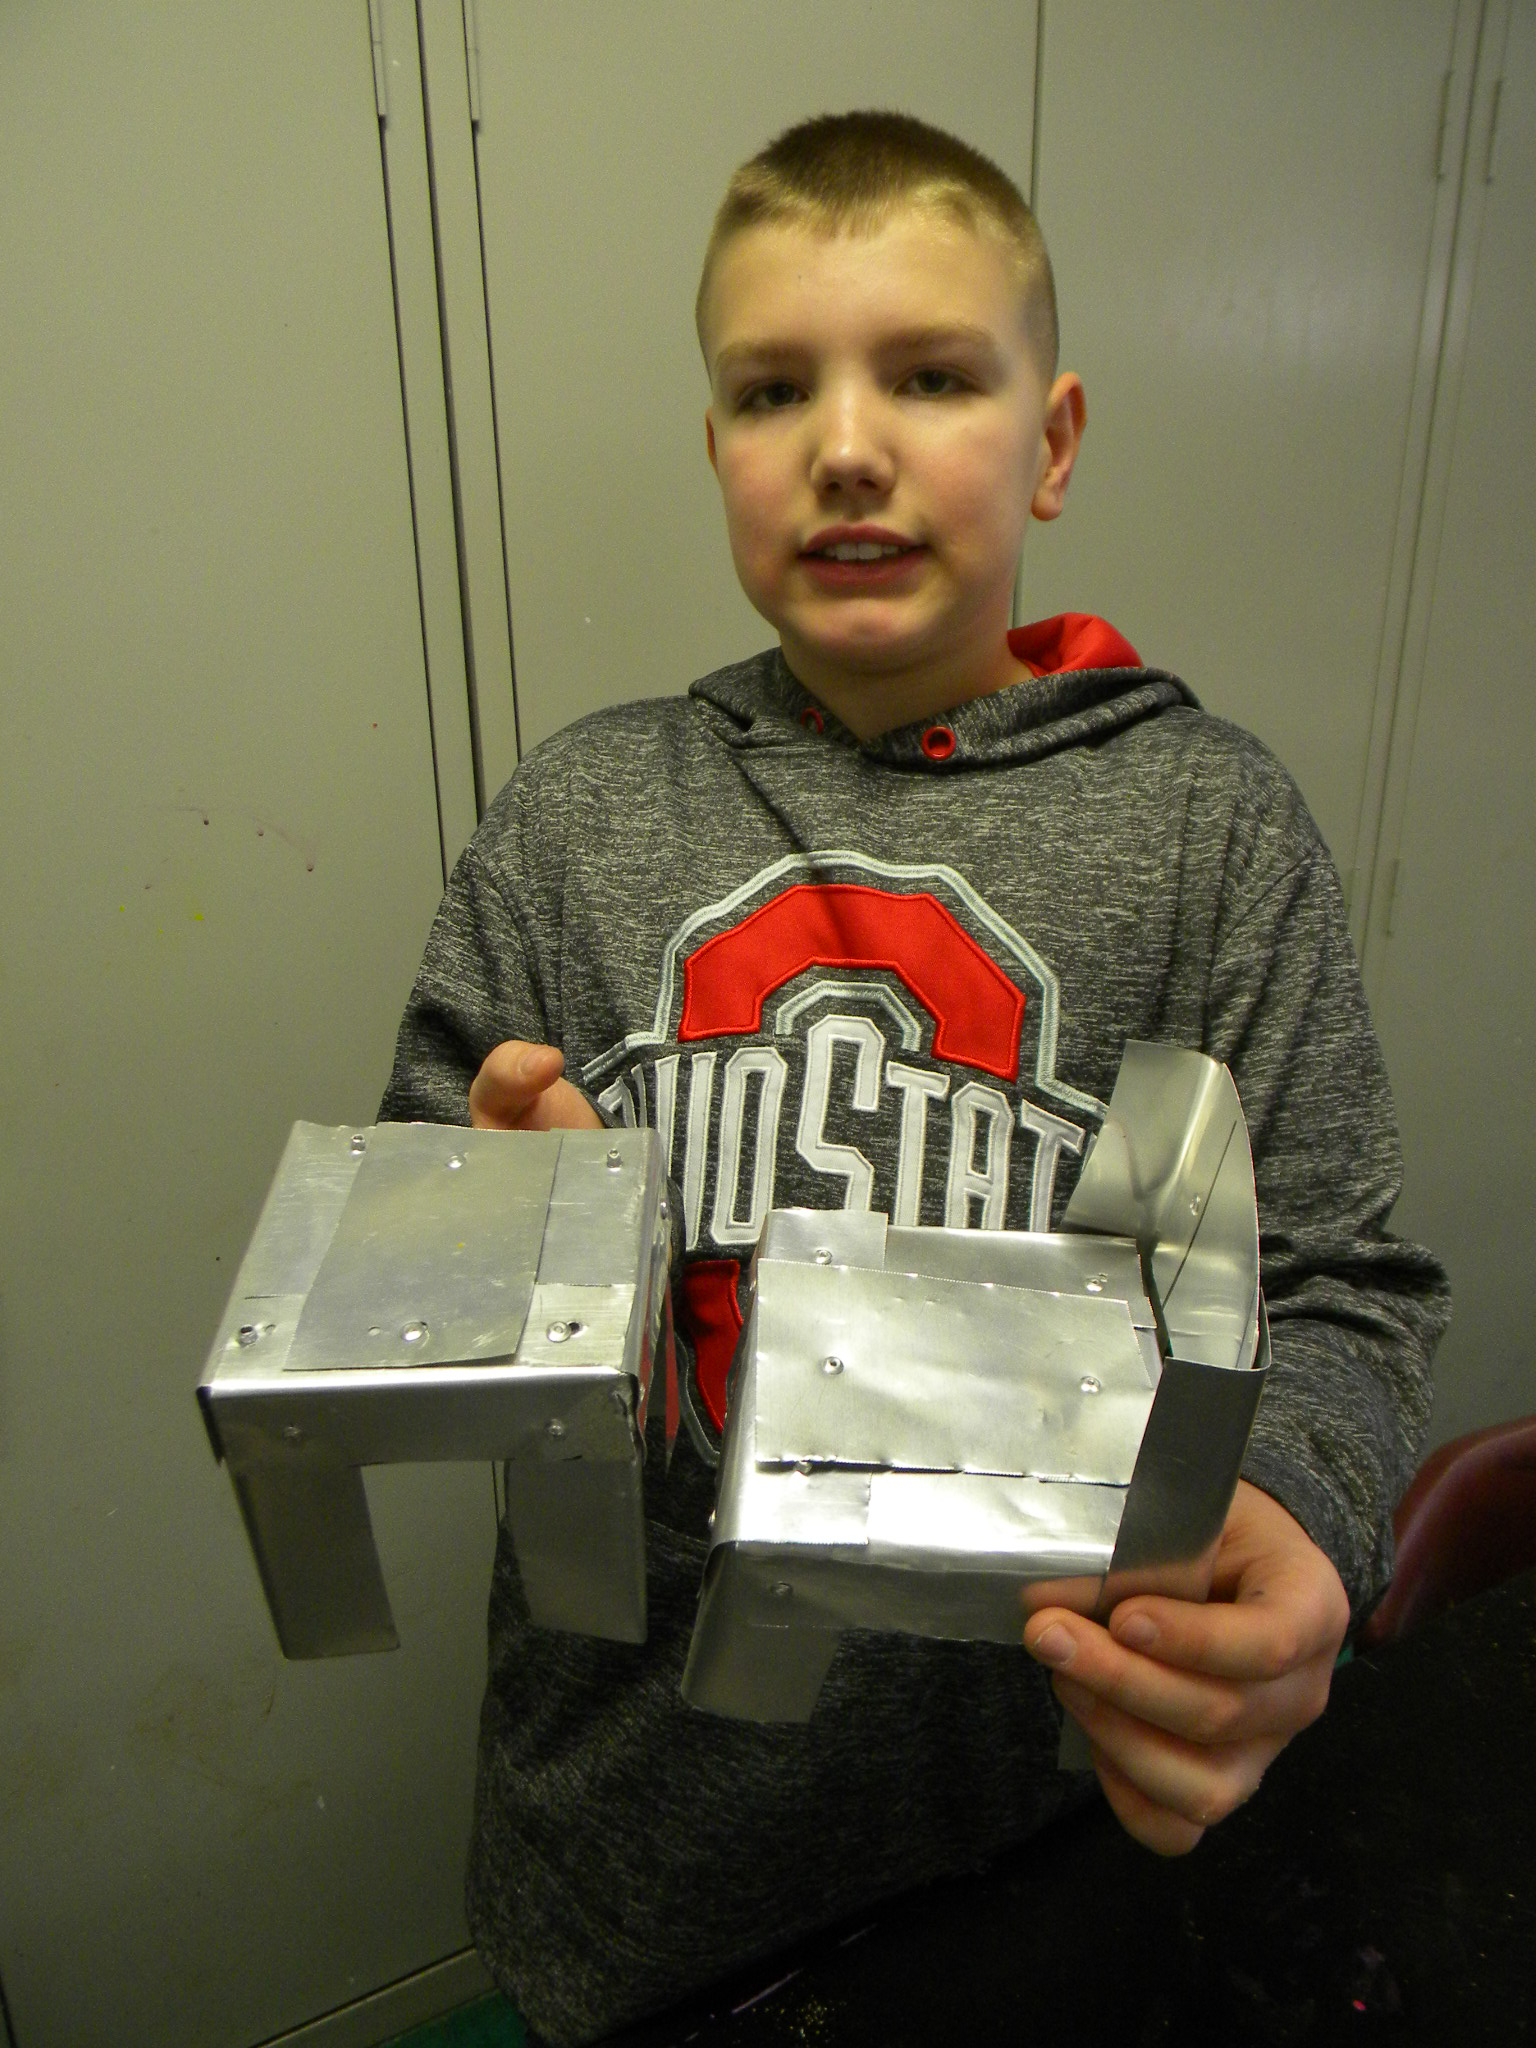
 A couple of shots of the finished chair and table.
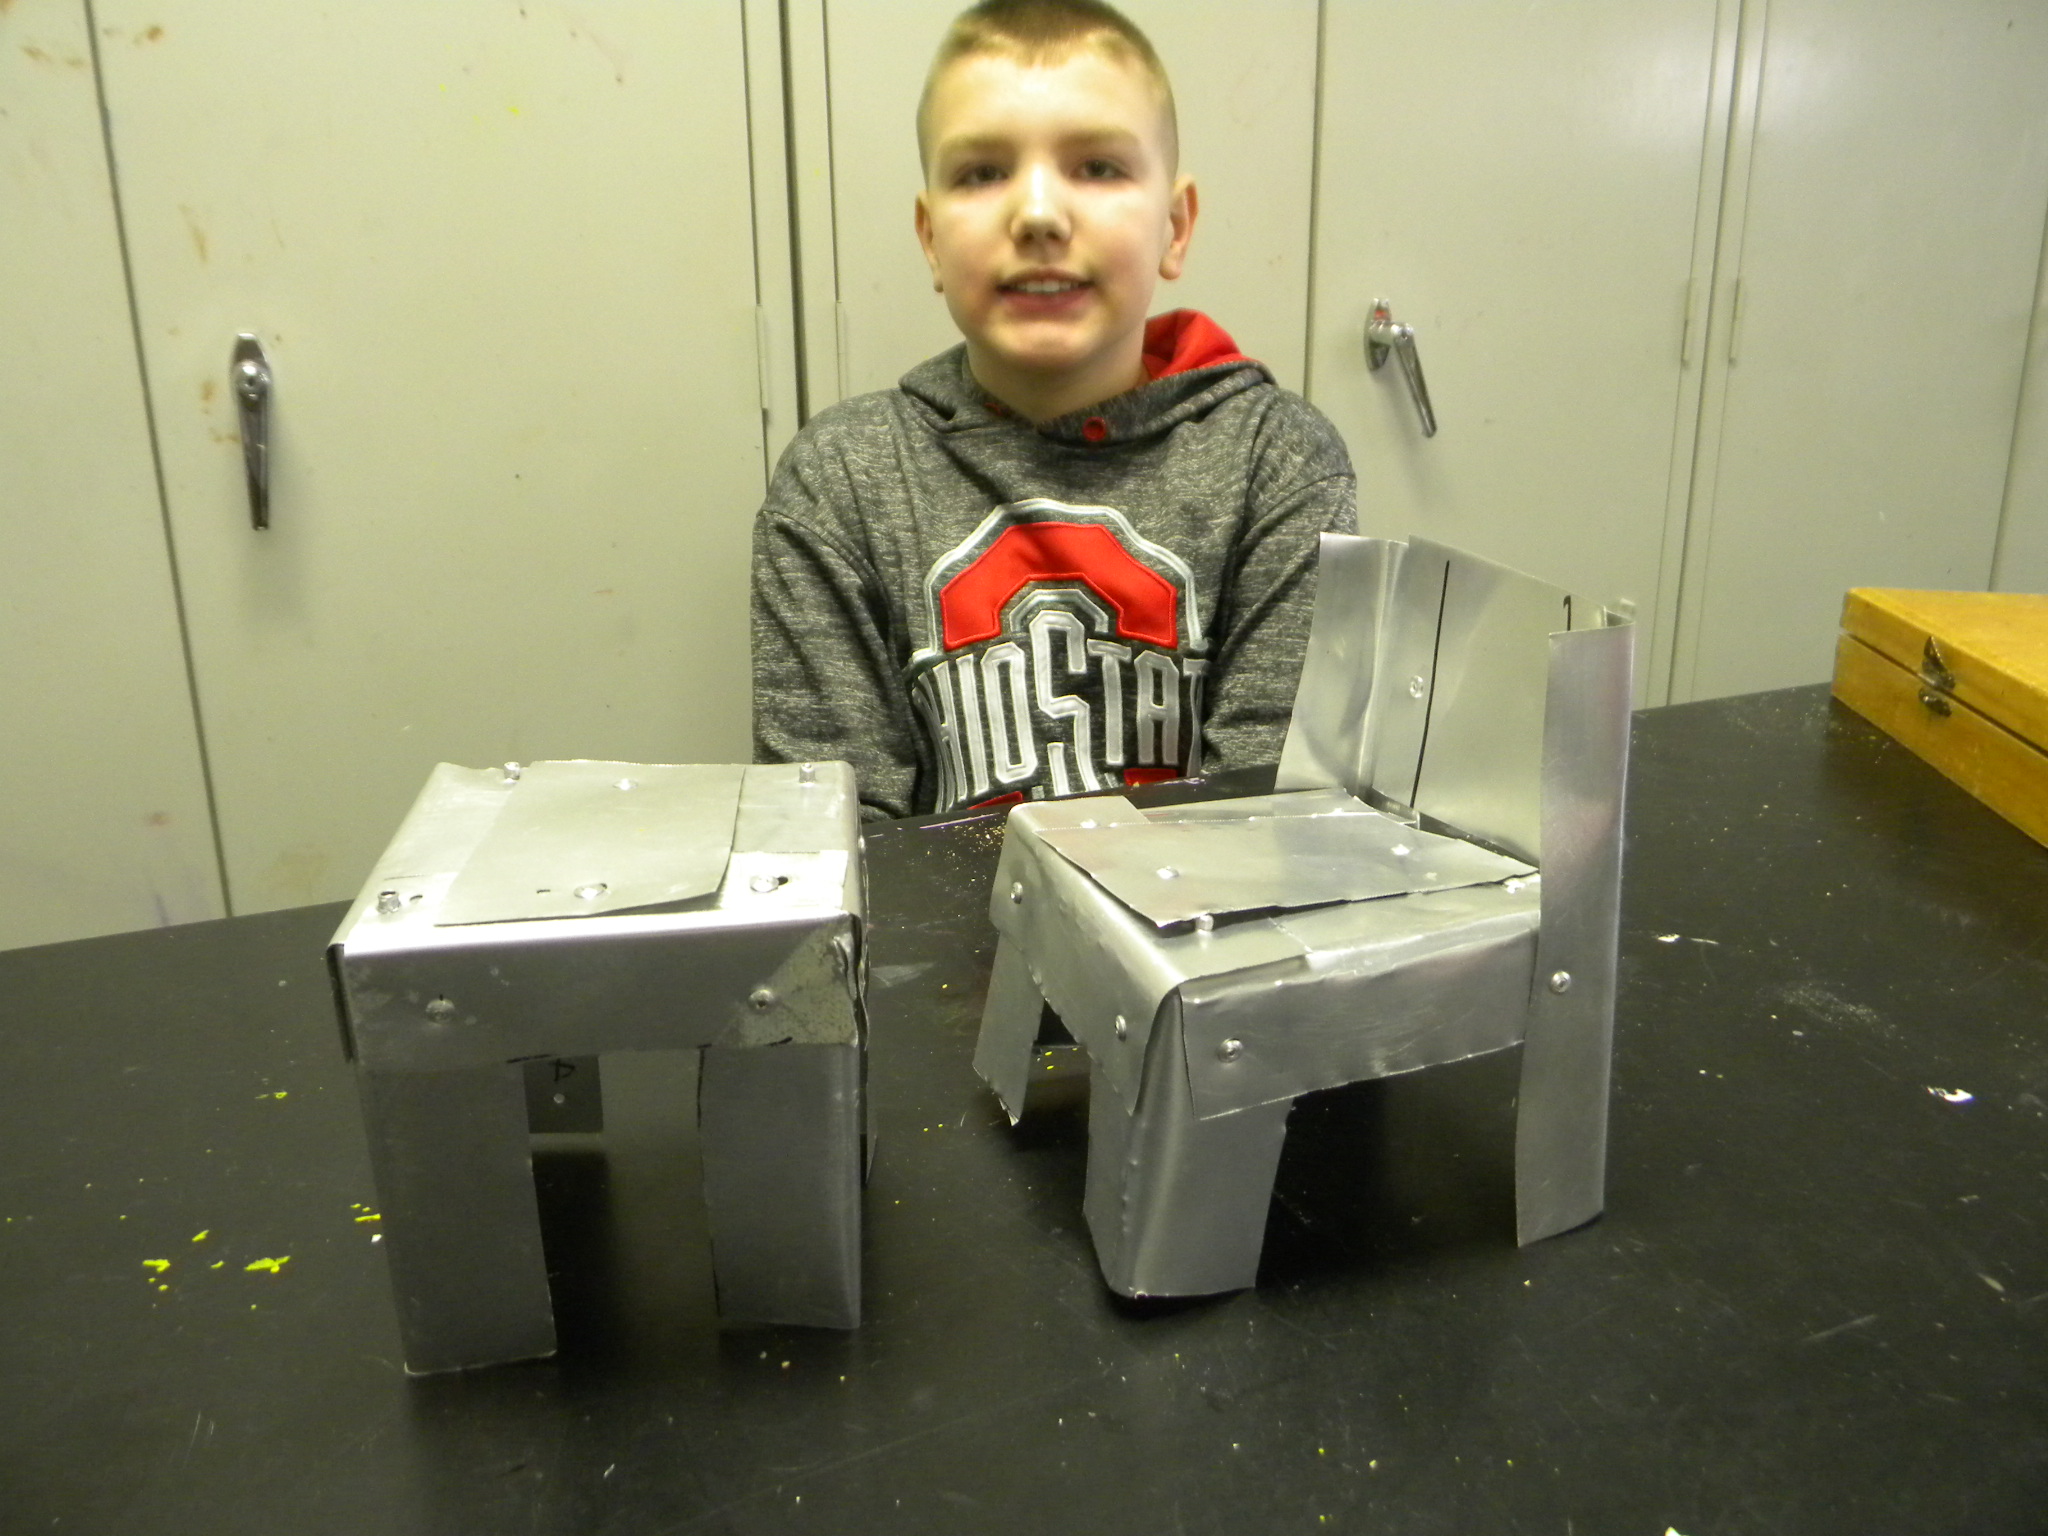 The table and chair done! Brayden did a great job on measuring, learning how to use new tools and following through on an idea!